Now Reading: Samsung Galaxy A16 5G Main Flex Replacement Guide | DIY Repair
-
01
Samsung Galaxy A16 5G Main Flex Replacement Guide | DIY Repair
Samsung Galaxy A16 5G Main Flex Replacement Guide | DIY Repair
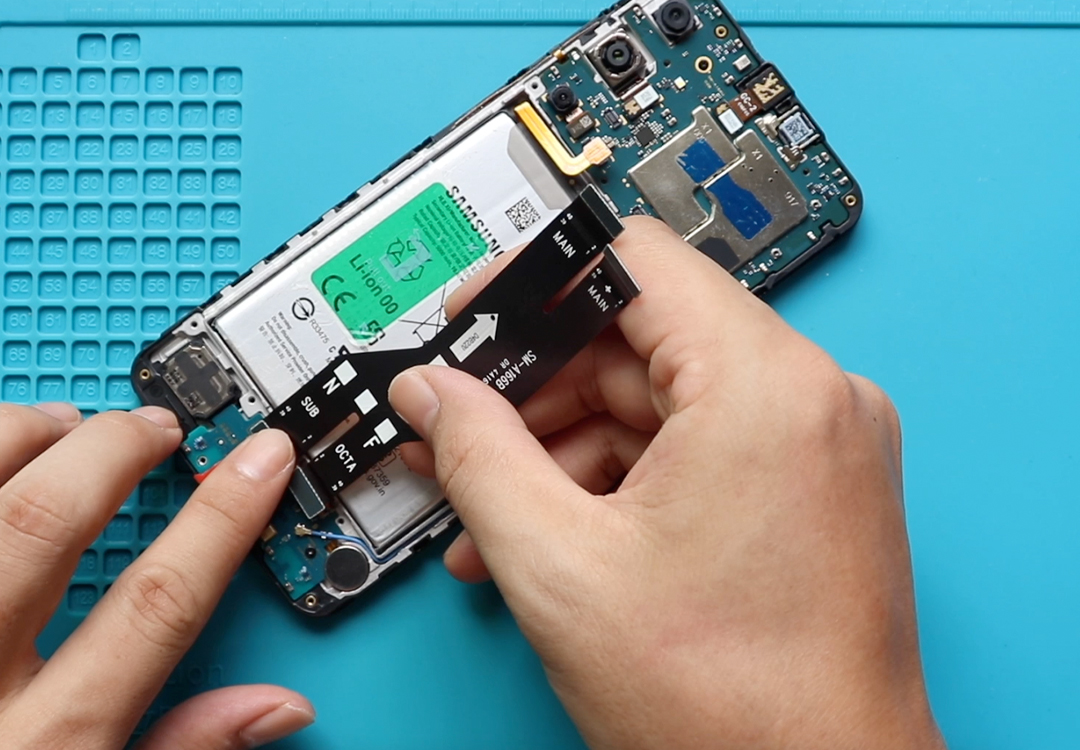
In this guide, We will show you how to replace the Main Ribbon Flex Connector on the Samsung Galaxy A16 5G. Follow the steps carefully and take your time during the heating and opening process to avoid any damage.
Compatibility and Model Numbers
This repair guide based on Samsung Galaxy A16 5G mobile phone, but it is also compatible with Galaxy A16 4g model too.
Compatible Mode Numbers l SM-A166B, SM-A166B/DS, SM-A166P, SM-A166P/DS, SM-A166E, SM-A166E/DS, SM-A166W, SM-A166U, SM-A166U1, SM-A165F, SM-A165F/DS, SM-A165M, SM-A165M/DS, SM-A165F/DSB
Prepare Your Tools
Before starting, make sure you have the proper tools to open the device. These tools are listed in the description of our video/post.
Tools You Need
- Heating pad / heat gun / hairdryer
- Suction cup
- Plastic card pry tools / opening picks
- Phillips PH00 screwdriver
- Adhesive (B7000 or double-sided back cover adhesive)
- Bonding clips or rubber bands (optional but recommended)
How to Find Tools and Parts
- Heating pad – https://amzn.to/3H0tHzJ
- Portable Heat Gun – https://amzn.to/4mszih1
- Clamps https://amzn.to/3GYJT4w
- STREBITO 142 Piece Repair Tool Kit https://amzn.to/3UO1jUx
- Glue | Adhesive https://amzn.to/46exVxe
- Compatible Parts https://amzn.to/4pOwJIM
- Silicone Work Repair Mat https://amzn.to/45Emz5l
Turn off the phone completely, remove the SIM tray, and get ready to open the back cover. Get Help with this Tool to remove the back cover.
Removing the Back Cover
Gently heat the edges of the back cover to soften the adhesive.
We are using a heating pad. Place the back cover side on the pad, select the Mobile Phone Heating option, and let it complete the cycle.
You can also use a heat gun or hair dryer, but be cautious—excessive heat can damage the back cover or internal parts.
Once warm, use a suction cup at the bottom area to create a small lifting gap.
Insert a plastic card pry tool into the opening and slide it around the edges to cut through the adhesive.
This will take time—work slowly and avoid pushing the tool too deep.
After the adhesive is fully separated, gently lift and remove the back cover.

Removing the Mid-Frame
Make sure the SIM tray is out.
Remove all fifteen screws holding the mid-frame.
Disconnect the fingerprint/power button connector.
Now, use a plastic pry card to create a gap and work around the edges to release the plastic clips.
Be gentle—free the clips one by one until the mid-frame separates from the body.
Disconnect the battery connector before working on the boards.
Replacing the Main Flex
Remove the faulty main flex cable:
- Disconnect it from the logic board
- Disconnect it from the charging port board
- Lift and remove the cable from the body

Install the new Main Flex:
- Position the new cable
- Secure the plug on the logic board
- Secure the plug on the charging board
Reconnect the battery plug.
Reassembling the Phone
Place the mid-frame back and secure all fifteen screws.
Ensure every clip is properly seated before tightening the screws.
Reconnect the fingerprint/power button connector.
Insert the SIM tray.
Securing the Back Cover
Before installing the back cover, check the adhesive condition.
- If the glue is weak, apply B7000
- Or use a new double-sided adhesive for a stronger seal
After placing the back cover, use bonding clips to hold it in place.
If clips are not available, use rubber bands to apply even pressure.
Leave the device for some time to ensure proper bonding.
That’s it! Your Samsung Galaxy A16 5G Main Flex replacement is complete.
If you have any questions, feel free to comment below. Don’t forget to like, share, and subscribe for more repair guides.
Frequently Asked Questions
1. What is the main flex on the Samsung Galaxy A16 5G?
The main flex is the long ribbon cable that connects the logic board to the charging port board. If it’s damaged, loose, or malfunctioning, the device may not charge, turn on, or communicate between components.
2. What are the common signs of a faulty main flex?
- Sudden shutdowns even with a good battery
- Phone not charging
- Boot loop or no power
- No USB data detection
- Intermittent charging
3. Will replacing the main flex erase my data?
No. This repair does not affect internal storage. Your data remains safe unless the phone has motherboard issues.
Related Repair Guides