Now Reading: Samsung Galaxy A16 5G Screen Replacement | Step-by-Step Guide
-
01
Samsung Galaxy A16 5G Screen Replacement | Step-by-Step Guide

Samsung Galaxy A16 5G Screen Replacement | Step-by-Step Guide
In this step-by-step guide, we’ll show you how to replace the LCD screen with the frame on the Samsung Galaxy A16 5G. This method is beginner-friendly and reduces the risk of damaging the display during installation.
Compatibility and Model Numbers
This repair guide based on Samsung Galaxy A16 5G mobile phone, but it is also compatible with Galaxy A16 4g model too.
Compatible Mode Numbers l SM-A166B, SM-A166B/DS, SM-A166P, SM-A166P/DS, SM-A166E, SM-A166E/DS, SM-A166W, SM-A166U, SM-A166U1, SM-A165F, SM-A165F/DS, SM-A165M, SM-A165M/DS, SM-A165F/DSB
Step 1: Prepare Your Tools
Make sure you have all required tools ready. These tools are listed in the description.
Turn off the phone and remove the SIM tray before starting.
Tools You Need
- Heating pad / heat gun / hairdryer
- Suction cup
- Plastic card pry tools / opening picks
- Phillips PH00 screwdriver
- Adhesive (B7000 or double-sided back cover adhesive)
- Bonding clips or rubber bands (optional but recommended)
How to Find Tools and Parts
- Heating pad – https://amzn.to/3H0tHzJ
- Portable Heat Gun – https://amzn.to/4mszih1
- Clamps https://amzn.to/3GYJT4w
- STREBITO 142 Piece Repair Tool Kit https://amzn.to/3UO1jUx
- Glue | Adhesive https://amzn.to/46exVxe
- Compatible Sreen https://amzn.to/4pOwJIM
- Silicone Work Repair Mat https://amzn.to/45Emz5l
How to remove the back cover safely
Step 2: Heat the Back Cover
Warm the edges of the back cover to loosen the adhesive.
- Place the phone on a heating pad, back cover facing down
- Select Mobile Phone Heating and allow the cycle to finish
You may also use a heat gun or hair dryer, but heat gently to avoid damaging the plastic cover.
Step 3: Remove the Back Cover
- Place a suction cup at the bottom area
- Lift slightly to create a gap
- Slide a plastic pry card around the frame
- Slowly separate the adhesive around all edges
Once the adhesive is released, lift the back cover and set it aside.
Replace the broken camera lens glass easily

Step 4: Remove the Mid-Frame
- Confirm the SIM tray is removed
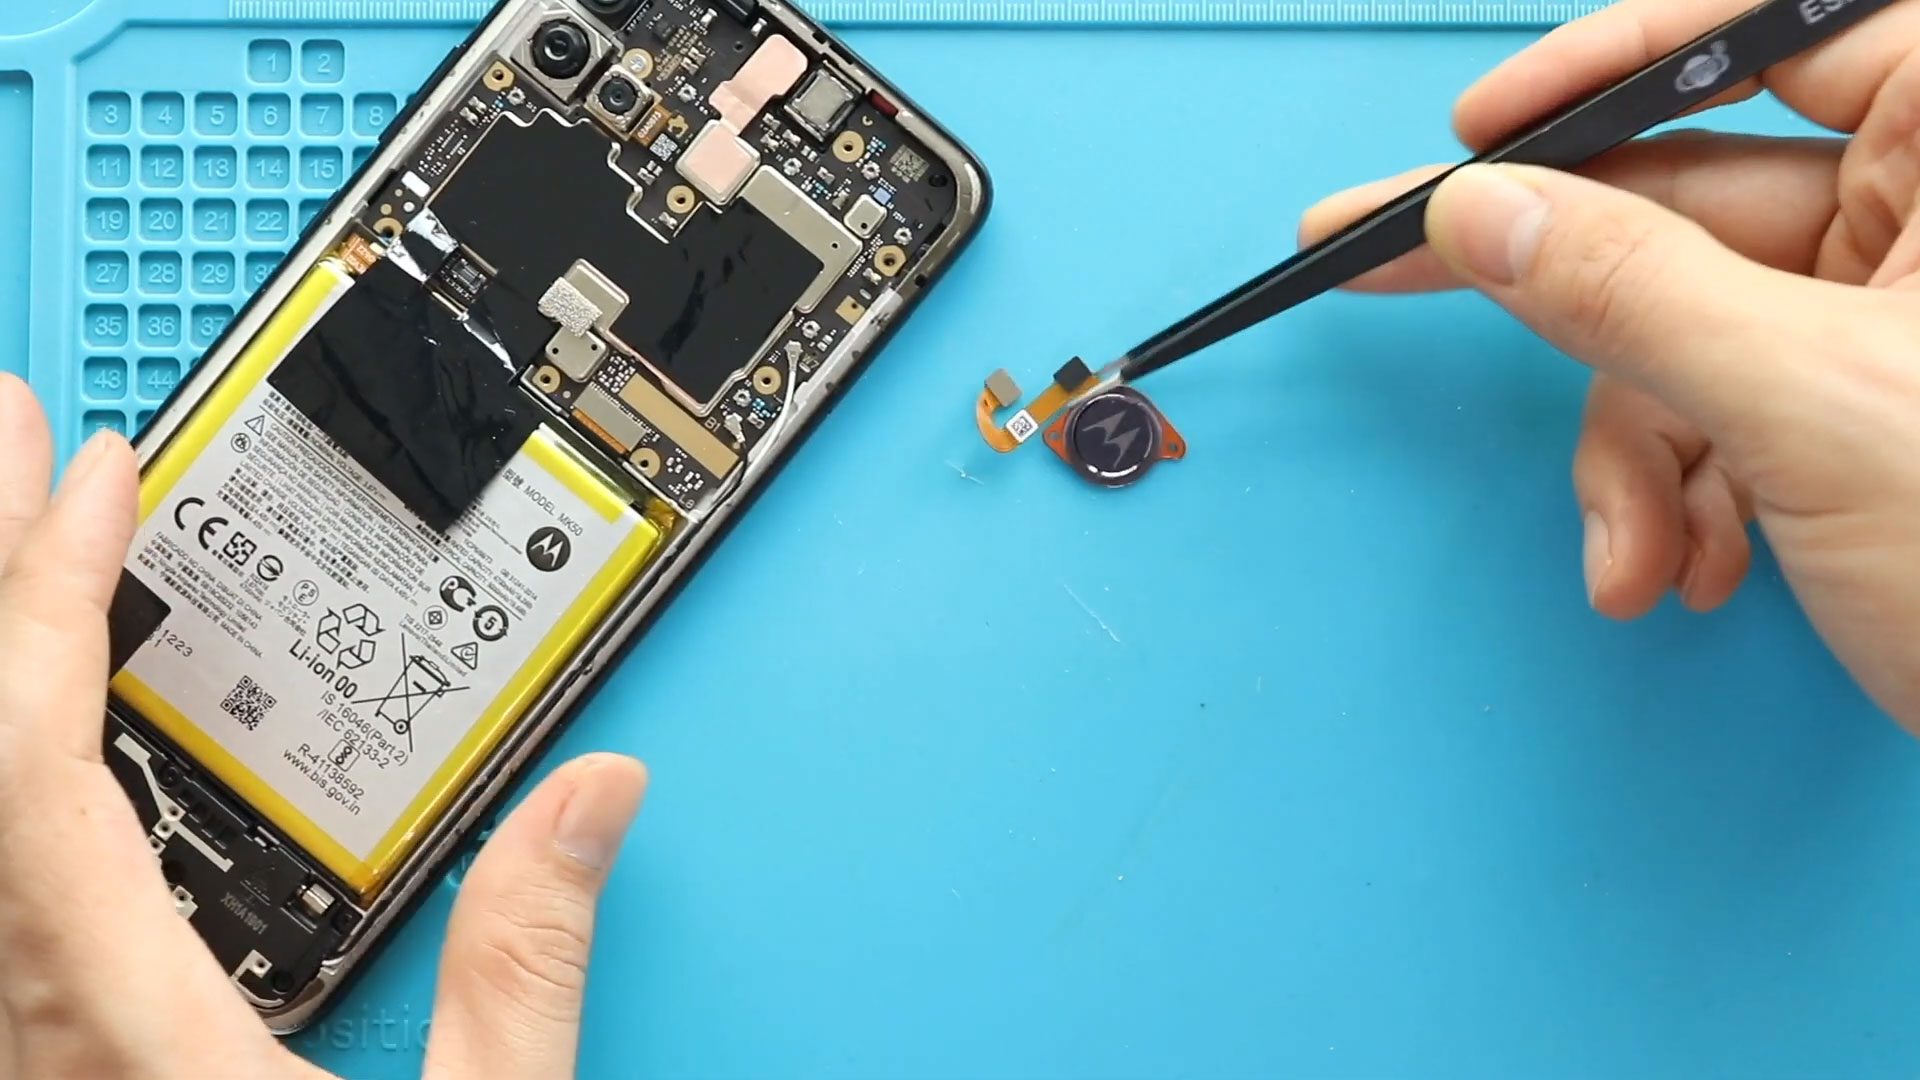
- Disconnect the fingerprint/power button connector
- Remove all 15 screws in the mid-frame
- Use a pry card to release the plastic clips around the edges
- Lift and separate the mid-frame from the body
Step 5: Disconnect the Battery
Before removing any parts, disconnect the battery connector for safety.
Step 6: Transfer Components From the Old Screen Frame
Now start removing parts from the damaged frame.

6.1 Main Flex Removal
- Disconnect the main flex cable from both ends
- Lift and remove it
6.2 Remove the Battery
- Pry gently from non-flex areas
- Lift the battery from the old frame
6.3 Logic Board Removal
- Unplug the antenna head
- Remove the screw holding the board
- Lift the logic board carefully
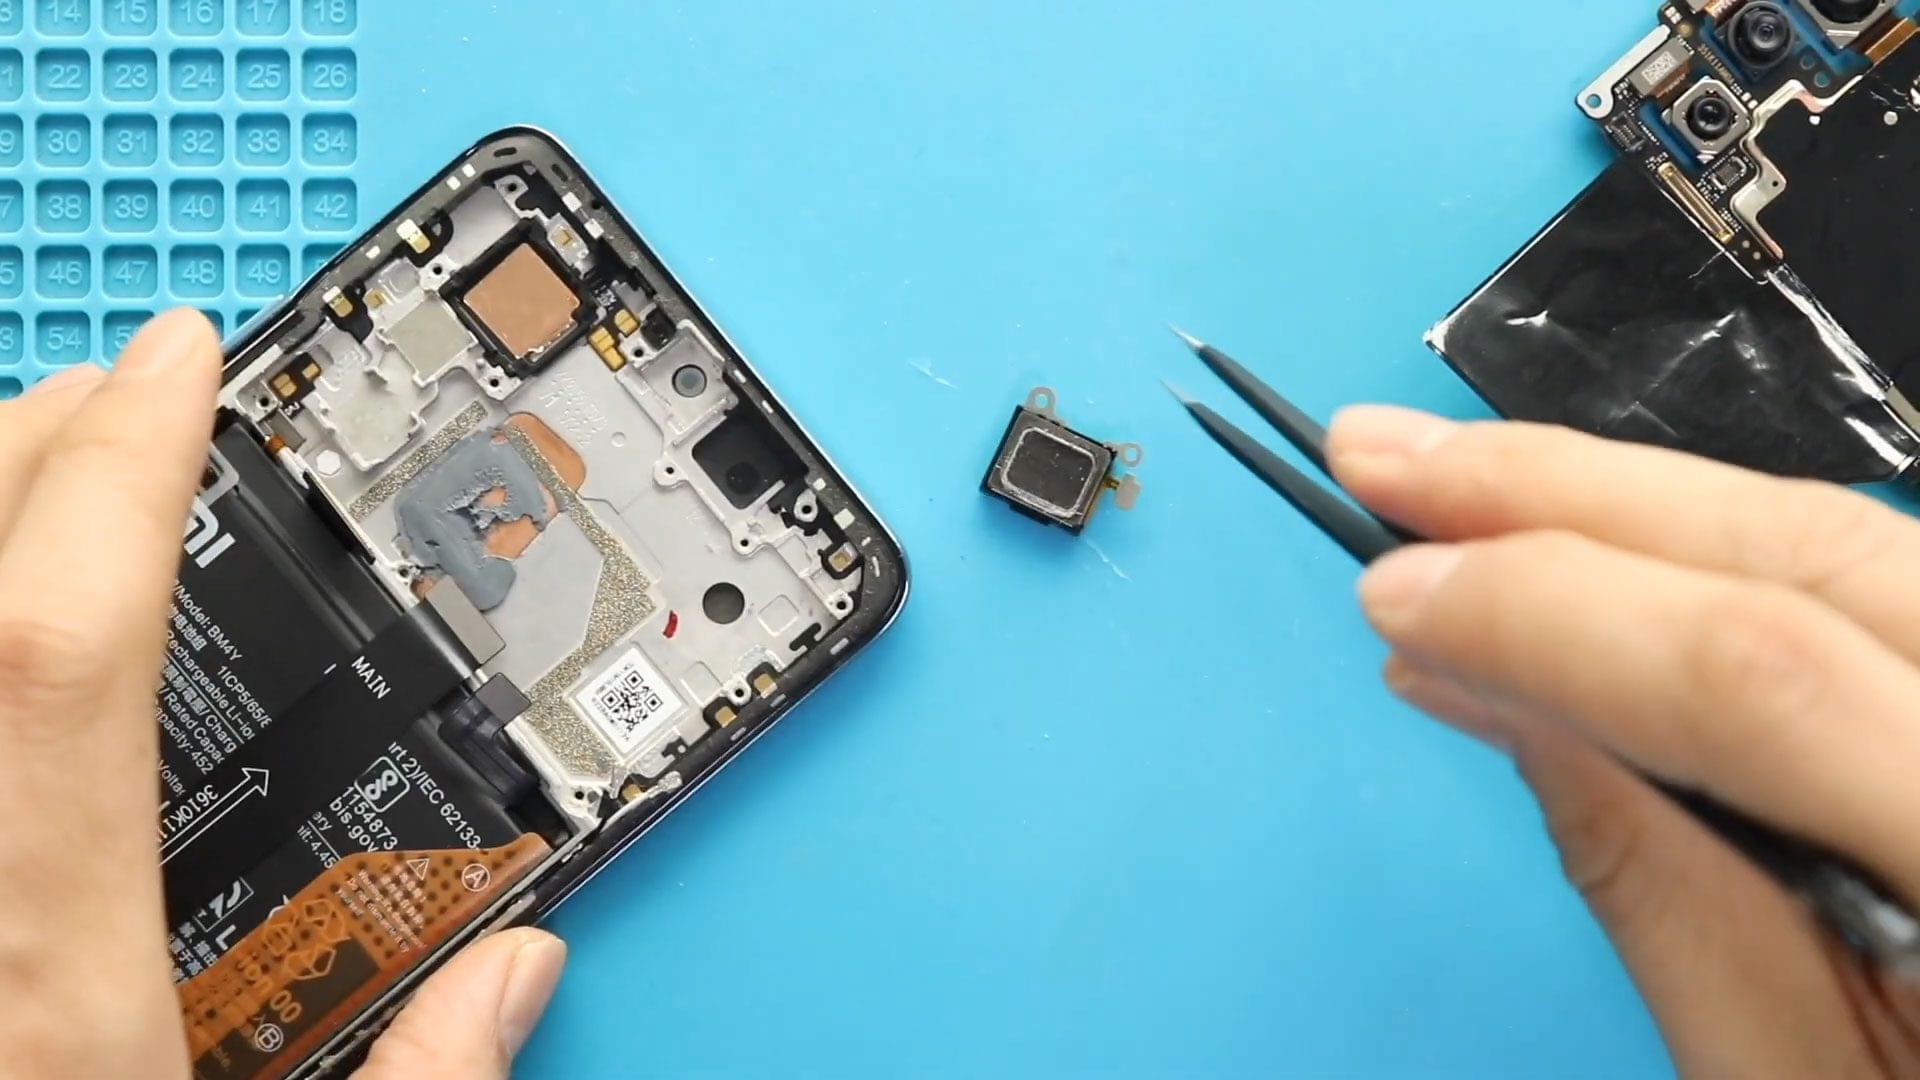
6.4 Earpiece Speaker
- Remove the small earpiece speaker from the top area
6.5 Power & Volume Button Flex
- Detach and remove the button flex from the frame
6.6 Charging Port Board With Antenna
- Undo the screw holding the lower board
- Remove the charging board and antenna assembly
6.7 Speaker & Taptic Engine
- Lift the loudspeaker module
- Remove the taptic engine
Your old frame should now be completely empty.
Step 7: Screen Replacement Options
You’ll find several screen types on the market:
- Original Service Pack (with frame) – best choice overall
- Original without frame – harder to install
- Refurbished / used – acceptable if the seller is reliable
- Aftermarket – cheaper but quality varies
For an easier repair, choose a screen with frame and pre-installed components, regardless of whether it’s original, refurbished, used, or aftermarket.
Step 8: Install Components Into the New Frame
Now transfer everything to the new display frame.
- Install the earpiece speaker
- Secure the power & volume button flex
- Place the logic board and add the screw
- Install the taptic engine
- Install the lower speaker
- Position the charging port board and tighten the screw
- Reconnect the antenna head
- Seat and secure the battery
- Install the main flex cable
Step 9: Reconnect the Battery
Attach the battery connector back onto the logic board.
Step 10: Reinstall the Mid-Frame
- Position the mid-frame on the body
- Reconnect the fingerprint/power button connector
- Insert the SIM tray
- Add all 15 screws
- Ensure every clip sits properly before tightening
Step 11: Secure the Back Cover
Before installing the back cover:
- Check if the adhesive is still usable
- If not, apply B7000 glue or a new double-sided adhesive
Place the back cover and press evenly.
Use bonding clips or rubber bands to hold it in place for proper sealing.
Your Samsung Galaxy A16 5G screen replacement is complete.
If you have any questions, drop a comment. Don’t forget to like, share, and subscribe for more GEARDO repair guides.
Frequently Asked Questions
1. Can I replace just the LCD without the frame?
Technically yes, but it’s harder, takes more time, and may compromise durability. Replacing the screen with the frame is safer and simpler.
2. What types of replacement screens are available?
- Original Service Pack with frame – easiest and most reliable
- Original without frame – more complicated installation
- Refurbished or used – can work if purchased from a trusted seller
- Aftermarket screens – cheaper but quality varies
3. How long does this repair usually take?
For beginners, expect 40–60 minutes, depending on experience. Using a screen with frame reduces installation time.
4. Will I lose my data after replacing the screen?
No. This repair does not affect internal storage, so your data stays intact.
5. My phone still doesn’t turn on after screen replacement. What should I check?
- Ensure the battery connector is seated properly
- Verify all main flex and logic board connections. Replace Faulty Main Flex Connector
- Check for damaged components during disassembly
If all connections are correct and it still doesn’t power on, the issue could be logic board related or faulty Screen.
Related Guides