Now Reading: Motorola Edge Battery Replacement Guide (XT2063)
-
01
Motorola Edge Battery Replacement Guide (XT2063)
Motorola Edge Battery Replacement Guide (XT2063)
Hi everyone, welcome back to Geardo.
If your Motorola Edge battery is draining quickly, overheating, or no longer holding charge, replacing the battery can restore your phone’s performance and extend its lifespan. Instead of upgrading to a new device, this simple repair can save you money and keep your phone running like new.
In this guide, we’ll walk you through a step-by-step battery replacement process, designed especially for beginners. Just take your time, follow carefully, and you’ll be able to complete this repair at home.
Repair Difficulty
Repair Difficulty: ⭐⭐⭐⭐☆ (4/5)
Time Required: 45–60 minutes
Device Type: Smartphone
Repair Type: Internal Battery Replacement
Reasons for Battery Replacement
- Battery draining too fast
- Phone shutting down unexpectedly
- Overheating issues
- Battery swelling or physical damage
- Device not charging properly
Check The Latest Motorola Phones are in Clearance “up to 60% off” – https://amzn.to/480ho0w
Before You Begin
Compatibility and Model Numbers
- Motorola Edge (2020)
Model Numbers | XT2063, XT2063-2, XT2063-3
Tools Required
- Mobile phone heating pad or hairdryer/heat gun
- Plastic pry tool / card pry
- Suction cups
- Phillips #00/#000 screwdrivers
- Torx T3 / T4 / T5 Screwdriver (Depends on the version)
- Flathead Screwdriver
- Tweezers (for connectors)
- B7000 glue or double-sided adhesive (for back cover)
- Rubber bands or bonding clips to secure the back cover
Using proper tools reduces the risk of damaging the phone.
How to Find Tools and Parts
- Heating pad – https://amzn.to/3H0tHzJ
- Portable Heat Gun – https://amzn.to/4mszih1
- Clamps https://amzn.to/3GYJT4w
- STREBITO 142 Piece Repair Tool Kit https://amzn.to/3UO1jUx
- Glue | Adhesive https://amzn.to/46exVxe
- Compatible Parts –
- Battery – https://amzn.to/4nDL6h8
- Screen – https://amzn.to/46e9obP
- Other Parts – https://amzn.to/3VWWyIN
- Silicone Work Repair Mat https://amzn.to/45Emz5l
Step-by-Step Battery Replacement Guide
Step 1: Heat the Back Cover
Gently heat around the edges of the back cover to soften the adhesive. You can use a heating pad, heat gun, or hair dryer.
Step 2: Remove the Back Cover
Use a suction cup to create a small gap. Insert a plastic pry tool or card and carefully cut through the adhesive around the edges.
Once loosened, gently lift off the back cover.
Step 3: Remove the Logic Board Frame
Unscrew the twelve screws securing the logic board frame (with the camera lens housing).
Carefully lift and remove the frame.
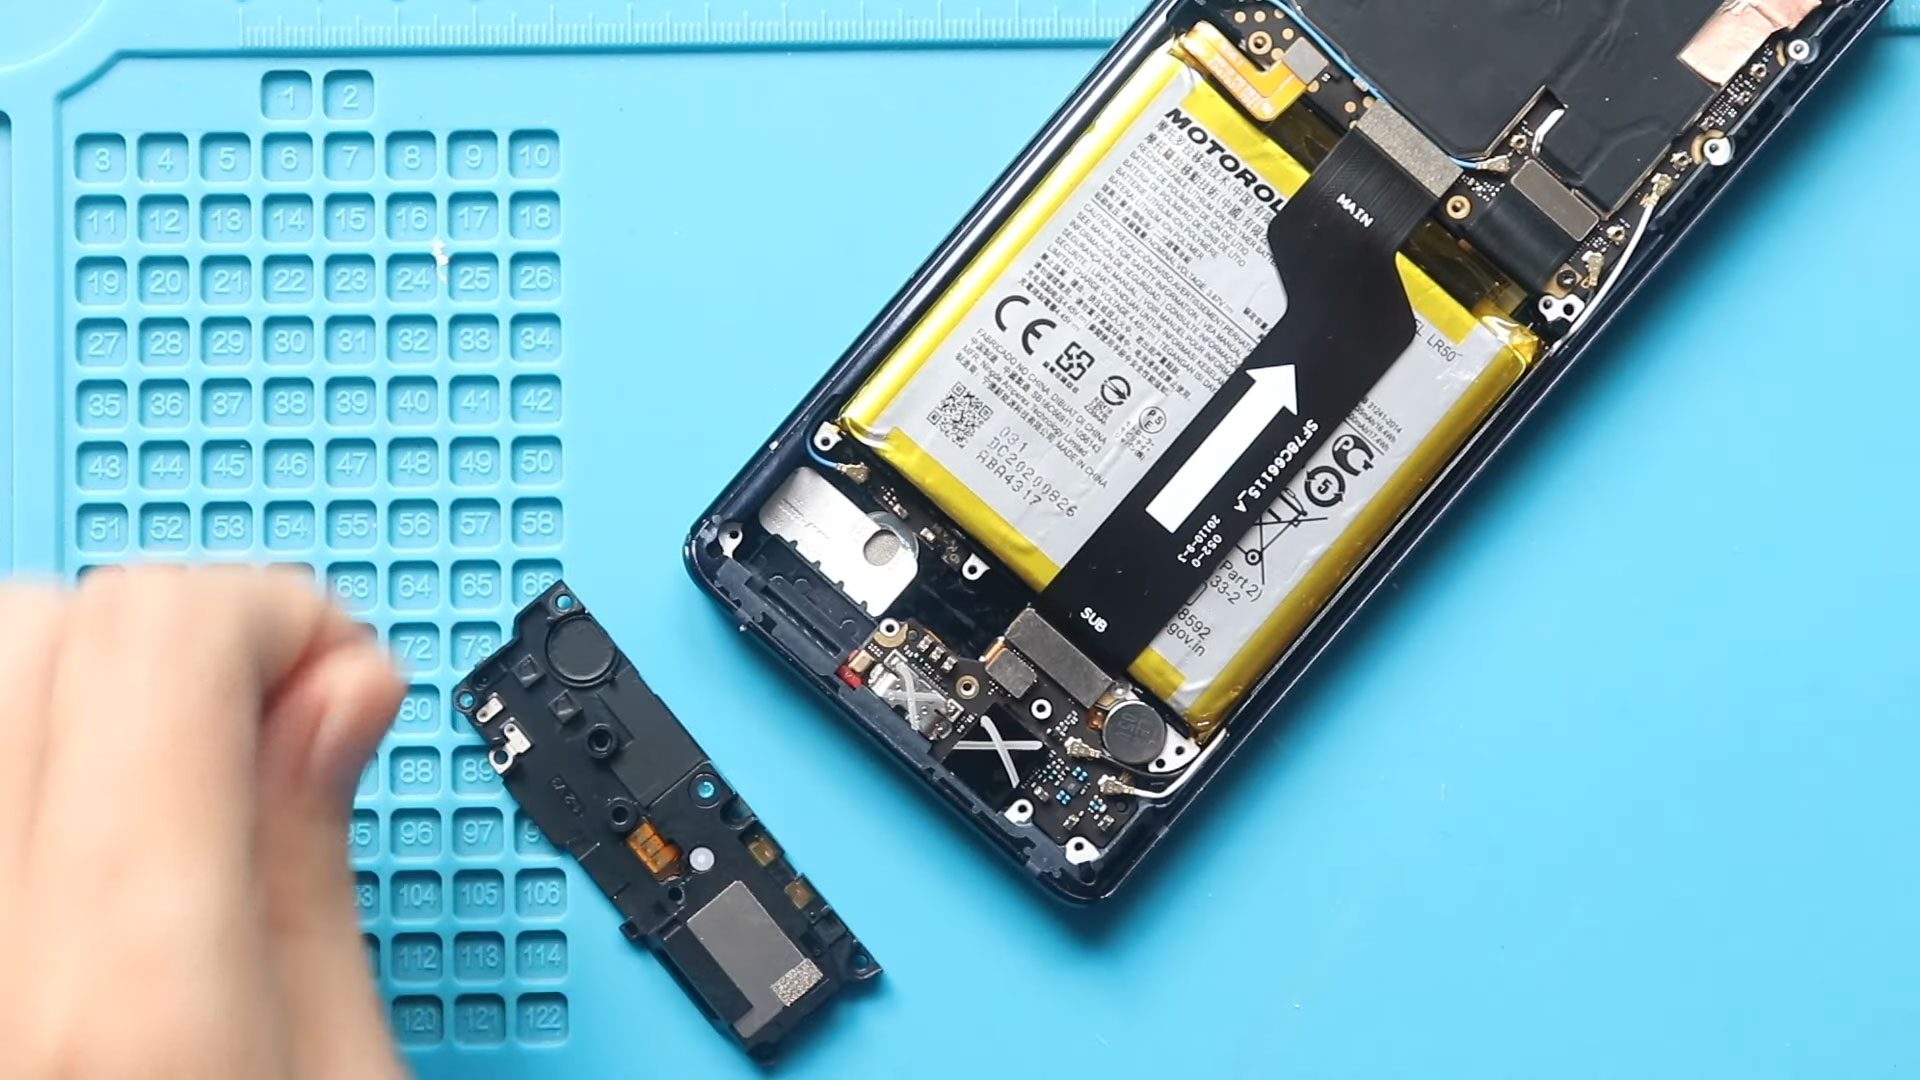
Step 4: Disconnect Internal Components
Disconnect the battery connector first.
Then disconnect the main connector flex cable.
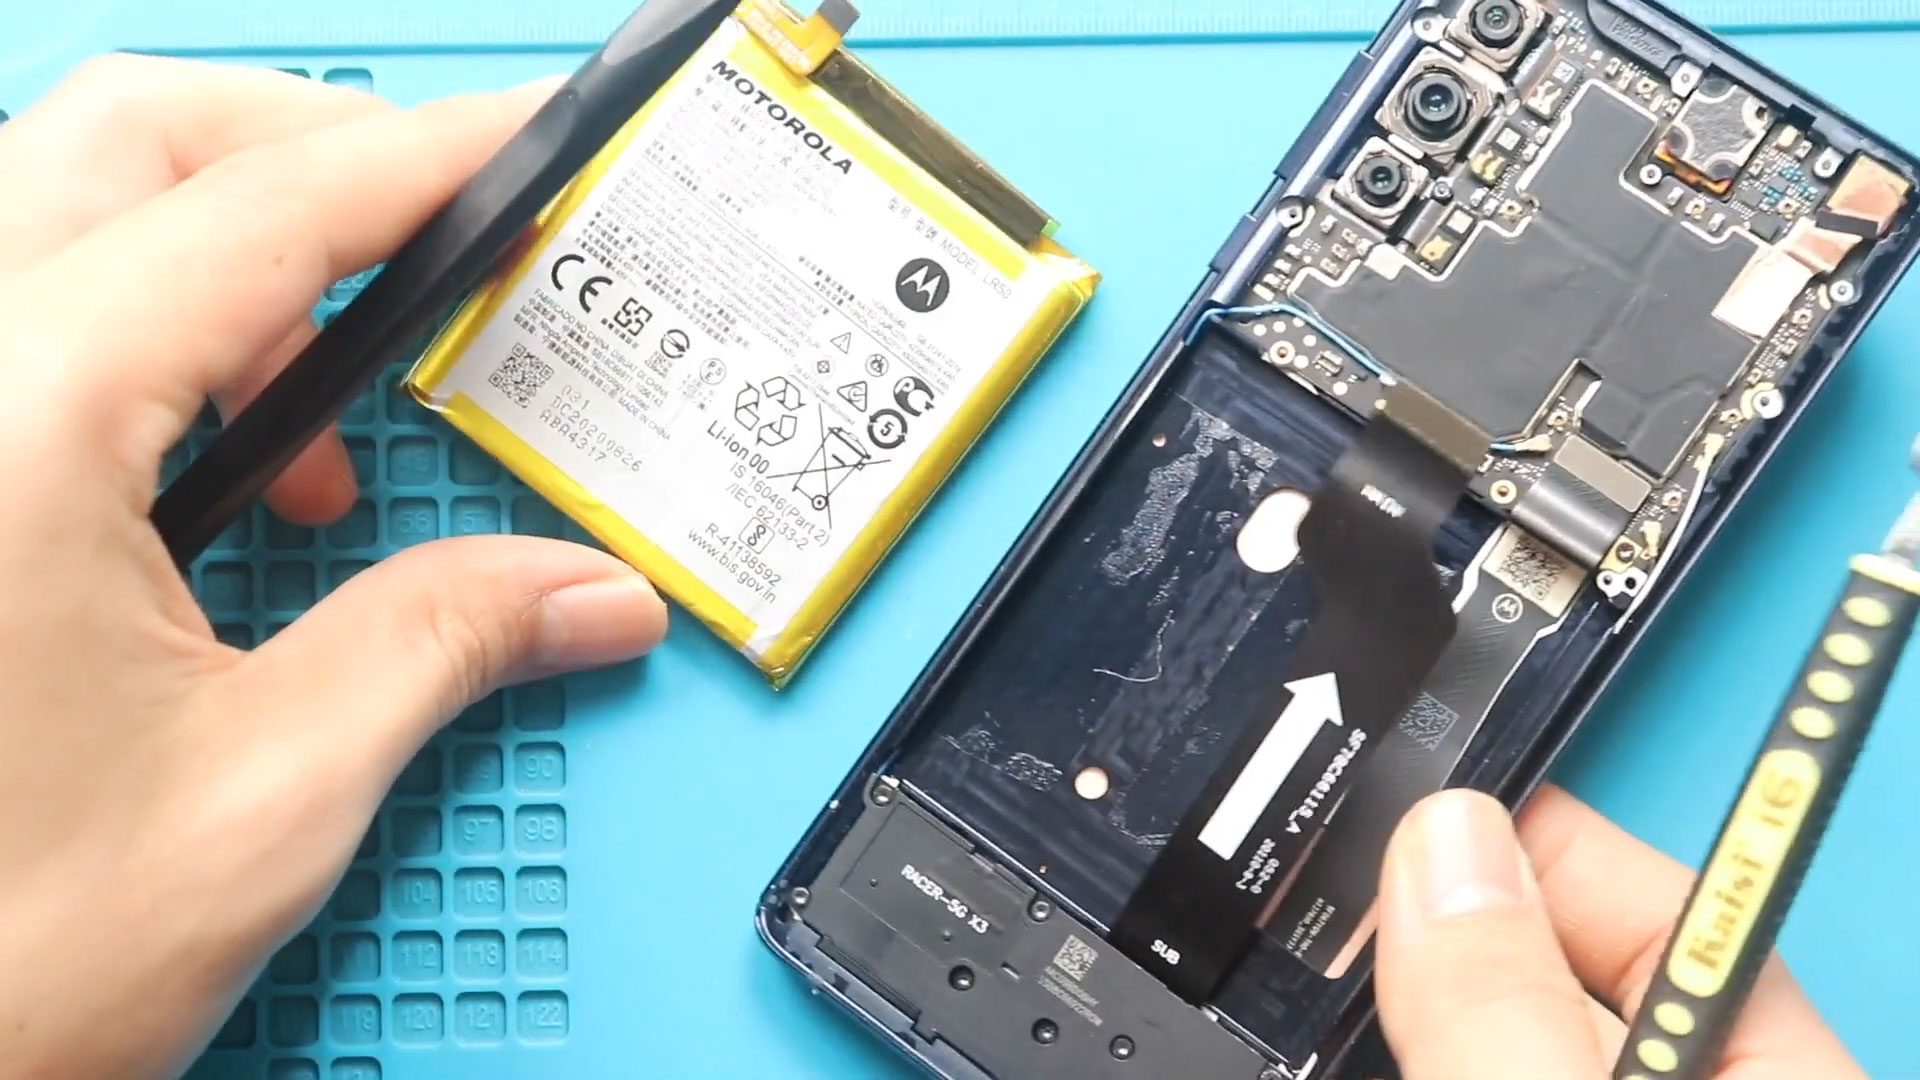
Step 5: Remove the Battery
Apply gentle heat to the battery area to soften the adhesive underneath.
Use a plastic card or pry tool to slowly separate the battery from the frame.
⚠️ Be patient and gentle — do not bend or puncture the battery.
Step 6: Install the New Battery
Place the new battery into position using fresh adhesive.
Step 7: Reconnect Components
Reconnect the display (LCD) connector.
Reconnect the battery connector.
Step 8: Reassemble the Device
Reinstall the logic board frame and secure it with the twelve screws.
Step 9: Reattach the Back Cover
Ensure the back cover has sufficient adhesive.
If needed, apply B7000 glue or new adhesive strips.
Press the back cover into place and use clips or rubber bands to hold it securely while the adhesive sets.
FAQ
Q1: Is it safe to replace the battery myself?
Yes, if you follow the steps carefully and use proper tools. Always avoid damaging the battery.
Q2: How do I know if my battery needs replacement?
If your phone drains quickly, overheats, or shuts down randomly, the battery is likely worn out.
Q3: Can I reuse the old adhesive?
It’s not recommended. Use new adhesive or glue for a secure fit.
Q4: What should I do if the battery is stuck?
Apply more heat and gently loosen it with a plastic tool. Never force it.
Q5: Will replacing the battery delete my data?
No, your data will remain intact, but backing up is always recommended.
Troubleshooting (After The Repair)
Q1: Phone not turning on after repair
Make sure the battery connector is properly connected and charged.
Q2: Screen not working
Check if the display (LCD) connector is securely attached.
Q3: Back cover not sticking properly
Use fresh adhesive or B7000 glue and apply pressure using clips.
Q4: Battery draining quickly after replacement
Calibrate the battery by charging it fully and then discharging it completely once or twice.
Q5: Device overheating
Ensure all components are properly connected and no cables are pinched during reassembly.
Related Guides