Now Reading: iPad Mini 6 Screen Replacement Guide (2021)
-
01
iPad Mini 6 Screen Replacement Guide (2021)
iPad Mini 6 Screen Replacement Guide (2021)
Hi everyone, welcome back to DIYGeardo 👋
Today, we’re going to show you how to replace the Retina LCD screen display on the iPad Mini 6 (2021). If your iPad screen is cracked, unresponsive, flickering, or completely black, replacing the LCD assembly is the best way to restore normal functionality.
This guide covers the safe screen removal process, proper handling of flex cables, transferring the front camera bracket, testing the new display, and sealing the screen correctly.
Repair Difficulty
Difficulty Level: 🔧🔧🔧🔧☆ (Moderate to Hard)
Estimated Time: 60–90 minutes
Repair Type: LCD Screen Display Replacement
⚠️ The iPad Mini 6 display is thin and strongly glued. Proper heating and patience are essential.
Before You Begin
Compatibility and Model Numbers
This repair guide based on iPad Mini 6th Generation 2021 Model
Also Compatible with iPad mini 7th Generation Model, Both Wifi and Cellular Edition models.
Model Numbers | iPad mini 6th Generation, iPad mini 7th Generation, A2568, A2993, A2995, A2996
Required Tools
- Heating pad / heat gun / hairdryer
- Suction cup
- Plastic card pry tools / opening picks/ Tweezers
- Phillips screwdriver #00 / #000
- Torx T3 Screwdriver
- Adhesive (B7000 or double-sided back cover adhesive)
- Bonding clips or rubber bands (optional but recommended)
Make sure the device is turned off and the SIM tray is removed (For Cellular Version) before starting.
How to Find Tools and Parts
- Heating pad – https://amzn.to/3H0tHzJ
- Portable Heat Gun – https://amzn.to/4mszih1
- Clamps https://amzn.to/3GYJT4w
- STREBITO 142 Piece Repair Tool Kit https://amzn.to/3UO1jUx
- Glue | Adhesive https://amzn.to/46exVxe
- Compatible Parts –
- Battery – https://amzn.to/3HFBIKE
- LCD Screen – https://amzn.to/420pGST
- Other Parts – https://amzn.to/4fOsf04
- Silicone Work Repair Mat https://amzn.to/45Emz5l
Important: Back up your data before starting. Work slowly and keep screws organized.
Reasons for LCD Screen Replacement
You may need to replace the Retina LCD screen if:
- Screen is cracked or shattered
- Touch is not responding properly
- Display shows lines, flickering, or discoloration
- Screen stays black but device powers on
- Ghost touch or random inputs occur
- Display glass has separated from the frame
Protect Your iPad Mini
- Tempered Glass For The Screen https://amzn.to/41mdEmI
- Best Cases For Your iPad https://amzn.to/45U2VRW
- Keypad for the iPad – https://amzn.to/3HNyJjg
Step-by-Step iPad Mini 6 LCD Screen Replacement
Step 1: Heat the Display
Proper heating is required to loosen the adhesive holding the screen.
- Place the front side of the iPad on a heating pad.
- Select the tablet heating option and allow it to complete.
- Alternatively, use a heat gun or hair dryer, heating evenly around the edges.
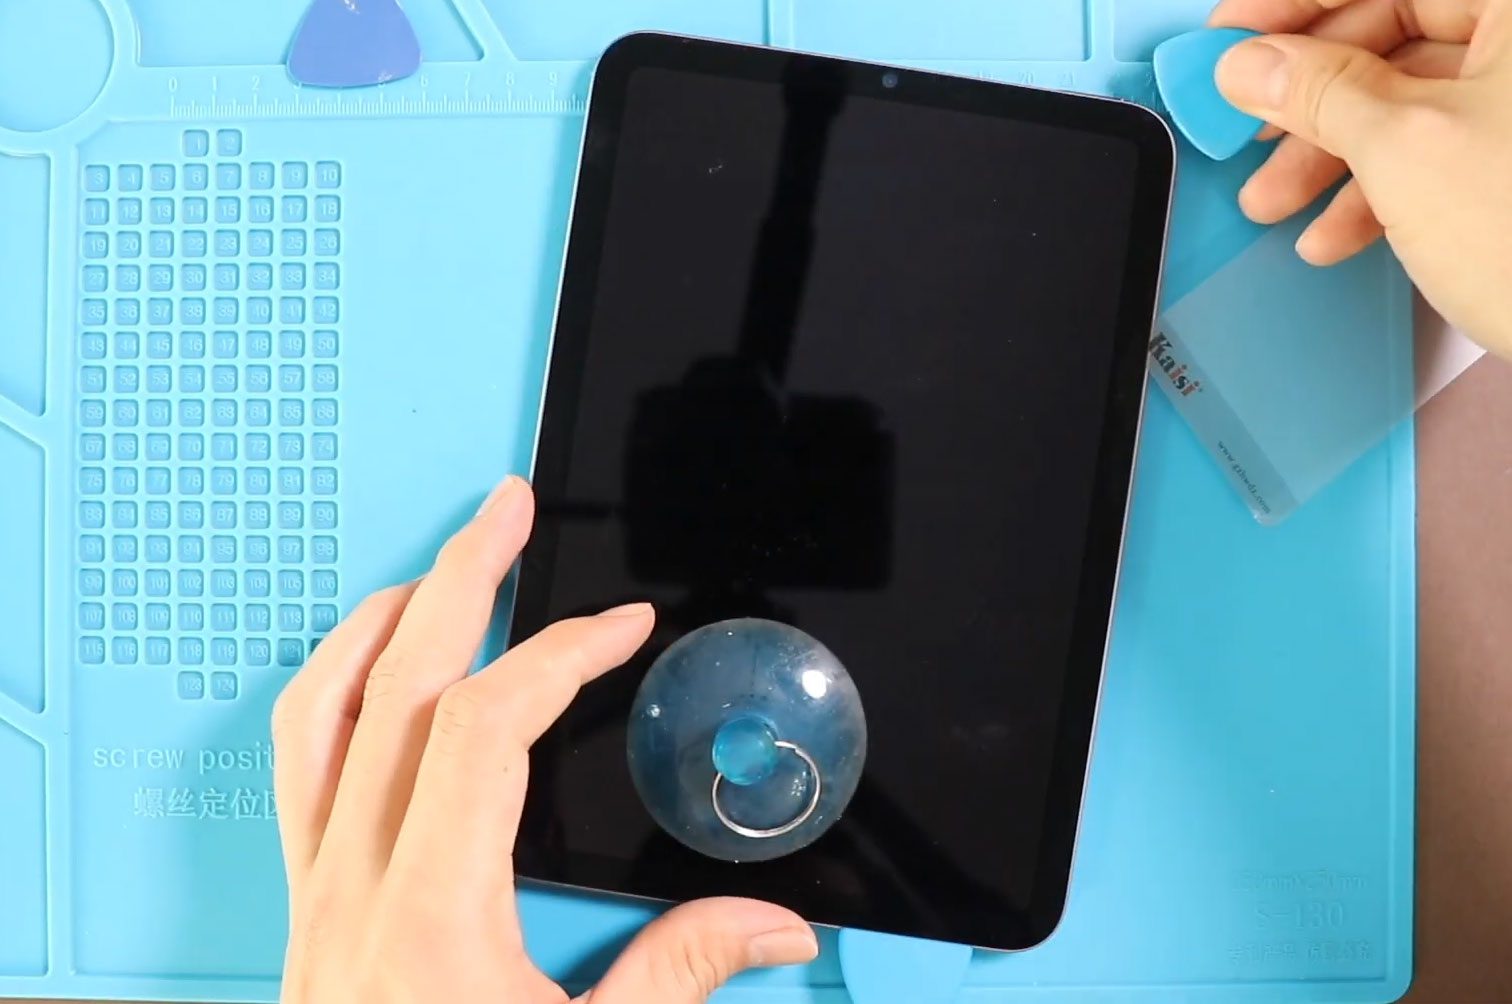
Step 2: Lift the Screen
- Attach a suction cup to the side of the display.
- Gently lift to create a small gap.
- Insert plastic pickers or card pry tools and carefully cut through the adhesive.
⚠️ Be gentle—flex cables are attached to the logic board.
Step 3: Open the Display
- Lift the LCD screen slowly from the bottom.
- Tilt the display to about 45 degrees without pulling it off completely.
Step 4: Disconnect Battery & Display Cables
- Remove the metal bracket by undoing five screws.
- Disconnect:
- Battery connector
- LCD connector
- Touchscreen connector
Step 5: Remove the Broken Screen
- Once all connectors are disconnected, carefully remove the damaged LCD screen assembly from the body.
Step 6: Test the New Screen
- Connect the new LCD and touch connectors temporarily.
- Reconnect the battery.
- Power on the iPad to test display and touch functionality.
⚠️ Always test before final installation.
Step 7: Transfer Front Camera Bracket
- Remove the front camera bracket from the old screen.
- Apply gentle heat to soften the adhesive.
- Carefully lift and transfer the bracket.
- Secure it onto the new screen using adhesive.
Step 8: Install the New Screen
- Connect both LCD and touch connectors.
- Reconnect the battery plug.
- Reinstall the metal bracket using five screws.
Step 9: Apply Adhesive
- If your replacement screen does not come with pre-installed adhesive:
- Apply B7000 glue or double-sided adhesive around the screen edges.
Step 10: Seal the Display
- Place the screen onto the frame.
- Align the bottom edge first, then gently press the top into position.
- Apply pressure only on the frame edges, not the center of the screen.
Step 11: Clamp the Screen
- Use screen bonding clips to secure the display.
- Alternatively, use rubber bands.
- Leave clamped for sufficient time to ensure proper bonding.
Step 12: Final Check & Cleaning
- Power on the device.
- Clean the screen surface using a soft, clean cloth.
- Confirm touch and display performance.
Frequently Asked Questions (FAQ)
Q: Should I replace the LCD if only the glass is cracked?
A: If touch or display is affected, replacing the full LCD assembly is recommended.
Q: Can I reuse the old adhesive?
A: No. Old adhesive loses strength and should always be replaced.
Q: Is testing the screen before sealing necessary?
A: Yes. Testing prevents reopening the device if the screen is defective.
Q: Do I need to remove the battery completely?
A: No. Disconnecting the battery connector is sufficient.
Troubleshooting (After The Repair)
Q: Touch is not working after installation.
A: Reopen the screen and reseat the touch connector firmly.
Q: Display shows lines or flickers.
A: The LCD connector may be loose or the replacement screen may be faulty.
Q: Screen lifts after a few hours.
A: Insufficient adhesive or clamping time. Reapply adhesive and clamp longer.
Q: iPad does not turn on after repair.
A: Check that the battery connector is properly connected.
Conclusion
We hope you’ve enjoyed this iPad Mini 6 (2021) LCD screen replacement guide. With careful heating, proper testing, and correct adhesive application, you can successfully restore your iPad’s display at home.
If you have any questions, feel free to ask.
Please like, share, and comment on our videos, and don’t forget to subscribe to Geardo for more repair guides
Related Repair Guides