Now Reading: DIY iPhone 11 Pro Camera Repair Guide
-
01
DIY iPhone 11 Pro Camera Repair Guide
DIY iPhone 11 Pro Camera Repair Guide
We brought to you – 11 pro back camera and a front camera replacement well the phone is on all the buttons are working and touch is working fine let’s turn off the phone to start the repairs first we will remove the bottom pentalobe screws now carefully we will going to apply some heat around the phone because it comes with the seal which has a deserve while pulling of the LCD that adhesive can be sticky with a little bit heap not too much it will gonna mildly melt the adhesive and it will become easy to separate the screen now we are going to use a suction tool to create a cavity so we can put a prior opening tool in between LCD and the mid rim once we have a little bit cavity now we’re going to use a guitar pick around the LCD go slowly and work around that it is if to make sure we can get that is a separate from LCD and the frame we have we have to do this with patience and carefully because these devices are sophisticated electronics and it can damage very easily
Now we are going to open five screws of the metal plate to reach to the connectors in the motherboard
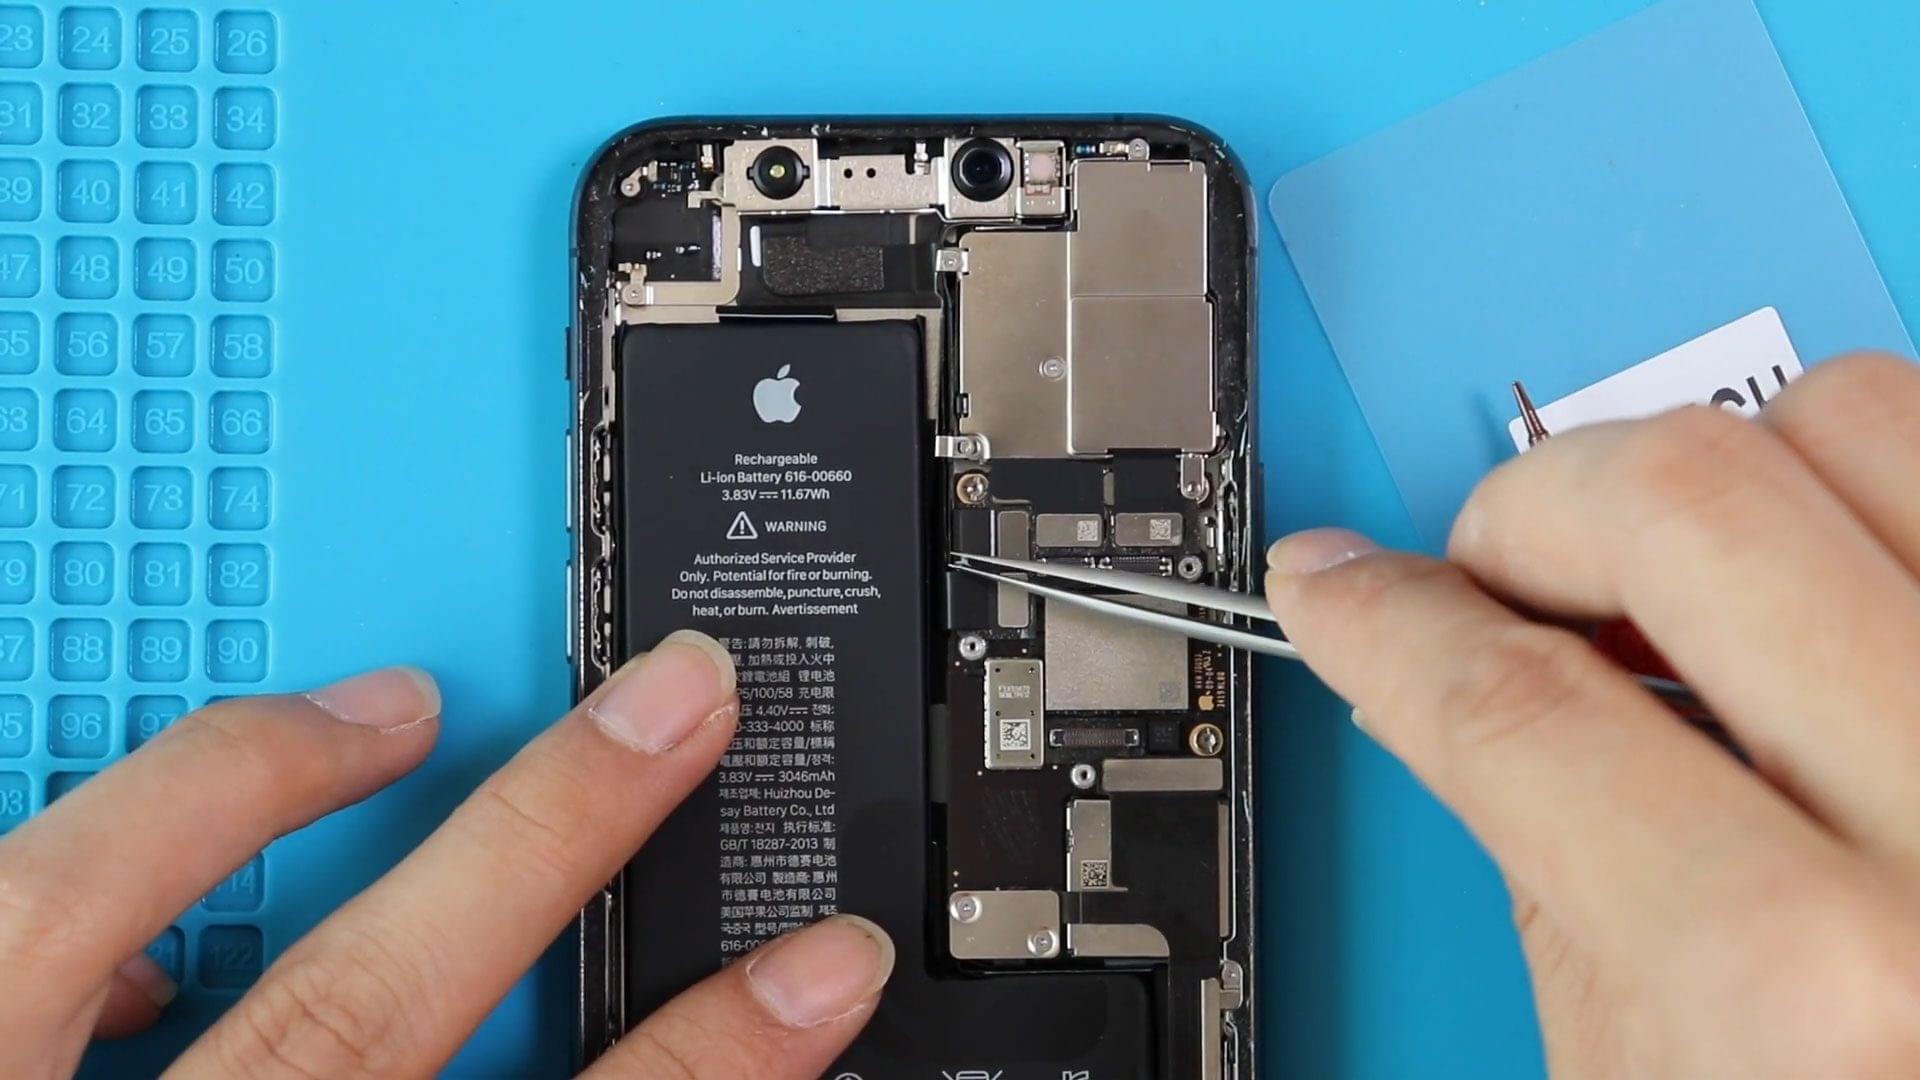
Using the plastic spudger tool we are going to disconnect the connectors of LCD camera carefully from the motherboard it’s important to remove the LCD connectors first so it will become easy for us to work on rest of the phone and it will not damage the LCD cables now we are going to open two screws on the left side of metal plate above the camera I mean back camera it’s not part of that metal plate it’s a separate metal strip so we have to remove it first in order to take out the flex cable of front camera
Again use the plastic spudger tool and disconnect three flex cables of the front camera from the motorboat
Front camera come with three connectors as you can see it’s pretty much the similar way you have to put it back as you take it out but the alignment while you are putting it back is very important because it can affect face ID plug back the connectors one by one they are already shaved which one goes first so it shouldn’t be very difficult now we are going to open the balanced two screws on that metal plate to access our rear camera since iPhone 11 Pro come with three cameras it has three connectors connected to the motherboard right under the rear camera carefully disconnect the connectors of camera from the board using plastic spudger to and again you can put it back the same way you take it out even it’s a new camera or the same camera you’re putting back you can use the same method
After you’ve done all that go back same procedure reverse the steps put big metal plate first above the rear camera and put the two screws
And then put the metal strip you took it out from the left side put it back and put the two screws make sure you have connected the connect as well before you do that now it’s time to put the LCD connectors back and put the metal plate which covers all these connectors back on top fix all the screws
Bring back the LCD on the mid frame and carefully one by one on the side push it in make sure it is all sitting well and that’s it.