Now Reading: iPhone 12 | 12 Pro Camera Lens Glass Replacement | Step-by-Step Guide
-
01
iPhone 12 | 12 Pro Camera Lens Glass Replacement | Step-by-Step Guide
iPhone 12 | 12 Pro Camera Lens Glass Replacement | Step-by-Step Guide
Hi everyone, welcome back to GEARDO!
Today, we’ll show you a quick and safe way to replace the cracked camera lens on your iPhone 12/ 12 Pro mobile phone. A cracked lens can affect photo quality, focus, and may allow dust or moisture inside your device.
Before starting, make sure you have the right tools, which are listed in the description. Using proper tools ensures a smooth and safe repair process.
Compatibility and Model Numbers
This repair guide based on iPhone 12 mobile phone. But this guide also compatible with iPhone12 Pro mobile phone.
Compatible Mode Numbers l A2403, A2172, A2402, A2404, A2407, A2341, A2406, A2408
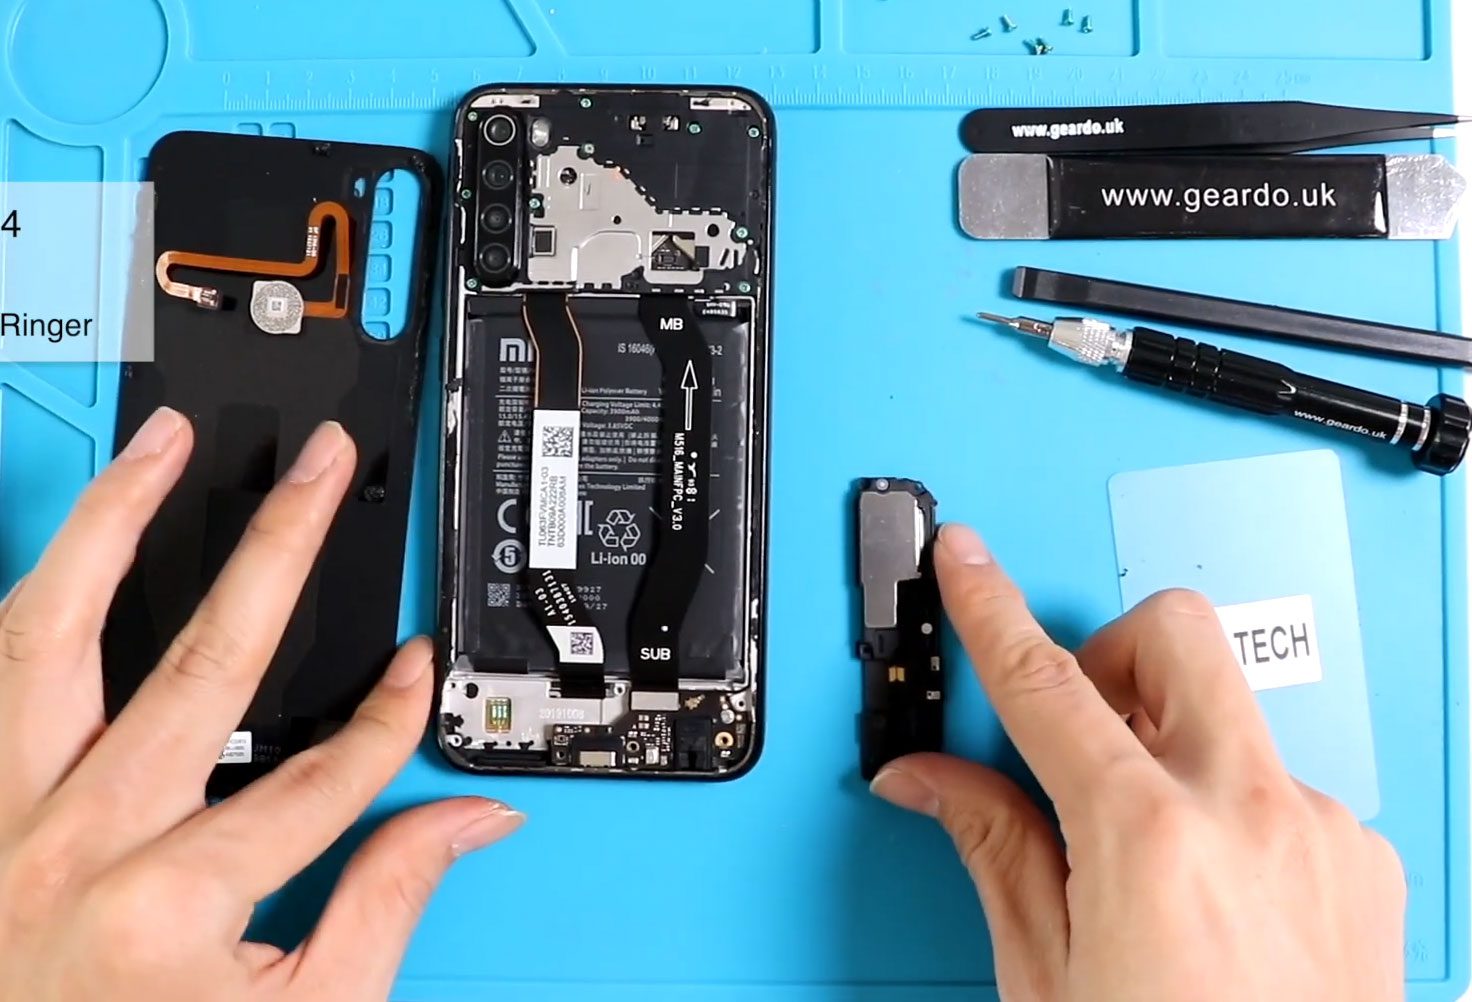
Tools You Need
- Heating pad / heat gun / hairdryer
- Suction cup
- Plastic card pry tools / opening picks
- Pentalobe P2 Screwdriver (for bottom screws)
- Adhesive (B7000 or double-sided frame adhesive)
- Bonding clips or rubber bands (optional but recommended)
How to Find Tools and Parts
- Heating pad – https://amzn.to/3H0tHzJ
- Portable Heat Gun – https://amzn.to/4mszih1
- Clamps https://amzn.to/3GYJT4w
- STREBITO 142 Piece Repair Tool Kit https://amzn.to/3UO1jUx
- Glue | Adhesive https://amzn.to/46exVxe
- Compatible Parts https://amzn.to/3Hx6sxo
- Silicone Work Repair Mat https://amzn.to/45Emz5l

Step 1 — Prepare the Phone
Power off your iPhone 12 completely.
Remove the SIM tray to avoid accidental damage during the repair.
Step 2 — Heat the Cracked Lens
Use a heat gun or hairdryer to gently apply heat around the cracked lens. This softens the adhesive holding the lens in place.
Move the heat source slowly around the edges, keeping it at a safe distance to avoid damaging the surrounding camera components.
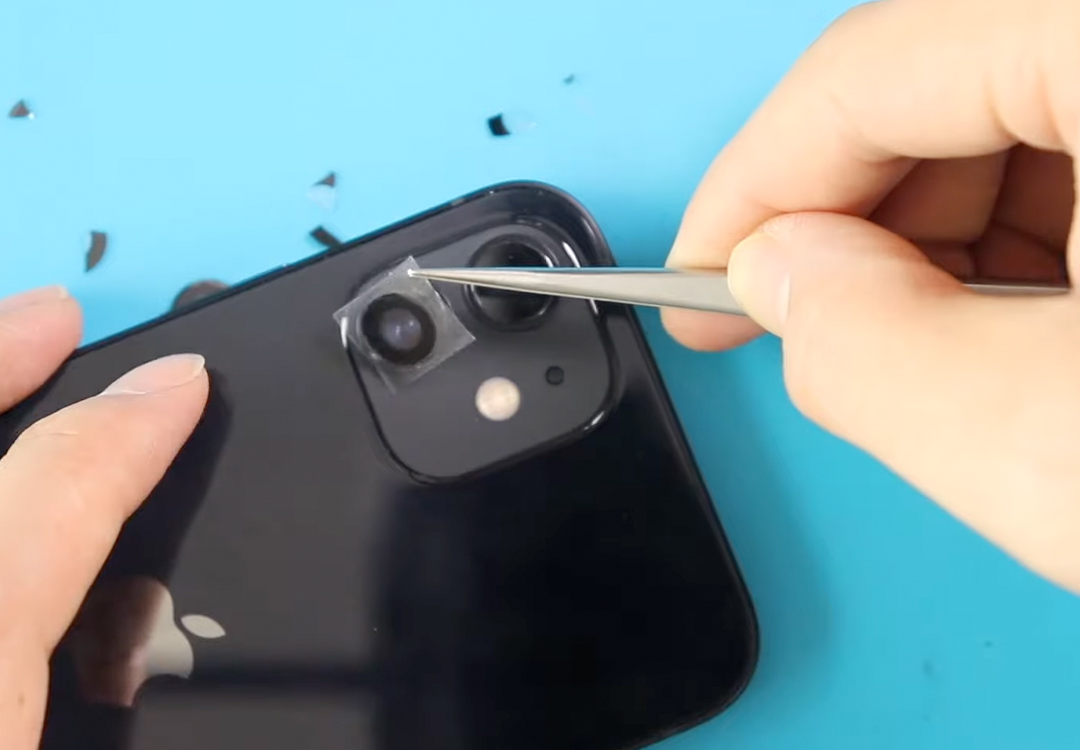
Step 3 — Remove the Cracked Lens
Once the adhesive softens, carefully use a tweezer or a sharp plastic tool to lift the cracked pieces.
Take your time and work slowly to avoid scratching the camera frame.
After removing the lens, clean the surface and edges using a small brush.
Make sure there are no dust particles or glue remnants, as these can affect the new lens installation.

Step 4 — Apply Lens Adhesive
Take the pre-cut lens ring adhesive and place it precisely on the camera frame.
Ensure it fits perfectly and sticks well to the frame. This step is crucial to secure the new lens and maintain protection.
Step 5 — Install the New Camera Lens
Place the new camera lens carefully onto the adhesive.
Avoid touching the rear side of the lens with your fingers to prevent fingerprints.
Gently press down the lens to make sure it adheres evenly to the frame.
If you are replacing multiple lenses, repeat the same steps for each lens.
Step 6 — Final Check
After installation, check that the lens is secure and flush with the camera frame.
Clean the lens surface with a microfiber cloth to remove any fingerprints or dust.
Step 7 — Test the Camera
Power on the iPhone and test the camera. Ensure it focuses properly, captures clear images, and that no dust or light leaks are visible.
Frequently Asked Questions
Q1: Can I replace just the cracked lens, or do I need the whole camera module?
A: You can replace just the lens if the camera module itself is working.
Q2: What tools are needed for this repair?
A: Heat gun or hairdryer, tweezers, small brush, lens adhesive, and microfiber cloth.
Q3: How do I avoid fingerprints on the new lens?
A: Use gloves or handle the lens by the edges, and avoid touching the rear glass.
Q4: Will this repair restore photo quality?
A: Yes, as long as the original camera module is intact and only the lens was damaged.
Q5: How long does it take to replace the lens?
A: Approximately 15–25 minutes, depending on experience and care taken.
Related Guides