
Now Reading: POCO X3 NFC Screen Replacement Guide (Poco X3 / X3 Pro)
-
01
POCO X3 NFC Screen Replacement Guide (Poco X3 / X3 Pro)
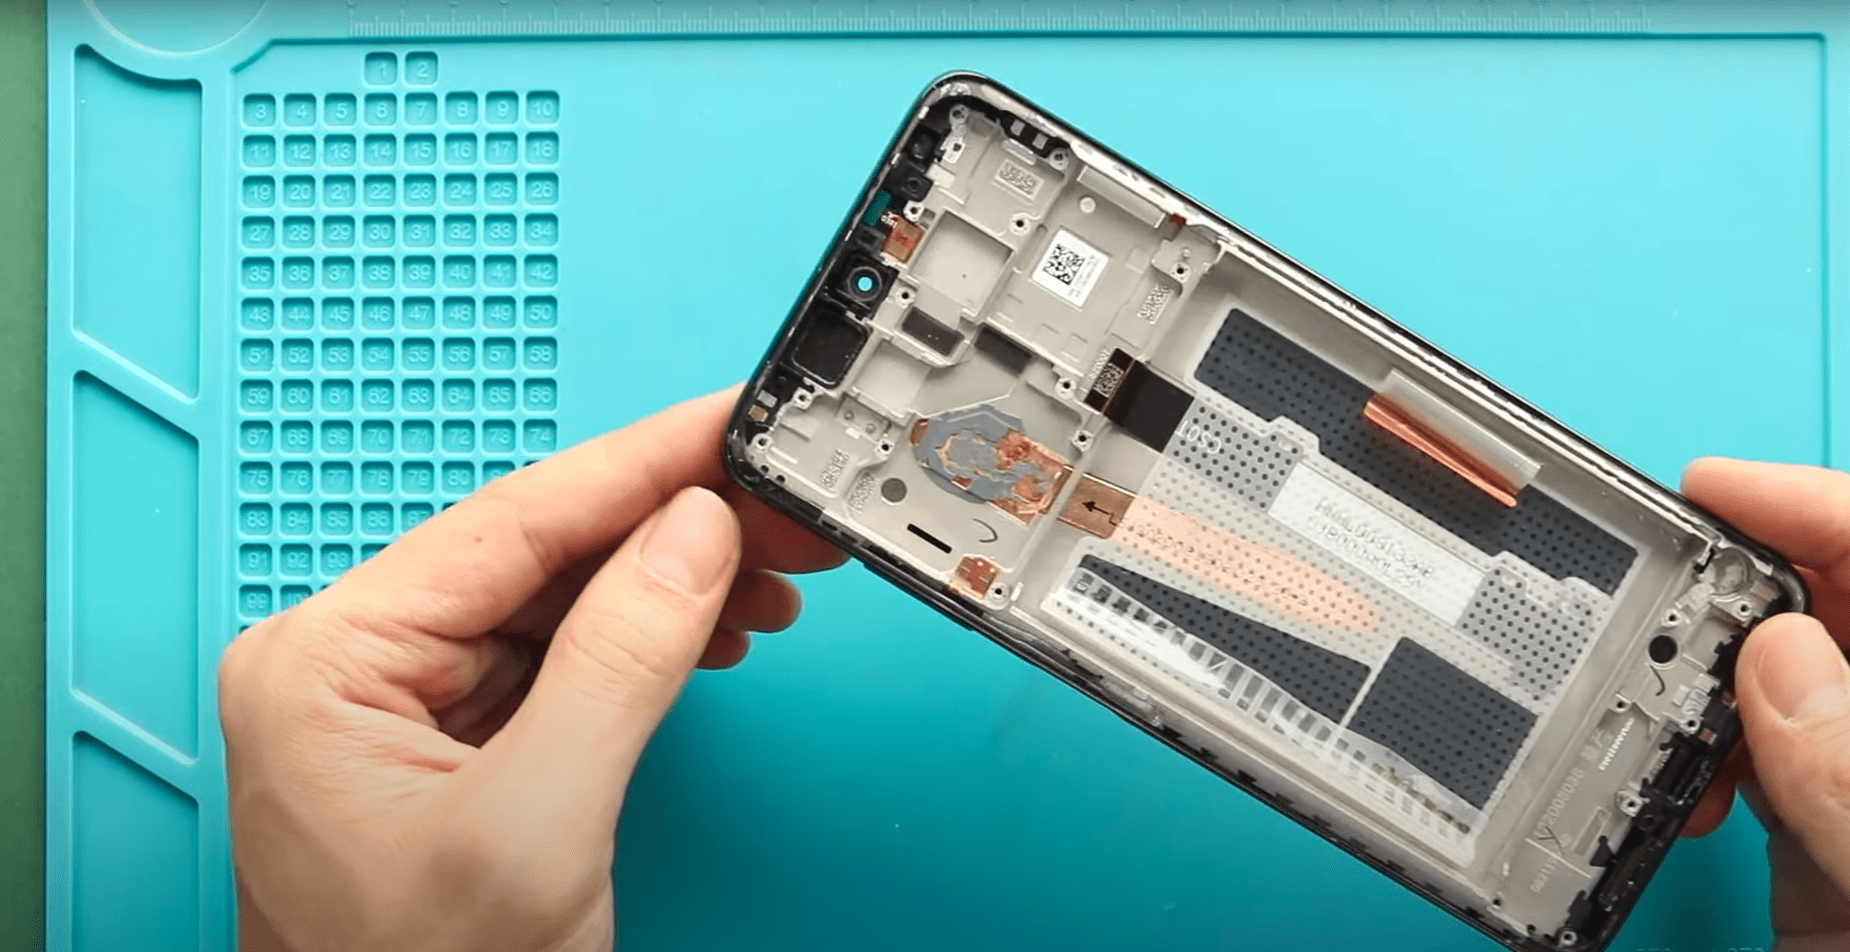
POCO X3 NFC Screen Replacement Guide (Poco X3 / X3 Pro)
A damaged or unresponsive screen can make your Xiaomi Poco X3, Poco X3 NFC, or Poco X3 Pro difficult—or impossible—to use. Cracks, black spots, flickering display, touch issues, or a completely dead screen are all signs that the LCD display needs replacement.
This guide shows you how to replace the LCD screen display step by step. The repair process is compatible across all Poco X3 models, as they share a very similar internal layout and screen assembly. While this is a more advanced repair, following the steps carefully will help you complete it safely at home.
Repair Overview
- Compatible Models: Xiaomi Poco X3, Poco X3 NFC, Poco X3 Pro
- Repair Type: LCD Screen Display Replacement
- Repair Difficulty: ⚠️⚠️⚠️⚠️ Hard
- Time Required: 60–90 minutes
- Risk Level: High (full disassembly required)
Reasons to Replace the Poco X3 LCD Screen
- Cracked or shattered glass
- Touchscreen not responding properly
- Display flickering or showing lines
- Black spots, dead pixels, or discoloration
- Screen stays black but phone powers on
Before You Begin
Compatibility and Model Numbers
- POCO X3 NFC
- POCO X3
- POCO X3 Pro
Model Numbers : MZB07Z0IN, MZB07Z1IN, MZB07Z2IN, MZB07Z3IN, MZB07Z4IN, MZB9965IN, M2007J20CI, M2007J20CG, M2007J20CT, M2102J20SG, M2102J20SI
Tools Required
- Mobile phone heating pad or hairdryer/heat gun
- Plastic pry tool / card pry
- Suction cups
- Phillips #00/#000 screwdrivers
- Tweezers (for connectors)
- B7000 glue or double-sided adhesive (for back cover)
- Rubber bands or bonding clips to secure the back cover
How to Find Tools and Parts
- Heating pad – https://amzn.to/3H0tHzJ
- Portable Heat Gun – https://amzn.to/4mszih1
- Clamps https://amzn.to/3GYJT4w
- STREBITO 142 Piece Repair Tool Kit https://amzn.to/3UO1jUx
- Glue | Adhesive https://amzn.to/46exVxe
- Compatible Parts –
- Battery – https://amzn.to/3HR26Bi
- Screen – https://amzn.to/4mZPXsI
- Other Parts – https://amzn.to/3HR26Bi
- Silicone Work Repair Mat https://amzn.to/45Emz5l
Protect Your Poco X3 Series
- Protector For The Screen https://amzn.to/4gdWWw9
- Best Rated Case https://amzn.to/4fPcV3e
Step-by-Step LCD Screen Replacement Guide
Step 1: Remove the Back Cover
Power off the phone completely. Heat gently around the rear cover edges to soften the adhesive.
- Place the back cover side on a heating pad and select the mobile heating option
- Alternatively, use a heat gun or hairdryer
Create an opening using a suction cup and slide a plastic pry tool around the edges. Carefully remove the back cover.
Step 2: Remove the Board Frame
Undo 11 Phillips screws securing the board frame. Lift and remove it carefully.
Step 3: Disconnect the Battery
Unplug the battery connector on the left-hand side to prevent electrical damage.
Step 4: Disconnect All Upper Connectors
Disconnect the following connectors carefully:
- Fingerprint sensor
- LCD display connector
- Antenna head
- Top end of the main ribbon flex cable
Step 5: Remove the SIM Tray
Remove the SIM tray from the device and set it aside.
Step 6: Remove the Logic Board
Using a plastic pry tool, gently lift and remove the logic board from the body.
Step 7: Remove the Earpiece
Apply light heat and carefully remove the earpiece speaker.
Step 8: Remove the Speaker Bracket
Undo 7 screws securing the loudspeaker bracket and remove it.
Step 9: Remove the Charging Port Board
Disconnect and loosen the antenna cable, then lift out the charging port board.
Step 10: Remove the Vibrator Motor
Apply gentle heat and remove the vibrator motor carefully.
Step 11: Remove Fingerprint Assembly
Remove the two rubber brackets and pull out the fingerprint (Touch ID) unit from the frame.
Step 12: Remove the Battery
Loosen the adhesive on both sides of the battery. Pull gently using the side tabs and lift the battery out.
⚠️ Do not bend or puncture the battery.
Screen Replacement Options (Important)
There are two types of replacement screens available for the Poco X3 series:
- Screen with frame
- Screen without frame
Both versions can be original, refurbished, used, or aftermarket.
🔧 Recommended option:
A screen with frame and buttons pre-installed.
This option makes the repair much easier, reduces risk, and the price difference is usually small.
Reassembly Using the New Screen Frame
Step 13: Install the Earpiece
Place the earpiece speaker into the new screen frame.
Step 14: Install the Logic Board
Place the logic board into the frame and lock it in position. Reinsert the SIM tray.
Step 15: Connect the LCD Connector
Connect the LCD display connector securely to the logic board.
Step 16: Install the Fingerprint Button
Insert the fingerprint cable carefully through the opening and secure the button in place.
Step 17: Install the Battery
Place the battery into the frame and secure it with adhesive.
Step 18: Reconnect Fingerprint and Brackets
Reconnect the fingerprint connector and install both rubber brackets.
Step 19: Install the Vibrator Motor
Place the vibrator motor back into position.
Step 20: Install the Charging Port Board
Place the charging port board into the body and secure the antenna connection.
Step 21: Connect Main Flex Cable
Connect the main flex cable to the top end of the logic board and secure the antenna head.
Step 22: Install the Speaker Bracket
Place the loudspeaker bracket back and secure it with 7 screws.
Step 23: Test the Device
Before sealing the phone, power it on and test:
- Display
- Touch response
- Fingerprint sensor
- Charging
Step 24: Seal the Back Cover
Ensure the back cover has enough adhesive. If not, apply B7000 glue or a new adhesive seal.
Press firmly and use binding clips or rubber bands for several minutes.
Frequently Asked Questions (FAQ)
Q: Is this screen replacement guide valid for Poco X3 Pro and X3 NFC?
A: Yes. The screen replacement process is the same across all Poco X3 models.
Q: Should I buy a screen with frame or without frame?
A: A screen with frame is strongly recommended for easier and safer installation.
Q: Will replacing the screen erase my data?
A: No, but backing up your data before repair is always recommended.
Troubleshooting (After The Repair)
Q: Screen does not turn on after replacement
A: Recheck the LCD connector and ensure it is fully seated.
Q: Touch not working properly
A: The display connector may be loose or misaligned.
Q: Fingerprint sensor not working
A: Make sure the fingerprint flex cable is connected correctly.
Final Notes
Replacing the LCD screen on the Xiaomi Poco X3 series is a challenging but achievable DIY repair. Using a screen with frame significantly simplifies the process and reduces the chance of errors.
Related Guides


-
 01Samsung Galaxy A16 5G Battery Replacement | Full DIY Repair Guide
 -
02Samsung Galaxy A16 5G Screen Replacement | Step-by-Step Guide
-
03Google Pixel 6 Power Button Replacement Guide | Volume Button Flex Repair Guide- DIY Repair
-
04Samsung Galaxy A16 5G Back Cover & Camera Lens Frame Replacement Guide | DIY Repair
-
05Why a Heating Pad Is Essential for Mobile Phone Repairs (And How to Use it)
-
06How to Use a Heat Gun or Hair Dryer for Phone/Tablet Repairs
-
07Essential Repair Tools for Phone, Tablet & Laptop Repairs


