Now Reading: Camera Lens Glass & Back Cover Replacement Guide – Xiaomi 11i / 11i Hypercharge / Redmi Note 11 Pro 5G
-
01
Camera Lens Glass & Back Cover Replacement Guide – Xiaomi 11i / 11i Hypercharge / Redmi Note 11 Pro 5G

Camera Lens Glass & Back Cover Replacement Guide – Xiaomi 11i / 11i Hypercharge / Redmi Note 11 Pro 5G
Scratched, cracked, or shattered camera lens glass can significantly reduce photo and video quality even when the internal camera sensors are fully functional. Dust entry, blurry images, glare, or moisture exposure often occur when the protective lens glass becomes damaged.
In this repair guide, we will show you how to replace the camera lens glass on Xiaomi Redmi Note 11 Pro, also known as Xiaomi 11i Hypercharge 5G smartphones. This repair restores camera clarity and protects internal camera modules from further damage.
Unlike replacing internal cameras, this repair focuses on removing damaged outer lens glass from the rear cover and installing new protective lenses. Careful heating and adhesive handling are essential to avoid cracking the back cover during removal.
New Xiaomi Phone are in Clearance – https://amzn.to/3PbNsYs
Repair Overview
Device Type: Smartphone
Repair Type: Rear Camera Lens Glass Replacement
Repair Difficulty: ⭐⭐⭐☆☆ (Moderate Repair)
Estimated Repair Time: 25 — 40 Minutes
Reasons for Camera Lens Glass Replacement
You may need to replace the camera lens glass if you notice:
- Cracked or shattered camera glass.
- Blurry or foggy photos.
- Dust particles visible inside camera area.
- Light glare or distortion in images.
- Moisture entering camera housing.
- Scratches affecting photo clarity.
Before You Begin
Compatibility and Model Numbers
- Xiaomi 11i
- Xiaomi 11i Hypercharge 5G
- Redmi Note 11 Pro+ 5G
Model Numbers : 21091116UI, MZB0A55IN, 21091116UG, 21091116UC, MZB0A5EIN
Tools Required
- Mobile phone heating pad or hairdryer/heat gun
- Plastic pry tool / card pry
- Suction cups
- Phillips #00/#000 screwdrivers
- Torx (T2/T3/T4) screwdrivers (Depends on the Region)
- Flathead screwdriver
- Tweezers (for connectors)
- B7000 glue or double-sided adhesive (for back cover)
- Rubber bands or bonding clips to secure the back cover
How to Find Tools and Parts
- Heating pad – https://amzn.to/3H0tHzJ
- Portable Heat Gun – https://amzn.to/4mszih1
- Clamps https://amzn.to/3GYJT4w
- STREBITO 142 Piece Repair Tool Kit https://amzn.to/3UO1jUx
- Glue | Adhesive https://amzn.to/46exVxe
- Silicone Work Repair Mat https://amzn.to/45Emz5l
Xiaomi Redmi Note 11 Pro Camera Lens Glass Replacement — Step-by-Step Guide
Step 1 — Remove SIM Tray and Prepare Device
Power off the smartphone completely.
Remove the SIM tray before starting the repair.
Step 2 — Heat the Back Cover
The rear cover is secured using adhesive.
Place the back cover side down on a heating pad and select the mobile phone heating option.
Allow the heating cycle to complete fully.
Alternatively use:
- Heat gun
- Hairdryer.
Apply gentle and even heat around the edges.
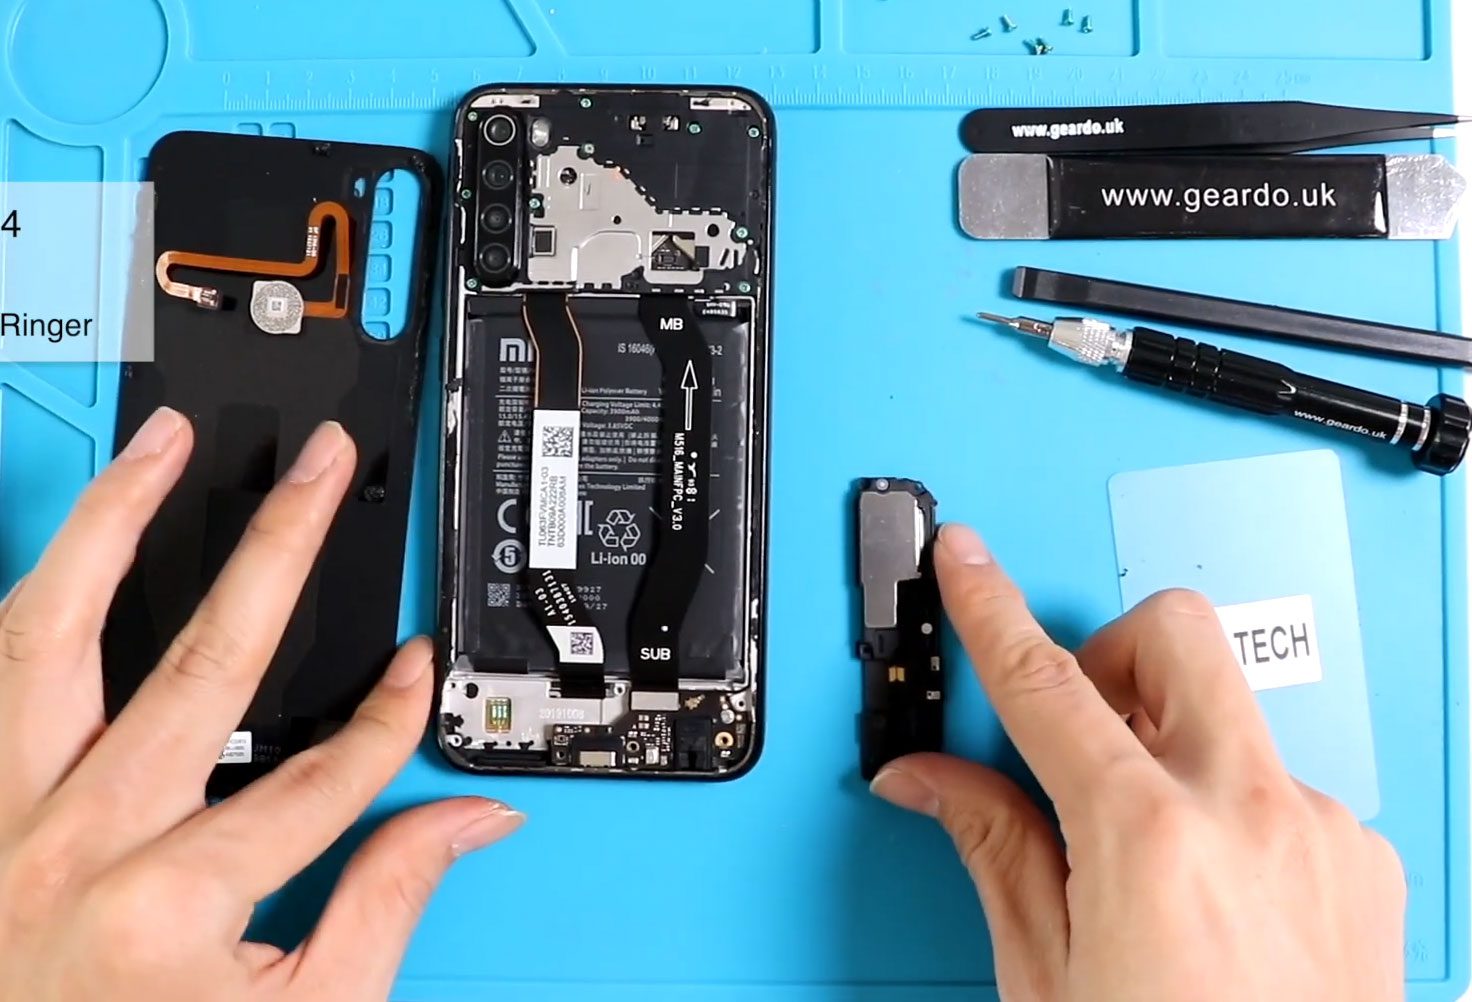
Step 3 — Remove the Back Cover
Attach a suction cup near the edge.
Create a small opening between the frame and rear cover.
Insert a plastic pry card.
Slide carefully around the edges to cut adhesive.
Lift and remove the back cover slowly.
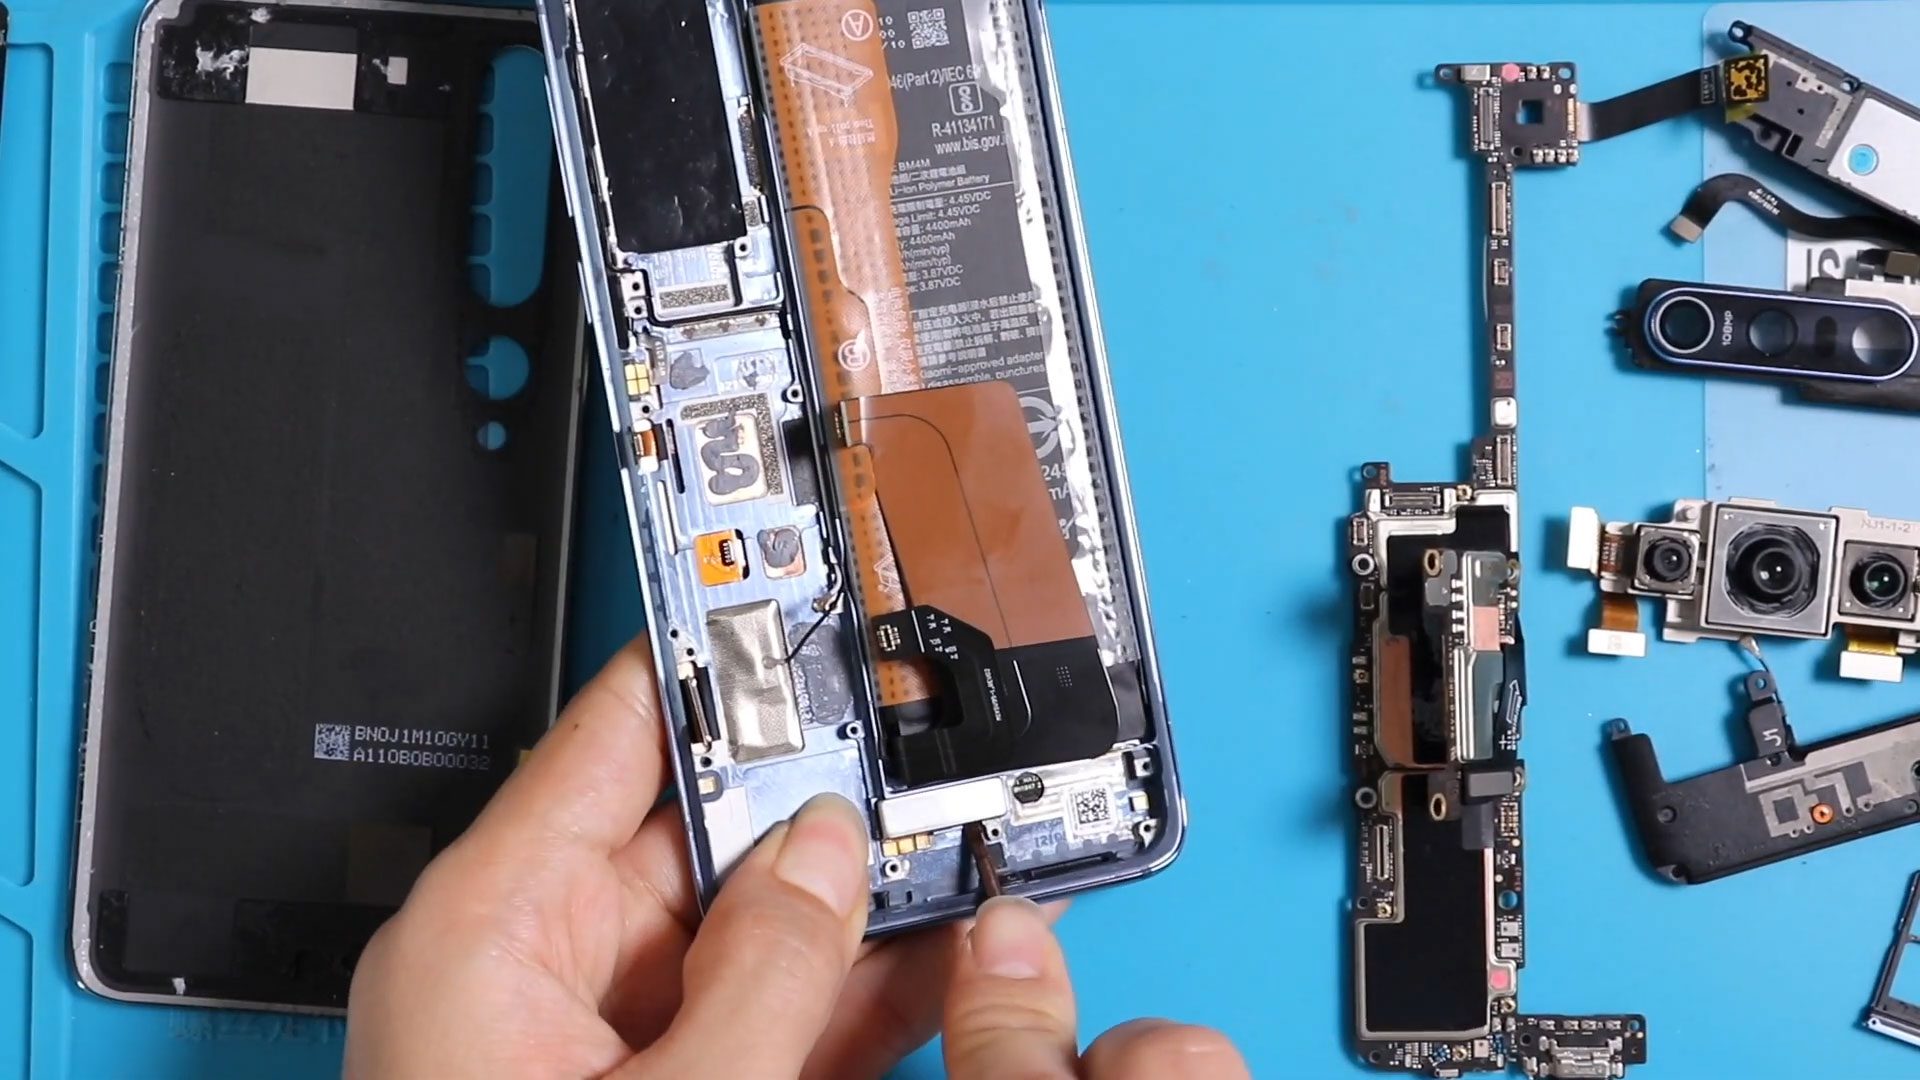
Step 4 — Identify Camera Lens Types
This device has two separate camera lens glasses:
- Top main camera lens glass.
- Bottom camera lens glass.
Replacement parts are available in different versions:
- Camera lens glass only.
- Camera lens with frame.
- Complete back cover with lenses pre-installed.
Choosing the correct replacement depends on repair preference and part availability.
Step 5 — Remove the Top Camera Lens Glass
Apply gentle heat around the camera lens area to soften adhesive.
Once heated sufficiently:
Apply light pressure from the rear side of the cover.
Push the damaged lens outward carefully.
Avoid excessive pressure to prevent cracking the back cover.
Step 6 — Install the New Top Camera Lens Glass
Clean adhesive residue completely.
Align the replacement lens carefully.
Install the new lens glass using adhesive.
Press evenly to ensure proper sealing.
Step 7 — Remove the Bottom Camera Lens Glass
Apply heat again around the lower lens area.
Push gently from the rear side.
Remove broken glass carefully.
Ensure no glass fragments remain.
Step 8 — Install the Bottom Camera Lens Glass
Place the replacement lens glass with adhesive.
Align properly with camera openings.
Press evenly for secure bonding.
Step 9 — Replacing Camera Lens Frame (Optional)
If replacing the lens with frame:
Apply heat from the rear side.
Apply slight pressure from the front side.
Remove the frame carefully.
Install replacement frame securely.
Step 10 — Reinstall the Back Cover
Before reinstalling:
Check adhesive condition.
If adhesive is weak:
- Apply B7000 glue, or
- Install new double-sided adhesive.
Press evenly into place.
Use bonding clips or rubber bands until adhesive cures.
Frequently Asked Questions (FAQ)
Q1. Can cracked camera glass affect photo quality?
Yes. Even small cracks scatter light and cause blurry or hazy photos.
Q2. Should I replace only the lens or the entire back cover?
Replacing only the lens glass is cheaper, but a full back cover replacement is easier for beginners.
Q3. Is heating necessary for this repair?
Yes. Heating softens adhesive and prevents breaking the rear panel.
Q4. Will replacing the lens affect camera calibration?
No. The repair does not change camera software calibration.
Q5. Can beginners perform this repair?
Yes, with patience and careful heating.
Troubleshooting (After The Repair)
Q1. Photos still blurry after replacement?
Clean inside lens area and ensure no dust remains before sealing.
Q2. Lens glass not sticking properly?
Remove old adhesive residue and apply fresh adhesive.
Q3. Camera fogging after repair?
Seal edges properly and avoid gaps allowing moisture entry.
Q4. Back cover not sealing properly?
Use bonding clips or rubber bands longer while adhesive cures.
Q5. Dust appearing inside camera?
Reopen and clean using microfiber cloth or compressed air.
Related Guides