
Now Reading: Samsung Galaxy A71 Camera Replacement Guide | DIY Front & Rear Camera
-
01
Samsung Galaxy A71 Camera Replacement Guide | DIY Front & Rear Camera
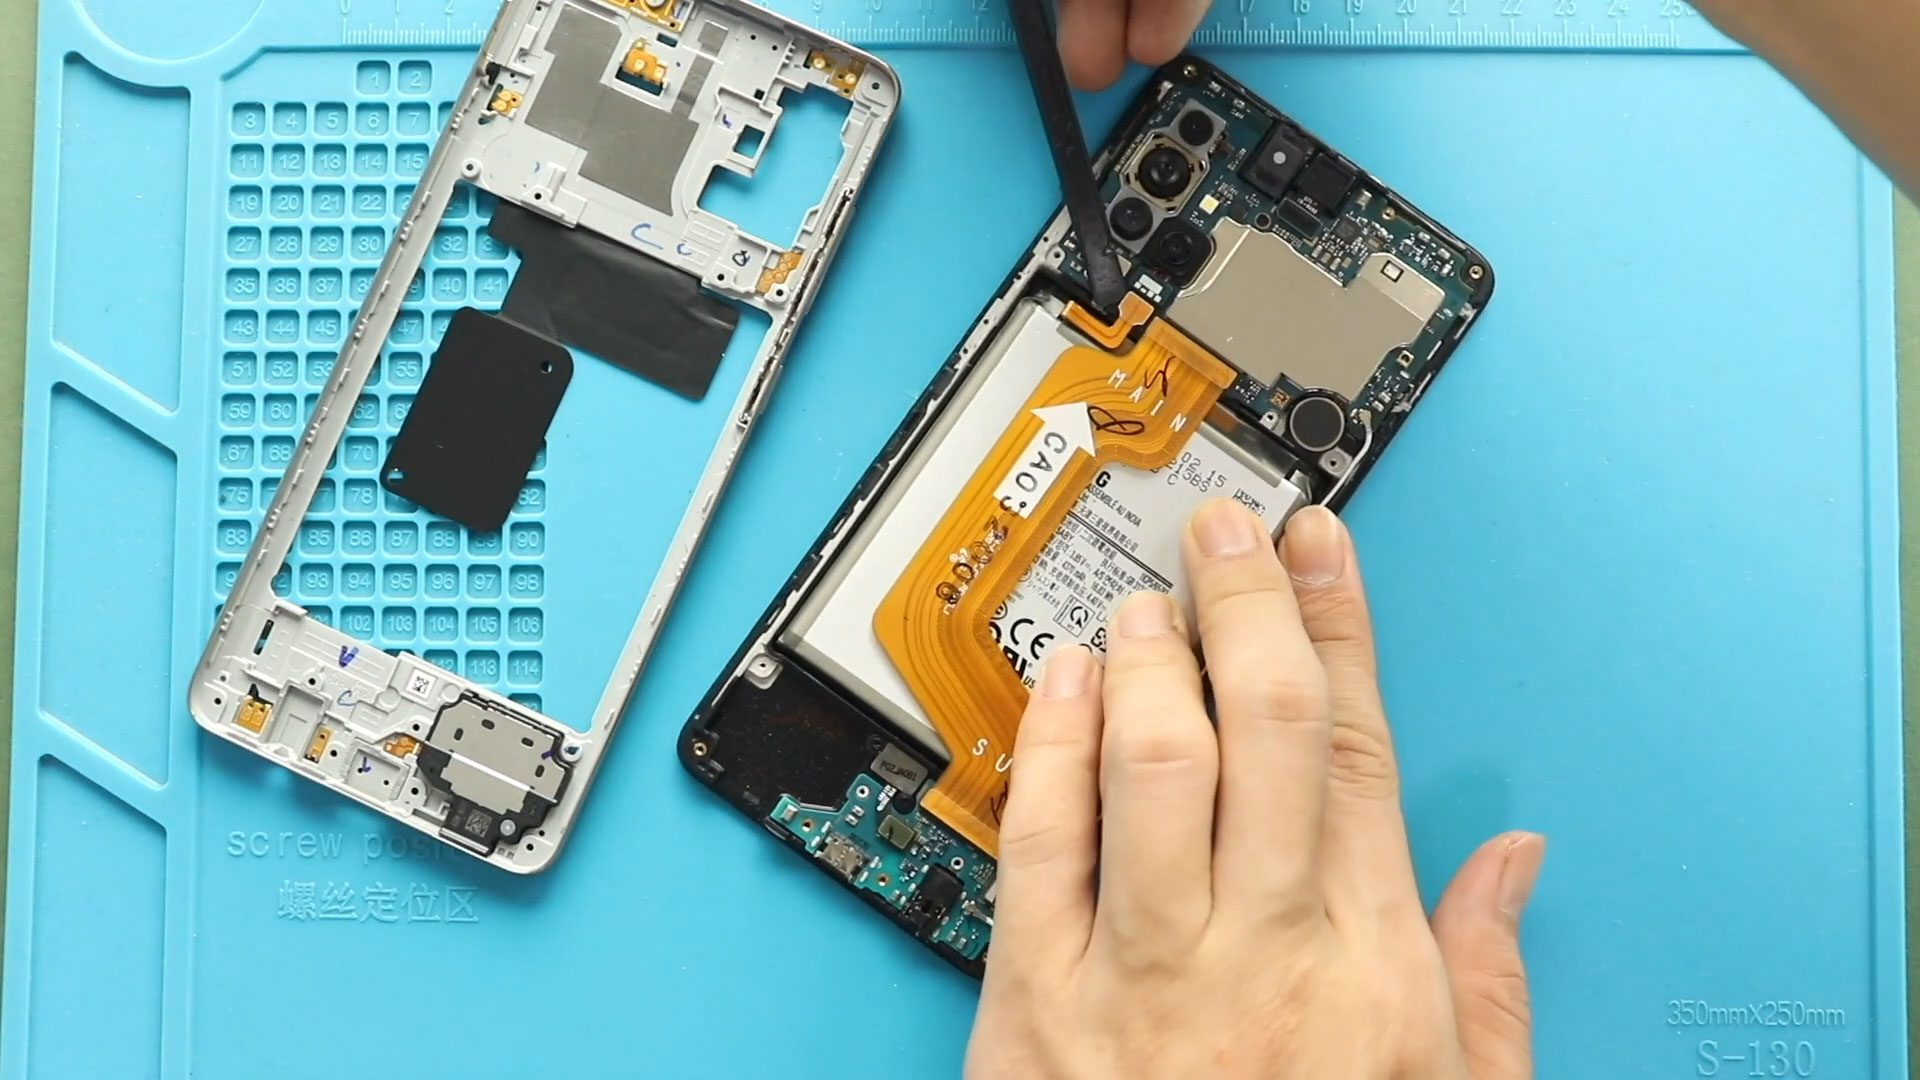
Samsung Galaxy A71 Camera Replacement Guide | DIY Front & Rear Camera
Hi everyone, welcome back to Geardo.
Today, we will show you how to replace the front and rear cameras on the Samsung Galaxy A71 4G mobile phone.
If your camera is blurry, not focusing, showing errors, or completely not working, replacing the camera modules can restore full functionality. This guide is designed for beginners, so follow each step carefully.
🔧 Repair Overview
- Device Type: Smartphone
- Repair Type: Front & Rear Camera Replacement
- Repair Difficulty: ⭐⭐⭐⭐☆ (Moderate–Hard)
- Estimated Time: 45–60 minutes
🔍 Reasons for Camera Replacement
- Blurry or out-of-focus images
- Camera not opening or crashing
- Black screen in camera app
- Dust or damage inside lens
- Rear or front camera not detected
Before You Begin
Compatibility and Model Numbers
- Samsung Galaxy A71 4G
This repair guide based on Samsung Galaxy A71 4G Model.
Model Numbers | SM-A715F, SM-A715F/DS, SM-A715F/DSN, SM-A715F/DSM, SM-A715W, SM-A715X
Tools Required
- Mobile phone heating pad or hairdryer/heat gun
- Plastic pry tool / card pry
- Suction cups
- Phillips #00/#000 screwdrivers
- Tweezers (for connectors)
- B7000 glue or double-sided adhesive (for back cover)
- Rubber bands or bonding clips to secure the back cover
Using proper tools reduces the risk of damaging the phone.
How to Find Tools and Parts
- Heating pad – https://amzn.to/3H0tHzJ
- Portable Heat Gun – https://amzn.to/4mszih1
- Clamps https://amzn.to/3GYJT4w
- STREBITO 142 Piece Repair Tool Kit https://amzn.to/3UO1jUx
- Glue | Adhesive https://amzn.to/46exVxe
- Compatible Parts –
- Battery – https://amzn.to/3Hs00b3
- Screen – https://amzn.to/3HGsi1y
- Other Parts – https://amzn.to/45yTgBo
- Silicone Work Repair Mat https://amzn.to/45Emz5l
Protect Your Galaxy A71
- Best Rated Case https://amzn.to/3WDBTd9
- Screen Protector https://amzn.to/42IPsvz
📸 Step-by-Step Camera Replacement Guide
Step 1: Heat the Back Cover
Gently heat around the back cover edges to soften the adhesive.
Step 2: Create Opening
Use a suction cup to create a gap between the back cover and frame.
Step 3: Remove Back Cover
Insert a plastic card or pry tool and carefully cut through the adhesive. Remove the back cover.
Step 4: Remove SIM Tray
Eject the SIM tray before continuing.
Step 5: Remove Screws
Unscrew all 14 screws securing the mid-frame.
Step 6: Remove Mid-Frame
Use a plastic pry tool to release clips and remove the mid-frame.
Step 7: Disconnect Battery
Disconnect the battery connector for safety.
Step 8: Remove Front Camera
Disconnect and gently lift out the front camera module.
Step 9: Remove Logic Board
Disconnect:
- Antenna cable
- Main flex cable
Then remove the screw and lift out the logic board.
Step 10: Remove Macro Camera
Disconnect and remove the macro camera module.
Step 11: Disconnect Rear Camera Connectors
Flip the logic board and disconnect the three rear camera connectors.
Step 12: Remove Rear Camera Unit
Gently push from the front side to remove the 3-in-1 rear camera module.
Step 13: Install New Rear Camera
Place the new 3-in-1 rear camera module onto the board.
Step 14: Install Macro Camera
Reconnect and position the macro camera.
Step 15: Reinstall Logic Board
Place the logic board back and secure it with screws.
Step 16: Install Front Camera
Connect and place the new front camera module.
Step 17: Reconnect Components
Reconnect:
- Antenna cable
- Main flex cable
- Battery connector
Step 18: Reassemble Mid-Frame
Attach the mid-frame and tighten all screws.
Step 19: Seal Back Cover
Apply adhesive if needed and position the back cover.
Step 20: Final Assembly
Secure the back cover using clips or rubber bands and allow proper bonding time.
❓ FAQ
Q1: Why is my camera blurry on Galaxy A71?
It could be due to lens damage or a faulty camera module.
Q2: Do I need to replace all rear cameras?
The rear cameras are often grouped, so replacing the full unit is recommended.
Q3: Is this repair beginner-friendly?
It’s moderately difficult but manageable with patience.
Q4: Will this fix camera app crashes?
Yes, if the issue is hardware-related.
Q5: Can dust inside the lens be cleaned instead?
Sometimes yes, but replacement is the more reliable solution.
🔧 Troubleshooting (After the Repair)
Q1: Camera not working after replacement?
Check all connectors and ensure they are properly seated.
Q2: Front camera not detected?
Reconnect the front camera flex cable securely.
Q3: Rear camera blurry after replacement?
Ensure protective films are removed and lens is clean.
Q4: Phone not turning on after repair?
Check battery connection and charge the device.
Q5: No signal after repair?
Make sure the antenna cable is properly connected.
✅ Final Thoughts
Replacing the front and rear cameras on the Samsung Galaxy A71 4G is a great way to restore photo and video quality. Take your time, handle components carefully, and double-check connections before sealing the device.
If you have any questions, feel free to ask.
Related Guide
More Samsung Galaxy A71 Repair Guides













