Now Reading: Samsung Galaxy S20 FE 5G Main Flex Replacement Guide | DIY Repair Steps
-
01
Samsung Galaxy S20 FE 5G Main Flex Replacement Guide | DIY Repair Steps

Samsung Galaxy S20 FE 5G Main Flex Replacement Guide | DIY Repair Steps
Hi everyone, welcome back to DIY GEARDO.
Today, we’re going to show you how to replace the main flex cable / motherboard flex on the Samsung Galaxy S20 FE. This guide follows the process from our original repair video, with clear steps you can follow at home.
Before starting, make sure you have the proper tools to open the device and perform the repair.
Compatibility and Model Numbers
This repair guide based on Samsung Galaxy S20 FE 5G mobile phone, but it is also compatible with Galaxy S20 FE 4g & S20 FE 2022 models too.
Compatible Mode Numbers l SM-G781B, SM-G781B/DS, SM-G781U, SM-G781U1, SM-G781W, SM-G7810, SM-G781N, SM-G781V, SM-G780F, SM-G780F/DSM, SM-G780G, SM-G781NK, SM-G781NK22
Tools You Need
- Heating pad / heat gun / hairdryer
- Suction cup
- Plastic card pry tools / opening picks
- Phillips PH000 screwdriver
- Adhesive (B7000 or double-sided back cover adhesive)
- Bonding clips or rubber bands (optional but recommended)
How to Find Tools and Parts
- Heating pad – https://amzn.to/3H0tHzJ
- Portable Heat Gun – https://amzn.to/4mszih1
- Clamps https://amzn.to/3GYJT4w
- STREBITO 142 Piece Repair Tool Kit https://amzn.to/3UO1jUx
- Glue | Adhesive https://amzn.to/46exVxe
- Compatible Parts https://amzn.to/4pOwJIM
- Silicone Work Repair Mat https://amzn.to/45Emz5l
Types of Repair Tools Used in the Repair Process
Step-by-Step Main Flex Replacement
Step 1 — Prepare and Power Off the Device
Turn off the phone completely before beginning the repair to avoid any short-circuits.
Step 2 — Heat and Open the Back Panel
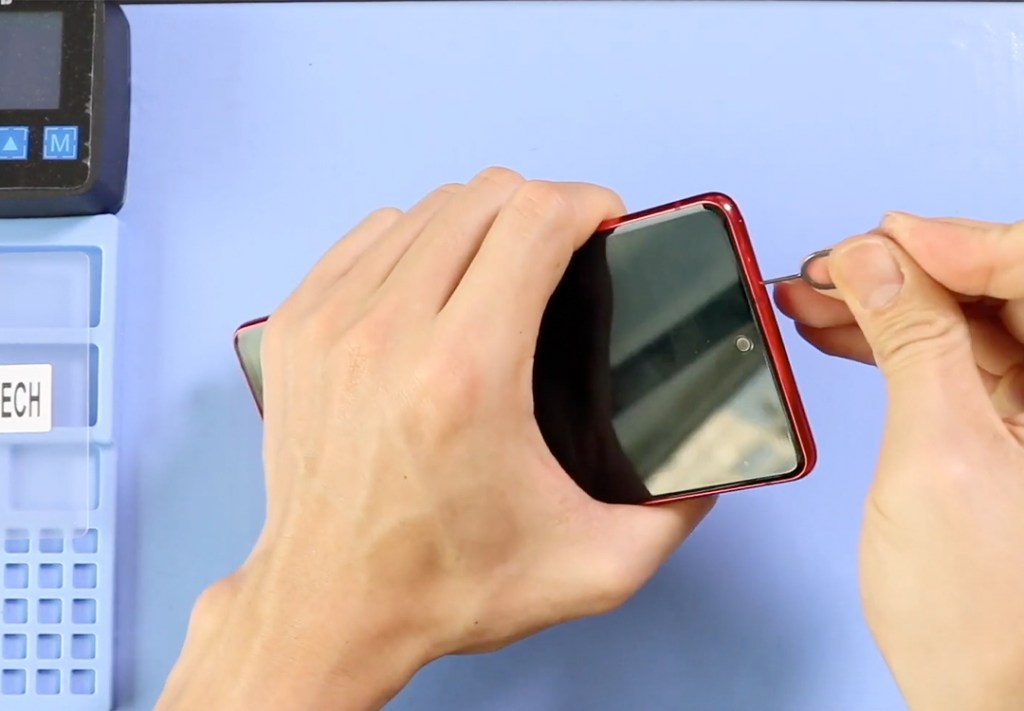
Use a heat pad to warm the back cover.
Once the adhesive softens, insert a plastic pick between the frame and the back panel and gently work around the edges to create an opening.
Step 3 — Remove the Back Cover
Carefully lift and remove the back cover.
Make sure not to force it—slow and even pressure helps avoid cracks.
Step 4 — Remove the Board Frame and Wireless Charging Coil
Unscrew all the screws securing the top board frame.
Lift the board frame together with the wireless charging coil attached.
Place it aside safely as you’ll be reinstalling it later.
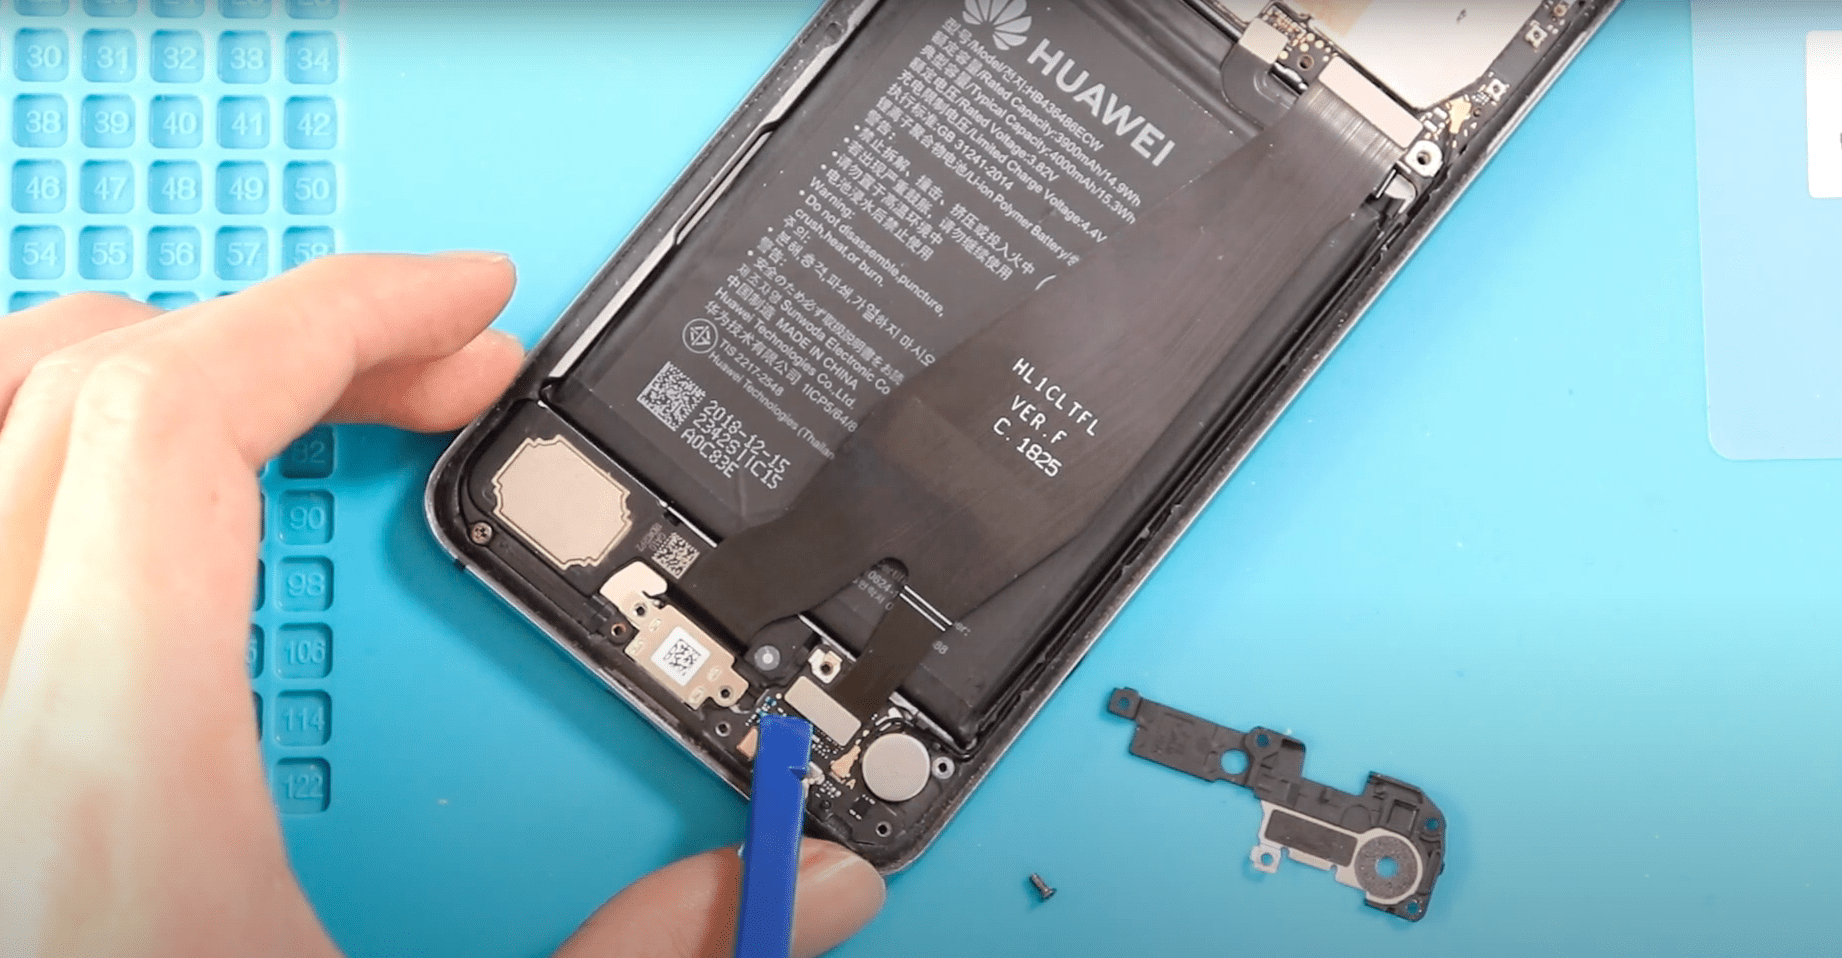
Step 5 — Disconnect and Remove the Faulty Main Flex
Locate the main flex that connects the motherboard and sub-board.
Disconnect both ends and remove the non-working cable fully.
Step 6 — Install the New Main Flex Cable
Position the new flex cable exactly like the original.
Reconnect both ends firmly, ensuring each connector clicks into place.

Step 7 — Reinstall the Frame and Wireless Coil
Place the wireless coil and board frame back into position.
Reinsert and tighten all screws to secure the assembly.
Step 8 — Close the Phone and Install the Back Cover
Align the back cover and press it down gently.
Use binding clips or rubber bands for 10–15 minutes to help the adhesive bond properly.
Frequently Asked Questions
1. What does the main flex cable do in the Galaxy S20 FE?
The main flex cable connects the motherboard to the sub-board, helping with charging, signal, and overall internal communication. If it fails, you may face no charging, no network, or boot issues.
2. What tools do I need to replace the main flex?
You will need a heat pad, plastic prying tools, opening picks, tweezers, and a small Phillips screwdriver. A suction cup and binding clips are also helpful for reassembly.
3. Is it safe to open the Galaxy S20 FE at home?
Yes, as long as you follow proper steps, use controlled heat, and avoid metal tools near sensitive components. Opening the phone will break the back cover adhesive, so be gentle.
4. How long does the repair take?
For most people, replacing the main flex takes 10–20 minutes, depending on experience.
5. Do I need to replace the adhesive after removing the back cover?
If the original adhesive is still strong, you can reuse it. For a stronger seal, applying a thin new adhesive around the back cover is recommended.
6. What happens if the new main flex doesn’t work?
Check the connectors on both ends, ensure the board frame screws are tightened, and verify the cable is placed correctly. If it still doesn’t work, the issue may be on the motherboard or sub-board.
Related Repair Guides