Now Reading: Xiaomi Redmi 10 Screen Replacement Guide (Redmi 10 2022 / Prime)
-
01
Xiaomi Redmi 10 Screen Replacement Guide (Redmi 10 2022 / Prime)
Xiaomi Redmi 10 Screen Replacement Guide (Redmi 10 2022 / Prime)
A cracked, unresponsive, flickering, or completely dead screen can make your Xiaomi Redmi 10 unusable. Screen damage is one of the most common smartphone issues, usually caused by accidental drops, pressure damage, or liquid exposure.
In this guide, you’ll learn how to replace the LCD screen on the Xiaomi Redmi 10 step by step. This tutorial covers a full screen replacement, explains the different screen types available in the market, and helps you choose the easiest and safest repair method for long-term reliability.
Repair Overview
Device Type: Smartphone
Device Model: Xiaomi Redmi 10
Repair Type: LCD Screen Replacement
Estimated Time: 60–90 minutes
Repair Difficulty ⭐⭐⭐⭐☆ (4/5)
Advanced difficulty – requires full disassembly and careful transfer of internal components.
Reasons to Replace the LCD Screen
You may need to replace the LCD screen if you experience any of the following:
- Cracked or shattered glass
- No display or black screen
- Touch not responding
- Flickering or distorted display
- Lines, spots, or dead pixels
- Screen not turning on after a drop
Before You Begin
Compatibility and Model Numbers
- Redmi 10 (2021)
- Redmi 10 (2022)
- Redmi 10 Prime
Model Numbers : 21061119AG, 21061119DG, 21061119AL, 21121119SG, 22011119UY, 21121119VL, 22011119TI
Tools Required
- Mobile phone heating pad or hairdryer/heat gun
- Plastic pry tool / card pry
- Suction cups
- Phillips #00/#000 screwdrivers
- Torx (T2/T3/T4) screwdrivers
- Flathead screwdriver
- Tweezers (for connectors)
- B7000 glue or double-sided adhesive (for back cover)
- Rubber bands or bonding clips to secure the back cover
How to Find Tools and Parts
- Heating pad – https://amzn.to/3H0tHzJ
- Portable Heat Gun – https://amzn.to/4mszih1
- Clamps https://amzn.to/3GYJT4w
- STREBITO 142 Piece Repair Tool Kit https://amzn.to/3UO1jUx
- Glue | Adhesive https://amzn.to/46exVxe
- Compatible Parts –
- Battery – https://amzn.to/4o4KC48
- Screen – https://amzn.to/47AklVA
- Other Parts – https://amzn.to/48JAWrg
- Silicone Work Repair Mat https://amzn.to/45Emz5l
Protect Your Redmi 10 Series
- Best Premium Case https://amzn.to/4neZMTd
- Screen Protector https://amzn.to/4qtDKza
Step-by-Step Xiaomi Redmi 10 LCD Screen Replacement
Step 1: Power Off the Device
Turn off your Xiaomi Redmi 10 completely before starting the repair.
Step 2: Heat the Back Cover
Heat around the edges of the rear cover until the adhesive softens.
Using a heating pad, place the back cover side down, select the mobile phone heating option, and wait for the cycle to complete.
Alternatively, use a heat gun or hairdryer.
Step 3: Remove the Back Cover
Create an opening using a suction cup.
Insert a plastic card or pry tool and carefully cut the adhesive around the edges.
Remove the back cover.
Step 4: Remove the Camera Lens Frame
Undo five screws securing the camera lens frame and remove it.
Step 5: Remove the Midframe Screws
Undo eleven screws securing the midframe.
Step 6: Remove the SIM Tray
Eject and remove the SIM tray.
Step 7: Disconnect the Fingerprint Sensor Flex
Carefully disconnect the fingerprint button flex cable.
Step 8: Separate the Back Cover Frame
Use a plastic pry tool to separate the back cover frame.
Work gently around the edges to disengage the plastic clips.
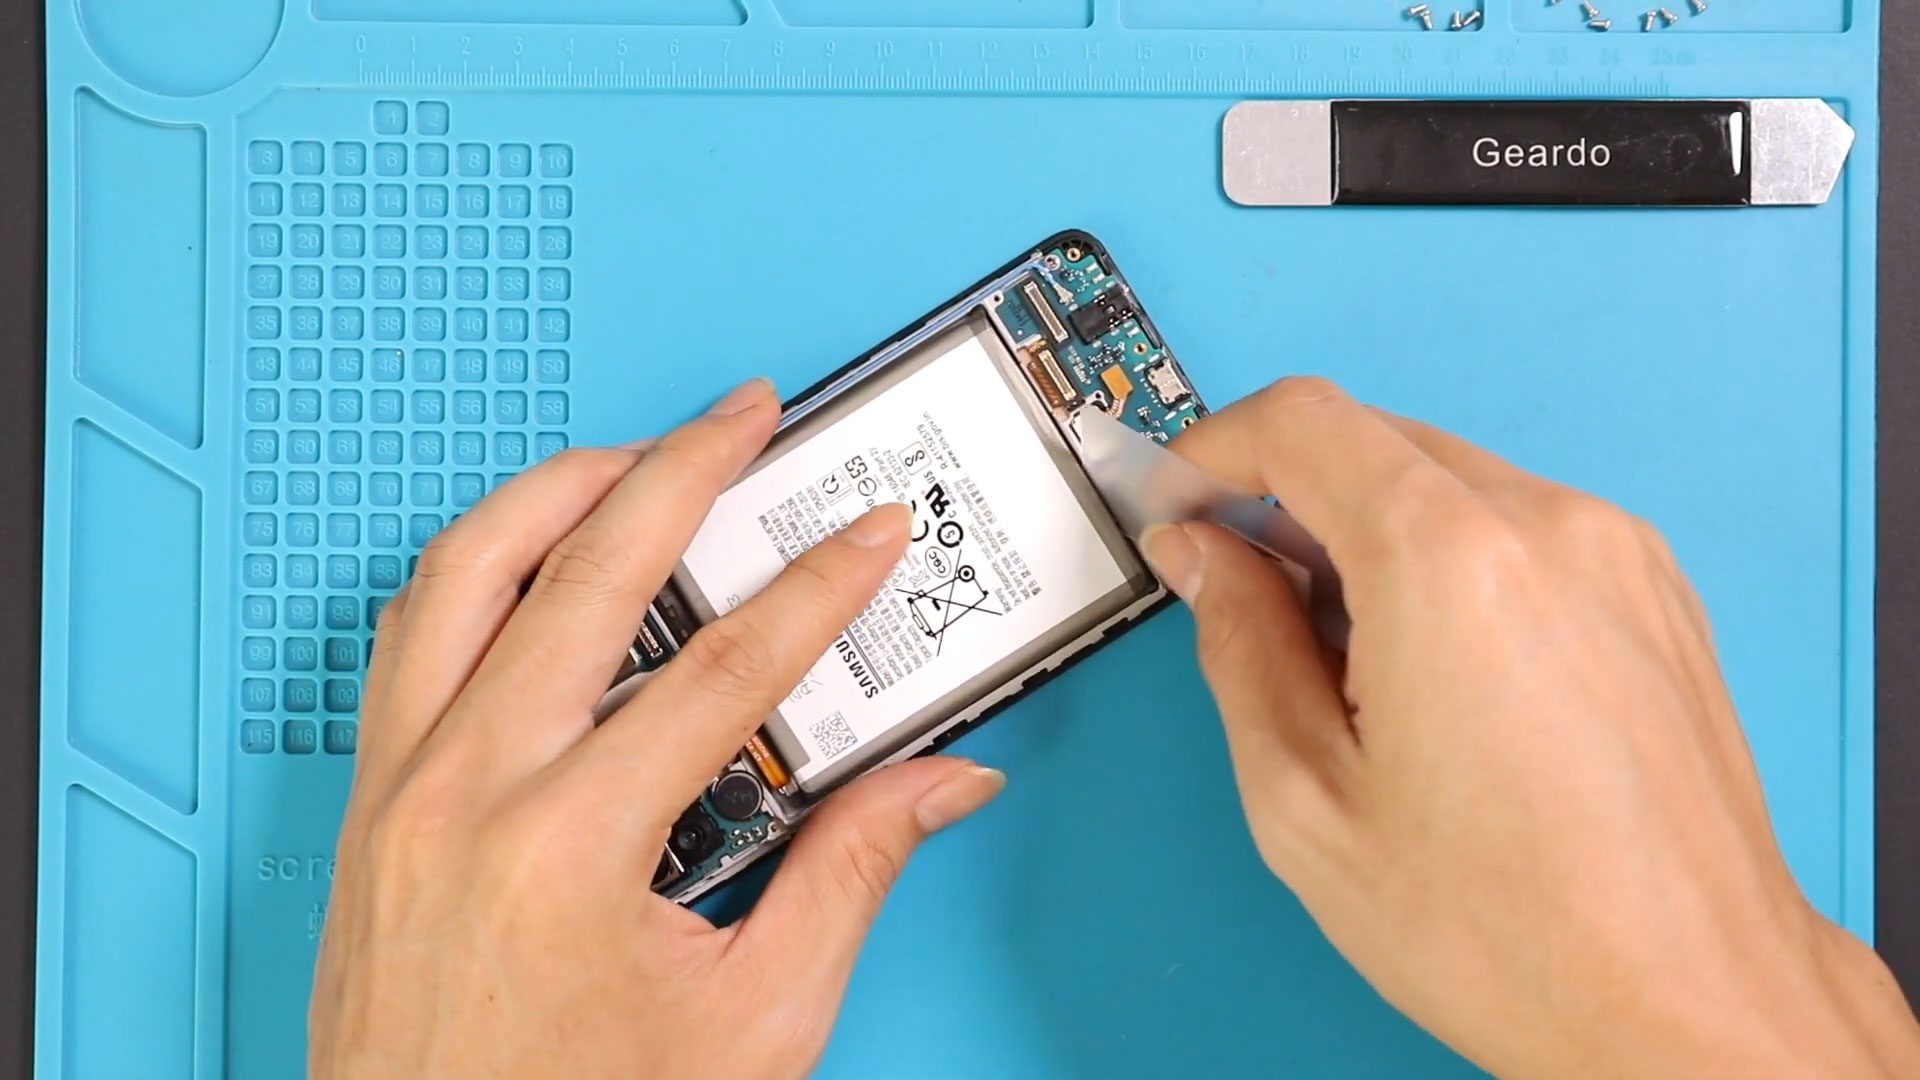
Step 9: Disconnect and Remove the Battery
Disconnect the battery connector.
Apply gentle heat to relax the adhesive and pull the battery out using the right-hand pull tab.
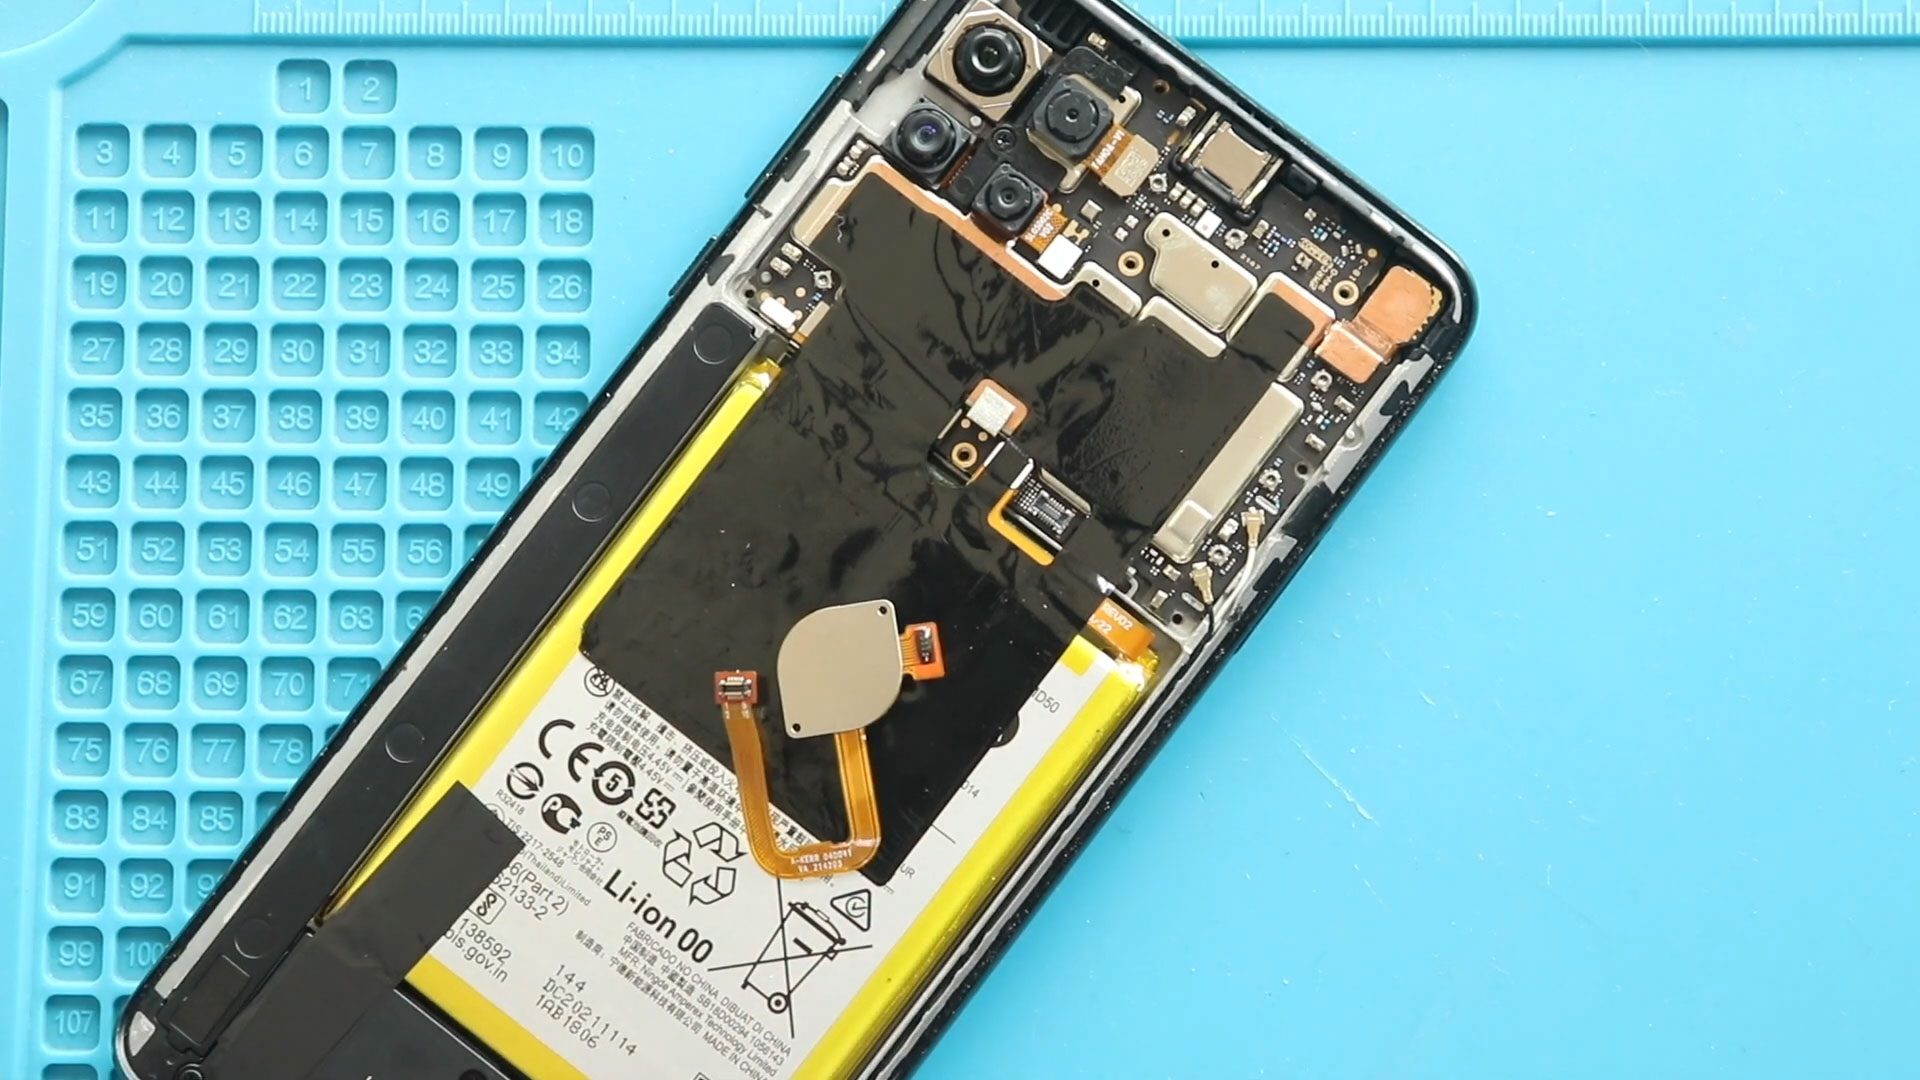
Step 10: Remove the Logic Board
Disconnect all plugs and the antenna head from the logic board.
Gently lift the logic board using a pry tool.
Step 11: Remove the Earpiece Module
Apply light heat and carefully remove the earpiece module.
Step 12: Remove the Power & Volume Flex
Apply heat and gently pull out the power and volume flex cable from the frame.
Step 13: Remove the Speaker Cover
Pull out the speaker cover from the body.
Step 14: Remove the Charging Port Board
Gently pry the antenna cable and remove the charging port board from the frame.
Step 15: Remove the Vibrator Motor
Apply gentle heat and remove the vibrator motor.
Step 16: Screen Replacement Options
At this stage, only the damaged screen assembly with the frame remains.
There are two screen replacement options available:
- Screen with frame
- Screen without frame
Screens may be original, refurbished, used, or aftermarket.
✔️ Recommended option: Screen with frame
This option is easier, safer, and only slightly more expensive, making it ideal for DIY repairs.
Reassembly with New Screen Frame
Step 17: Transfer Components to the New Screen Frame
On the new screen frame, begin reinstalling all removed components:
- Power & volume flex cable
- Earpiece module
- Logic board
- Vibrator motor
- Charging port board and antenna
- Speaker cover
- Battery
Step 18: Reconnect Flex Cables
- Secure the fingerprint button flex connector
- Secure the battery connector
Step 19: Install the Midframe
Secure the midframe and ensure all clips are fastened correctly.
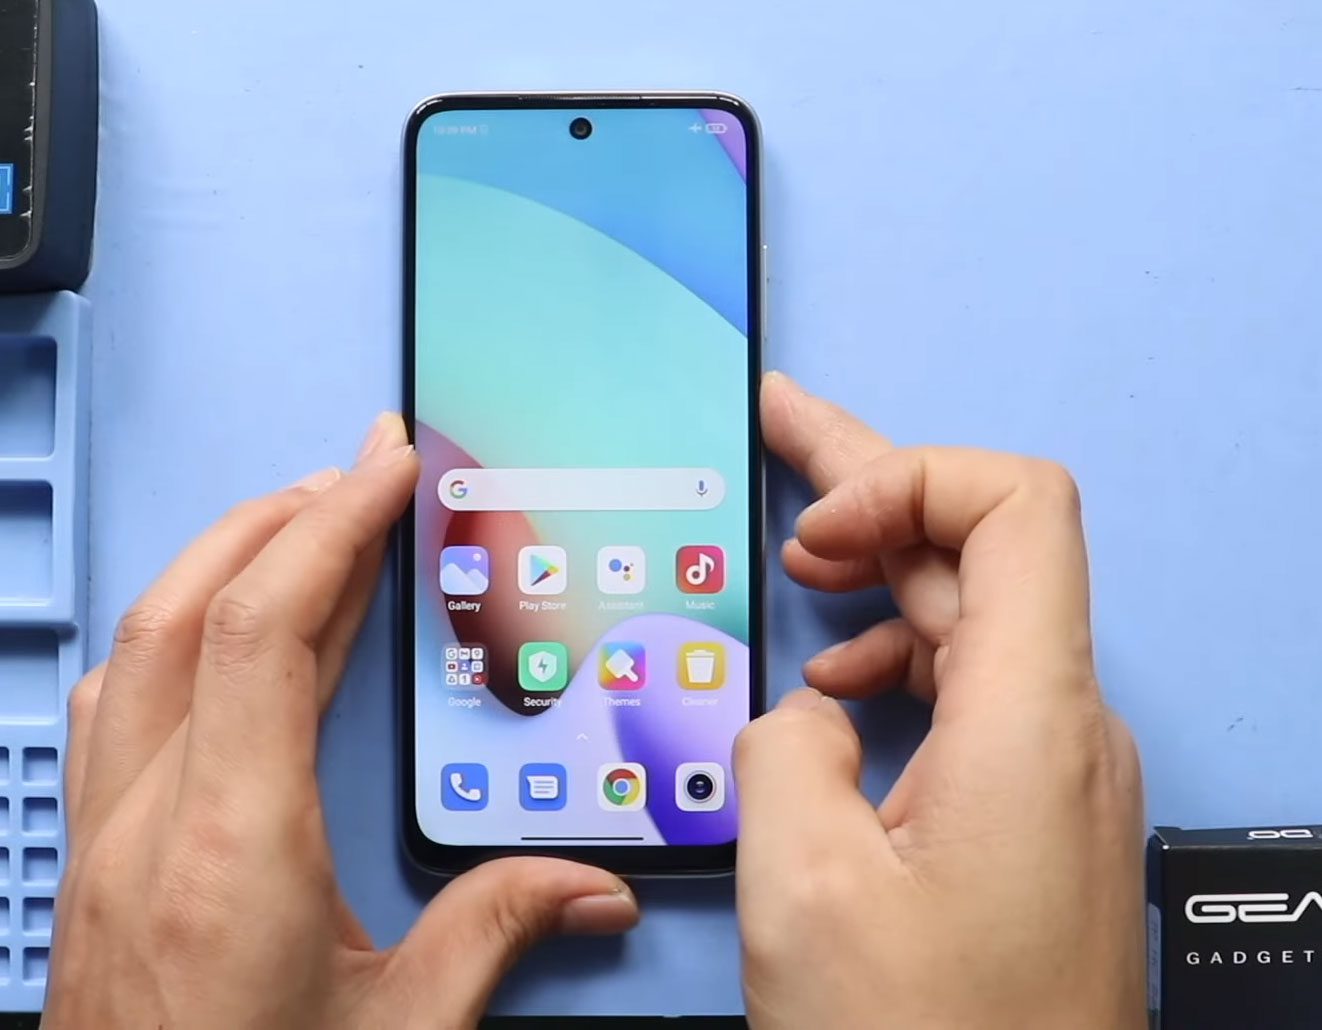
Step 20: Insert SIM Tray & Test Screen
Insert the SIM tray.
Power on the device to test display and touch functionality before final assembly.
Step 21: Final Assembly
- Secure eleven midframe screws
- Install the camera lens frame using five screws
Step 22: Reattach the Back Cover
Ensure the back cover has sufficient adhesive.
If needed, apply B7000 glue or new double-sided adhesive.
Secure the back cover using bonding clips or rubber bands and leave it for some time.
Frequently Asked Questions (FAQ)
Q1: Should I replace the screen with or without the frame?
A screen with the frame is strongly recommended. It reduces risk, saves time, and ensures better alignment.
Q2: Will aftermarket screens work properly?
Yes, quality aftermarket screens work well, but original or refurbished screens usually offer better brightness and touch sensitivity.
Q3: Do I need to remove all internal components?
Yes, if you are replacing the screen with the frame, all internal components must be transferred.
Q4: Can I test the screen before sealing the back cover?
Yes, and it is highly recommended to test display and touch before final assembly.
Troubleshooting After Screen Replacement
Q1: Screen not turning on after replacement
Check the display connector and battery connector for proper seating.
Q2: Touch not working or partially responsive
Ensure the logic board and display connectors are fully connected and not damaged.
Q3: No sound from earpiece after repair
Recheck the earpiece module placement and connector alignment.
Q4: Phone overheating after repair
Ensure no flex cables are pinched and all components are seated correctly.
Related Guides