Now Reading: OnePlus Nord N100 Camera Replacement Guide | DIY Repair
-
01
OnePlus Nord N100 Camera Replacement Guide | DIY Repair

If your OnePlus Nord N100 front or rear camera is blurry, malfunctioning, or physically damaged, replacing it is an effective way to restore camera quality without buying a new phone. Camera repairs are delicate but absolutely doable at home with patience, the correct tools, and a guided process.
Repair Overview
Device Type: Smartphone
Repair Type: Camera Replacement
Repair Difficulty: ★★★★★★☆☆☆☆ (6/10 – Moderate)
Estimated Time: 45–60 minutes
Reasons You May Need to Replace the Camera
- Blurry or foggy images
- Auto-focus not working
- Camera app crashes or shows a black screen
- Physical damage (cracks, dents, or loose lens)
- Dust or debris trapped inside the module
- Rear camera shaking or “buzzing” sounds (OIS failure)
Camera replacement revives the full photo and video capability of your device—and often costs far less than a new phone.
Before You Begin
Compatibility and Model Numbers
- Oneplus Nord N100
This repair guide based on OnePlus N100
Model Numbers | BE2013, BE2015, BE2011, BE2012
Tools Required
- Mobile phone heating pad or hairdryer/heat gun
- Plastic pry tool / card pry
- Suction cups
- Phillips #00/#000 screwdrivers
- Torx T3 / T4 Screwdriver
- Flathead Screwdriver
- Tweezers (for connectors)
- B7000 glue or double-sided adhesive (for back cover)
- Rubber bands or bonding clips to secure the back cover
Using proper tools reduces the risk of damaging the phone.
How to Find Tools and Parts
- Heating pad – https://amzn.to/3H0tHzJ
- Portable Heat Gun – https://amzn.to/4mszih1
- Clamps https://amzn.to/3GYJT4w
- STREBITO 142 Piece Repair Tool Kit https://amzn.to/3UO1jUx
- Glue | Adhesive https://amzn.to/46exVxe
- Compatible Parts –
- Battery – https://amzn.to/48bXsIP
- Screen – https://amzn.to/4mbcfqK
- Other Parts – https://amzn.to/4n4zZ12
- Silicone Work Repair Mat https://amzn.to/45Emz5l
Protect Your Oneplus Nord N100
- Protector For The Screen https://amzn.to/45Vrf7c
- Best Rated Case https://amzn.to/45Vrf7c
Step-By-Step OnePlus Nord N100 Camera Replacement Guide
Step 1. Power Off and Remove the SIM Tray
Before starting any repair, power off your device completely.
Use a SIM eject tool to remove the SIM tray.
Step 2. Open the OnePlus Nord N100
Warm the edges of the phone’s back cover using a heating pad or hairdryer.
This softens the adhesive holding the back cover in place.
Place a suction cup on the back cover and pull gently to create a gap.
Insert a plastic card or pry tool and slide it around the perimeter to separate the adhesive.
Work slowly and avoid forcing the tool too deep.
Step 3. Remove the Back Cover
Once the adhesive loosens, lift the back cover carefully.
Be mindful of the fingerprint sensor area, as light heating may be needed to release lingering adhesive.
Step 4. Remove the Mid-Frame
Inside the phone, you’ll see the mid-frame held in place by multiple screws.
Unscrew all of them and use a pry tool to separate the mid-frame clips evenly around the edges.
Lift and set the mid-frame aside.
Step 5. Remove the Front Camera
Locate the front camera at the top section of the motherboard.
Disconnect its flex connector using a plastic tool.
Lift the old front camera module out of its slot.
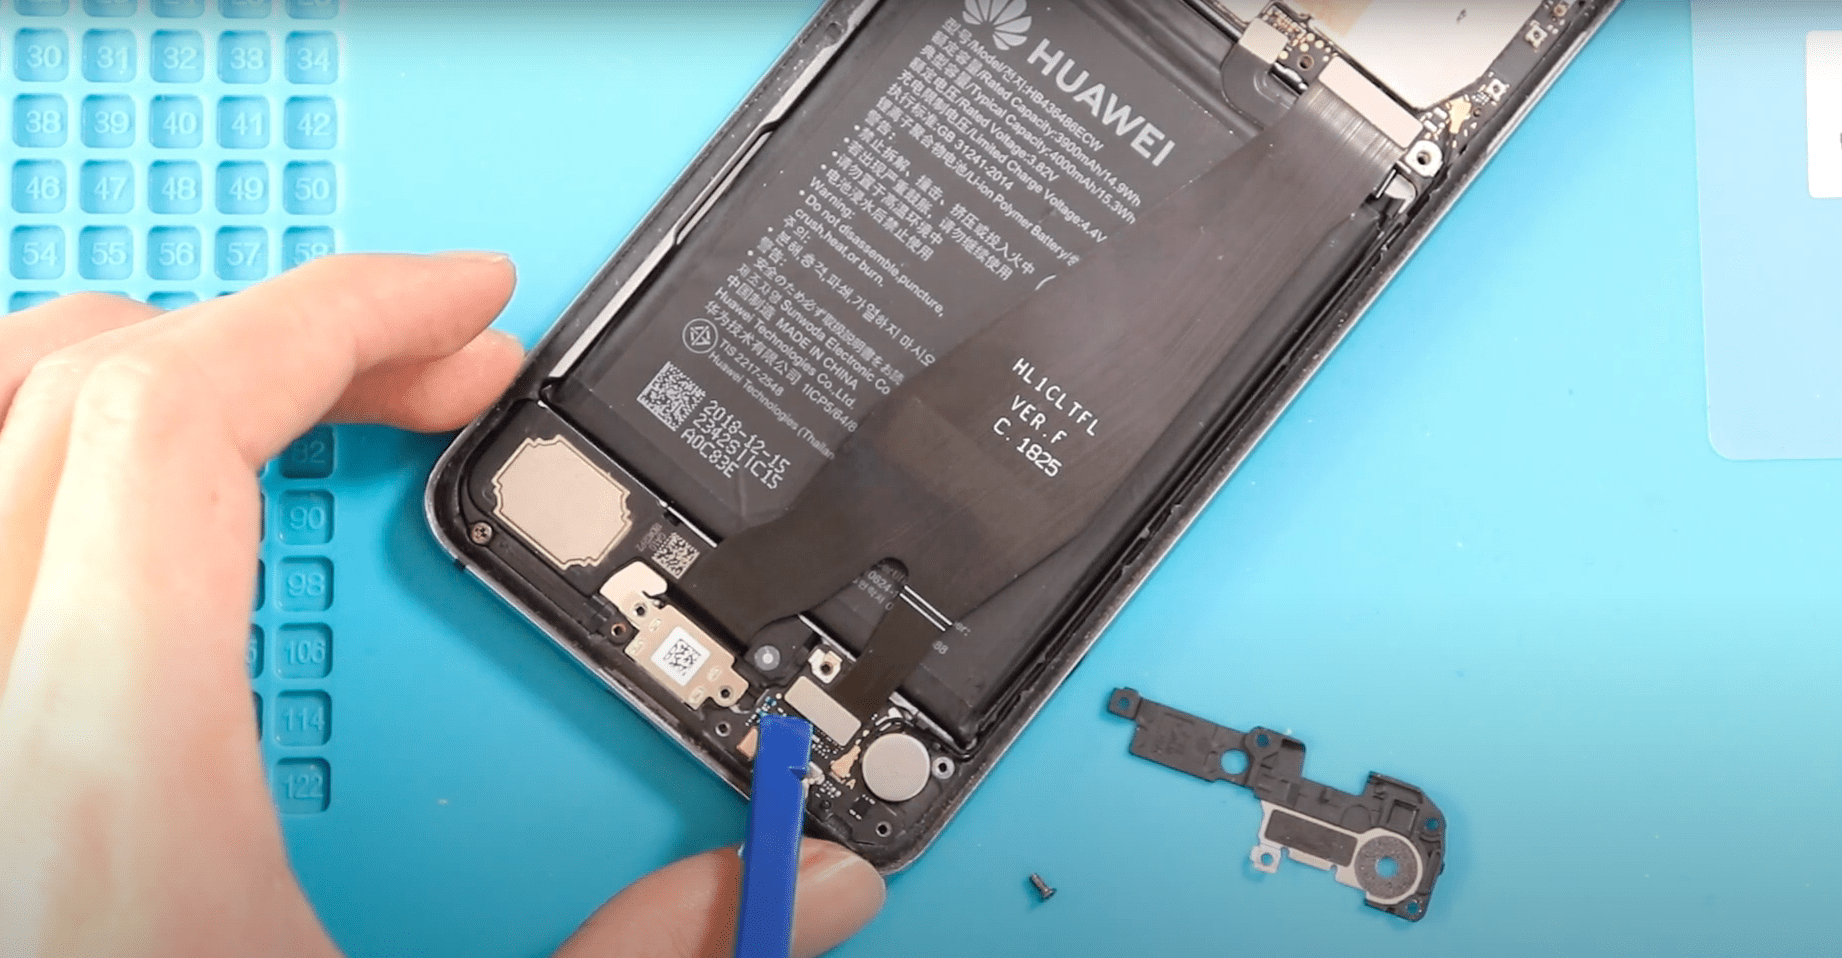
Step 6. Remove the Rear Camera Modules
The Nord N100 has multiple rear cameras:
- Main camera
- Macro camera
- Depth camera
Gently disconnect each camera module flex connector.
Lift out the modules one by one using a plastic tool or tweezers.
Avoid pulling on the cables or bending the motherboard.
Step 7. Install the New Front Camera
Place the replacement front camera into the slot.
Press down gently to secure it.
Reconnect the flex cable until it clicks into place.
Step 8. Install the New Rear Cameras
Insert each rear camera module into its respective slot.
Reconnect the flex connectors firmly.
Ensure cameras sit flush and aligned properly in the frame.
Step 9. Reinstall the Mid-Frame
Place the mid-frame back onto the phone body and press around the edges to secure the clips.
Reinsert and tighten all screws.
Step 10. Close the Back Cover
Check the back cover adhesive.
If it’s weak or uneven, apply new double-sided adhesive or B7000 glue.
Press the back cover into position and ensure a uniform seal.
Step 11. Secure with Binding Clips
Use binding clips or rubber bands to apply even pressure around the phone while the adhesive cures.
Leave it for 30–60 minutes.
Frequently Asked Questions (FAQ)
Q1: Can I replace only one of the cameras instead of all?
Yes. You can replace only the damaged module. Each camera is independent.
Q2: Will my camera quality improve after replacement?
If your original module was faulty, the new module will restore full quality.
Q3: Is the replacement camera original?
This depends on your supplier. Choose reputable spare-parts sellers for best results.
Q4: Why is my camera app still crashing after the repair?
You may have a loose connector or a software issue. Reopen the phone and check connections.
Q5: Will opening the phone void warranty?
Yes, for most devices. If your phone is still under warranty, check with the manufacturer first.
Troubleshooting After Camera Replacement
Q1: My camera shows a black screen. What should I do?
This usually indicates a loose connector. Reopen the device and firmly reseat the camera flex cable.
Q2: The rear camera is blurry after replacement.
Check that the camera is positioned correctly and not tilted.
Ensure no dust is trapped under the lens.
Q3: The camera app freezes or shows errors.
Try clearing the camera app cache.
If that fails, check for software updates or test the camera modules on another device if possible.
Q4: The back cover isn’t sealing properly.
Add fresh adhesive and use clips or rubber bands for a tighter bond.
Replacing the camera on your OnePlus Nord N100 is a moderate-level repair that can significantly improve your phone’s functionality. With patience, proper heating, and careful disassembly, this repair can be completed successfully at home.
If you found this guide helpful, feel free to share it and leave a comment with your experience.
Related Guides