Now Reading: iPad Mini 6 Battery Replacement Guide (2021)
-
01
iPad Mini 6 Battery Replacement Guide (2021)
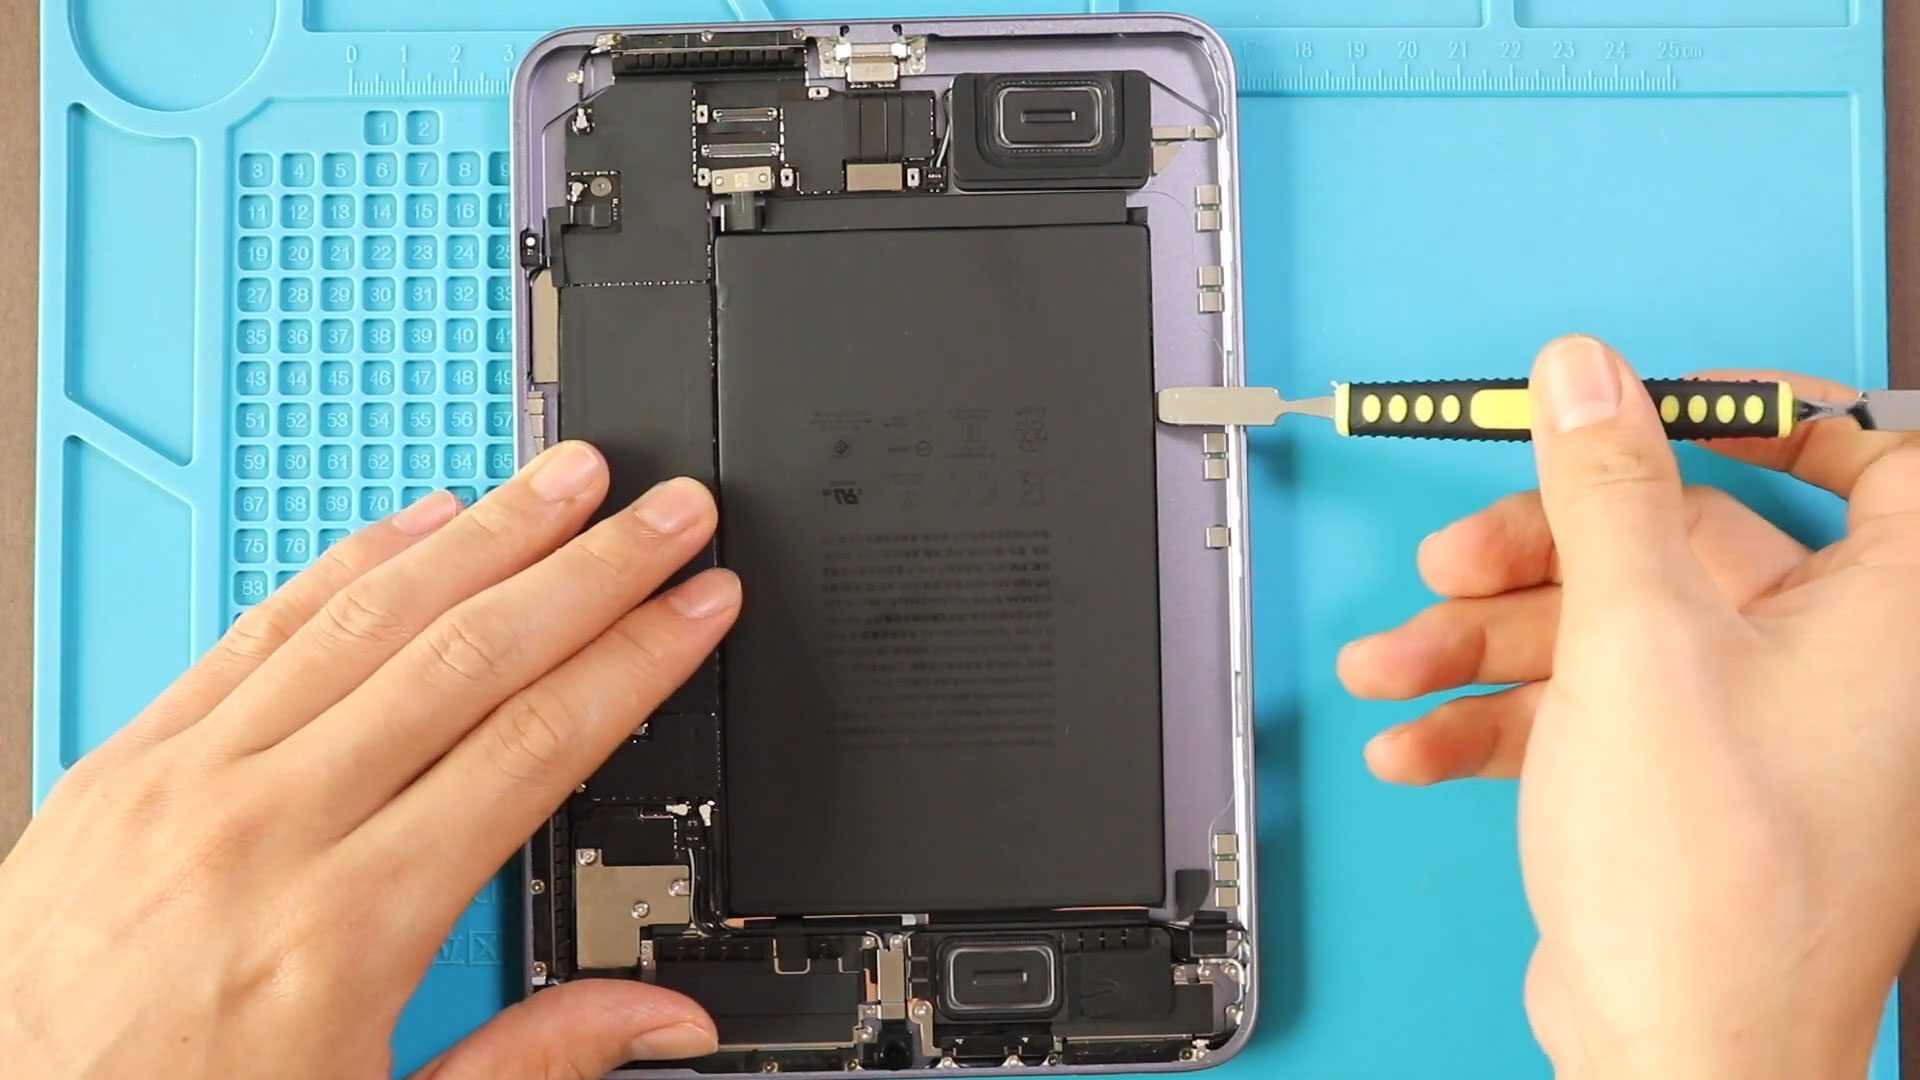
iPad Mini 6 Battery Replacement Guide (2021)
Hi everyone, welcome back to DIYGeardo
Today, we’re going to show you how to replace the battery on the iPad Mini 6 (2021). If your iPad Mini is draining fast, shutting down unexpectedly, or not holding a charge like it used to, a battery replacement is the best solution to restore its performance.
This guide walks you through the complete battery replacement process, including proper heating techniques, safe screen removal, battery extraction, and reassembly. Follow each step carefully to avoid damaging the display or internal flex cables.
This Guide also compatible with iPad mini 7 Generation 2024 model.
Repair Difficulty
Difficulty Level: 🔧🔧🔧🔧☆ (Moderate to Hard)
Estimated Time: 60–90 minutes
Repair Type: Battery Replacement
⚠️ Note: The iPad Mini 6 has a delicate display and strong internal adhesive. Take your time and apply heat carefully.
Before You Begin
Compatibility and Model Numbers
This repair guide based on iPad Mini 6th Generation 2021 Model
Also Compatible with iPad mini 7th Generation Model, Both Wifi and Cellular Edition models.
Model Numbers | iPad mini 6th Generation, iPad mini 7th Generation, A2568, A2993, A2995, A2996
Required Tools
- Heating pad / heat gun / hairdryer
- Suction cup
- Plastic card pry tools / opening picks/ Tweezers
- Phillips screwdriver #00 / #000
- Torx T3 Screwdriver
- Adhesive (B7000 or double-sided back cover adhesive)
- Bonding clips or rubber bands (optional but recommended)
Make sure the device is turned off and the SIM tray is removed (For Cellular Version) before starting.
How to Find Tools and Parts
- Heating pad – https://amzn.to/3H0tHzJ
- Portable Heat Gun – https://amzn.to/4mszih1
- Clamps https://amzn.to/3GYJT4w
- STREBITO 142 Piece Repair Tool Kit https://amzn.to/3UO1jUx
- Glue | Adhesive https://amzn.to/46exVxe
- Compatible Parts –
- Battery – https://amzn.to/3HFBIKE
- LCD Screen – https://amzn.to/420pGST
- Other Parts – https://amzn.to/4fOsf04
- Silicone Work Repair Mat https://amzn.to/45Emz5l
Important: Back up your data before starting. Work slowly and keep screws organized.
Reasons for Battery Replacement
You may need to replace your iPad Mini 6 battery if:
- Battery drains very fast
- iPad shuts down randomly
- Device does not charge properly
- Battery health is significantly degraded
- iPad heats up during normal use
- Swollen or damaged battery
Protect Your iPad Mini
- Tempered Glass For The Screen https://amzn.to/41mdEmI
- Best Cases For Your iPad https://amzn.to/45U2VRW
- Keypad for the iPad – https://amzn.to/3HNyJjg
Step-by-Step iPad Mini 6 Battery Replacement Guide
Step 1: Heat the Display
Proper heating is required to remove the iPad screen safely.
- Place the front side of the iPad on a heating pad.
- Select the tablet heating option and allow the cycle to complete.
- Alternatively, use a heat gun or hair dryer, heating evenly around the edges.
Step 2: Lift the Display
- Attach a suction cup to the side of the screen.
- Gently lift to create a small gap.
- Insert plastic pickers or card pry tools and carefully cut the adhesive around the display.
⚠️ Be gentle—flex cables are attached to the logic board.
Step 3: Open the Display
- Slowly lift the LCD from the bottom.
- Tilt the screen to about 45 degrees, like opening a book.
- Do not pull the screen completely off.
Step 4: Disconnect Battery & Display
- Remove the metal shield by undoing five screws.
- Disconnect:
- Battery connector
- LCD connector
- Touch connector
Step 5: Remove the Old Battery
- The battery is secured with four adhesive pull tabs.
- Peel and extract each adhesive tab carefully.
- Use a pry tool to loosen remaining adhesive.
If the battery is still stuck:
- Apply light heat to soften the glue under the battery PCB.
- Gently cut through the adhesive using a pry tool.
Step 6: Install the New Battery
- Remove the old battery completely.
- Place the new battery into the housing.
- Secure it using double-sided adhesive
(Pre-cut adhesive is not yet widely available for iPad Mini 6)
Step 7: Reconnect Components
- Reconnect the LCD and touch connectors.
- Secure the battery connector.
- Reinstall the metal shield and tighten all five screws.
Step 8: Test Before Sealing
Before sealing the display:
- Power on the iPad
- Check:
- Touch functionality
- Display output
- Charging response
Step 9: Seal the Display
- Apply B7000 glue or double-sided adhesive around the frame.
- Slide the top edge first, then press the sides and bottom into place.
- Apply pressure evenly on the frame (not the screen).
Step 10: Clamp the Display
- Use screen bonding clips to secure the display.
- Alternatively, use rubber bands.
- Leave it clamped for some time to ensure proper bonding.
Frequently Asked Questions (FAQ)
Q: Can I reuse the old adhesive?
A: No. Old adhesive loses strength. Always use fresh adhesive or B7000 glue.
Q: Do I need to fully remove the screen?
A: No. Tilting the screen at 45° is enough to access the connectors safely.
Q: How long does the new battery last?
A: A high-quality replacement battery should last similar to the original, depending on usage.
Q: Is heating mandatory for screen removal?
A: Yes. Without proper heat, the display glass can crack easily.
Troubleshooting (After The Repair)
Q: The iPad does not turn on after reassembly. What should I do?
A: Recheck the battery connector and ensure it’s seated correctly.
Q: Touch is not working after repair.
A: The touch flex cable may not be fully connected. Open the screen and reseat the connector.
Q: Screen lifts after a few hours.
A: Insufficient adhesive or clamping. Apply additional adhesive and clamp longer.
Q: Battery drains too fast after replacement.
A: Calibrate the battery by charging to 100%, then discharging to 10%, and recharging fully.
Conclusion
We hope this iPad Mini 6 (2021) battery replacement guide helped you complete your repair successfully. Taking your time and following each step carefully will ensure a safe and professional repair result.
If you have any questions, feel free to leave a comment.
Please like, share, and comment on our videos, and don’t forget to subscribe to Geardo for more repair guides
Related Guides