Now Reading: DIY iPad Mini 6 Teardown | Purple $$ to Repair Guide
-
01
DIY iPad Mini 6 Teardown | Purple $$ to Repair Guide
Before Starting, we need to have the right tools to proceed with the teardown, which You can find in the description.
Proper heating is required for iPad screen removal from the body. For this, we use a heating pad designed for tables and mobile phones. On iPad devices, make sure to heat the front
side of the iPad. Select the Tablet heating option and leave it till the heating completes. Alternatively, you can use a heat gun or something similar.
Once the heating has completed, use a suction cup on the sides to lift the front screen. In between, Insert few Plastic pickers or card pry tools and cut the adhesive around.Be gentle while pulling; there are flex cables attached to the logic board.
Next, lift the lcd screen gradually and tilt about 45% from the bottom.
Next, remove the plate by undoing five screws and disconnect the battery plug and two connector plugs connecting the lcd and touch.
Similar to Mini 4 and 5, the lcd and touch come together as an assembly.
There is a display assembly board vertically on the back of the right-hand side of the screen.
The screen assembly looks thin, and separating the touch and lcd looks very hard.
Next, Take out the battery from the body.
There are four adhesive tabs on the battery to peel out. If I am correct, this is something new for
iPad mini.
The tapes are coming out so neatly and it looks like no heating is needed.It seems the iPad mini six battery replacement will be much easier.
But still, there are some solid sticky under the battery’s PCB. It might need some more heating or melting liquid.
Here, we use a pry tool to cut the adhesive to pull out the battery. Overall the battery removal is much easier and should get five purple stars instead of gold.
Next, on the top right, remove the shield by undoing three screws.
Now we are going to remove the rear camera and the flasher connector.
First, disconnect and take out the flex cable.
And then loosen the adhesive that is holding the connector.
There are four connector plugs in here.
By looking at, they are the rear camera, flasher, touch id power button, and one more connector plug.
Next, disconnect the antenna head and undo five screws around the rear camera, which holds the antenna cables and rear camera adhesive strip. Loosen the antenna to a side and detach the
rear camera holding adhesive.
Next, gently using a tweezer or pry tool, pull out the camera module.
Next, apply little heat and take out the flash
sensor cable. This flex cable looks very fragile. Be gentle and pull out the line.
Next, undo three screws and take out the flex cable. It looks like the volume flex.
Next, we are going to loosen all screws on the top section.
There are about 20 screws and one shield. Always pay attention to hidden screws and adhesive strips.
Next, disconnect three-antenna heads from the board and pull out the left antenna board from the body.
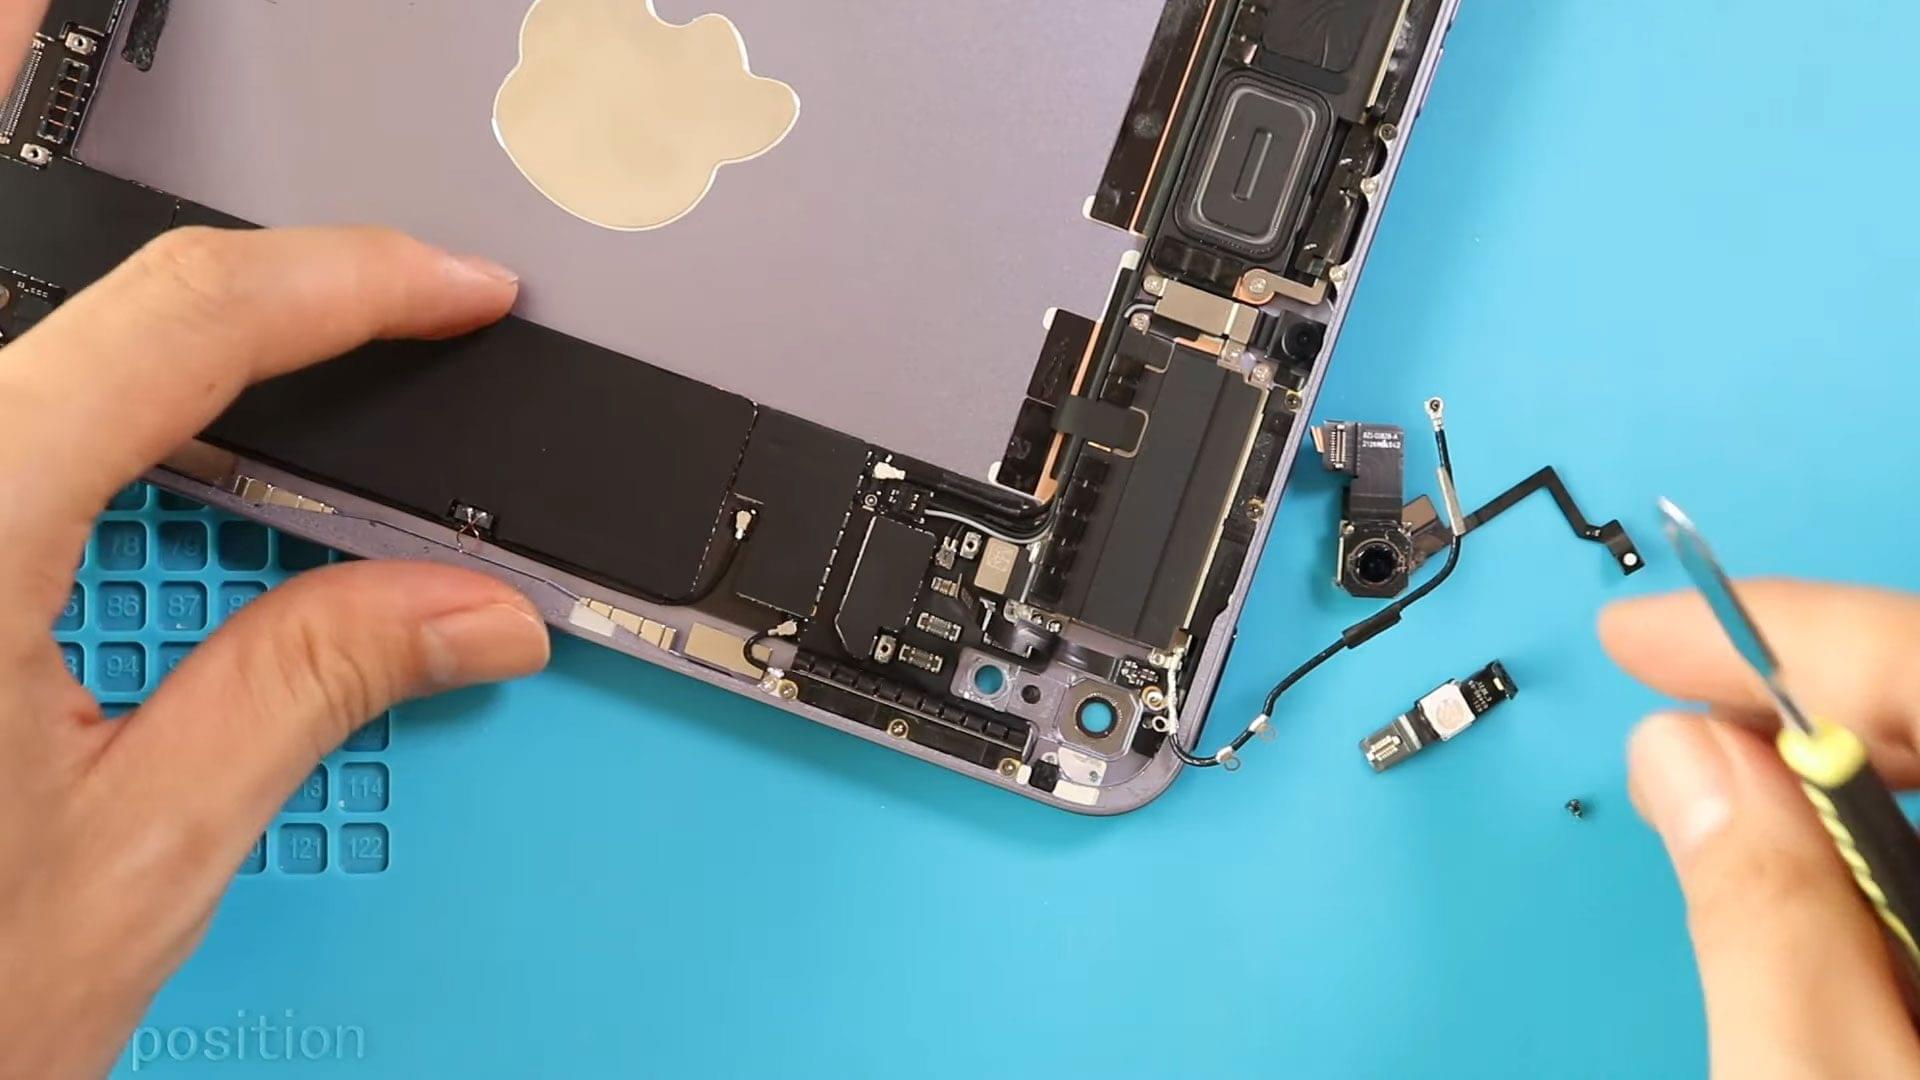
Next, disconnect and take out the front camera from the body.
There is a sticky kind of flex cable under the front camera. Be gentle and lift the front camera.
Next, we will take out the copper-colored rectangle flex on the right-hand side, the flex cable under the front camera, and the rectangle shape unit from the body. We apologize and will bring the names in the description of parts after figuring out 100%.
Next, Take out the other left-hand antenna.
Next, take out the flex under the front camera.
Next, take out the power button with touch id flex.
Next, on the bottom right, take out the flex cable by lifting the lever.
Next, take out the antenna module by undoing five screws and the connector.
Next, on the bottom center, undo two screws and pull out the Type c charging port by disconnecting the plug. It is a good part that Charging port replacement is much straightforward compared to some iPad models.
Finally, to pull out the logic board, first, disconnect the speaker plug, and then one more screw on the bottom right and smart connector to the right-center.
Next, using a couple of pry tools, lift and take out the board.
Next, if needed, can out the logic board cover using a tweezer. In here, you can find the A15 bionic chip and the rest. And this concludes our teardown guide in iPad mini 6.