
Now Reading: iPad Pro 11-inch 2020 Charging Port Replacement Guide (Step-by-Step)
-
01
iPad Pro 11-inch 2020 Charging Port Replacement Guide (Step-by-Step)

iPad Pro 11-inch 2020 Charging Port Replacement Guide (Step-by-Step)
The iPad Pro 11-inch (2020) is a powerful and versatile device, but charging port issues are common over time due to frequent cable insertion, dust buildup, moisture exposure, or accidental damage. If your iPad is not charging properly, charges intermittently, or does not connect to accessories, the charging port may need replacement.
In this guide, we will show you how to safely replace the charging port on the iPad Pro 11-inch (2020). This repair involves opening the iPad, removing the display assembly, disconnecting internal components, and installing a new charging port flex cable. Proper heating and careful handling of connectors are essential for a successful repair.
Repair Difficulty
Difficulty Level: Medium–Hard
Estimated Time: 45–60 minutes
Before You Begin
Compatibility and Model Numbers
This repair guide based on iPad Pro 11-inch 2020 Model.
Also Compatible with Both Wifi and Cellular Edition models.
Model Numbers | iPad Pro 11-inch 2nd Generation, A2068, A2230, A2228, A2231
Required Tools
- Heating pad / heat gun / hairdryer
- Suction cup
- Plastic card pry tools / opening picks/ Tweezers
- Phillips screwdriver #00 / #000
- Torx T3 Screwdriver
- Adhesive (B7000 or double-sided back cover adhesive)
- Bonding clips or rubber bands (optional but recommended)
Make sure the phone is turned off and the SIM tray is removed (For Cellular Version)before starting.
How to Find Tools and Parts
- Heating pad – https://amzn.to/3H0tHzJ
- Portable Heat Gun – https://amzn.to/4mszih1
- Clamps https://amzn.to/3GYJT4w
- STREBITO 142 Piece Repair Tool Kit https://amzn.to/3UO1jUx
- Glue | Adhesive https://amzn.to/46exVxe
- Compatible Parts –
- Battery – https://amzn.to/4fL7BOj
- LCD Screen – https://amzn.to/4fUN75V
- Other Parts – https://amzn.to/4mAuYN6
- Silicone Work Repair Mat https://amzn.to/45Emz5l
⚠️ Important: Back up your data before starting. Work slowly and keep screws organized.
Reasons for Charging Port Replacement
You may need to replace the charging port if:
- iPad is not charging
- Charging cable fits loosely
- Charging works only at certain angles
- iPad does not connect to a computer
- Accessories not detected
- Visible damage or corrosion inside the port
Protect Your iPad Pro
- Protector For The Screen https://amzn.to/3Uyi5XP
- Best Cases For Your iPhone https://amzn.to/41cQT4x
Step-by-Step Charging Port Replacement Guide
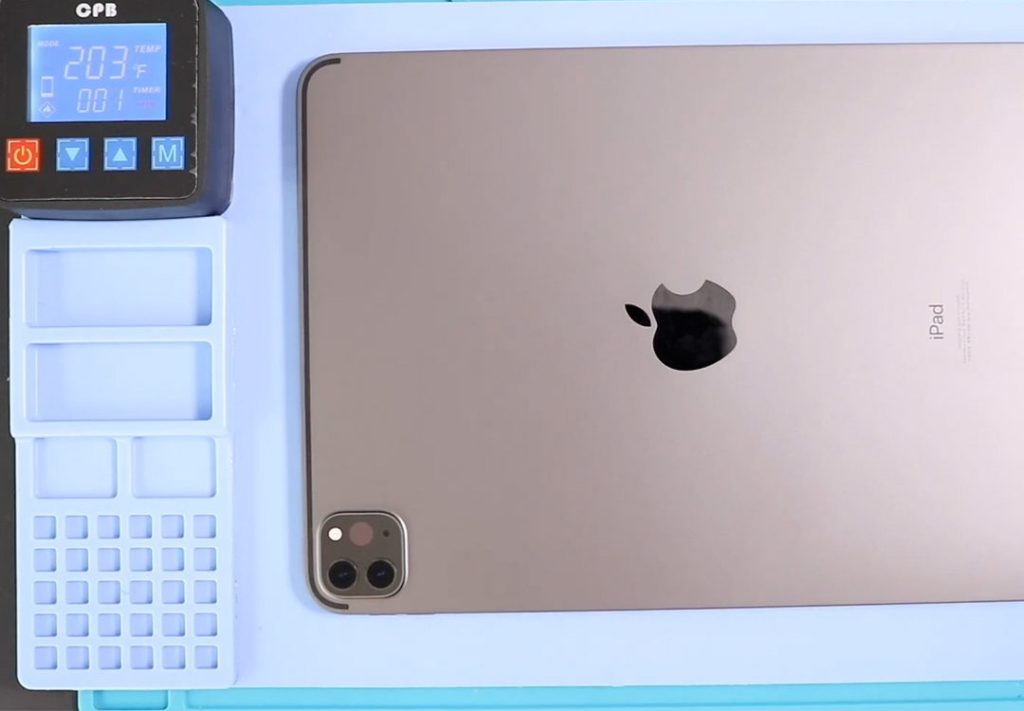
Step 1: Power Off the iPad
Turn off the iPad completely before starting the repair to avoid short circuits.
Step 2: Heat the Front Screen
Proper heating is the most important part of iPad repair.
Use a heating pad designed for tablets and mobile phones.
- Heat the front side of the iPad
- Select tablet heating mode
- Heat for 3–5 minutes
Alternatively, you can use a heat gun while keeping a safe distance to avoid overheating.
Step 3: Open the iPad
After heating, place a suction cup on the edge of the screen and gently lift it to create a small gap.
Insert plastic pry tools and carefully cut the adhesive around the display.
⚠️ Be gentle, as flex cables are attached to the logic board.
Step 4: Remove the LCD Display Assembly
Once the adhesive is cut, lift the display slightly.
Undo two screws and remove the protector shield.
Step 5: Disconnect the LCD Cables
The top cable is short, so handle it carefully.
Disconnect the top connector to create more space.
Rotate the display to a 90-degree angle, like opening a book.
Undo three screws, remove the shield, and disconnect all LCD and touch connectors.
The display assembly can now be removed from the body.
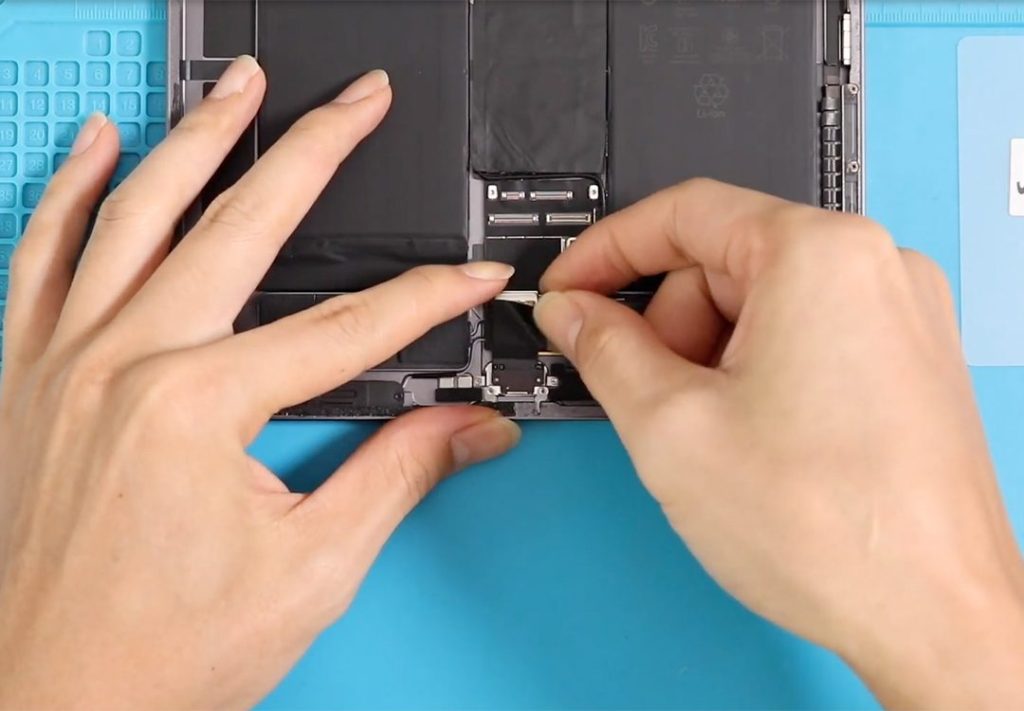
Step 6: Remove the Faulty Charging Port
Locate the charging port flex cable.
Undo the screws securing the charging port and gently peel it out of the body.
⚠️ If adhesive is present, apply light heat to soften it before removing the cable.
Step 7: Install the New Charging Port
Place the new charging port flex cable into position.
Ensure it is aligned correctly and secure it using the original screws.
Step 8: Reconnect the LCD Display
Reconnect all LCD and touch connectors carefully.
Make sure each connection is properly seated.
Step 9: Reinstall the Protector Shield
Place the protector shield back over the connectors and secure it with screws.
Step 10: Close the iPad
To close the iPad:
- Slide the top section in first
- Then press the sides and bottom simultaneously
- Apply gentle pressure along the frame edges to secure the screen
Allow the adhesive to set before using the device.
FAQ
Q1: Can I replace the charging port at home?
A: Yes, but it requires patience and proper tools. If you’re unsure, professional repair is recommended.
Q2: Will charging port replacement erase my data?
A: No, your data will remain intact. However, always back up your device before repair.
Q3: How long does a new charging port last?
A: With normal use, a replacement charging port can last several years.
Q4: Should I replace the cable or the port if charging is unstable?
A: Always test with a new cable and adapter first. If the issue persists, the charging port likely needs replacement.
Troubleshooting (After The Repair)
Q1: iPad still not charging after port replacement
A: Check the charging port connector and ensure it is fully seated. Also verify that no screws are missing.
Q2: Charging works only at certain angles
A: This usually indicates a loose port connection or faulty replacement part. Recheck alignment and connector seating.
Q3: iPad does not connect to a computer
A: Make sure the charging port flex cable is properly connected to the logic board.
Q4: iPad heats up while charging
A: Stop charging immediately and recheck the port installation. Overheating can indicate a short or poor connection.
Related Guides


