Now Reading: DIY iPhone 12 | 12 Pro Sim Card Reader Replacement Guide | Complete DIY Repair
-
01
DIY iPhone 12 | 12 Pro Sim Card Reader Replacement Guide | Complete DIY Repair

DIY iPhone 12 | 12 Pro Sim Card Reader Replacement Guide | Complete DIY Repair
Today, we will show you how to replace the SIM card tray on the iPhone 12. If your device is having trouble reading SIM cards, this guide will help you fix it quickly and safely.
Before starting, make sure you have all the necessary tools, including a Pentalobe screwdriver, suction cup, and plastic pry tools. Using proper tools reduces the risk of damage and ensures a smooth repair process.
Compatibility and Model Numbers
This repair guide based on iPhone 12 mobile phone. But this guide also compatible with iPhone12 Pro mobile phone.
Compatible Mode Numbers l A2403, A2172, A2402, A2404, A2407, A2341, A2406, A2408
Tools You Need
- Heating pad / heat gun / hairdryer
- Suction cup
- Plastic card pry tools / opening picks
- Phillips PH000 screwdriver
- Pentalobe P2 Screwdriver (for bottom screws)
- Tri-Point Y000 Screwdriver
- Adhesive (B7000 or double-sided frame adhesive)
- Bonding clips or rubber bands (optional but recommended)
How to Find Tools and Parts
- Heating pad – https://amzn.to/3H0tHzJ
- Portable Heat Gun – https://amzn.to/4mszih1
- Clamps https://amzn.to/3GYJT4w
- STREBITO 142 Piece Repair Tool Kit https://amzn.to/3UO1jUx
- Glue | Adhesive https://amzn.to/46exVxe
- Compatible Parts https://amzn.to/3Hx6sxo
- Silicone Work Repair Mat https://amzn.to/45Emz5l
Step 1 — Power Off & Remove Bottom Screws
Start by turning off your iPhone 12 completely.
Remove the SIM tray using the eject tool.
Undo the two Pentalobe screws located at the bottom near the charging port.
Step 2 — Loosen the Display
The screen is secured with adhesive, so apply gentle heat to soften it.
You can use a heating pad, heat gun, or hairdryer. Be careful not to overheat, as this may damage internal components.
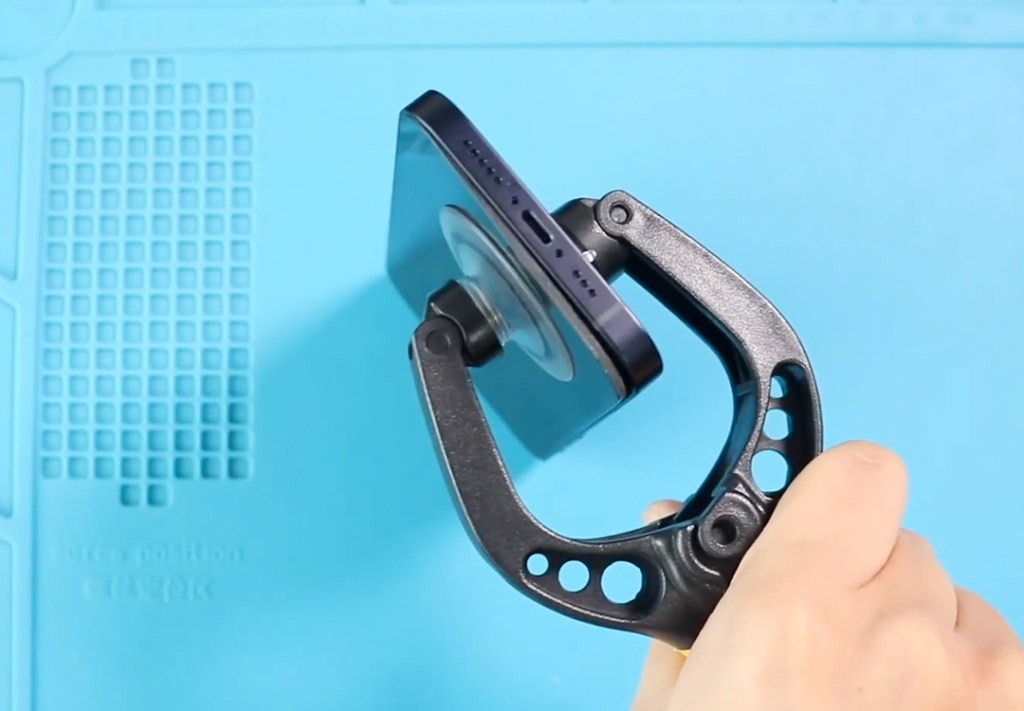
Place a double-sided suction cup at the bottom of the display to lift it.
If unavailable, a regular suction cup with a plastic pry tool or triangle picker will also work. Carefully separate the screen from the frame, keeping the motion like opening a book.
Step 3 — Remove Shields & Disconnect Cables
Inside, you’ll find two metal shields:
- Bottom shield: Remove 2 screws
- Top shield: Remove 4 screws
Disconnect the following carefully:
- Battery connector
- Earpiece assembly connector
- Two display connectors
Disconnecting the battery first ensures your safety during the repair.
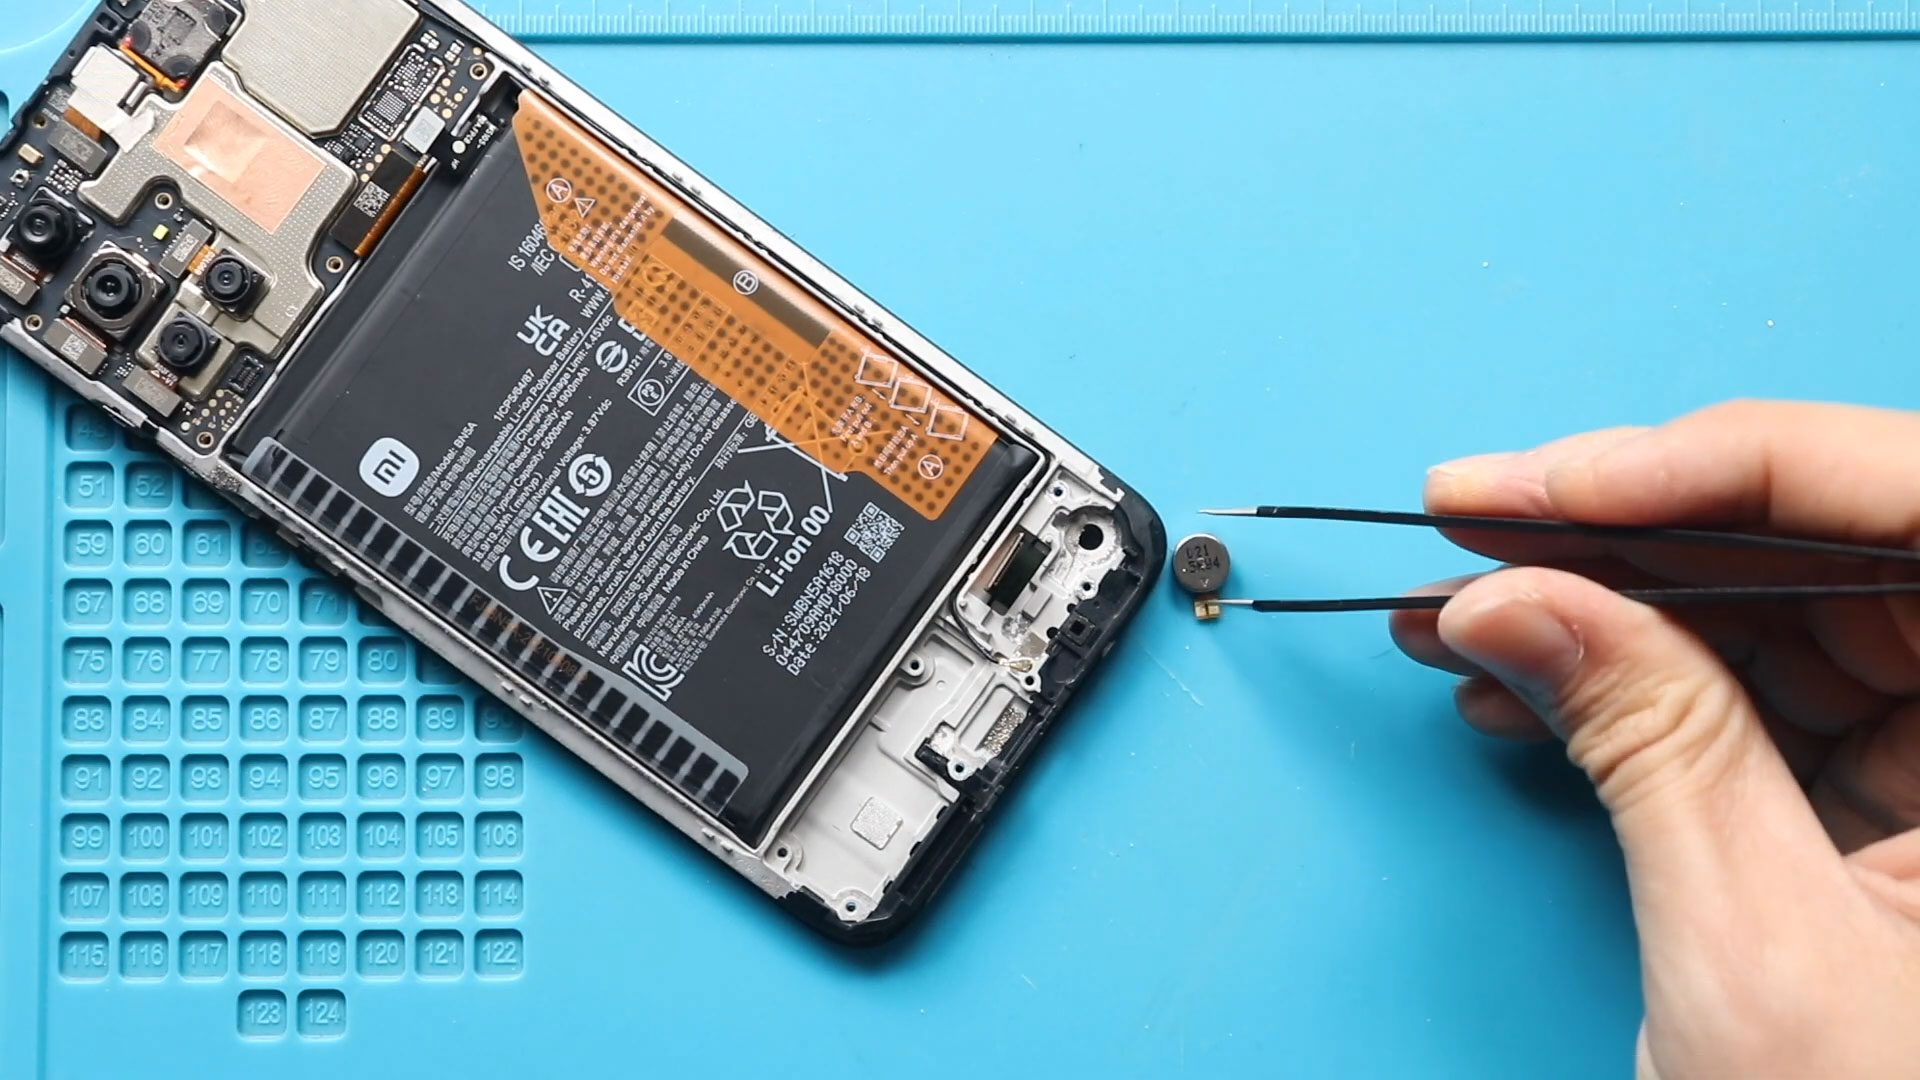
Step 4 — Access the SIM Card Slot
The SIM card tray is protected by two brackets and six screws.
- Remove the first shield by undoing two screws. Then disconnect the SIM slot plug.
- Remove the bracket by undoing two screws on top and one screw in the left center.
- Undo one more screw at the bottom right of the SIM slot.
Now the old SIM card tray can be carefully removed.
Step 5 — Install the New SIM Card Tray
Place the new SIM card slot into the frame and connect it carefully.
Reinstall all brackets and shields, securing them with the six screws removed earlier. Ensure the connectors are snug and properly aligned.

Step 6 — Add Water Seal Adhesive
Install pre-cut water seal tape around the frame to improve splash and dust protection.
Note: This will not fully restore waterproofing, but it helps maintain some liquid resistance.
Step 7 — Reconnect Display & Components
Reattach everything in reverse order:
- Connect earpiece assembly, both display connectors, and battery plug
- Place top and bottom shields with screws
Place the display carefully, pressing top first, then sides, and finally the bottom to snap it into place.
Step 8 — Secure the Device
Add the two bottom Pentalobe screws and insert the SIM tray.
Turn on your device and check the SIM functionality by testing calls, mobile data, and carrier recognition.
Frequently Asked Questions
Q1: How long does it take to replace the SIM card tray?
A: Usually around 30–40 minutes, depending on your experience.
Q2: Can a SIM tray replacement fix SIM reading issues?
A: Yes, replacing a faulty tray usually resolves SIM recognition problems.
Q3: Will this repair affect waterproofing?
A: Using new water seal adhesive improves splash resistance, but full waterproofing is not guaranteed.
Related Guides