Now Reading: iPhone XR Screen Replacement Guide
-
01
iPhone XR Screen Replacement Guide
Hi everyone, welcome back to Geardo! Today, we’re going to show you how to replace the LCD & Touch Screen assembly Glass on an iPhone XR.
The iPhone XR is one of the most popular Apple devices, but accidents happen — a cracked screen or unresponsive touch can make it frustrating to use. Replacing the screen yourself is cheaper, faster, and just as effective as visiting a repair center, as long as you follow the proper steps.
In this guide, we’ll walk you through each step carefully, from removing the old screen to installing the new one. We’ll also share tips to avoid common mistakes, explain how to safely handle connectors and adhesives, and cover technical FAQs about battery safety, water-seal protection, and testing the new screen.
By the end of this guide, you’ll have your iPhone XR looking and working like new, without spending a fortune on repairs!
Compatibility and Model Numbers
Compatible Mode Numbers l A2105, A1984, A2107, A2108, A2106
Tools You Need
- Heating pad / heat gun / hairdryer
- Suction cup
- Plastic card pry tools / opening picks / Tweezers
- Phillips PH000/PH00 screwdriver
- Pentalobe P2 Screwdriver (for bottom screws)
- Tri-Point Y000 Screwdriver (in rare cases)
- Adhesive (B7000 or double-sided frame adhesive)
- Pre-cut water-seal adhesive
- Bonding clips or rubber bands (optional but recommended)
How to Find Tools and Parts
- Heating pad – https://amzn.to/3H0tHzJ
- Portable Heat Gun – https://amzn.to/4mszih1
- Clamps https://amzn.to/3GYJT4w
- STREBITO 142 Piece Repair Tool Kit https://amzn.to/3UO1jUx
- Glue | Adhesive https://amzn.to/46exVxe
- Compatible Parts https://amzn.to/4oX2pvg
- Silicone Work Repair Mat https://amzn.to/45Emz5l
Pro Tip: Keep screws organized using a magnetic mat or small container. iPhone screws are tiny and come in different sizes — mixing them up can cause damage.
Step-by-Step Instructions
Step 1: Power Off & Remove SIM Tray
- Turn off your iPhone XR completely.
- Remove the SIM tray using a SIM ejector tool.
- Using a Pentalobe screwdriver, undo the two bottom screws near the charging port.
Step 2: Heat the Screen
- Place the front screen side down on a heating pad and select the mobile phone heating option. Wait until the heating cycle is complete.
- Alternatively, you can use a heat gun or hairdryer. Keep it at least 10–15 cm away from the screen to avoid overheating.
- Heating softens the adhesive around the edges, making it easier to lift the screen without cracking.
Pro Tip: Avoid overheating the device — excess heat can damage the display or battery.
Step 3: Lift the Screen
- Use a double-sided suction cup to lift the screen. If unavailable, a regular suction cup with a plastic card or triangle picker works.
- Lift the screen like opening a book, with the hinge on the right side.
- Slowly insert the plastic pry tool around the edges to loosen the adhesive.
Tip: Don’t lift the screen too quickly — the cables underneath can tear if pulled too hard.
Step 4: Remove Battery & Connector Shields
- Undo three screws to remove the main shield covering the battery connector.
- Disconnect the battery plug to prevent short circuits.
- Remove both screen & earpiece connector shields by undoing six screws.
- Keep screws organized — they are tiny and vary in size.
Restore Your iPhone XR battery Health
Step 5: Disconnect Screen Assembly
- Remove the bracket covering the connectors.
- Disconnect the following connectors carefully:
- Earpiece assembly plug
- LCD connector
- Touch connector
- Slowly lift the screen away from the body.
Tip: Gently wiggle connectors instead of pulling to avoid damaging the logic board.
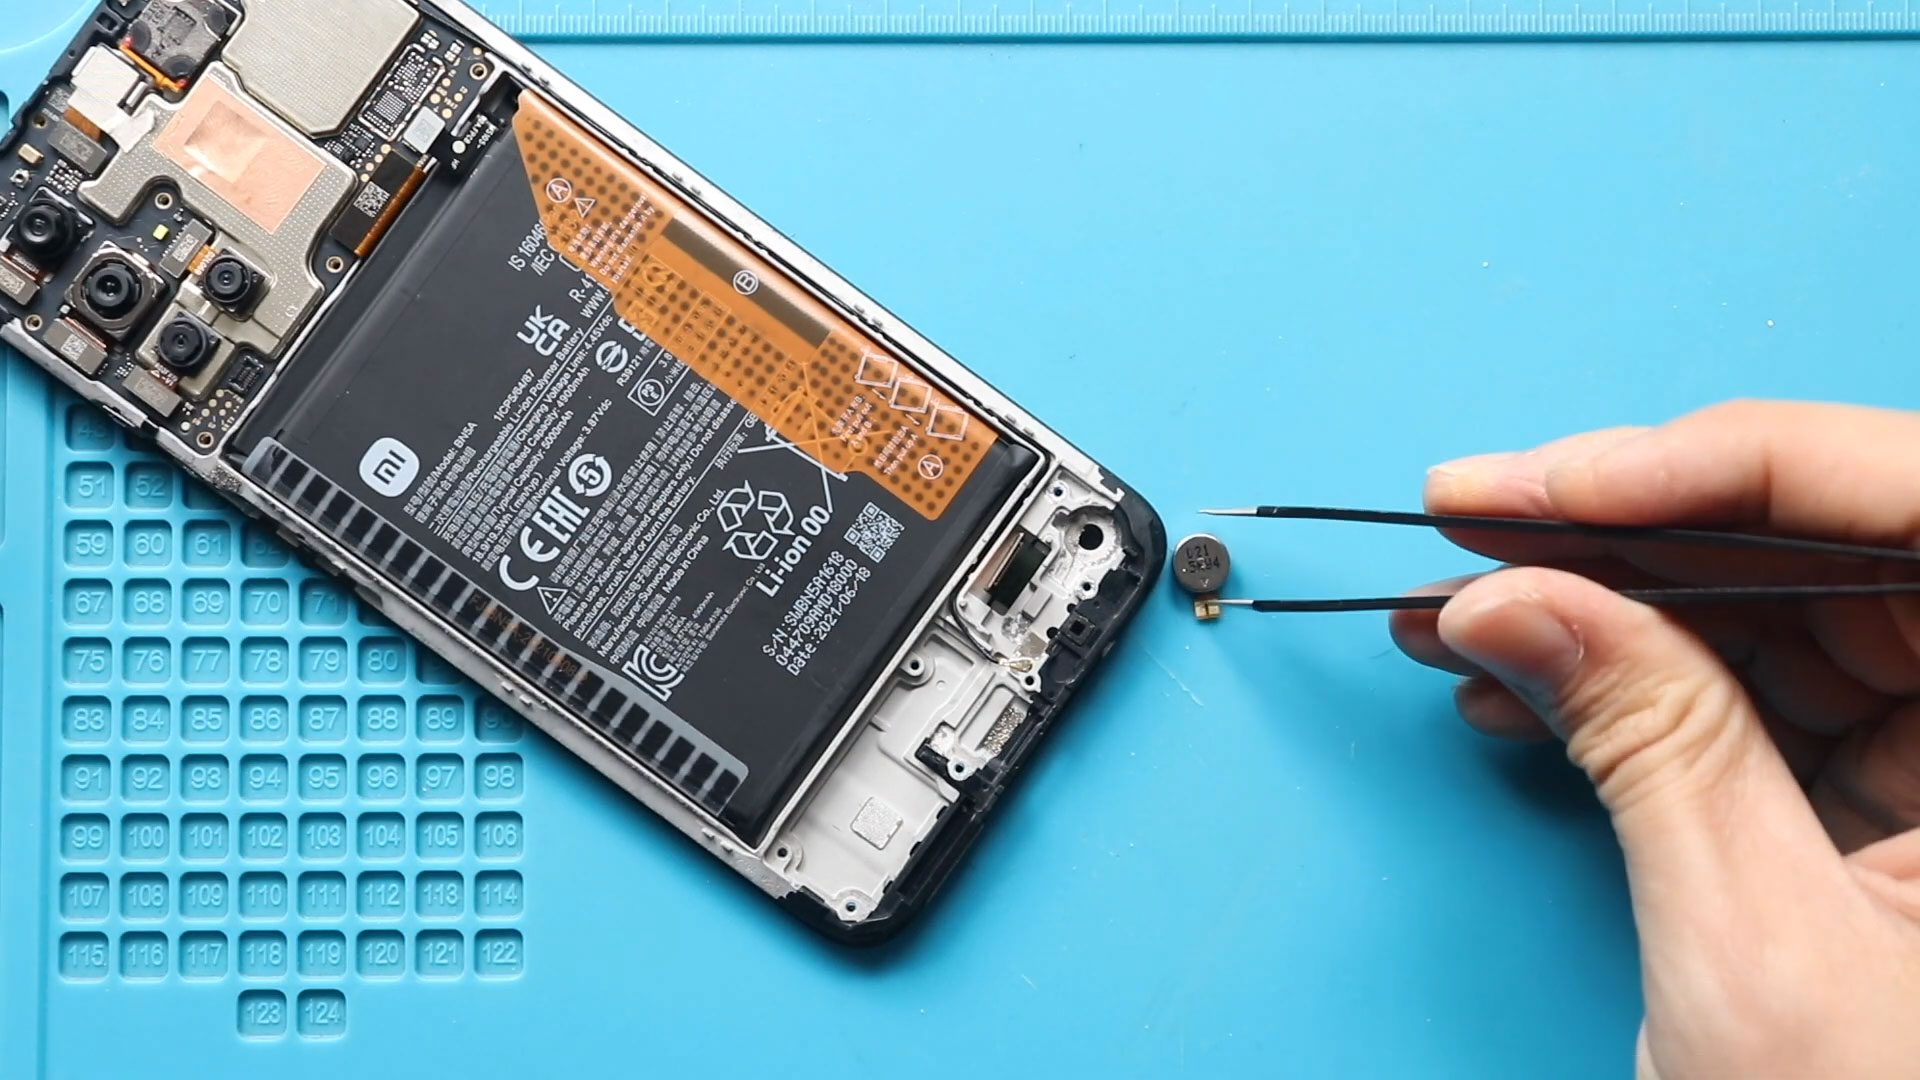
Step 6: Remove Earpiece Assembly from Old Screen
- On the broken screen, undo four screws securing the earpiece assembly.
- Carefully lift out the earpiece assembly.
- Inspect the unit for damage. If it’s cracked or faulty, replace it with a new one.
Step 7: Install Earpiece on New Screen
- Place the earpiece assembly on the new screen.
- Secure it with three screws.
- Pro Tip: Temporarily connect the new screen and battery to test display and touch functionality before final assembly.
Step 8: Apply Water-Seal Adhesive
- Insert the pre-cut water-seal adhesive around the frame.
- Press gently to ensure it sticks evenly.
Important: This provides extra protection but does not make your iPhone fully waterproof. Avoid submerging the device.
Step 9: Reconnect Screen to Body
- Align the new screen and press it into the frame.
- Connect the LCD, Touch, and Earpiece plugs to the motherboard.
- Reconnect the battery and power on the phone to verify functionality:
- Display works correctly
- Touch is responsive
- Earpiece audio is clear
Step 10: Reinstall Shields & Brackets
- Place all connector shields and brackets back in position.
- Tighten screws carefully — avoid overtightening, which can strip threads.
- Double-check that all connectors are secure.
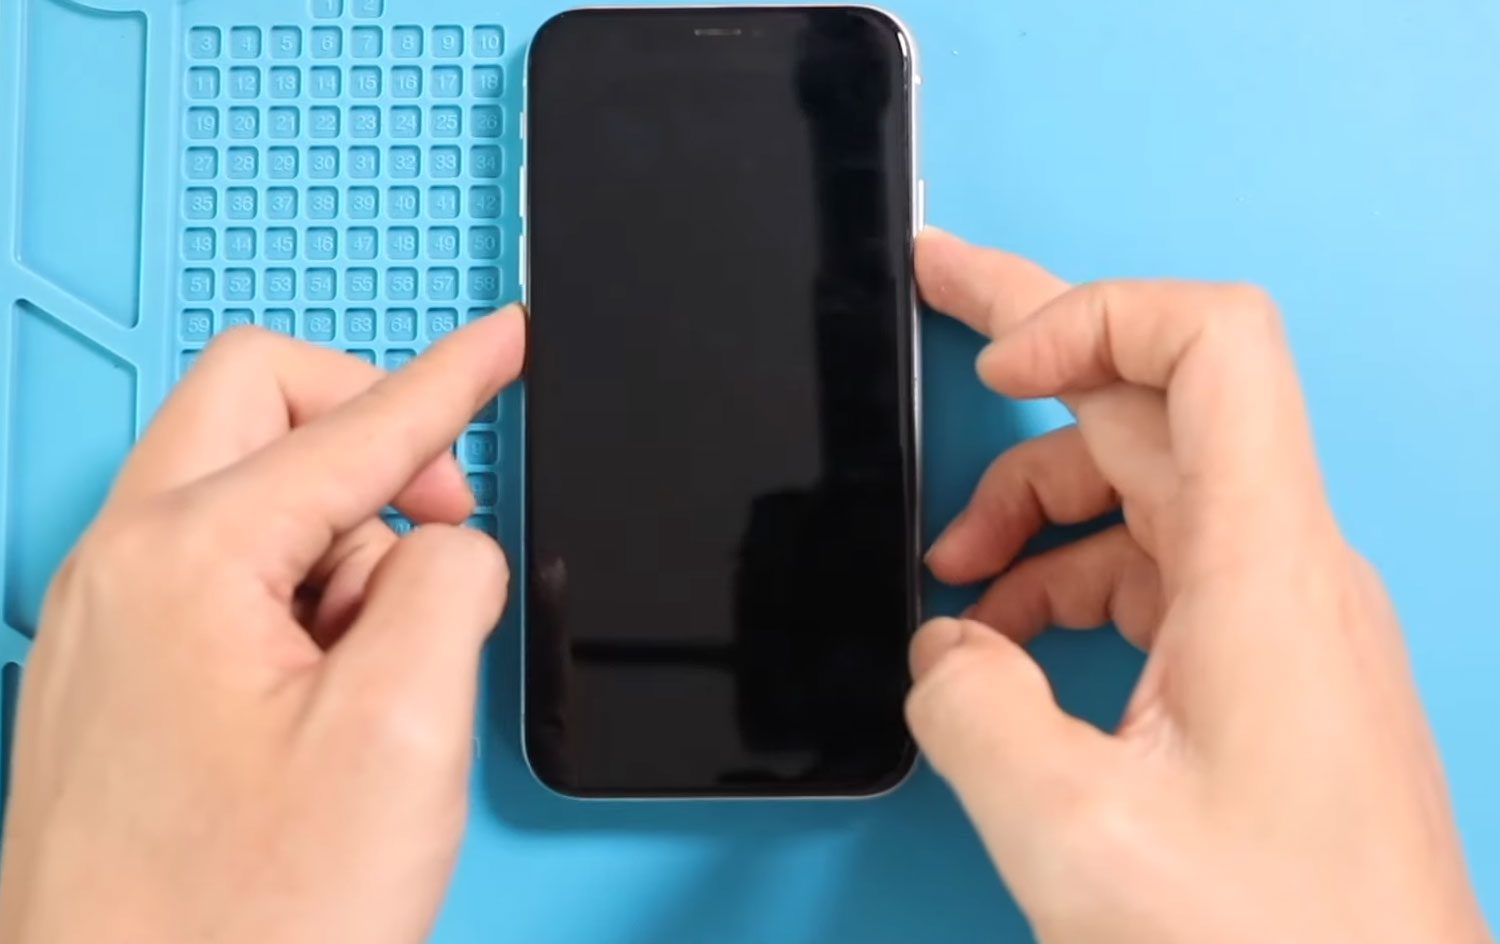
Step 11: Clamp the Phone
- Press the top of the screen first.
- Then press the sides, followed by the bottom.
- Ensure the screen clicks evenly into the frame.
Tip: Avoid pressing too hard in the center of the screen — this can crack the display.
Step 12: Final Steps
- Reinsert the SIM tray.
- Secure the two bottom screws using a Pentalobe screwdriver.
- Your iPhone XR is now fully assembled and ready to use!
FAQ’s
1. Can I use a heat gun instead of a heating pad?
Yes, but keep a safe distance (10–15 cm) to prevent overheating or screen damage.
2. Do I need to disconnect the battery before replacing the screen?
Yes, always disconnect the battery to avoid short circuits or electrical damage.
3. Will the water-seal adhesive make the iPhone waterproof?
No, it provides extra protection but does not make the device fully waterproof.
4. How can I check if the new screen is working before final assembly?
Connect the screen and battery temporarily, then test:
- Touch responsiveness
- Display clarity
- Earpiece audio
5. Can I reuse the old earpiece assembly?
Yes, if undamaged. Otherwise, replace it to avoid audio issues.
6. What if the screen doesn’t respond after installation?
Double-check that all LCD, Touch, and Earpiece connectors are properly seated. Reconnect the battery if needed.
Related Repair Guides