Now Reading: iPhone XR Sim Card Reader Replacement Guide
-
01
iPhone XR Sim Card Reader Replacement Guide

Hi everyone, welcome back to DIYGeardo!
Today, we’ll show you how to replace the SIM card reader (SIM connector slot) on the iPhone XR mobile phone.
If your iPhone XR shows “No SIM”, “Searching”, intermittent signal, or fails to detect the SIM card, the SIM card reader may be damaged. This can happen due to physical damage, liquid exposure, corrosion, or wear on the SIM connector.
In this guide, we’ll walk you through opening the device safely, replacing the faulty SIM card reader, and reassembling the phone correctly. Follow each step carefully to ensure proper network detection after the repair.
Repair Difficulty & Time Estimate
Difficulty Level:
🟠 Medium
Estimated Time Required:
⏱ 25–35 minutes
Compatibility and Model Numbers
Compatible Mode Numbers l A2105, A1984, A2107, A2108, A2106
Tools You Need
- Heating pad / heat gun / hairdryer
- Suction cup
- Plastic card pry tools / opening picks / Tweezers
- Phillips PH000/PH00 screwdriver
- Pentalobe P2 Screwdriver (for bottom screws)
- Tri-Point Y000 Screwdriver (in rare cases)
- Adhesive (B7000 or double-sided frame adhesive)
- Pre-cut water-seal adhesive
- Bonding clips or rubber bands (optional but recommended)
How to Find Tools and Parts
- Heating pad – https://amzn.to/3H0tHzJ
- Portable Heat Gun – https://amzn.to/4mszih1
- Clamps https://amzn.to/3GYJT4w
- STREBITO 142 Piece Repair Tool Kit https://amzn.to/3UO1jUx
- Glue | Adhesive https://amzn.to/46exVxe
- Compatible Parts https://amzn.to/3Vi5fx2
- Silicone Work Repair Mat https://amzn.to/45Emz5l
How to Separate The Screen Easily Using the Heating Pad
Step-by-Step SIM Card Reader Replacement Instructions
Step 1: Power Off & Prepare the Device
- Turn off the iPhone XR completely.
- Remove the SIM tray using a SIM ejector tool.
- Undo the two bottom screws using a Pentalobe screwdriver.
Step 2: Heat and Loosen the Screen Adhesive
- Apply gentle heat around the screen edges to soften the adhesive.
- Place the screen side down on a heating pad, select the mobile phone heating option, and allow the cycle to complete.
- Alternatively, use a heat gun or hairdryer, applying even heat.
Step 3: Open the Front Screen
- Use a double-sided suction cup to lift the screen slightly.
- If needed, assist with a plastic card or triangle picker.
- Carefully loosen the adhesive and rubber gasket.
- Open the screen like a book, keeping it supported.
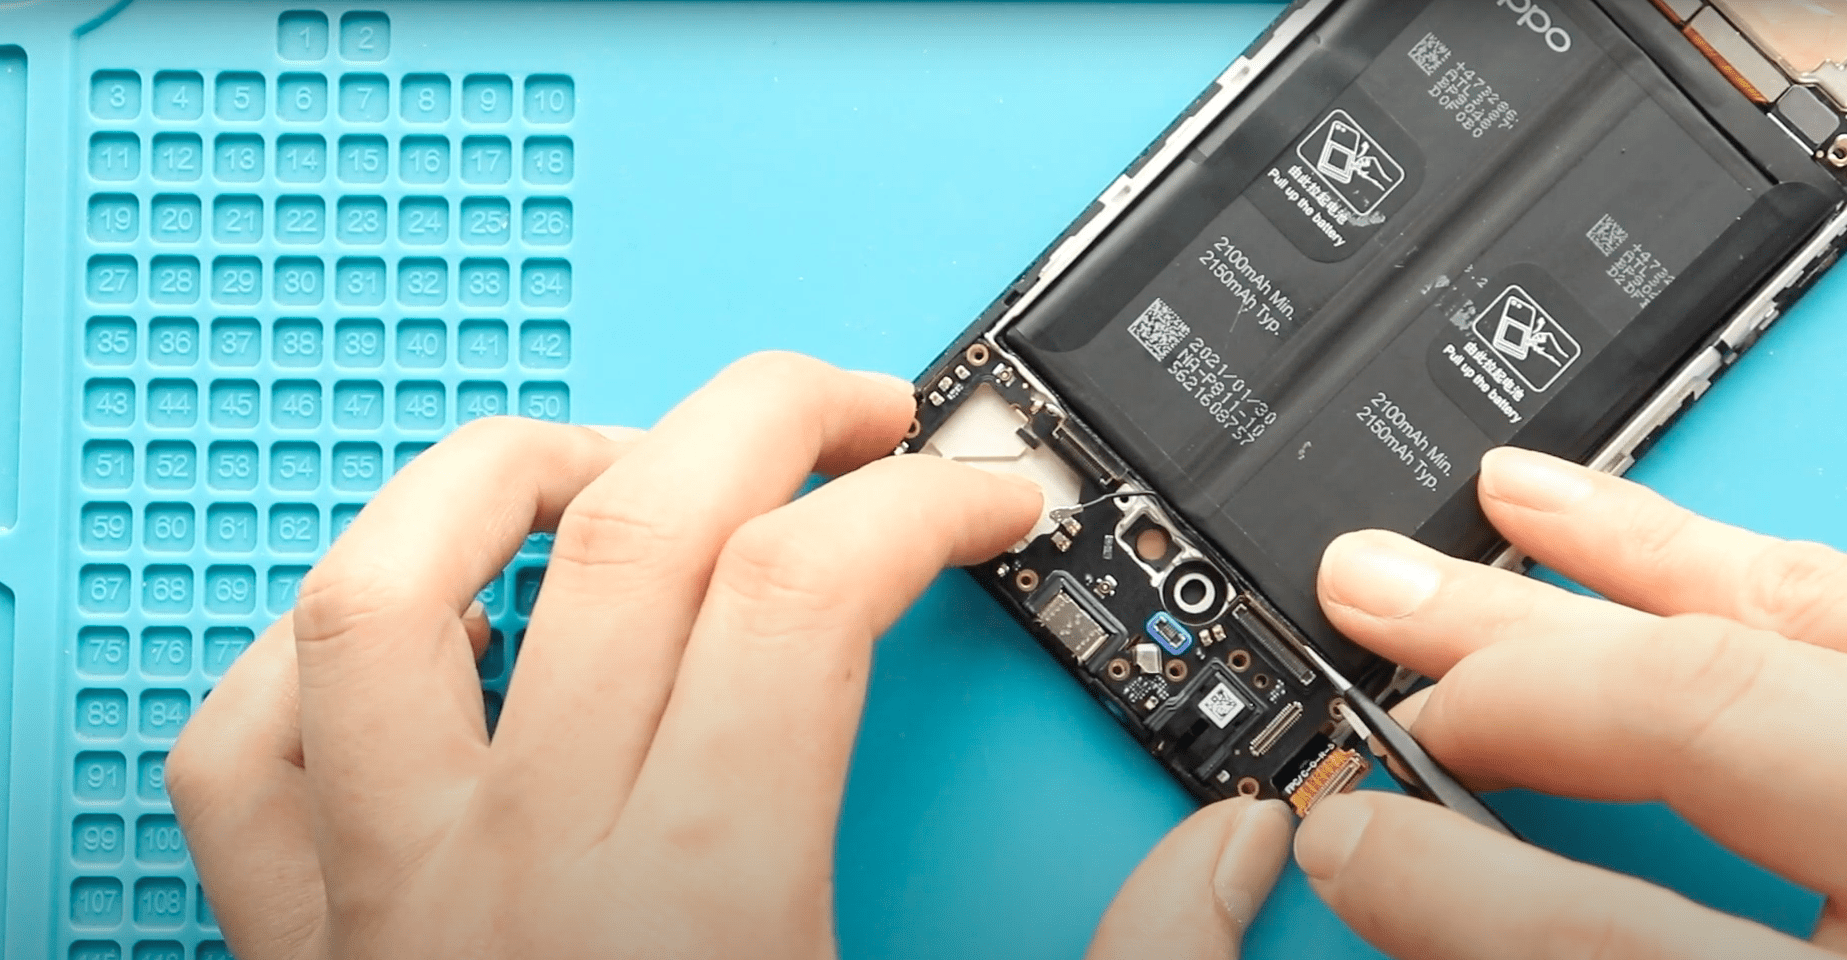
Step 4: Disconnect Battery & Display
- Remove the connector shield by undoing three screws.
- Disconnect the battery connector first.
- Remove both screen and earpiece connector shields by undoing six screws.
- Remove the bracket and disconnect:
- LCD connector
- Touch connector
- Earpiece assembly connector
The front screen assembly can now be separated from the body.
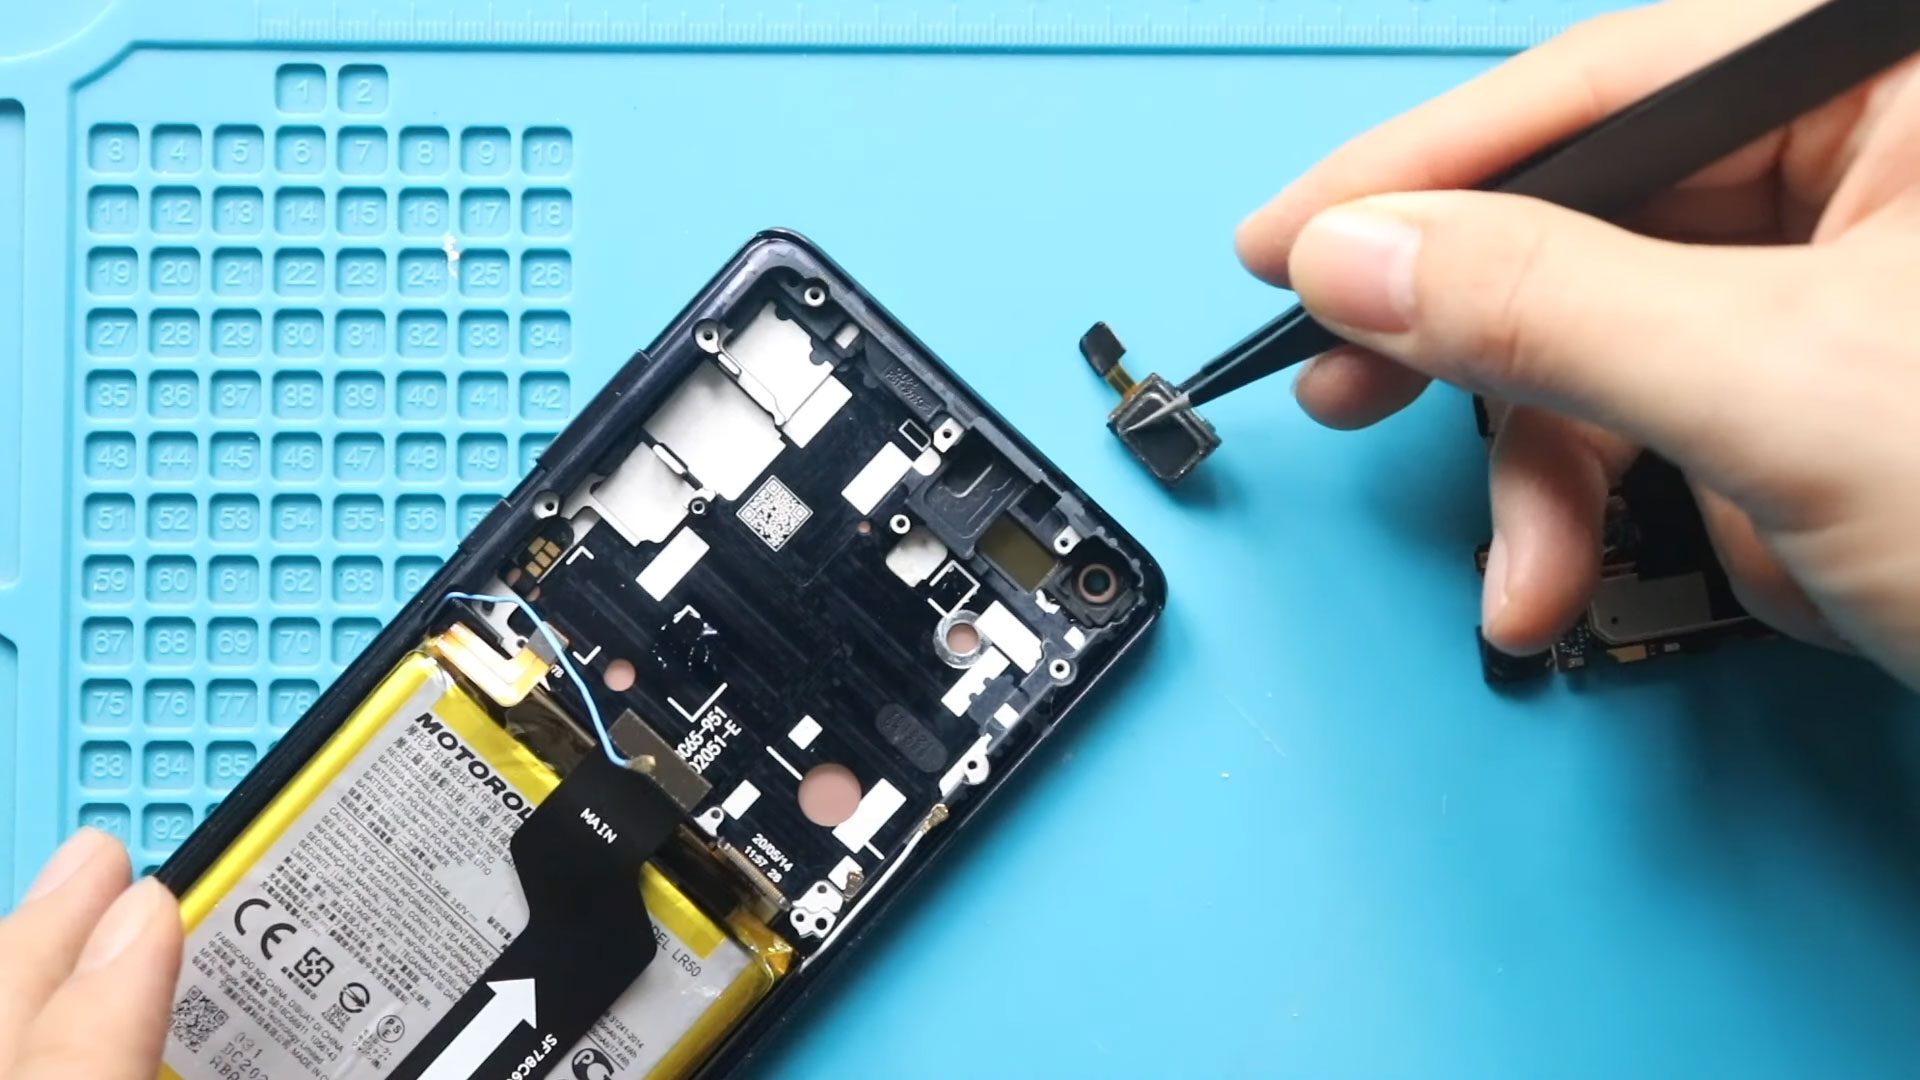
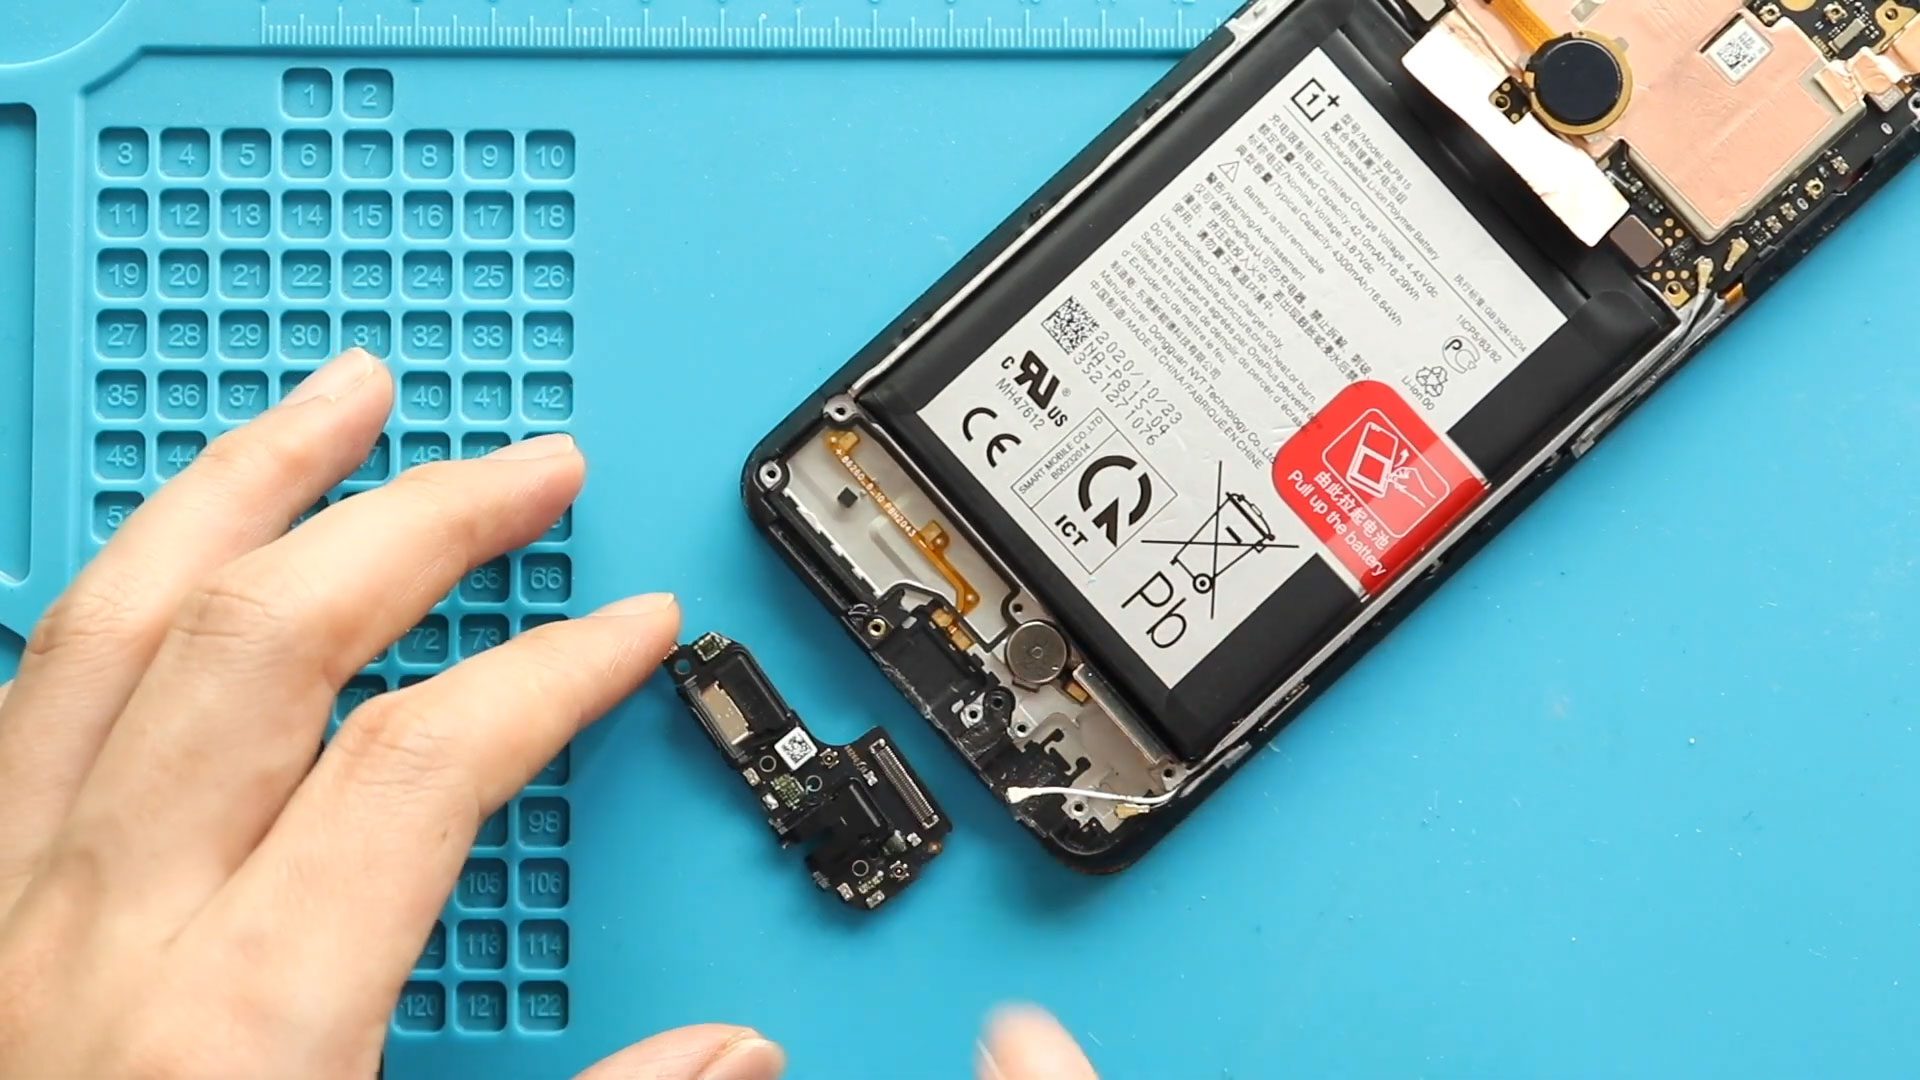
Step 5: Remove the SIM Card Reader
Next, take out the SIM tray if not already removed.
Next, remove the faulty SIM connector slot by disconnecting the connector plug and undoing three screws along with the bracket.
Carefully lift and remove the SIM card reader from the body.
Step 6: Install the New SIM Card Reader
Next, place the new SIM connector reader into position inside the body.
Next, secure the unit by reconnecting the plug and tightening three screws with the shield.
Ensure the connector is fully seated to avoid network issues.
Step 7: Reinsert the SIM Tray
Next, insert the SIM tray back into the SIM reader to confirm proper alignment.
iPhone XR is not Charging? Maybe Faulty Port
Step 8: Apply Water-Seal Adhesive
- Clean the frame edges if required.
- Apply the pre-cut water-seal adhesive evenly around the frame.
Note: This adhesive improves sealing but does not fully restore waterproofing.
Step 9: Reconnect Screen & Test
- Reconnect the following connectors:
- LCD
- Touch
- Earpiece assembly
- Battery
- Power on the device and test:
- SIM detection
- Network signal
- Mobile data and calls
Proceed only if the SIM is detected correctly.
Step 10: Reinstall Shields & Close the Phone
- Place all connector shields and brackets back into position.
- Secure them using the correct screws.
- Be gentle and avoid overtightening.
Step 11: Seal the Device
- Align the screen properly.
- Click the top edge first, then press the sides and bottom evenly.
- Apply pressure along the frame edges only.
Step 12: Final Assembly
- Insert the SIM tray fully.
- Secure the phone using the two bottom screws.
The iPhone XR SIM card reader replacement is now complete.
SIM Card Not Detected After Replacement – Troubleshooting
1. SIM not recognized
- Recheck the SIM reader connector
- Reseat the connector and test again
2. No network signal
- Confirm the SIM tray is inserted correctly
- Test with another SIM card
3. Intermittent signal
- Ensure the SIM reader is secured properly
- Check for bent pins or misalignment
FAQs – iPhone XR SIM Card Reader Issues
1. Why does my iPhone XR show “No SIM” or “Searching”?
This usually happens due to a faulty SIM card reader, loose connector, corrosion from liquid exposure, or physical damage to the SIM slot. If software resets do not fix the issue, replacing the SIM card reader is recommended.
2. Will replacing the SIM card reader fix network signal problems?
Yes, if the issue is caused by damaged SIM contacts or an unstable connector. However, antenna or baseband issues should also be ruled out before replacement.
3. Do I need to open the iPhone XR to replace the SIM reader?
Yes. The SIM card reader is connected internally to the logic board, so screen removal and internal access are required.
4. Can a damaged SIM tray cause SIM detection issues?
Yes. A bent or damaged SIM tray can prevent proper contact with the SIM reader. Always check the SIM tray before replacing the reader.
5. Should I test the SIM card before sealing the phone?
Yes. Always power on the device and confirm SIM detection, signal strength, mobile data, and calls before final assembly.
6. Does replacing the SIM card reader erase data or affect iOS?
No. Replacing the SIM reader does not affect data, iOS, or iCloud settings.
Related Repair Guides