Now Reading: Motorola Moto G Stylus 5G XT2131 LCD Touch Screen Replacement Guide
-
01
Motorola Moto G Stylus 5G XT2131 LCD Touch Screen Replacement Guide

Motorola Moto G Stylus 5G XT2131 LCD Touch Screen Replacement Guide
Hi everyone, welcome back to Geardo 👋
In this guide, we’ll walk you through a complete, beginner-friendly tutorial on how to replace the LCD screen assembly on your Motorola Moto G Stylus 5G.
If your screen is cracked, unresponsive, or showing display issues, replacing the LCD assembly is the best solution. This repair is more advanced than basic fixes, but with patience and the right tools, it can be done successfully.
🔧 Repair Overview
- Device Type: Smartphone
- Device Model: Motorola Moto G Stylus 5G
- Repair Type: LCD Screen Assembly Replacement
⭐ Repair Difficulty : ★★★★★★★☆☆☆ (7/10 – Advanced)
⏱️ Time Required : 90 – 120 minutes
🔍 Reasons for Screen Replacement
- Cracked or shattered display
- Touchscreen not responding
- Display flickering or dead pixels
- Black screen or no display output
- Water or physical damage
Check The Latest Motorola Phones are in Clearance “up to 60% off” – https://amzn.to/480ho0w
Before You Begin
Compatibility and Model Numbers
- Motorola Moto Stylus 5G (2021)
Model Numbers | XT2131, XT2131DL, XT2131-1, XT2131-3, XT2131-4
Tools Required
- Mobile phone heating pad or hairdryer/heat gun
- Plastic pry tool / card pry
- Suction cups
- Phillips #00/#000 screwdrivers
- Torx T3 / T4 / T5 Screwdriver (Depends on the version)
- Flathead Screwdriver
- Tweezers (for connectors)
- B7000 glue or double-sided adhesive (for back cover)
- Rubber bands or bonding clips to secure the back cover
Using proper tools reduces the risk of damaging the phone.
How to Find Tools and Parts
- Heating pad – https://amzn.to/3H0tHzJ
- Portable Heat Gun – https://amzn.to/4mszih1
- Clamps https://amzn.to/3GYJT4w
- STREBITO 142 Piece Repair Tool Kit https://amzn.to/3UO1jUx
- Glue | Adhesive https://amzn.to/46exVxe
- Compatible Parts –
- Battery – https://amzn.to/46u7VNl
- Screen – https://amzn.to/47LQSbS
- Other Parts – https://amzn.to/3Vp6SZX
- Silicone Work Repair Mat https://amzn.to/45Emz5l
Step-by-Step LCD Screen Replacement Guide
Step 1: Remove the Back Cover
Heat around the back cover edges to soften the adhesive using a heating pad, heat gun, or hairdryer.
Use a suction cup and plastic pry tool to carefully cut the adhesive and remove the back cover while holding the fingerprint button.
Step 2: Remove the Top Frame
Unscrew the eight screws securing the logic board frame and lift it out.
Step 3: Disconnect the Battery
Move the fingerprint button aside and disconnect the battery connector.
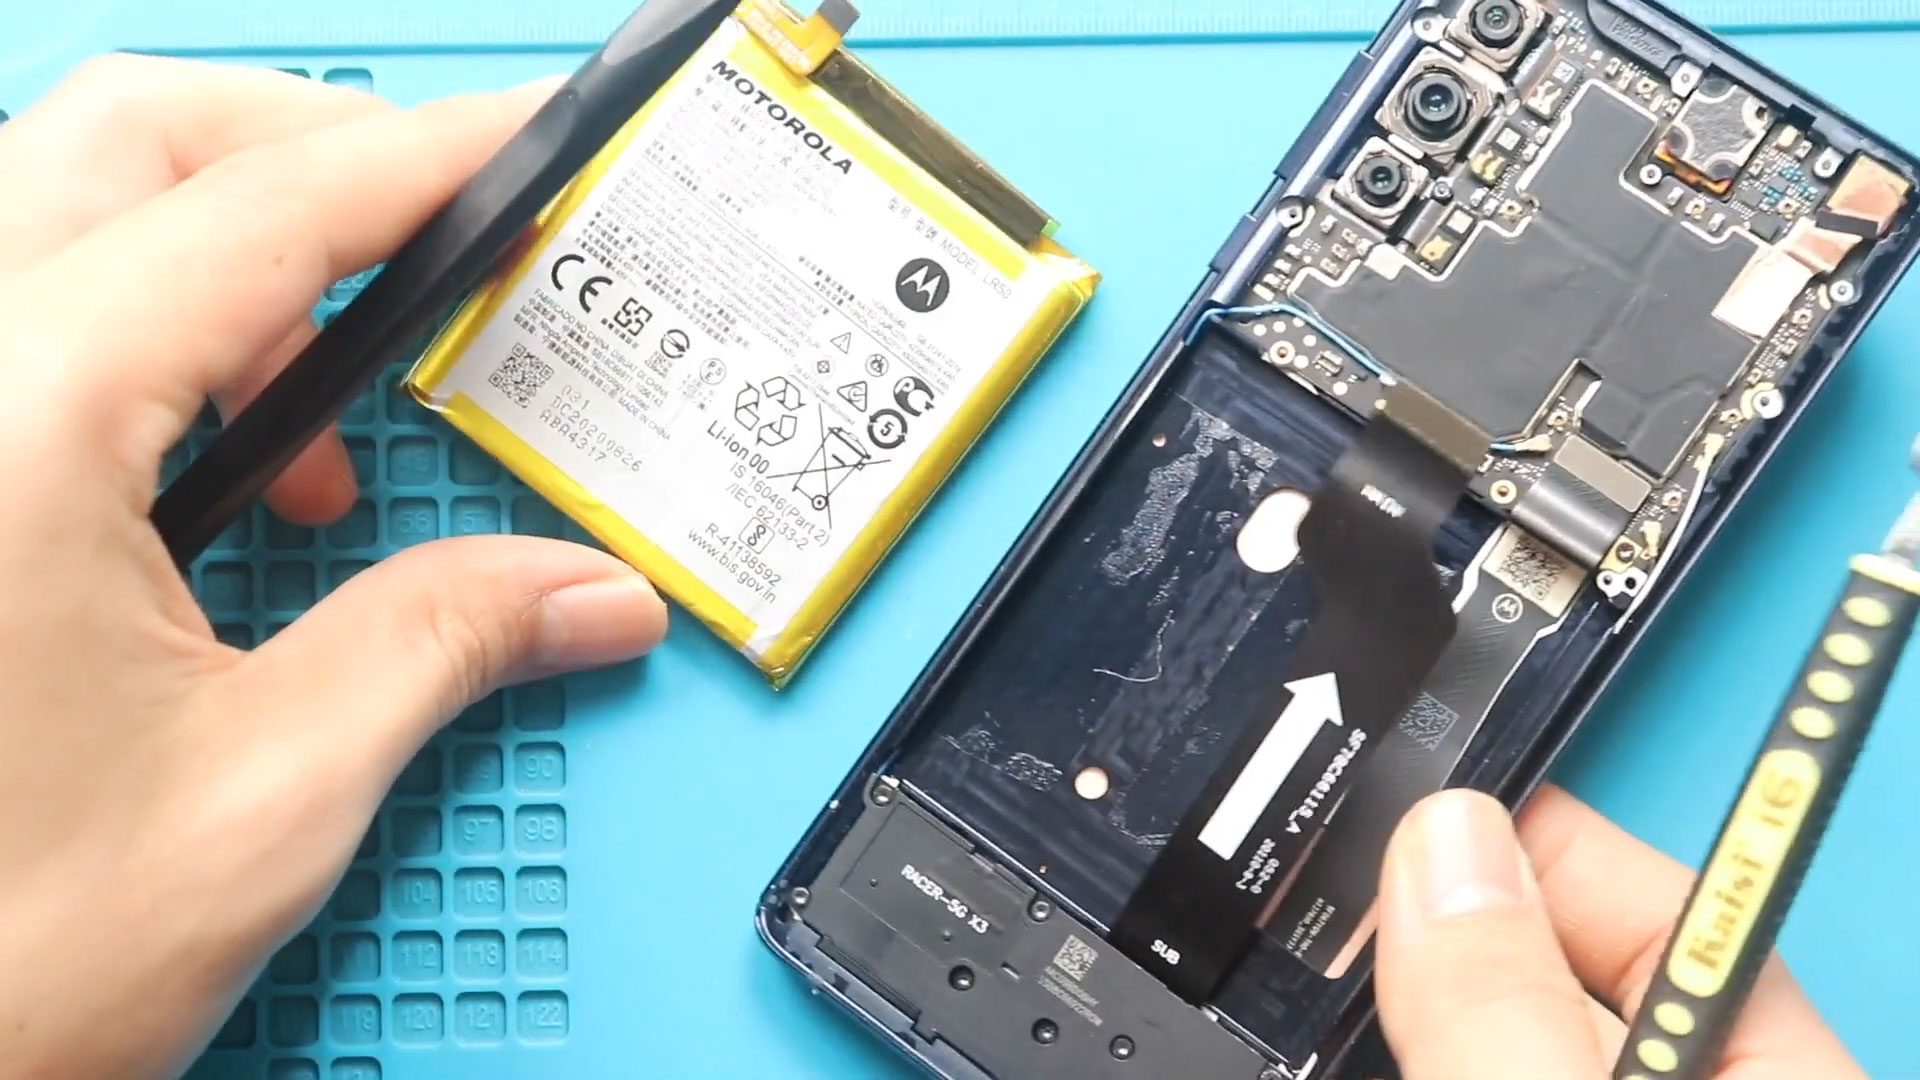
Step 4: Remove the Battery
Peel back the graphite tape and release the adhesive.
Apply heat under the battery and gently pry it loose. Carefully remove it.
Step 5: Disconnect Internal Components
- Disconnect two antenna cables
- Move graphite tape aside
- Disconnect connector plugs
- Remove the SIM tray
Step 6: Remove the Logic Board
Undo screws securing the board and gently lift it out.
Step 7: Remove Additional Components
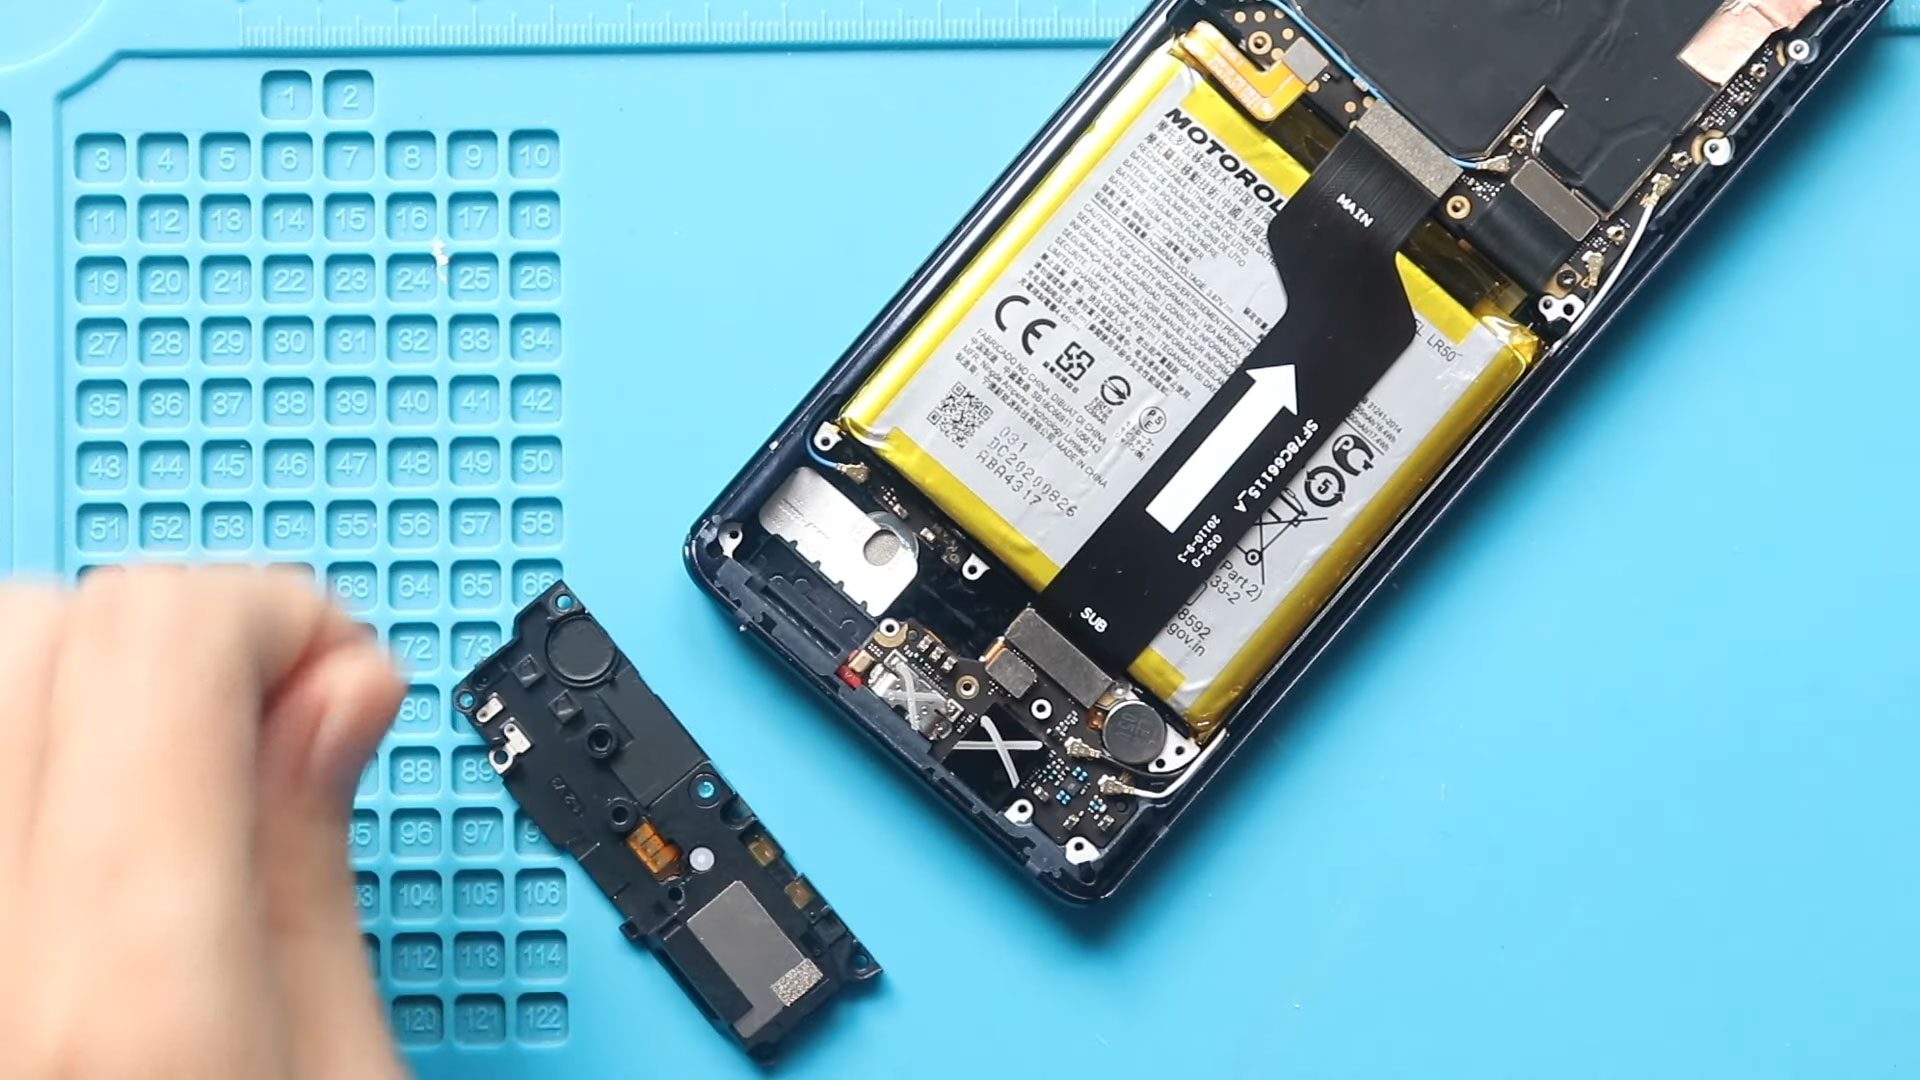
- Remove the earpiece module
- Unscrew and remove the speaker cover (7 screws)
- Remove the charging port board screw
- Disconnect main flex cable and antennas
- Remove the vibrator motor (apply heat if needed)
Now only the damaged screen assembly remains.
Step 8: Choose the Replacement Screen
There are two options available:
- Screen with frame (Recommended) ✅
- Screen without frame
👉 A screen with frame is easier to install and reduces risk.
👉 Available as original, refurbished, used, or aftermarket.
Step 9: Transfer Components to New Frame
Start assembling components into the new screen frame:
- Install the earpiece module
- Place and secure the logic board
- Connect LCD connector
- Insert SIM tray
Step 10: Reinstall Internal Parts
- Install vibrator motor
- Install charging port board
- Reconnect antennas
- Connect main flex cable
Step 11: Reinstall Battery
Secure the battery with fresh adhesive.
Reapply graphite tape and secure it.
Step 12: Reassemble the Phone
- Install speaker cover (7 screws)
- Connect battery and reposition fingerprint button
- Reinstall logic board frame (8 screws)
Step 13: Close the Back Cover
Ensure adhesive is properly applied.
Use B7000 glue or new adhesive if needed.
Press the back cover firmly and use clips or rubber bands until it sets.
❓ Frequently Asked Questions (FAQ)
1. Should I choose a screen with frame or without?
A screen with frame is highly recommended because it simplifies installation and reduces risk.
2. Is this repair suitable for beginners?
It’s more advanced than basic repairs. Beginners can do it, but patience and careful handling are essential.
3. Will replacing the screen fix touch issues?
Yes, if the issue is hardware-related to the display assembly.
4. Can I reuse the old adhesive?
It’s not recommended. Always use fresh adhesive for better durability.
5. What type of screen should I buy?
You can choose original, refurbished, or aftermarket. Original or high-quality refurbished screens offer the best performance.
🛠️ Troubleshooting (Q&A Format)
1. Screen not turning on after replacement
- Check LCD connector
- Ensure battery is connected
- Try charging the device
2. Touch not working properly
- Reconnect display cable
- Ensure no dust in connectors
3. No signal or network issue
- Check antenna connections
- Ensure cables are properly snapped in
4. Phone not powering on
- Reconnect battery
- Check all internal connections
5. Back cover not sealing properly
- Apply new adhesive
- Use clips or rubber bands for pressure
✅ Final Thoughts
You’ve successfully learned how to replace the LCD screen assembly on the Motorola Moto G Stylus 5G 🎉
This is a more advanced repair, but completing it can save money and extend your device’s life significantly. Take your time, follow each step carefully, and double-check all connections before sealing the device.
If you have any questions, feel free to ask and share your experience 👍
Related Guides
Other Moto G Stylus 5G Repair Guides