
Now Reading: Motorola Moto One 5G ACE Earpiece Speaker Replacement Guide
-
01
Motorola Moto One 5G ACE Earpiece Speaker Replacement Guide
Motorola Moto One 5G ACE Earpiece Speaker Replacement Guide
Hi everyone, Welcome back to geardo.
If your Motorola Moto One 5G Ace earpiece speaker is producing low sound, distorted audio, or no sound at all during calls, it may need replacement. This issue can happen due to dust buildup, wear over time, or internal hardware failure.
In this guide, we will walk you through a complete step-by-step process to replace the earpiece speaker on the Motorola Moto One 5G Ace. This is a beginner-friendly repair that can restore clear call audio.
Make sure you have the right tools and carefully follow each step.
Repair Information
| Repair Detail | Information |
|---|---|
| Device Type | Smartphone |
| Device Model | Motorola Moto One 5G Ace |
| Repair Type | Earpiece Speaker Replacement |
| Repair Difficulty | ⭐⭐☆☆☆ |
| Estimated Repair Time | 20–30 Minutes |
Reasons for This Repair
- No sound during calls
- Low or muffled audio
- Crackling or distorted sound
- Calls only audible on speaker mode
- Dust or debris affecting the earpiece
Check The Latest Motorola Phones are in Clearance “up to 60% off” – https://amzn.to/480ho0w
Before You Begin
Compatibility and Model Numbers
- Motorola Moto One 5G Ace
- Motorola Moto One 5G
Model Numbers | XT2113-2, XT2113-5
Tools Required
- Mobile phone heating pad or hairdryer/heat gun
- Plastic pry tool / card pry
- Suction cups
- Phillips #00/#000 screwdrivers
- Torx T3 / T4 / T5 Screwdriver (Depends on the version)
- Flathead Screwdriver
- Tweezers (for connectors)
- B7000 glue or double-sided adhesive (for back cover)
- Rubber bands or bonding clips to secure the back cover
Using proper tools reduces the risk of damaging the phone.
How to Find Tools and Parts
- Heating pad – https://amzn.to/3H0tHzJ
- Portable Heat Gun – https://amzn.to/4mszih1
- Clamps https://amzn.to/3GYJT4w
- STREBITO 142 Piece Repair Tool Kit https://amzn.to/3UO1jUx
- Glue | Adhesive https://amzn.to/46exVxe
- Compatible Parts –
- Battery – https://amzn.to/4nBrXMC
- Screen – https://amzn.to/46cWGtR
- Other Parts – https://amzn.to/4nFxjqp
- Silicone Work Repair Mat https://amzn.to/45Emz5l
Step-by-Step Replacement Guide
Step 1: Power Off and Remove SIM Tray
Turn off the phone completely and remove the SIM tray.
Step 2: Apply Heat
Apply gentle heat around the back cover edges to soften adhesive.
Step 3: Remove Back Cover
Create a gap near the edges and carefully pry around the phone to release the clips and remove the back cover.
Step 4: Remove Board Frame
Unscrew and remove the board frame covering the internal components.
Step 5: Disconnect Battery Connector
Lift the protective tape and disconnect the battery connector for safety.
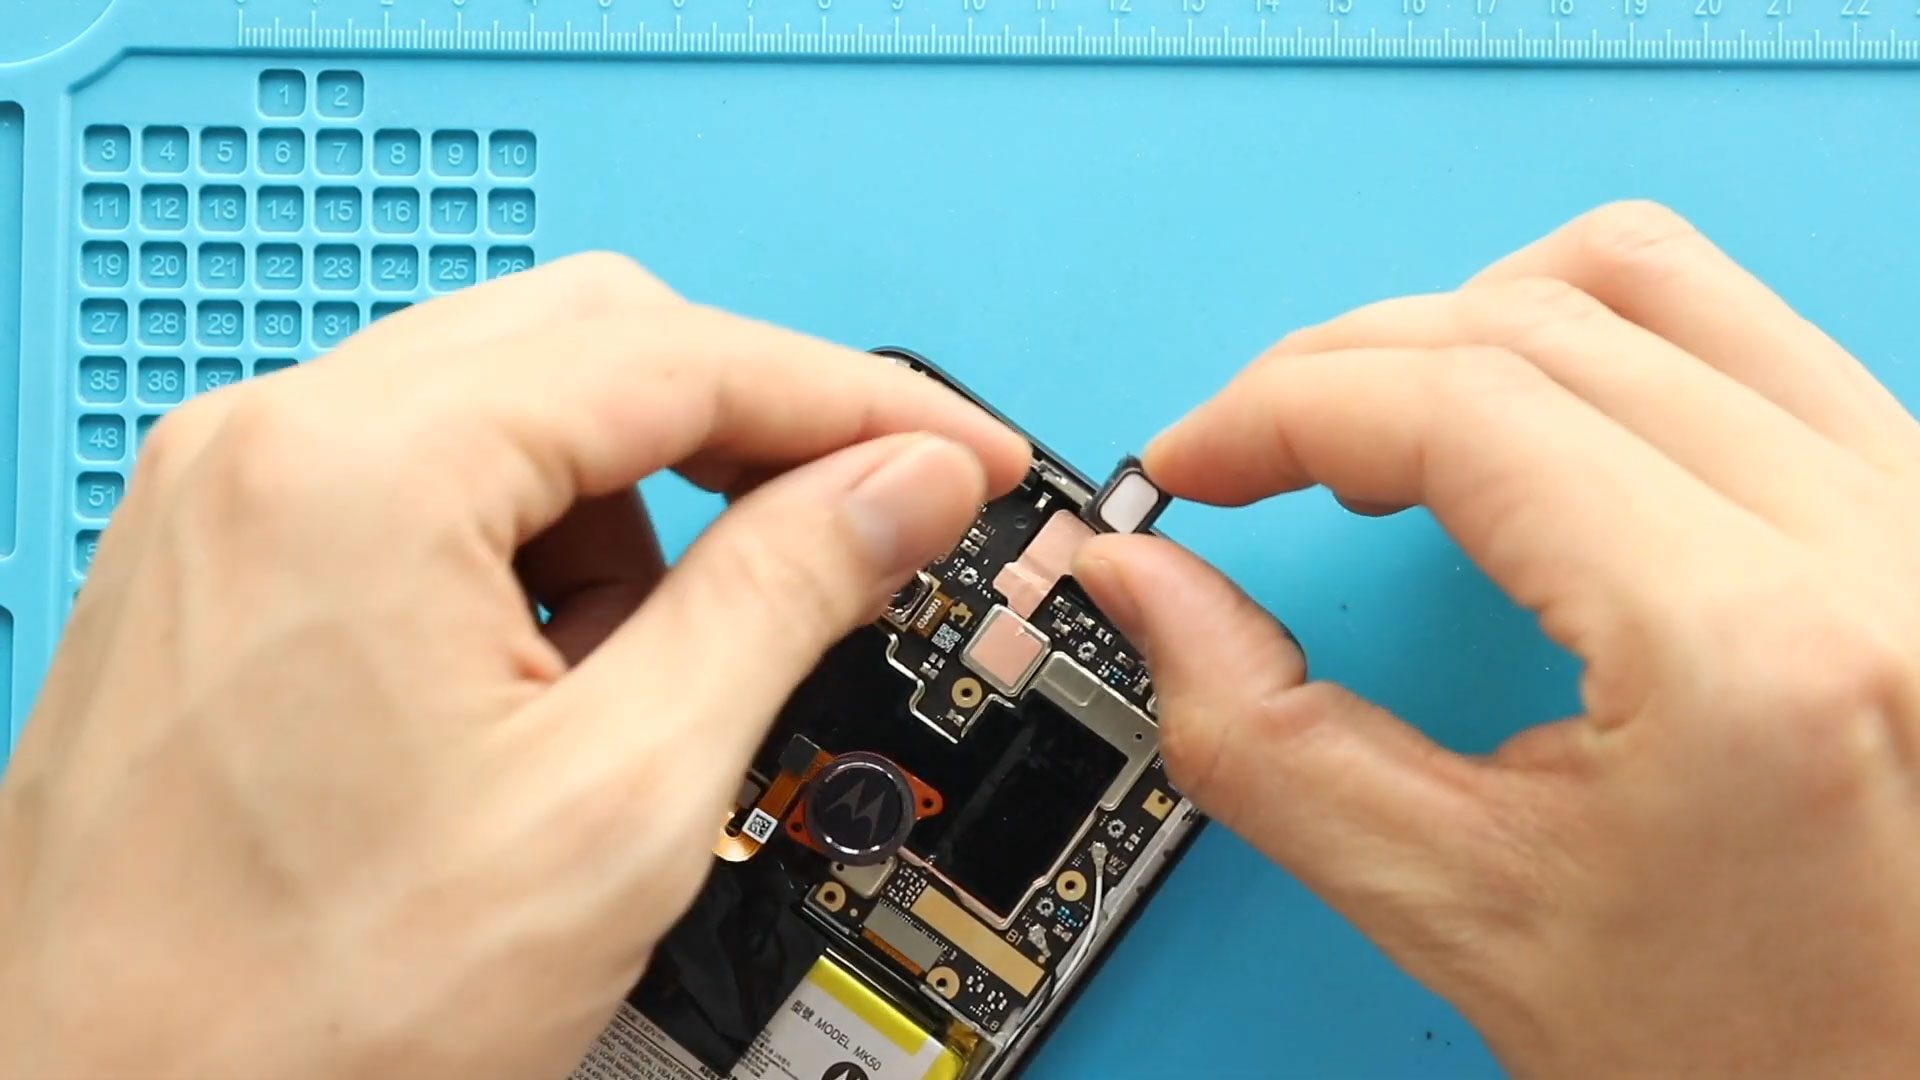
Step 6: Remove Faulty Earpiece Speaker
Carefully remove the faulty earpiece speaker from its position.
Step 7: Install New Earpiece Speaker
Place the new earpiece speaker into position and ensure proper alignment.
Step 8: Reconnect Battery Connector
Reconnect the battery connector and reposition the protective tape.
Step 9: Reinstall Board Frame
Place the board frame back and tighten all screws securely.
Step 10: Reattach Back Cover
Snap the back cover into place and press around the edges to secure all clips.
Step 11: Final Closure
Ensure the back cover is fully aligned and properly sealed.
Frequently Asked Questions (FAQ)
How do I know if the earpiece speaker is faulty?
If you cannot hear calls properly unless using speaker mode, the earpiece may be damaged.
Is this repair beginner-friendly?
Yes, this is one of the easier smartphone repairs with minimal disassembly.
Can I clean the earpiece instead of replacing it?
Yes, cleaning may help if dust is blocking sound, but replacement is recommended if the issue continues.
Do I need new adhesive?
Yes, using fresh adhesive helps secure the back cover properly.
Will this fix call audio issues completely?
Yes, if the issue is caused by a faulty earpiece speaker.
Troubleshooting
No sound after replacement
Check if the earpiece is properly positioned and seated.
Low sound quality
Ensure the speaker mesh and earpiece area are clean.
Phone not turning on after repair
Verify the battery connector is fully connected.
Back cover not fitting properly
Check adhesive placement and clip alignment.
Sound cuts in and out
Ensure the earpiece is securely installed and not loose.
Final Notes
This repair is a quick and effective way to restore clear call audio on your device. Work carefully during disassembly and avoid damaging nearby components.
Replacing the earpiece speaker can significantly improve call quality and everyday usability.
If you have any questions, feel free to leave a comment or reach out.
Related Guides
Check Other Motorola Moto One 5G Ace Repair Guides


-
 01Samsung Galaxy A16 5G Battery Replacement | Full DIY Repair Guide
 -
02Samsung Galaxy A16 5G Screen Replacement | Step-by-Step Guide
-
03Google Pixel 6 Power Button Replacement Guide | Volume Button Flex Repair Guide- DIY Repair
-
04Samsung Galaxy A16 5G Back Cover & Camera Lens Frame Replacement Guide | DIY Repair
-
05Why a Heating Pad Is Essential for Mobile Phone Repairs (And How to Use it)
-
06How to Use a Heat Gun or Hair Dryer for Phone/Tablet Repairs
-
07Essential Repair Tools for Phone, Tablet & Laptop Repairs


