Now Reading: Poco X3 NFC Charging Port Board Replacement Guide (Poco X3 Pro | X3)
-
01
Poco X3 NFC Charging Port Board Replacement Guide (Poco X3 Pro | X3)

Poco X3 NFC Charging Port Board Replacement Guide (Poco X3 Pro | X3)
If your Xiaomi Poco X3, Poco X3 NFC, or Poco X3 Pro is having charging problems, connection drops, or microphone issues during calls, the charging port board may be faulty.
On the Poco X3 series, the charging port board (also called the sub-board) not only handles charging and USB data but also includes the primary microphone. Damage, dust buildup, corrosion, or wear on this board can cause problems such as:
- Phone not charging or charging intermittently
- USB connection failing when connected to a PC
- Callers unable to hear you clearly
- Microphone cutting out during calls or voice recordings
This DIY guide shows you how to replace the charging port board step by step. The repair process is compatible with Poco X3, Poco X3 NFC, and Poco X3 Pro, as these models share a similar internal layout and modular charging sub-board design.
Repair Overview
- Compatible Models: Xiaomi Poco X3, Poco X3 NFC, Poco X3 Pro
- Repair Type: Charging Port Board (Sub-Board) Replacement
- Repair Difficulty: ⚠️⚠️⚠️ Medium
- Time Required: 35–50 minutes
- Risk Level: Moderate
Reasons to Replace the Poco X3 Series Charging Port Board
- Phone does not charge or charges only at certain angles
- Charging cable feels loose in the port
- USB data connection not working
- Microphone not working during calls or recordings
- Call quality issues caused by a faulty sub-board
- Visible corrosion or physical damage to the port
Before You Begin
Compatibility and Model Numbers
- POCO X3 NFC
- POCO X3
- POCO X3 Pro
Model Numbers : MZB07Z0IN, MZB07Z1IN, MZB07Z2IN, MZB07Z3IN, MZB07Z4IN, MZB9965IN, M2007J20CI, M2007J20CG, M2007J20CT, M2102J20SG, M2102J20SI
Tools Required
- Mobile phone heating pad or hairdryer/heat gun
- Plastic pry tool / card pry
- Suction cups
- Phillips #00/#000 screwdrivers
- Tweezers (for connectors)
- B7000 glue or double-sided adhesive (for back cover)
- Rubber bands or bonding clips to secure the back cover
How to Find Tools and Parts
- Heating pad – https://amzn.to/3H0tHzJ
- Portable Heat Gun – https://amzn.to/4mszih1
- Clamps https://amzn.to/3GYJT4w
- STREBITO 142 Piece Repair Tool Kit https://amzn.to/3UO1jUx
- Glue | Adhesive https://amzn.to/46exVxe
- Compatible Parts –
- Battery – https://amzn.to/3HR26Bi
- Screen – https://amzn.to/4mZPXsI
- Other Parts – https://amzn.to/3HR26Bi
- Silicone Work Repair Mat https://amzn.to/45Emz5l
Protect Your Poco X3 Series
- Protector For The Screen https://amzn.to/4gdWWw9
- Best Rated Case https://amzn.to/4fPcV3e
Step-by-Step Charging Port Replacement Guide
Step 1: Remove the SIM Tray
Power off the phone completely. Use a SIM eject tool to remove the SIM tray and keep it aside.
Step 2: Heat and Remove the Back Cover
Gently heat around the edges of the back cover to soften the adhesive.
- Place the phone back-cover-side down on a heating pad and select the mobile heating option
- Alternatively, use a heat gun or hairdryer
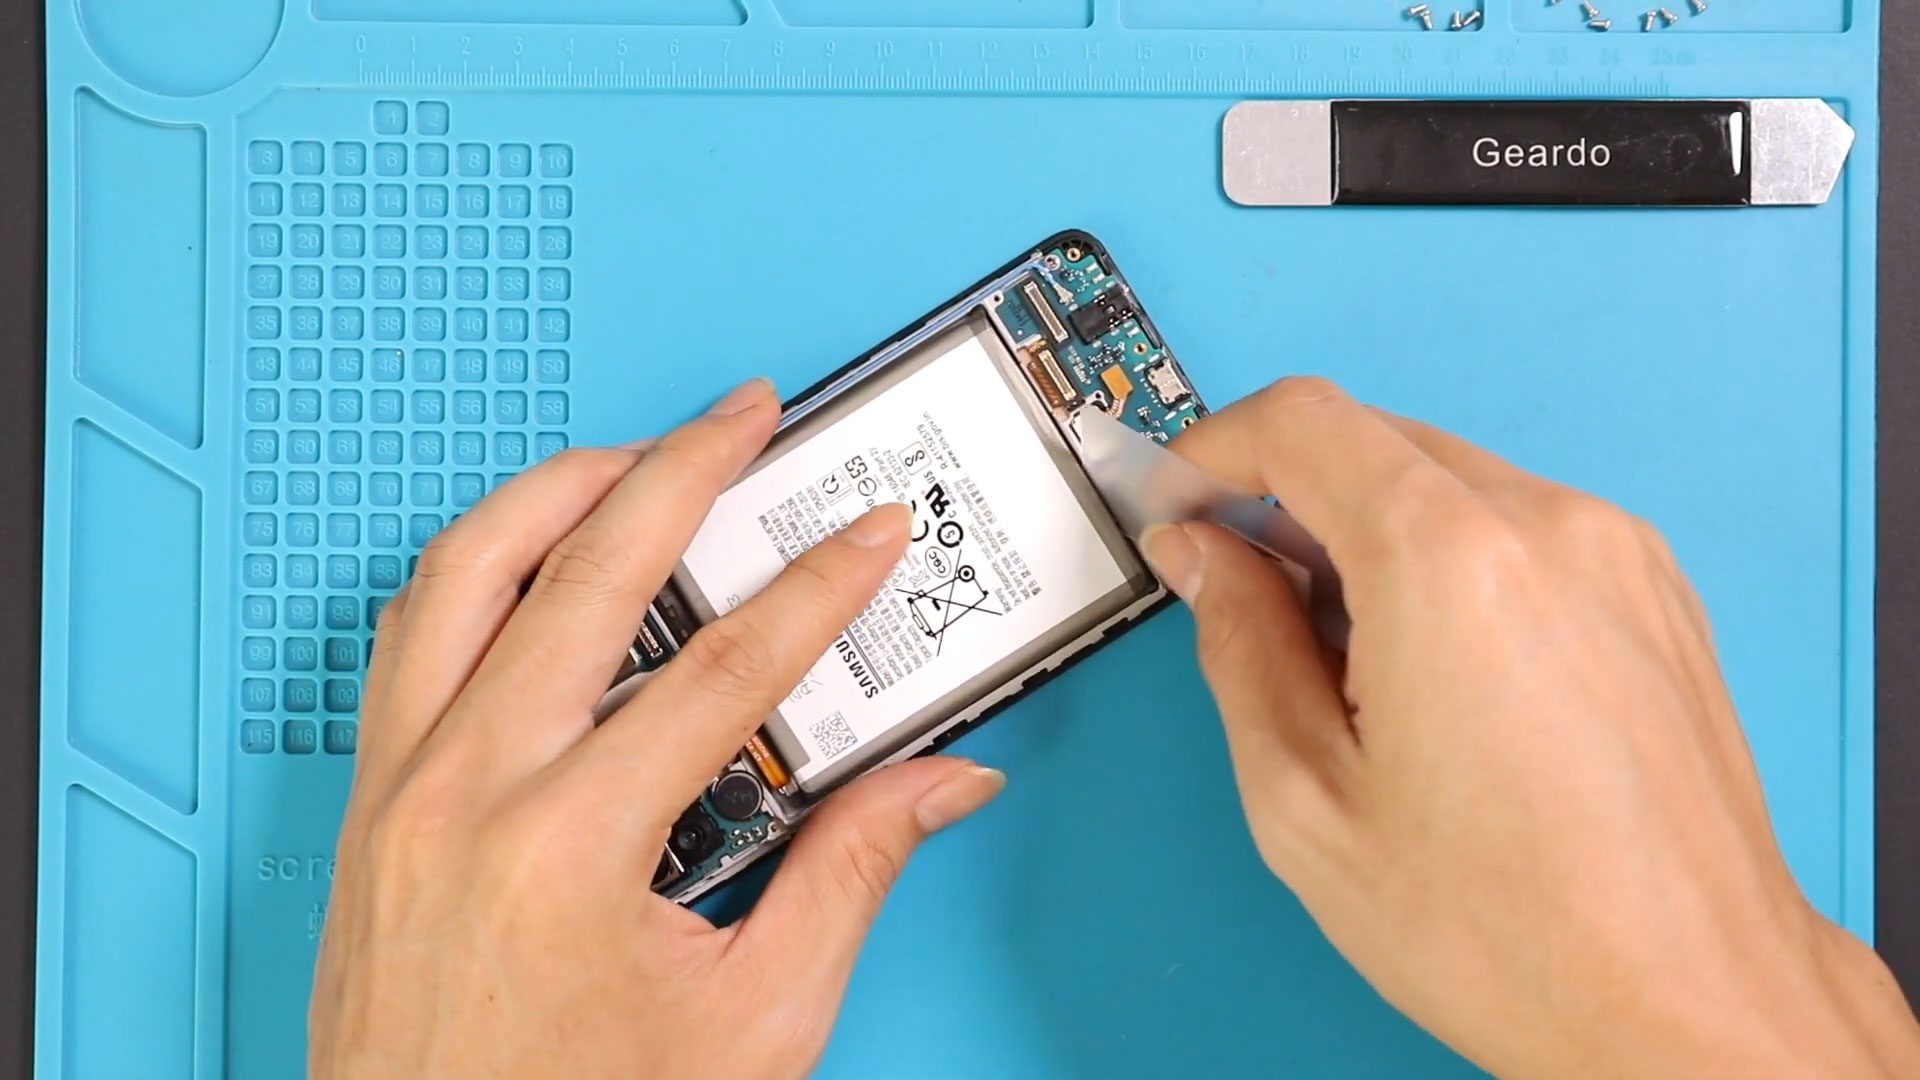
Use a suction cup to create a gap, then slide a plastic pry tool around the edges to cut the adhesive. Carefully remove the back cover.
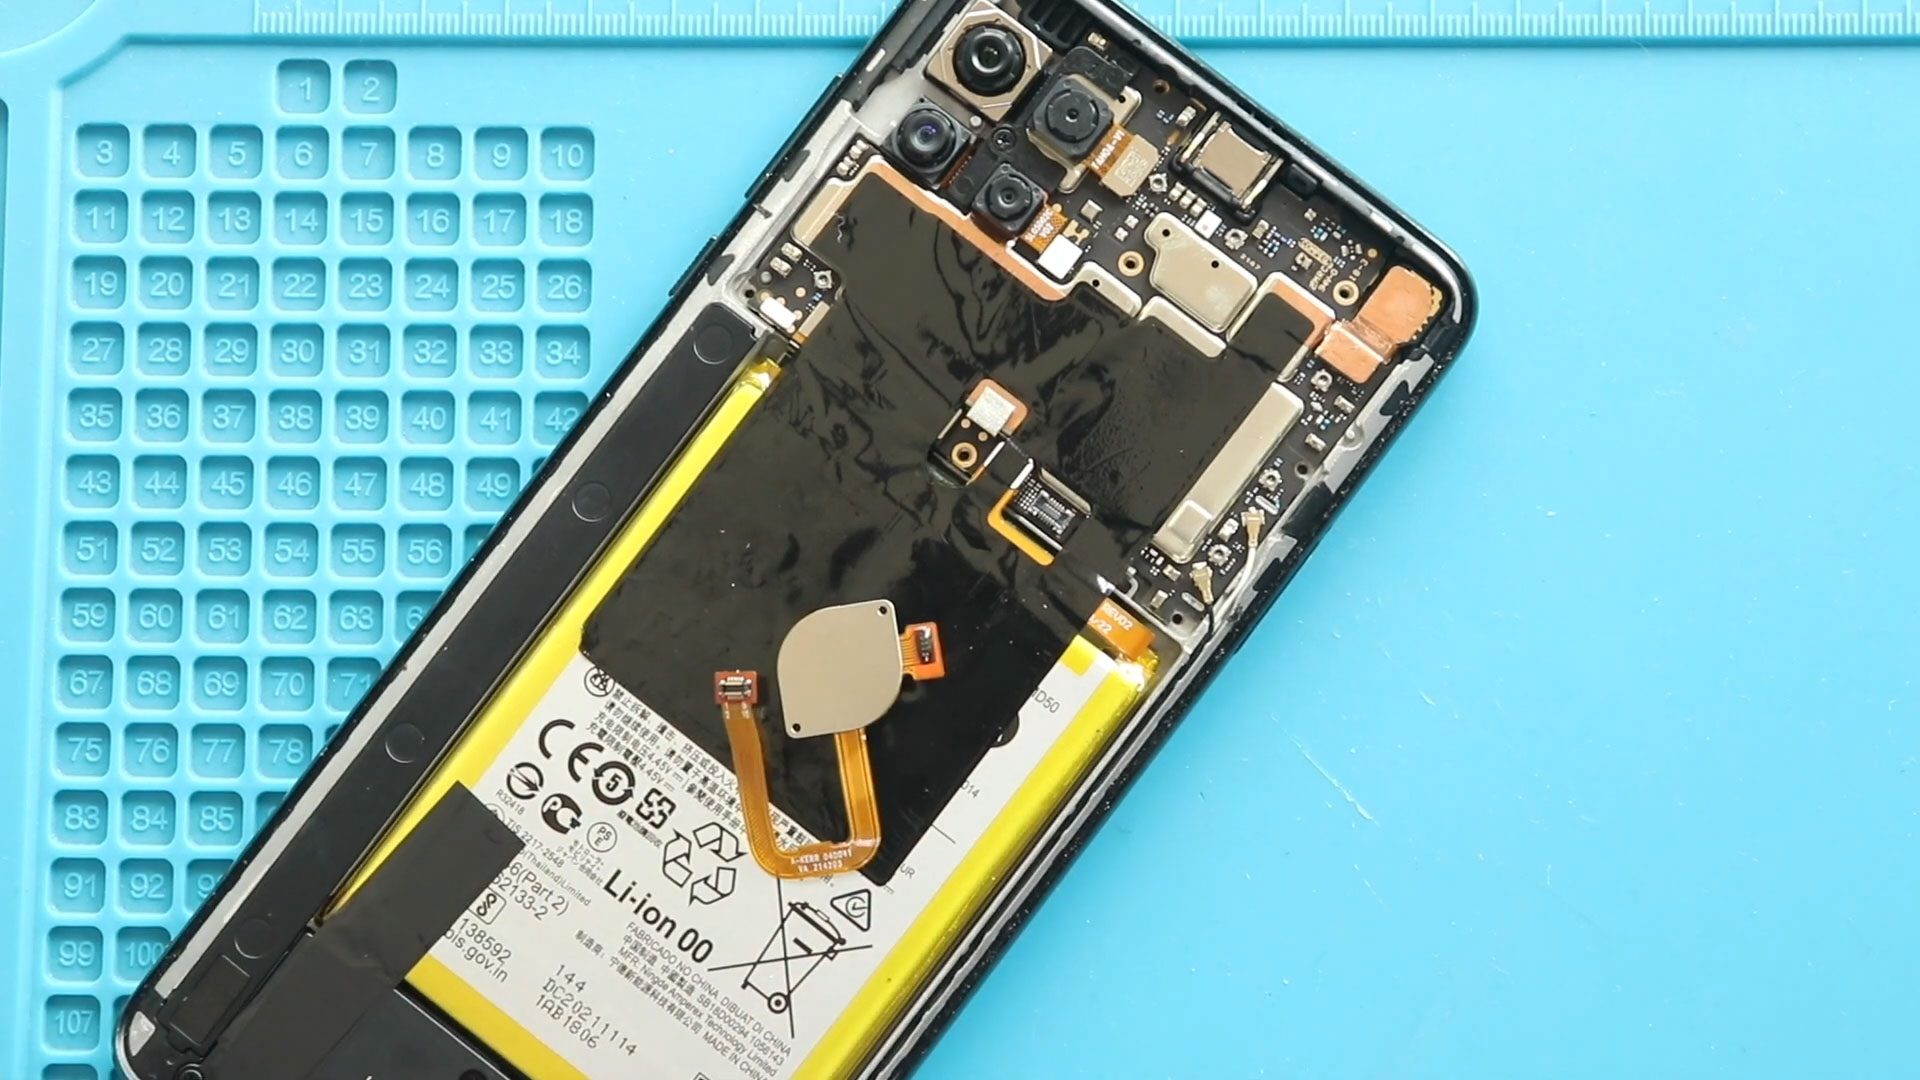
Step 3: Remove the Board Frame
Undo 11 Phillips screws securing the board frame. Lift and remove the frame carefully.
Step 4: Disconnect the Battery
Unplug the battery connector on the left-hand side first to prevent short circuits.
Step 5: Remove the Speaker Bracket
Undo 7 screws securing the loudspeaker bracket and lift it out.
Step 6: Disconnect the Main Flex Cable
Disconnect the main flex cable from both ends and remove it from the phone.
Step 7: Remove the Charging Port Board
Disconnect the antenna head and carefully lift out the faulty charging port board.
Step 8: Install the New Charging Port Board
Place the new charging port board into position and connect the antenna head securely.
Step 9: Reinstall the Main Flex Cable
Reconnect the main flex cable at both ends, ensuring firm connections.
Step 10: Reinstall the Speaker Bracket
Place the speaker bracket back in position and secure it with 7 screws.
Step 11: Reconnect Battery and Board Frame
Reconnect the battery connector. Reinstall the board frame and secure it with 11 screws, then reinsert the SIM tray.
Step 12: Seal the Back Cover
Check if the back cover has enough adhesive. If not, apply B7000 glue or a new double-sided adhesive.
Press the back cover firmly and use binding clips or rubber bands to hold it in place for several minutes.
Frequently Asked Questions (FAQ)
Q: Does replacing the charging port board fix microphone issues?
A: Yes. The primary microphone is part of the charging port sub-board, so replacing it often fixes mic-related problems.
Q: Is this guide valid for Poco X3 Pro and X3 NFC?
A: Yes. The repair steps and sub-board design are nearly identical across all Poco X3 models.
Q: Do I need soldering for this repair?
A: No. The charging port board is modular and uses connectors.
Troubleshooting (After The Repair)
Q: Microphone still not working after replacement
A: Check that the antenna head and main flex cable are securely connected.
Q: Phone still not charging
A: Inspect the charging cable and adapter, then recheck the port board connector.
Q: No loudspeaker sound after repair
A: Ensure the speaker bracket contacts are aligned and screws are fully tightened.
Final Notes
Replacing the charging port board on the Xiaomi Poco X3 series can fix both charging and microphone-related problems in one repair. Take your time, avoid force, and double-check every connection before sealing the phone.
Related