
Now Reading: Samsung Galaxy A12 Camera Lens Glass Replacement | Back Cover
-
01
Samsung Galaxy A12 Camera Lens Glass Replacement | Back Cover
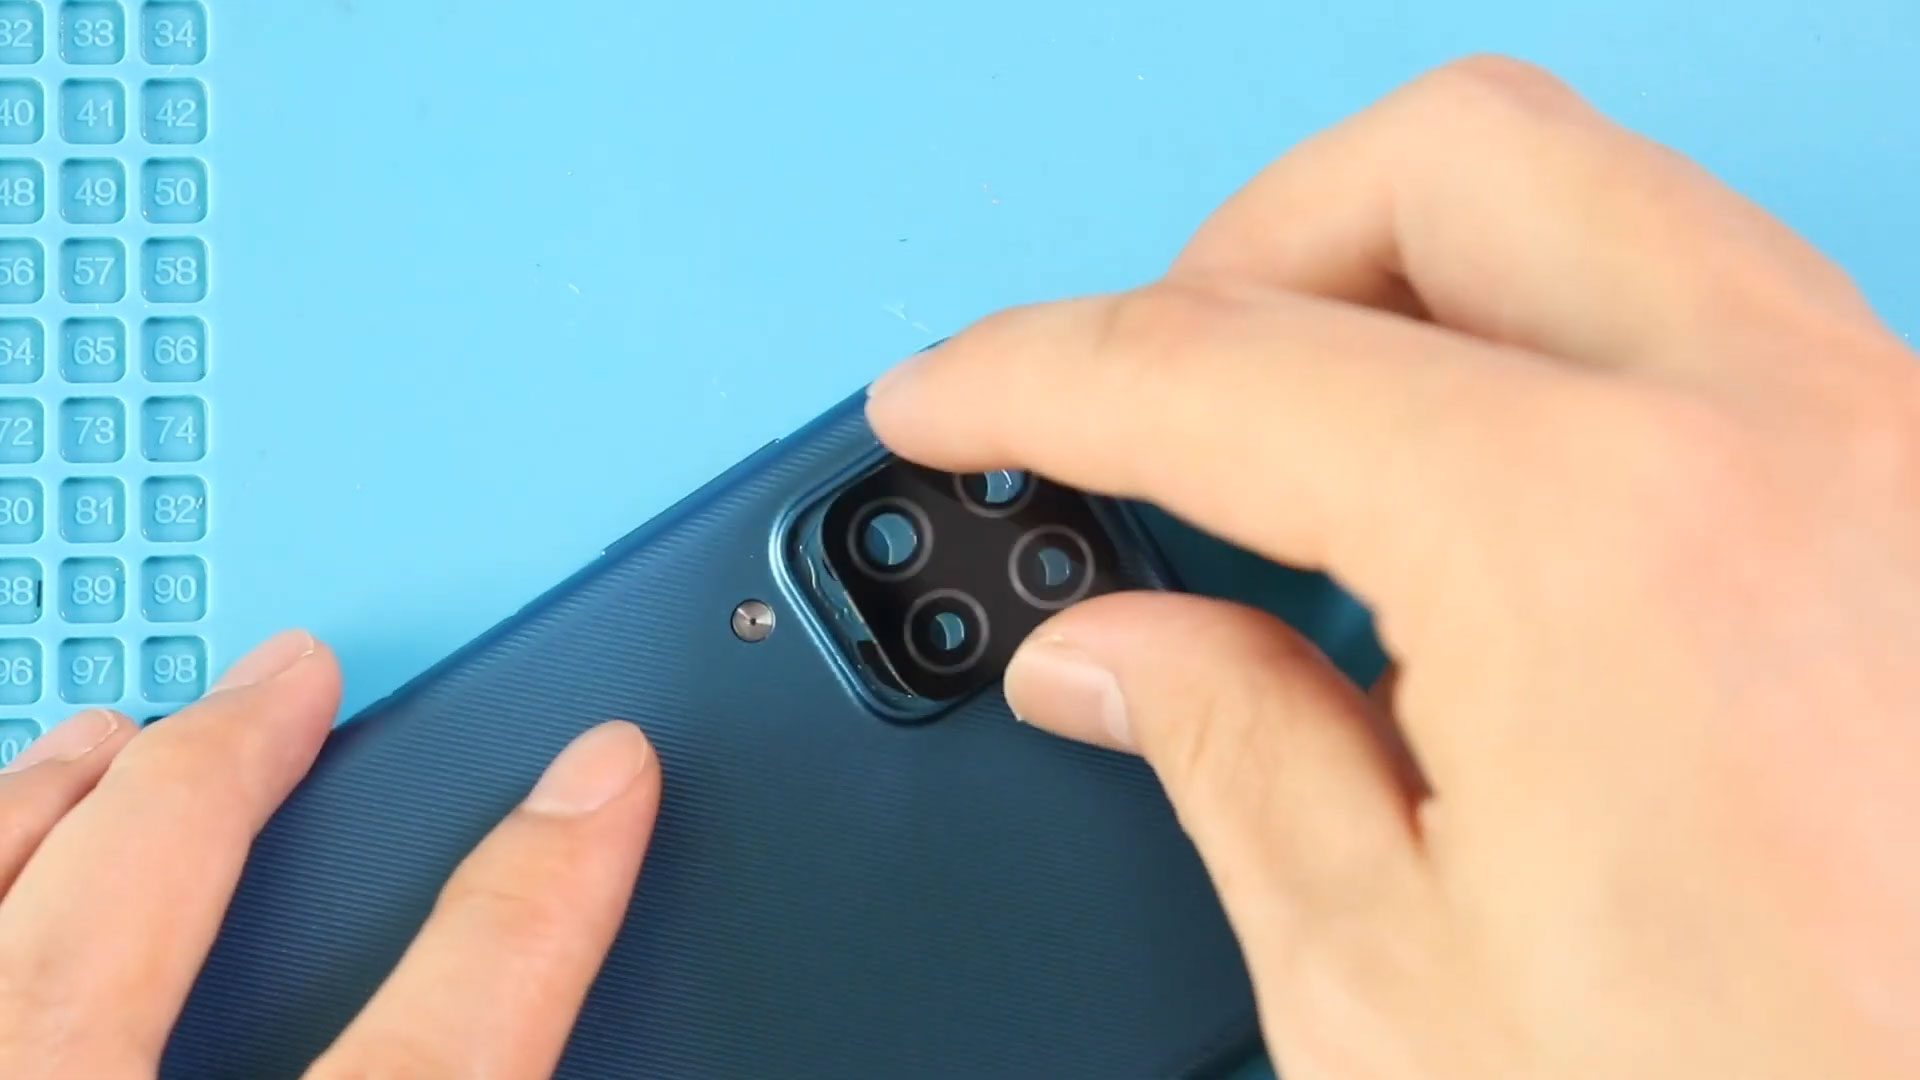
Samsung Galaxy A12 Camera Lens Glass Replacement | Back Cover
If photos taken on your Samsung Galaxy A12 or Galaxy A12 Nacho appear blurry, hazy, or distorted—even though the camera itself still focuses—the rear camera lens glass may be cracked or scratched. Camera lens damage is common after drops or impact and can seriously affect image quality if not fixed.
In this guide, we’ll show you how to replace the rear camera lens glass on the Samsung Galaxy A12 and Galaxy A12 Nacho (SM-A125 / SM-A127). This repair focuses only on the outer lens glass, not the camera module itself, making it a cost-effective solution when the camera hardware is still working normally. The steps are the same for both models due to their similar design.
Compatible Models
This repair guide based on the Samsung Galaxy A12 device, This guide works for the following models:
- Samsung Galaxy A12 (SM-A125)
- Samsung Galaxy A12 Nacho (SM-A127)
- Samsung Galaxy M12
- Samsung Galaxy F12
Compatible Mode Numbers | SM-A125F/DSN, SM-A125F/DS, SM-A125F, SM-A125M, SM-A125U, SM-A125U1, SM-A125N, SM-A125W, SM-A127F/DSN, SM-A127F/DS, SM-A127F, SM-A127M, SM-A127U, SM-F127G, SM-F127G/DS, SM-F127F, SM-F127F/DS, SM-M127F, SM-M127F/DSN, SM-M127N
Reasons to Replace the Camera Lens Glass
You may need to replace the camera lens glass if you notice:
- Cracked or shattered rear camera glass
- Blurry or foggy photos
- Light glare or flare in images
- Dust entering the camera area
- Camera works, but image quality is poor
Replacing the lens glass protects the camera module and restores clear photos.
Repair Difficulty
Repair Difficulty: ★★☆☆☆ (2/5)
Estimated Time: 20–30 minutes
Repair Type: Rear camera lens glass replacement
Skill Level: Beginner
This is a relatively simple repair but requires careful handling to avoid damaging the camera sensor.
Before You Begin
Required Tools
- Heating pad / heat gun / hairdryer
- Suction cup
- Plastic card pry tools / opening picks / Tweezers
- Phillips screwdriver #0 / #00
- Adhesive (B7000 or double-sided back cover adhesive)
- Bonding clips or rubber bands (optional but recommended)
Make sure the device is turned off and the SIM tray is removed before starting.
How to Find Tools and Parts
- Heating pad – https://amzn.to/3H0tHzJ
- Portable Heat Gun – https://amzn.to/4mszih1
- Clamps https://amzn.to/3GYJT4w
- STREBITO 142 Piece Repair Tool Kit https://amzn.to/3UO1jUx
- Glue | Adhesive https://amzn.to/46exVxe
- Compatible Parts –
- Battery – https://amzn.to/4mum1VB
- Screen – https://amzn.to/4mQIxrC
- Other Parts – https://amzn.to/4fPvSmt
- Silicone Work Repair Mat https://amzn.to/45Emz5l
Protect Your Galaxy A12
- Protector For The Screen https://amzn.to/3JvKYBK
- Best Rated Case https://amzn.to/3HJ5Qoq
Samsung Galaxy A12 Camera Lens Glass Replacement – Step-by-Step
Step 1: Power Off and Remove SIM Tray
Turn off the phone completely. Remove the SIM tray using a SIM eject tool.
Step 2: Remove the Back Cover
Create a small gap near the SIM slot or charging port using a card pry tool.
Gently slide the tool around the edges to release the plastic clips.
Important:
The fingerprint sensor is attached to the back cover—lift carefully.
Step 3: Disconnect Battery and Fingerprint Sensor
Remove the six screws securing the logic board cover.
Disconnect the battery connector and fingerprint sensor connector.
Now the back cover can be fully separated from the phone.
Step 4: Remove the Damaged Camera Lens Glass
Apply light heat to the camera lens area to soften the adhesive.
From the rear side of the back cover, gently push out the broken lens glass.
Remove any remaining adhesive or glass fragments carefully.
Step 5: Install the New Camera Lens Glass
Place the new camera lens glass into position using pre-applied adhesive or fresh glue.
Press gently to ensure it is aligned and securely seated.
Step 6: Reconnect Internal Components
Reconnect the battery and fingerprint sensor connectors.
Reinstall the logic board cover and secure it with six screws.
Step 7: Reinstall the Back Cover
Snap the back cover into place and press around the edges to secure all clips.
Reinsert the SIM tray and power on the phone.
Frequently Asked Questions (FAQ)
Q: Does this guide work for Galaxy A12 Nacho?
A: Yes, the camera lens design is the same on SM-A125 and SM-A127.
Q: Do I need to replace the camera module as well?
A: No, if the camera focuses and works normally, replacing only the lens glass is sufficient.
Q: Will this repair affect my data?
A: No, replacing the lens glass does not affect stored data.
Q: Is adhesive included with replacement lens glass?
A: Most replacement lenses include adhesive, but check before installation.
Troubleshooting (After The Repair)
Q: Photos are still blurry after lens replacement
A: Clean the inside of the lens and camera sensor gently before sealing the cover.
Q: Dust appears inside the camera
A: Remove the back cover again and clean the lens area with compressed air.
Q: Lens glass does not stick properly
A: Apply a thin layer of camera-safe adhesive and press evenly while it sets.
Q: Camera app does not open after reassembly
A: Recheck the battery connection and ensure no connectors were disturbed.
Final Notes
Replacing the camera lens glass on the Samsung Galaxy A12 or A12 Nacho is a simple and effective repair that restores photo clarity and protects the camera module from further damage. With careful handling and proper alignment, this repair can be completed quickly without professional service.
Related Guides


-
 01Samsung Galaxy A16 5G Battery Replacement | Full DIY Repair Guide
 -
02Samsung Galaxy A16 5G Screen Replacement | Step-by-Step Guide
-
03Google Pixel 6 Power Button Replacement Guide | Volume Button Flex Repair Guide- DIY Repair
-
04Samsung Galaxy A16 5G Back Cover & Camera Lens Frame Replacement Guide | DIY Repair
-
05Why a Heating Pad Is Essential for Mobile Phone Repairs (And How to Use it)
-
06How to Use a Heat Gun or Hair Dryer for Phone/Tablet Repairs
-
07Essential Repair Tools for Phone, Tablet & Laptop Repairs


