Now Reading: Samsung Galaxy A70 Screen Replacement Guide | Galaxy A70s
-
01
Samsung Galaxy A70 Screen Replacement Guide | Galaxy A70s
Samsung Galaxy A70 Screen Replacement Guide | Galaxy A70s
If your Samsung Galaxy A70 has a cracked display, touchscreen issues, black screen problems, or display flickering, replacing the LCD screen assembly is the best solution to restore full functionality. Screen damage is one of the most common smartphone repairs, especially after accidental drops or pressure damage.
The Galaxy A70 uses a display assembly that can be replaced either with or without the frame. Choosing the correct replacement type can significantly reduce repair difficulty and installation time.
This detailed step-by-step DIY repair guide explains how to safely remove internal components and transfer them into a new screen assembly using proper repair techniques.
Protect Your Galaxy A70
- Best Rated Case https://amzn.to/42GYY28
- Screen Protector https://amzn.to/3KS1kFu
Repair Overview
Device Type: Smartphone
Repair Type: LCD Screen Display Replacement
Repair Difficulty ⭐⭐⭐⭐☆ — Advanced
Estimated Repair Time: 60 — 90 Minutes
Reasons for Samsung Galaxy A70 Screen Replacement
You may need a screen replacement if:
- Cracked or shattered display glass
- Touchscreen not responding properly
- Screen flickering or random lines appearing
- Display completely black but phone vibrates or rings
- Burn-in or color distortion issues
- Frame bent after impact damage
Before You Begin
Compatibility and Model Numbers
- Samsung Galaxy A70
- Samsung Galaxy A70S
This repair guide based on Samsung Galaxy A70 Model.
Model Numbers | SM-A705F, SM-A705FN, SM-A705GM, SM-A705MN, SM-A7050, SM-A705W, SM-A705YN, SM-A705X, SM-A705U, SM-A707F, SM-A707FN, SM-A707GM, SM-A707MN, SM-A7070, SM-A707W
Tools Required
- Mobile phone heating pad or hairdryer/heat gun
- Plastic pry tool / card pry
- Suction cups
- Phillips #00/#000 screwdrivers
- Tweezers (for connectors)
- B7000 glue or double-sided adhesive (for back cover)
- Rubber bands or bonding clips to secure the back cover
Using proper tools reduces the risk of damaging the phone.
How to Find Tools and Parts
- Heating pad – https://amzn.to/3H0tHzJ
- Portable Heat Gun – https://amzn.to/4mszih1
- Clamps https://amzn.to/3GYJT4w
- STREBITO 142 Piece Repair Tool Kit https://amzn.to/3UO1jUx
- Glue | Adhesive https://amzn.to/46exVxe
- Compatible Parts –
- Battery – https://amzn.to/4ogQEhS
- Screen – https://amzn.to/43nafEZ
- Other Parts – https://amzn.to/4oqla9h
- Silicone Work Repair Mat https://amzn.to/45Emz5l
Understanding Replacement Screen Types (Important Before Starting)
There are several screen replacement options available in the market:
Screen With Frame (Recommended)
Original service pack displays usually come with:
- Frame installed
- Buttons pre-mounted
This option is easier to install and reduces repair risk.
Screen Without Frame
Original displays without frames are available but:
- Require separating glued components.
- More heating and precision work required.
Repair difficulty increases significantly.
Refurbished / Used / Aftermarket Screens
These are commonly available options:
- Refurnished original panels
- Used assemblies
- Aftermarket replacements
Choosing a screen with frame and buttons installed saves time and effort.
Step-by-Step Samsung Galaxy A70 LCD Screen Replacement
Step 1 — Power Off the Device
Switch off the phone completely before starting the repair.
Remove the SIM tray if required.
Step 2 — Heat the Back Cover
Apply gentle heat around the rear cover edges to soften adhesive glue.
Heating methods:
- Heating pad (recommended)
- Heat gun
- Hair dryer
Allow enough heating time to loosen adhesive safely.
Step 3 — Remove Rear Cover
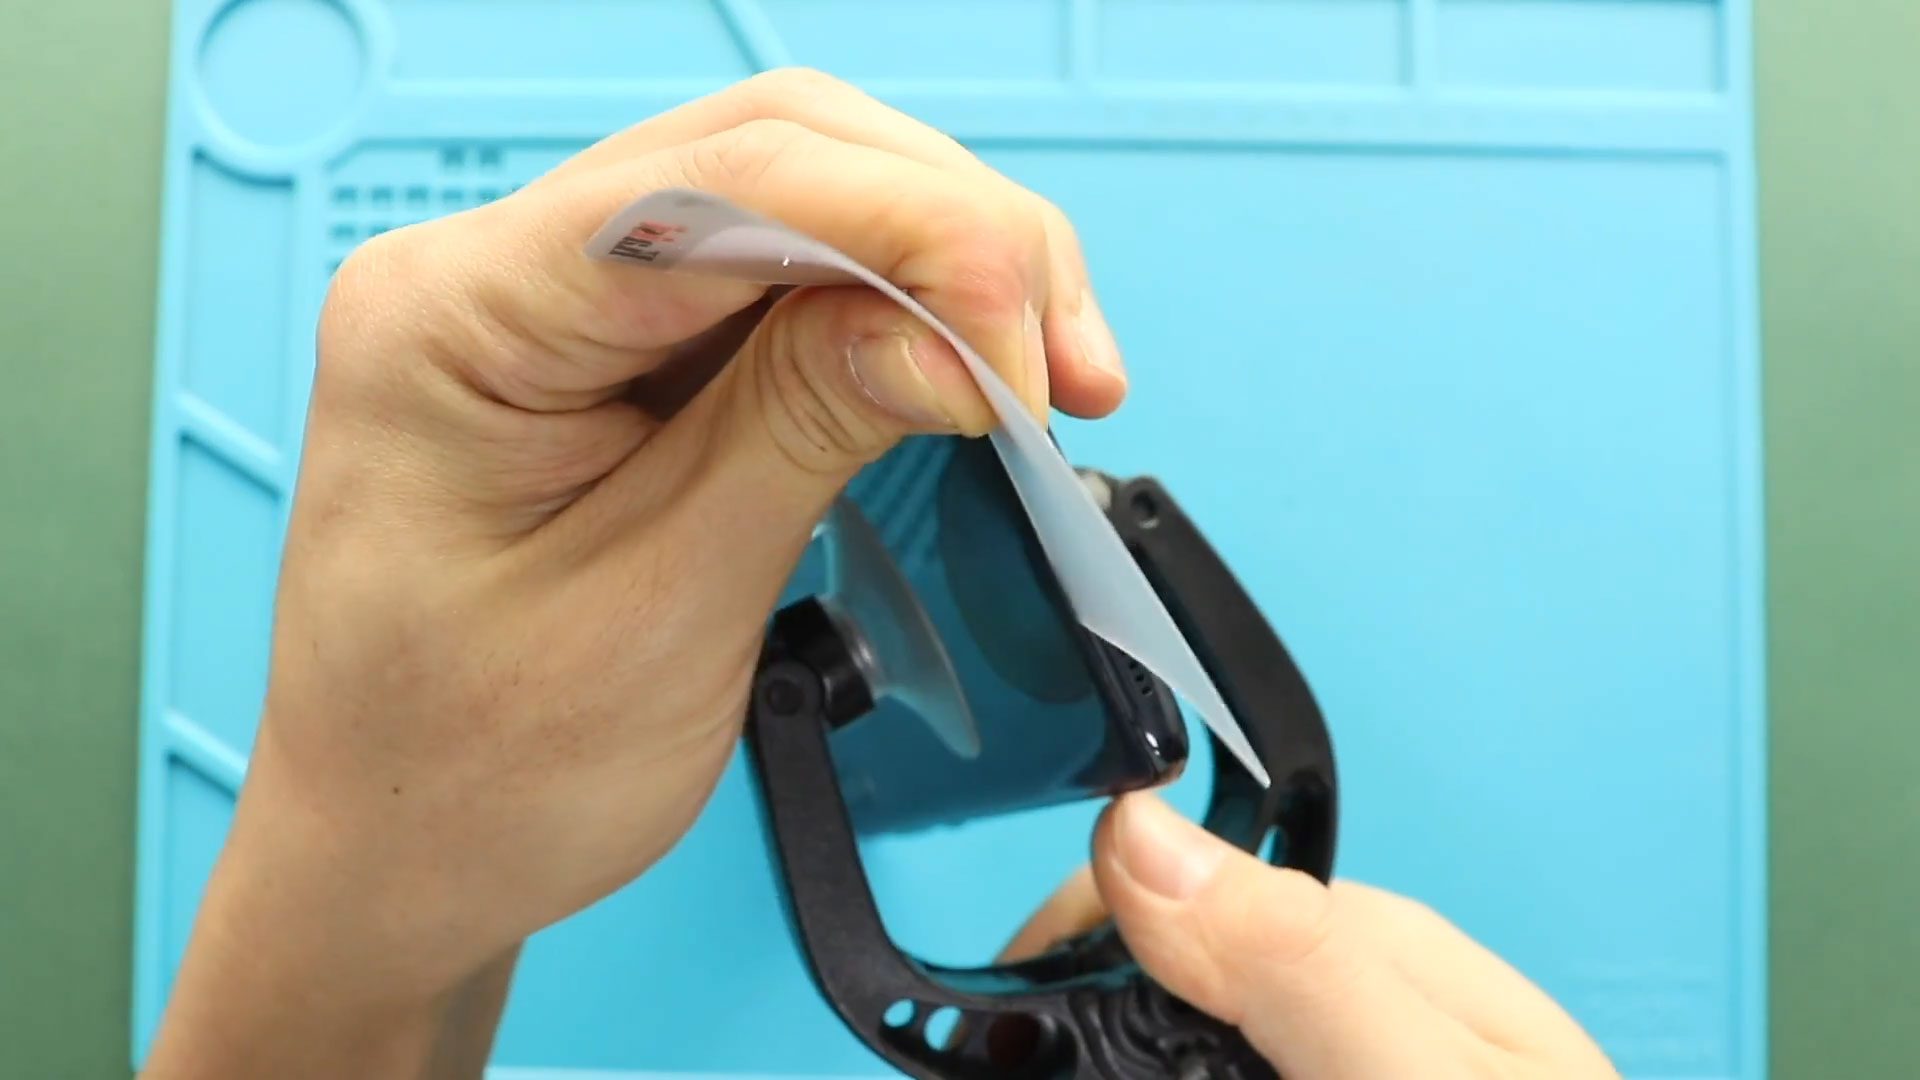
Use a suction cup to create a small opening between the frame and back cover.
Insert a plastic pry card carefully around the edges to cut adhesive.
Lift and remove the rear cover slowly.
Step 4 — Remove Midframe
Undo the 14 Phillips screws located at the top and bottom sections.
Using a plastic pry tool:
- Work around edges carefully.
- Release plastic clips securing the frame.
Remove the midframe assembly.
Step 5 — Remove Main Flex Cable
Disconnect and remove the main flex cable from the device body carefully.
Step 6 — Remove the Battery
Apply gentle heat underneath the battery using a heat gun or heating pad.
Once adhesive softens:
- Insert a pry tool underneath.
- Slowly separate adhesive.
Remove the battery safely without bending it.
Step 7 — Remove Fingerprint Sensor
Move to the bottom section.
Remove:
- Two screws securing the fingerprint camera.
- Connector plug.
Lift and remove the fingerprint sensor.
Step 8 — Remove Charging Port Board
Disconnect:
- LCD connector plug
- Antenna head connection
Carefully remove the charging port board.
Step 9 — Remove Logic Board
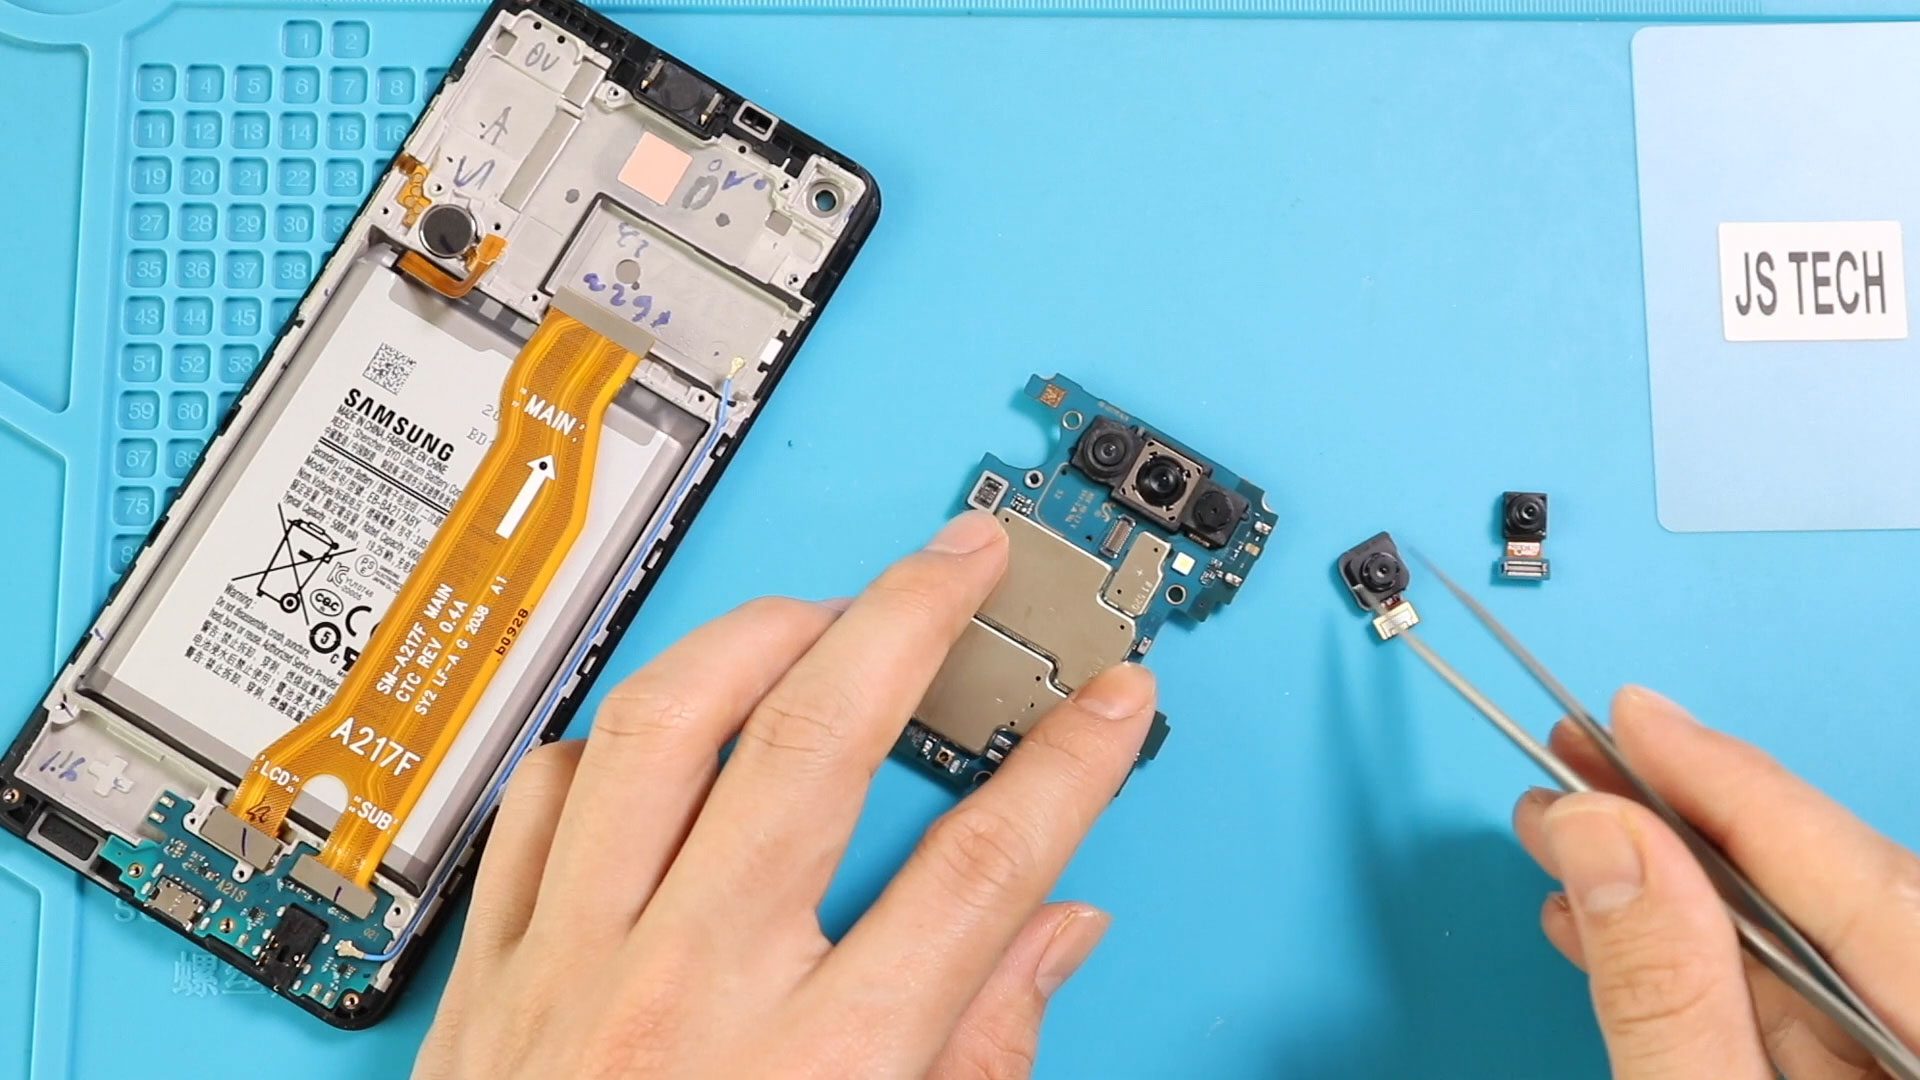
Undo the motherboard screw.
Loosen antenna connections carefully.
Lift and remove the logic board.
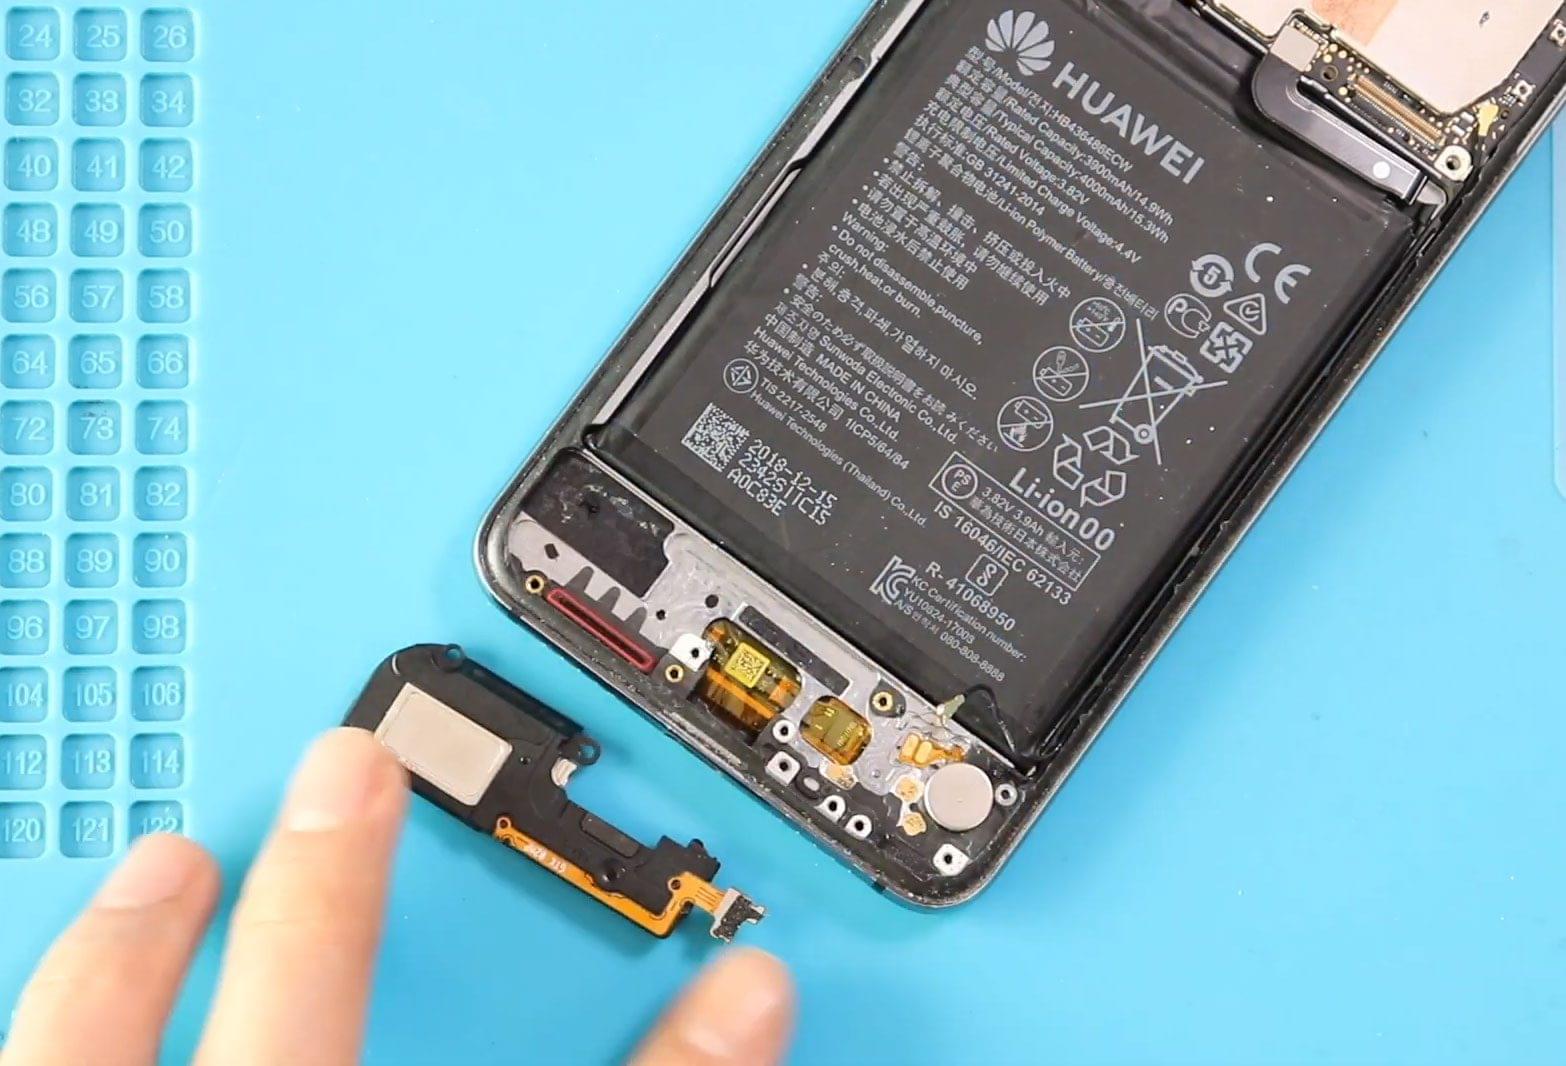
Step 10 — Remove Earpiece and Vibrator Motor
Apply a small amount of heat.
Remove:
- Earpiece speaker
- Vibrator motor
Carefully lift both components.
Step 11 — Prepare the New Screen Assembly
At this stage, only the damaged screen assembly with frame remains.
Prepare the new screen assembly.
Step 12 — Transfer Components to New Screen
Install removed components onto the new frame:
- Install charging port board and reconnect LCD plug.
- Install fingerprint camera and secure screws.
- Install earpiece speaker.
- Install vibrator motor.
- Install logic board and secure screw.
- Connect antenna head.
Step 13 — Install Battery and Flex Cable
Install battery using adhesive.
Reconnect main flex cable from both ends.
Reconnect battery connector.
Step 14 — Reinstall Midframe
Place midframe carefully.
Ensure clips lock properly before installing screws.
Secure all 14 screws.
Step 15 — Test Before Closing
Power on the phone before sealing the device.
Check:
- Display quality
- Touch response
- Fingerprint sensor
- Charging function
Testing prevents reopening the phone later.
Step 16 — Seal the Back Cover
Check adhesive condition.
If needed:
- Apply B7000 glue, or
- Use new double-sided adhesive tape.
Align and press the back cover carefully.
Use bonding clips or rubber bands for pressure while adhesive cures.
Frequently Asked Questions (FAQ)
Q1. Should I choose a screen with frame or without frame?
Screen assemblies with frame are strongly recommended because installation is easier and safer.
Q2. How long does this repair take?
Most users complete the repair within 60 to 90 minutes.
Q3. Do I need heating tools?
Yes. Heating is required to soften adhesives holding the back cover and battery.
Q4. Can I reuse my old battery adhesive?
It is better to use fresh adhesive for proper installation.
Q5. Why test the phone before closing?
Testing ensures all connectors are working correctly before sealing the device.
Troubleshooting After Screen Replacement
Q1. Display not turning on?
Reconnect LCD connector and battery plug properly.
Q2. Touchscreen not responding?
Check LCD flex cable seating and reconnect carefully.
Q3. Fingerprint sensor not working?
Inspect fingerprint connector alignment.
Q4. Phone not charging?
Check charging port board and antenna connections.
Q5. Back cover lifting after repair?
Remove old adhesive residue and apply new adhesive evenly.
Related Guides