Now Reading: Samsung Galaxy S20 Ultra 5G Earpiece Speaker Replacement Guide | Step-by-Step DIY
-
01
Samsung Galaxy S20 Ultra 5G Earpiece Speaker Replacement Guide | Step-by-Step DIY

Samsung Galaxy S20 Ultra 5G Earpiece Speaker Replacement Guide | Step-by-Step DIY
If your Samsung Galaxy S20 Ultra 5G is experiencing issues like no sound during calls, low call volume, or distorted audio from the earpiece, it may be time to replace the earpiece speaker. The earpiece is a delicate component, integrated closely with the front assembly and logic board, so careful disassembly is required.
This guide walks you through the entire repair process, including safely opening the back cover, removing the wireless pad, front camera, and logic board, replacing the faulty earpiece, and reassembling your device for full functionality.
Compatibility and Model Numbers
This repair guide based on Samsung Galaxy S20 Ultra 5G mobile phone, but it is also compatible with Galaxy S20 Ultra 4g version too.
Compatible Mode Numbers l SM-G988, SM-G988U, SM-G988U1, SM-G9880, SM-G988B/DS, SM-G988N, SM-G988B, SM-G988W SM-G988B/DS
Tools You Need
- Heating pad / heat gun / hairdryer
- Suction cup
- Plastic card pry tools / opening picks
- Phillips PH000 screwdriver
- Philips PH00 screwdriver – For smaller internal screws (optional)
- Adhesive (B7000 or double-sided back cover adhesive)
- Bonding clips or rubber bands (optional but recommended)
How to Find Tools and Parts
- Heating pad – https://amzn.to/3H0tHzJ
- Portable Heat Gun – https://amzn.to/4mszih1
- Clamps https://amzn.to/3GYJT4w
- STREBITO 142 Piece Repair Tool Kit https://amzn.to/3UO1jUx
- Glue | Adhesive https://amzn.to/46exVxe
- Compatible Parts https://amzn.to/47VYx7t
- Silicone Work Repair Mat https://amzn.to/45Emz5l
More Information on Types of Repair Tools for the Repair
Step 1 – Power Off and Remove SIM Tray
Turn off your Galaxy S20 Ultra completely and eject the SIM tray to prevent any accidental damage during disassembly.
Step 2 – Heat and Remove Back Cover
The back cover is secured with adhesive and needs to be softened.
Place the back of the phone on a heating pad and select the mobile phone heating mode. Alternatively, use a heat gun or hairdryer. Heat the edges evenly until the adhesive softens.
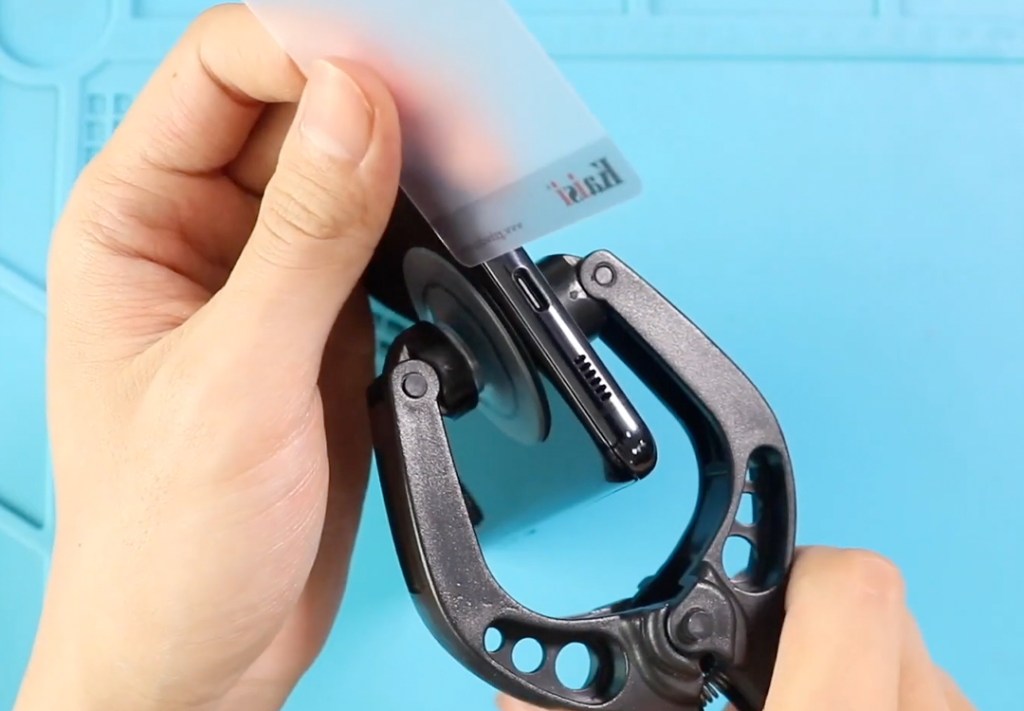
Use a suction cup to create a small opening, then slide a plastic pry tool around the edges to cut the adhesive. Lift and remove the back cover carefully.
Step 3 – Remove the Wireless Pad
Unscrew the screws securing the wireless charging pad and disconnect its flex cable. Carefully lift out the pad and set it aside.
Step 4 – Remove Internal Cover
Locate the internal cover that protects the front camera and logic board. Unscrew and remove it carefully to access the components underneath.
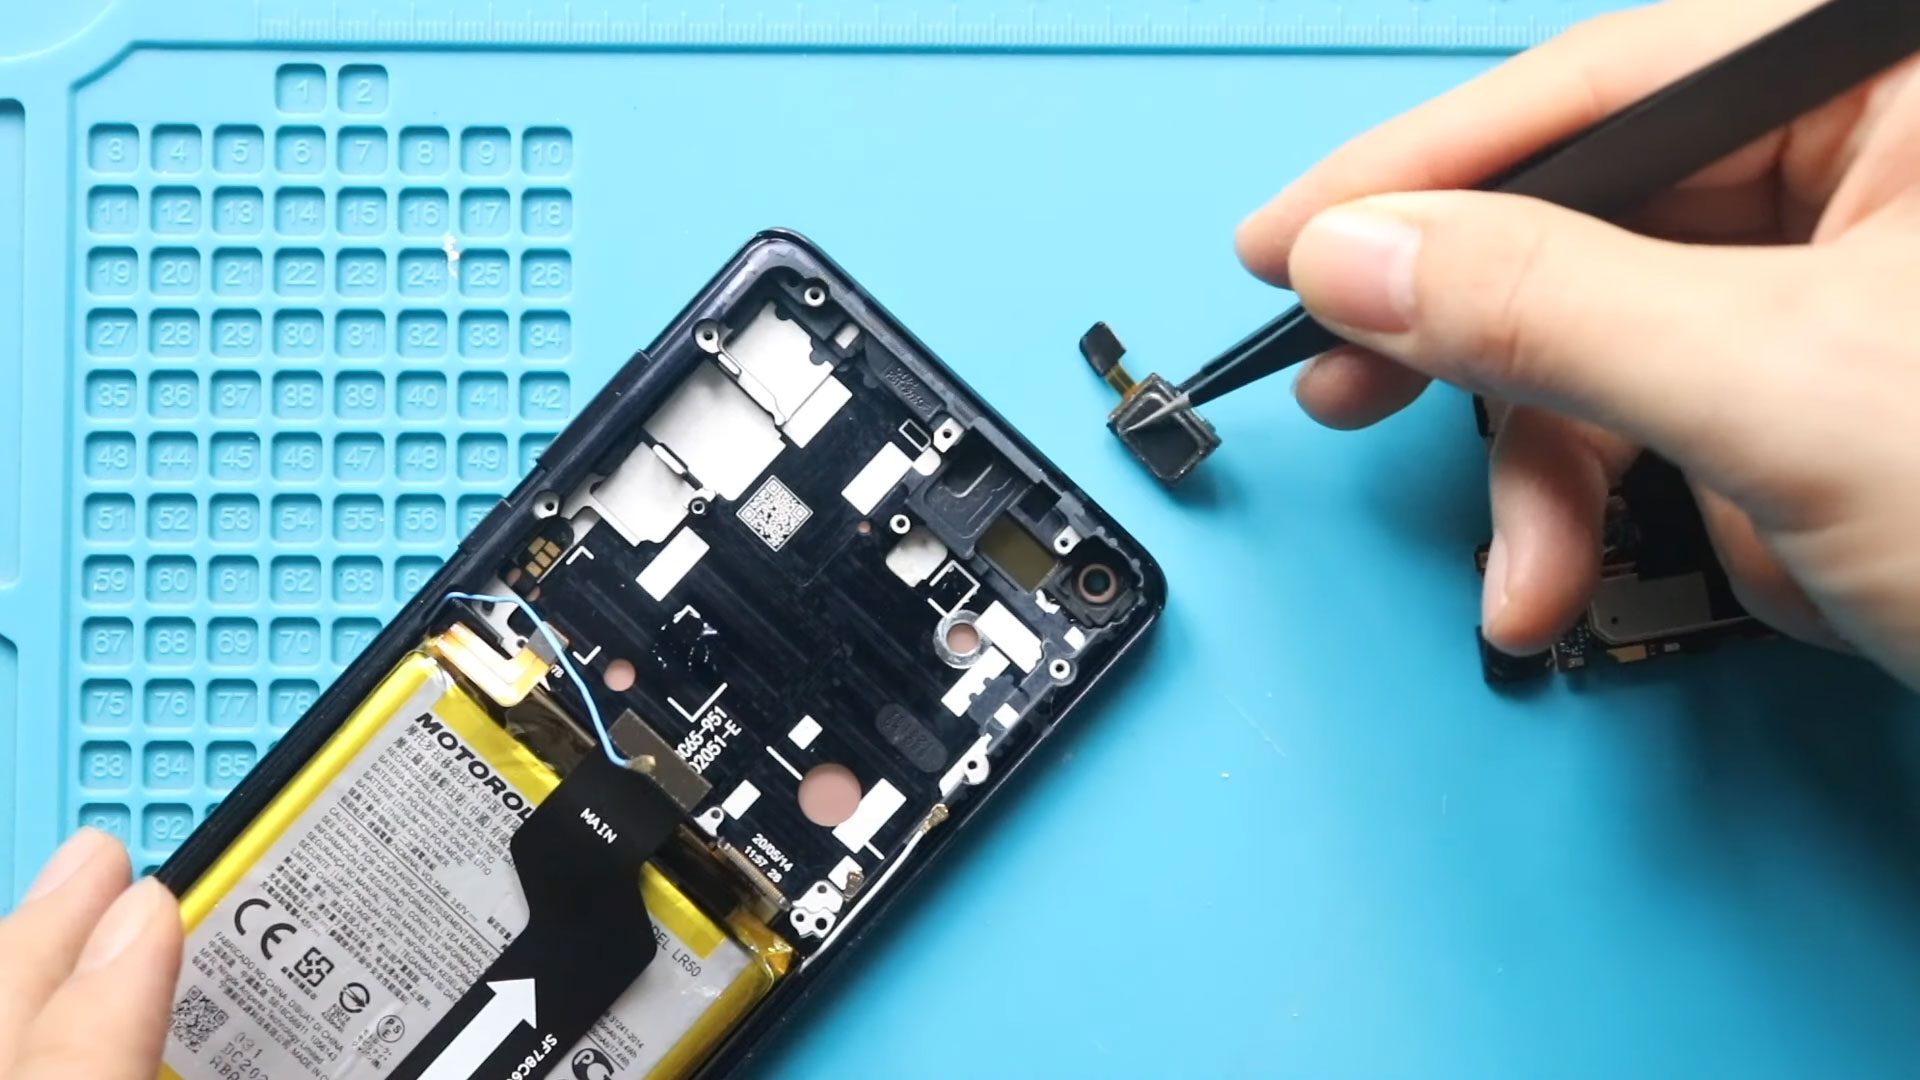
Step 5 – Remove the Front Camera
Disconnect the front camera flex cable and gently lift out the module with tweezers or a pry tool.
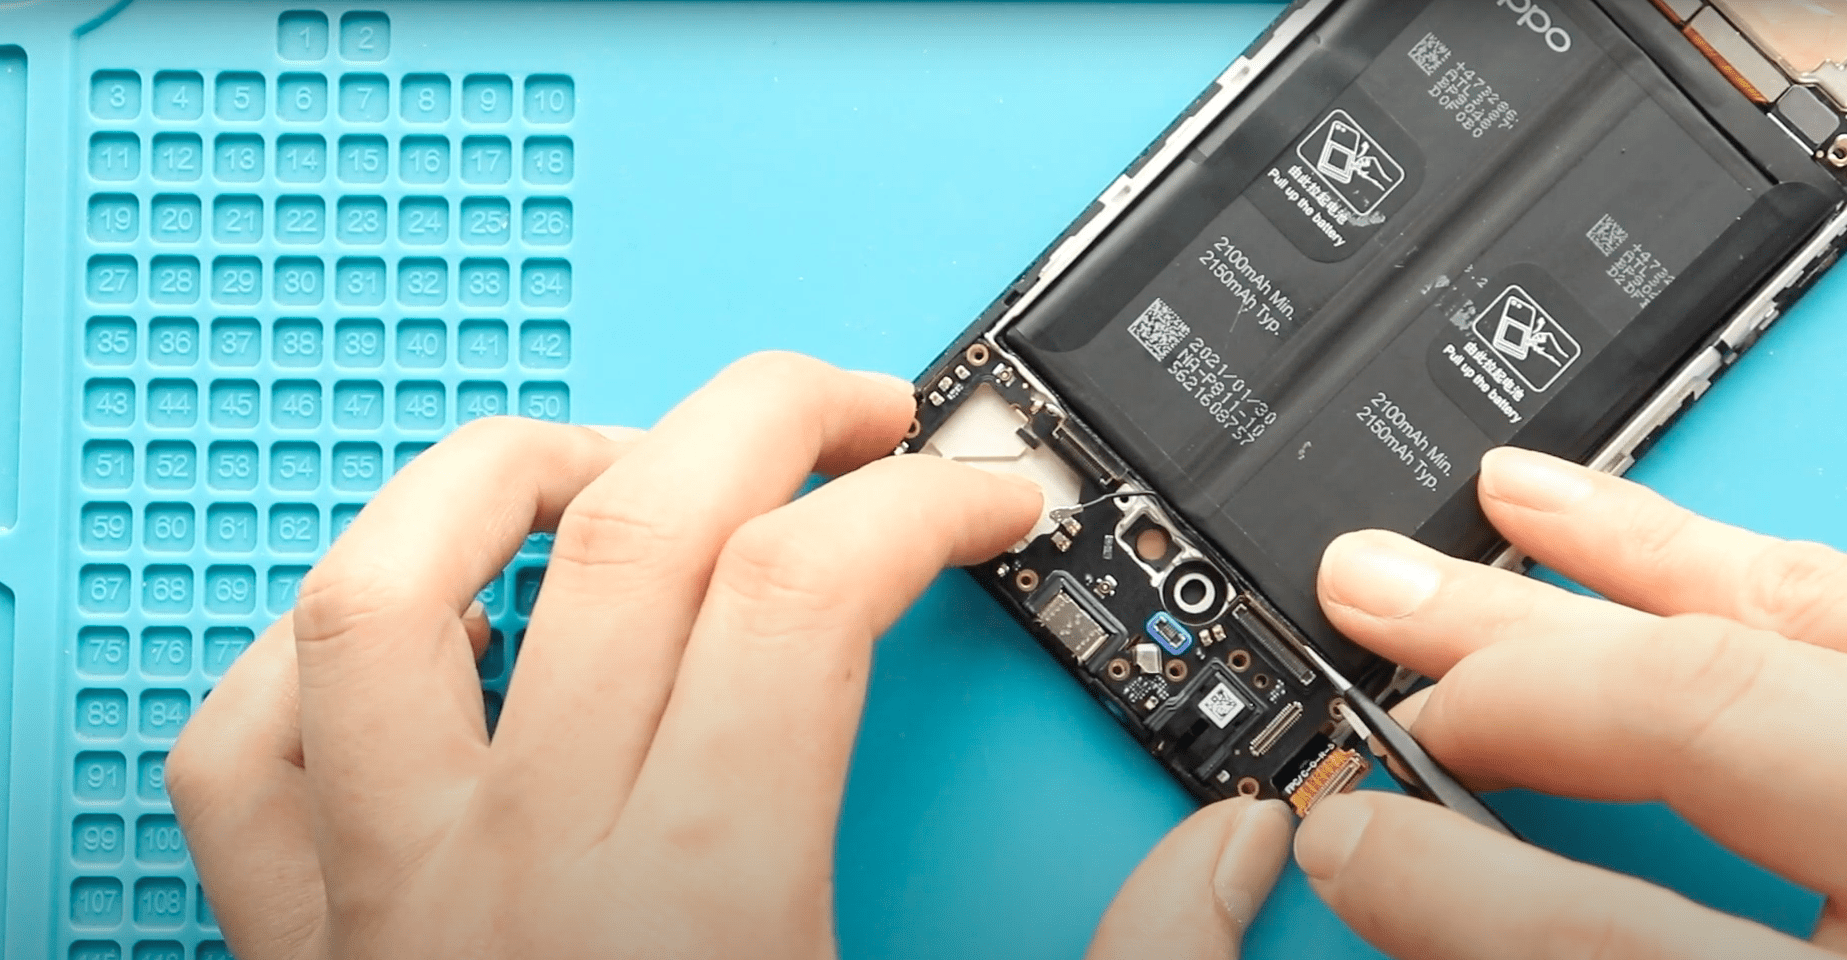
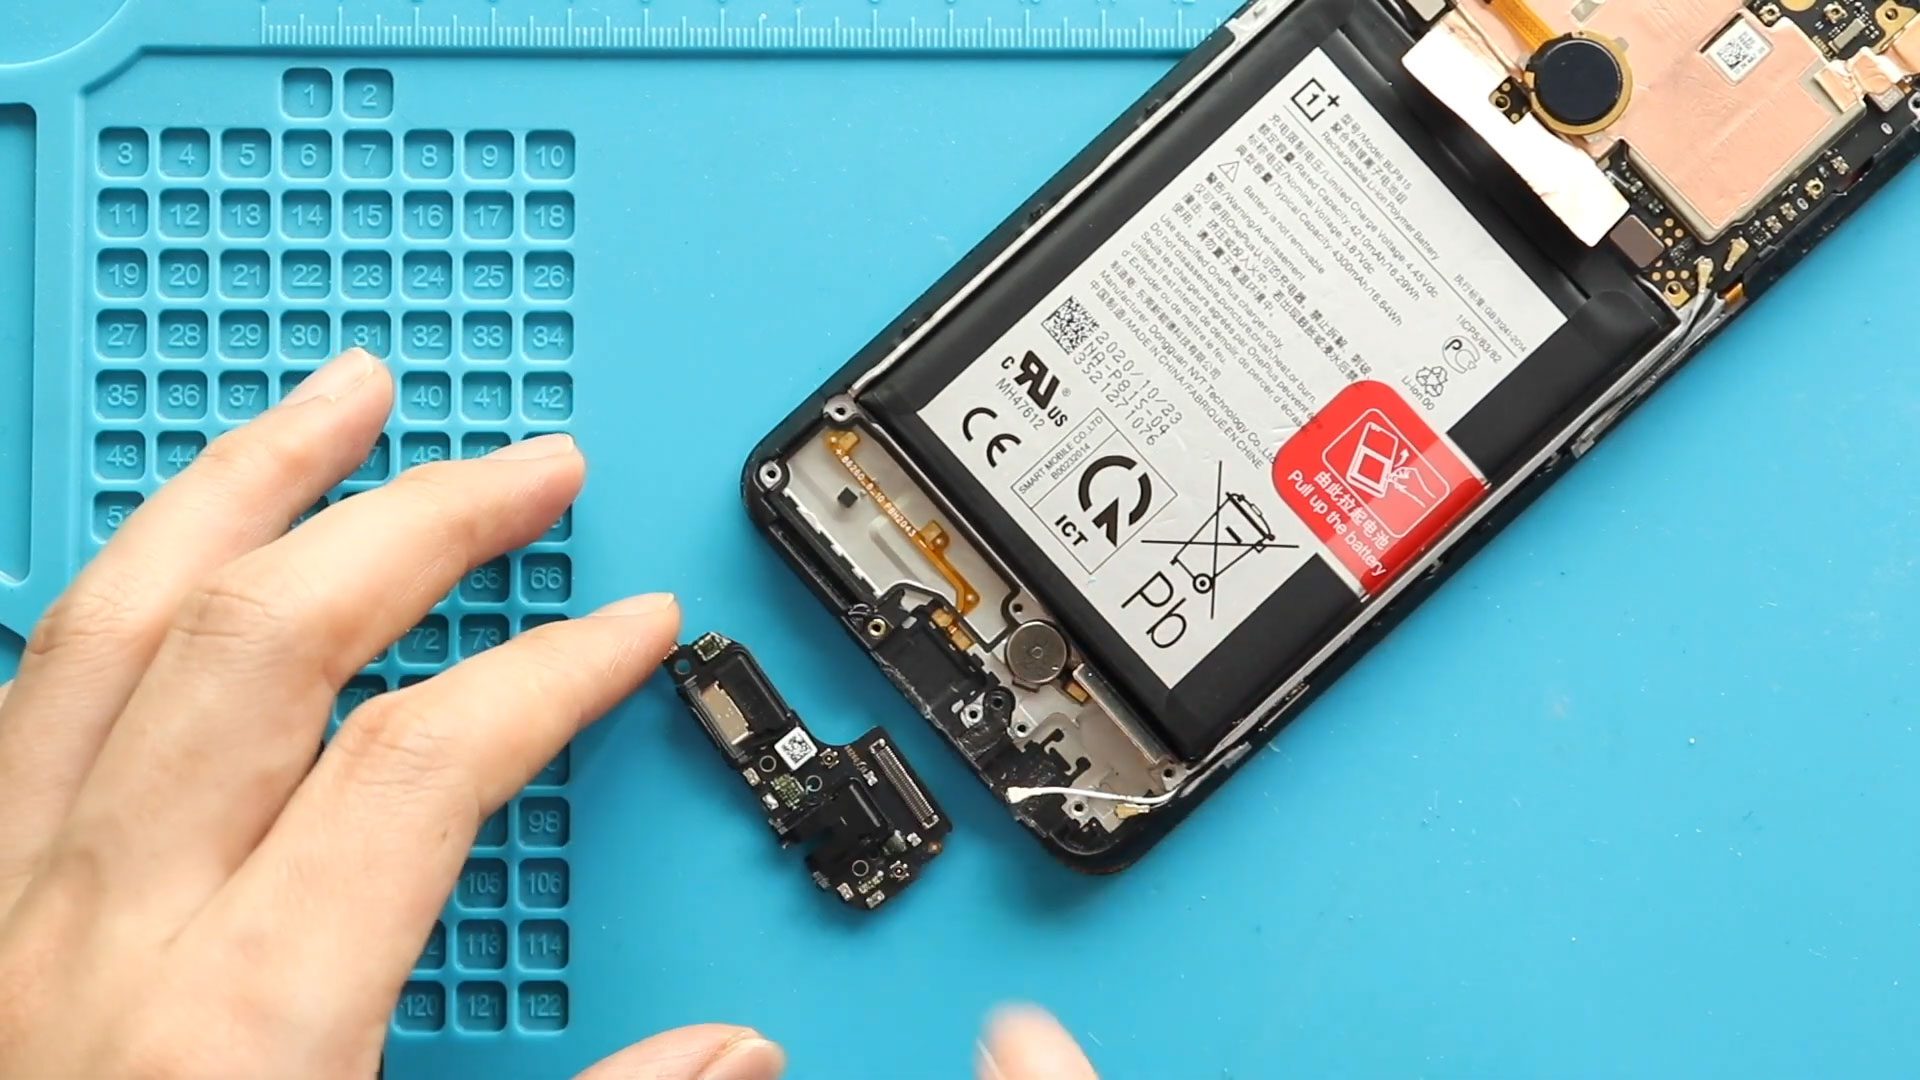
Step 6 – Remove the Logic Board
Undo the screws securing the logic board and disconnect all flex connectors. Gently lift out the logic board to gain access to the earpiece.
Change the Broken Camera in This Step
Step 7 – Remove the Faulty Earpiece
Apply slight heat if necessary to loosen adhesive holding the earpiece. Carefully lift out the not-working earpiece from its position.
Step 8 – Install the New Earpiece
Place the new earpiece in the exact position of the old one. Ensure it sits firmly and is aligned correctly for optimal audio performance.

Step 9 – Reinstall the Logic Board
Place the logic board back into the phone and reconnect all flex connectors. Secure it with the screws removed earlier.
Step 10 – Reinstall the Front Camera
Reconnect the front camera flex cable and place the module back into position. Ensure it is seated properly.
Step 11 – Reinstall the Internal Cover
Place the internal cover back and secure it with screws.
Step 12 – Reinstall the Wireless Pad
Position the wireless charging pad, reconnect its flex cable, and secure it with screws.
Step 13 – Seal the Back Cover
Before reinstalling the back cover, check the adhesive. If weak, apply B7000 glue or new double-sided back cover adhesive. Press the back cover firmly onto the frame and secure it with screen binding clips or rubber bands until the adhesive sets.
Power on your Galaxy S20 Ultra and test the earpiece to confirm proper functionality.
Frequently Asked Questions
Q1: How do I know if the earpiece is faulty?
Common symptoms include no sound during calls, muffled or distorted audio, or very low call volume even with maximum settings.
Q2: Can I replace the earpiece without removing the logic board?
On the Galaxy S20 Ultra, the earpiece sits under the logic board and front assembly, so full disassembly is required to safely access it.
Q3: Will replacing the earpiece affect other components?
If done carefully, only the earpiece is replaced. Ensure all flex connectors and screws are reattached properly to prevent issues with the camera, wireless pad, or battery.
Q4: Do I need to test the earpiece before sealing the back cover?
Yes. Reconnect the battery and test the earpiece functionality before reinstalling the back cover to ensure proper installation.
Q5: Is adhesive replacement necessary when resealing the back cover?
Yes. Old adhesive may not provide a strong seal. Use B7000 glue or a new double-sided back cover adhesive to secure the rear glass.
Q6: Can a faulty earpiece cause problems with voice recording or speakerphone?
Generally, the earpiece only affects call audio. Voice recording and speakerphone use different components, so they are not impacted by replacing the earpiece.
Visit our site to view other repair guides for the Galaxy S20 Ultra 5G.