Now Reading: Samsung Galaxy S20 Ultra Camera Lens Glass & Back Cover Replacement Guide
-
01
Samsung Galaxy S20 Ultra Camera Lens Glass & Back Cover Replacement Guide
Samsung Galaxy S20 Ultra Camera Lens Glass & Back Cover Replacement Guide
Hi everyone, welcome back to DIYGEARDO!
Today we’ll walk through replacing a cracked or damaged camera lens (or lens + frame) on a Galaxy phone. Follow these steps carefully, use the tools in the description, and work slowly — this repair is simple when done methodically.
Compatibility and Model Numbers
This repair guide based on Samsung Galaxy S20 Ultra 5G mobile phone, but it is also compatible with Galaxy S20 Ultra 4g version too.
Compatible Mode Numbers l SM-G988, SM-G988U, SM-G988U1, SM-G9880, SM-G988B/DS, SM-G988N, SM-G988B, SM-G988W SM-G988B/DS
Tools You Need
- Heating pad / heat gun / hairdryer
- Suction cup
- Plastic card pry tools / opening picks
- Phillips PH000 screwdriver
- Philips PH00 screwdriver – For smaller internal screws (optional)
- Adhesive (B7000 or double-sided back cover adhesive)
- Bonding clips or rubber bands (optional but recommended)
How to Find Tools and Parts
- Heating pad – https://amzn.to/3H0tHzJ
- Portable Heat Gun – https://amzn.to/4mszih1
- Clamps https://amzn.to/3GYJT4w
- STREBITO 142 Piece Repair Tool Kit https://amzn.to/3UO1jUx
- Glue | Adhesive https://amzn.to/46exVxe
- Compatible Parts https://amzn.to/47VYx7t
- Silicone Work Repair Mat https://amzn.to/45Emz5l
Types of Repair Tools Used in the Repair Process
Step 1 — Power down and remove the SIM tray
Power off the phone completely and eject the SIM tray. This prevents accidental damage while you work and gives you easier access to the rear glass.
Step 2 — Warm the back cover evenly
Place the phone back-side down on a heating pad and choose the mobile-phone setting. Heat until the edge adhesive softens — you should feel the glass warm but not uncomfortably hot. If you don’t have a pad, use a hair dryer on medium and move it around the perimeter for even heat.

Quick Change your Galaxy S20 Ultra 5G Charging Port in this Step
Step 3 — Create an opening with a suction cup
After heating, attach a suction cup near one corner of the rear glass and pull gently to create a gap between the frame and the back cover. Start small — you only need enough space to insert a plastic card or pry tool.
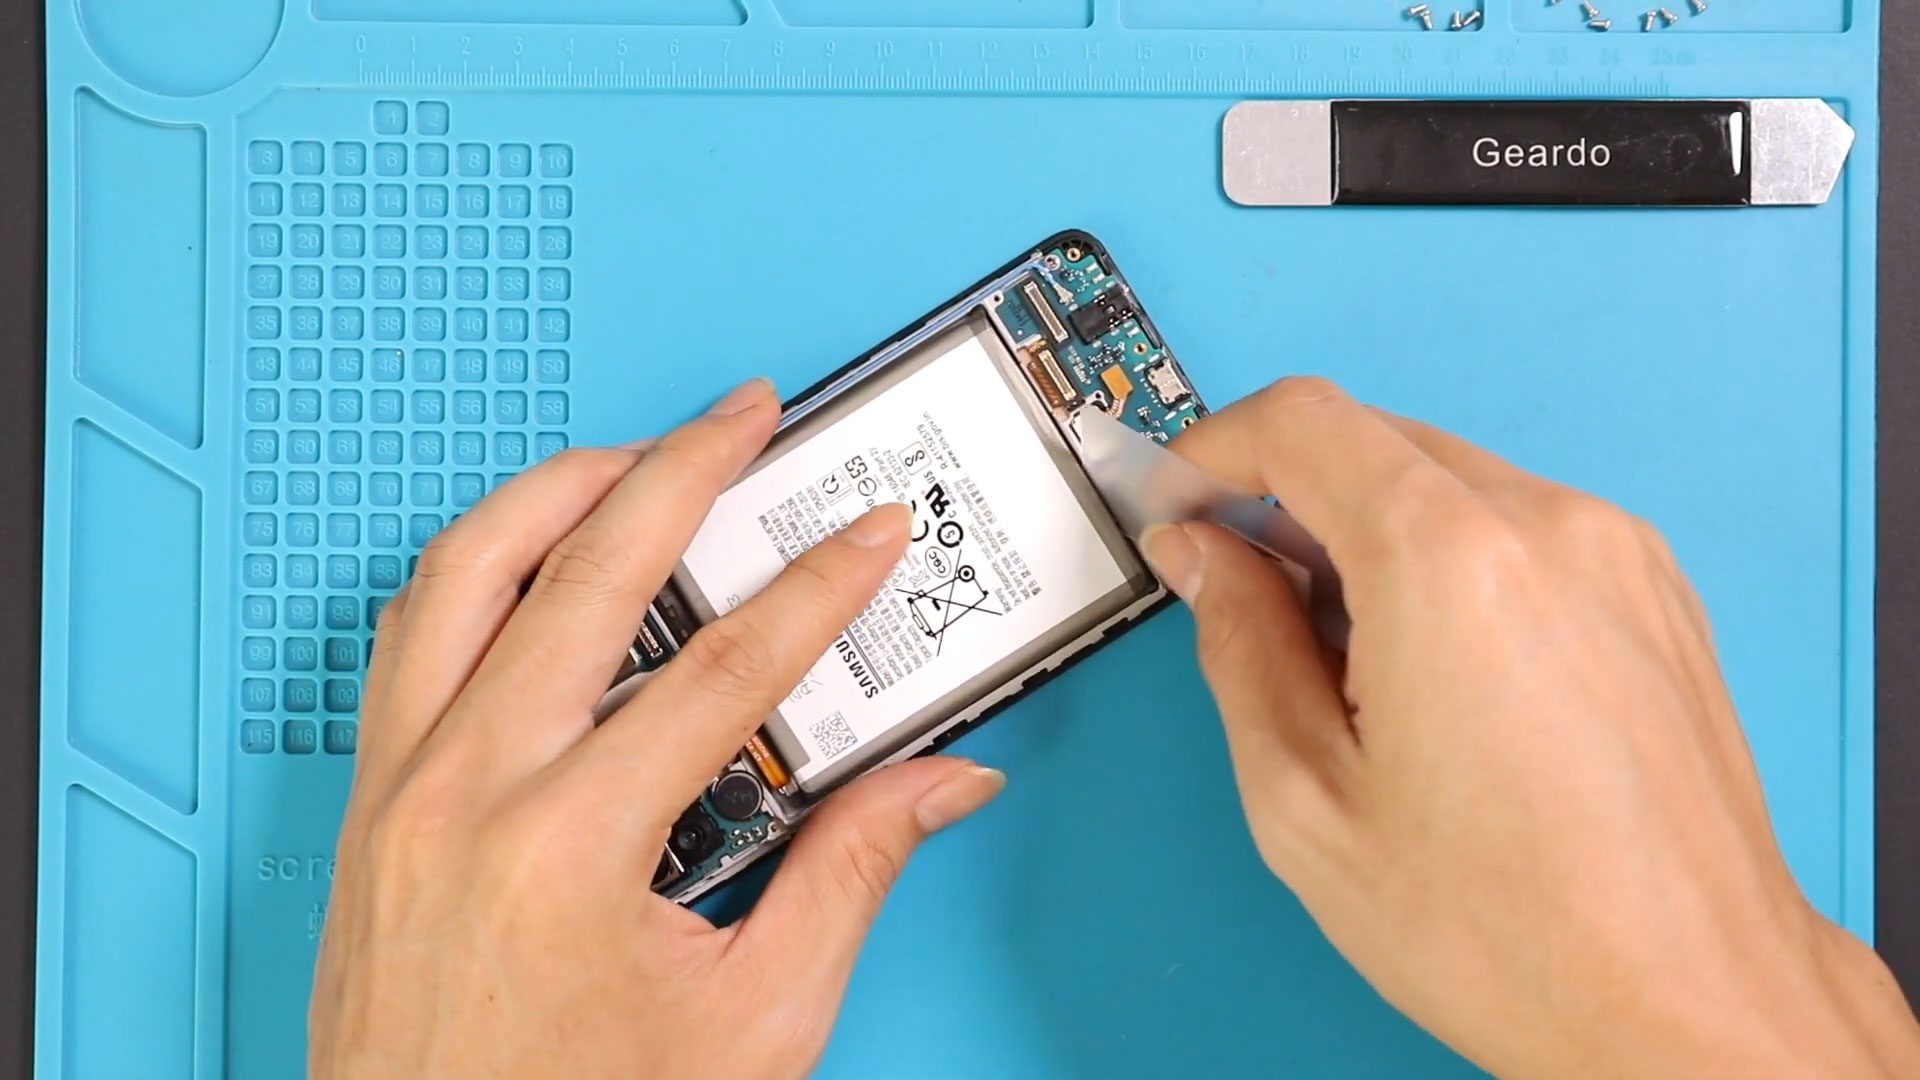
Step 4 — Cut the adhesive with a plastic card
Slide a plastic card or thin pry tool into the gap and work it around the edges to slice the softened adhesive. Keep the tool shallow and move slowly to avoid chipping the glass or bending the frame.
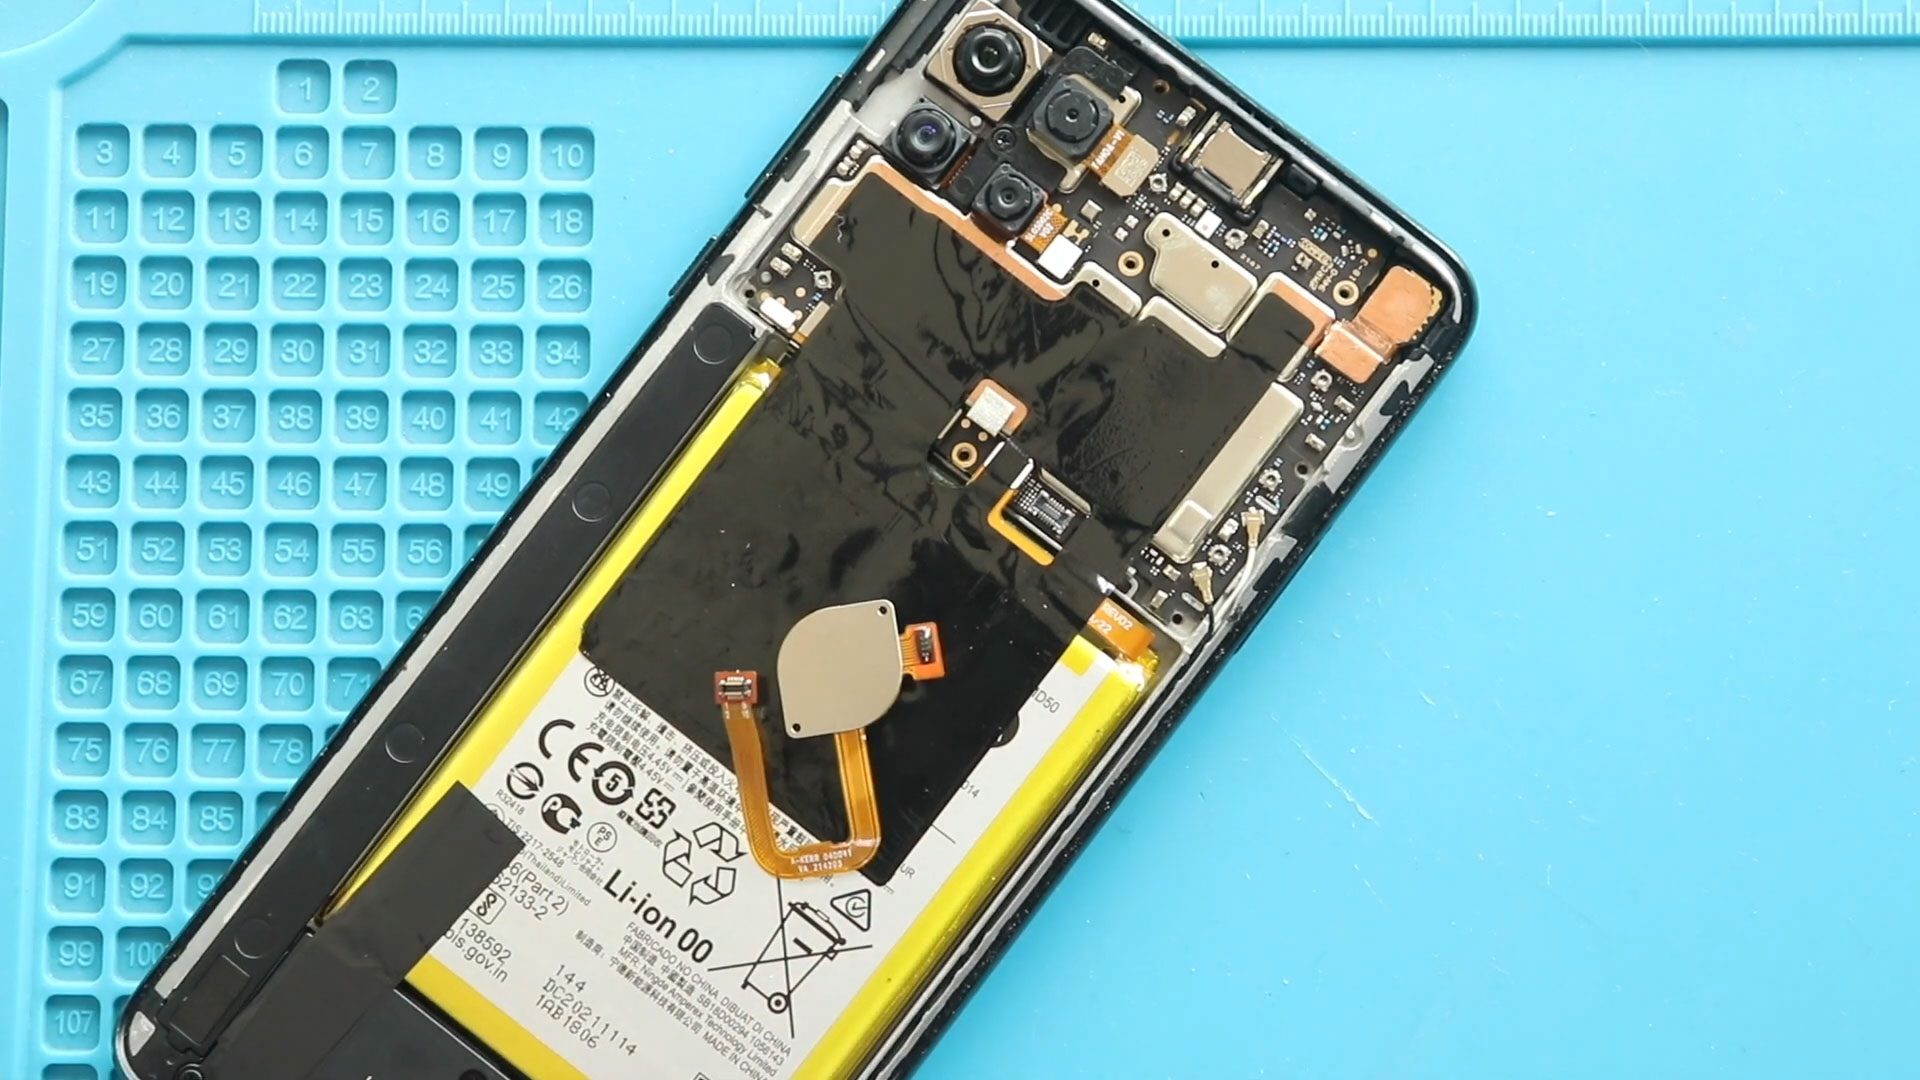
Step 5 — Remove the back cover
Once the adhesive is cut, lift the back cover carefully and set it aside on a clean surface. If the camera area still feels firm, apply a little extra localized heat there before lifting.
Step 6 — Heat the camera lens area on the cover (if removing lens from cover)
Lay the removed back cover face down and apply a little heat to the camera module area. This weakens any glue holding the lens/frame in place and makes the next steps easier.
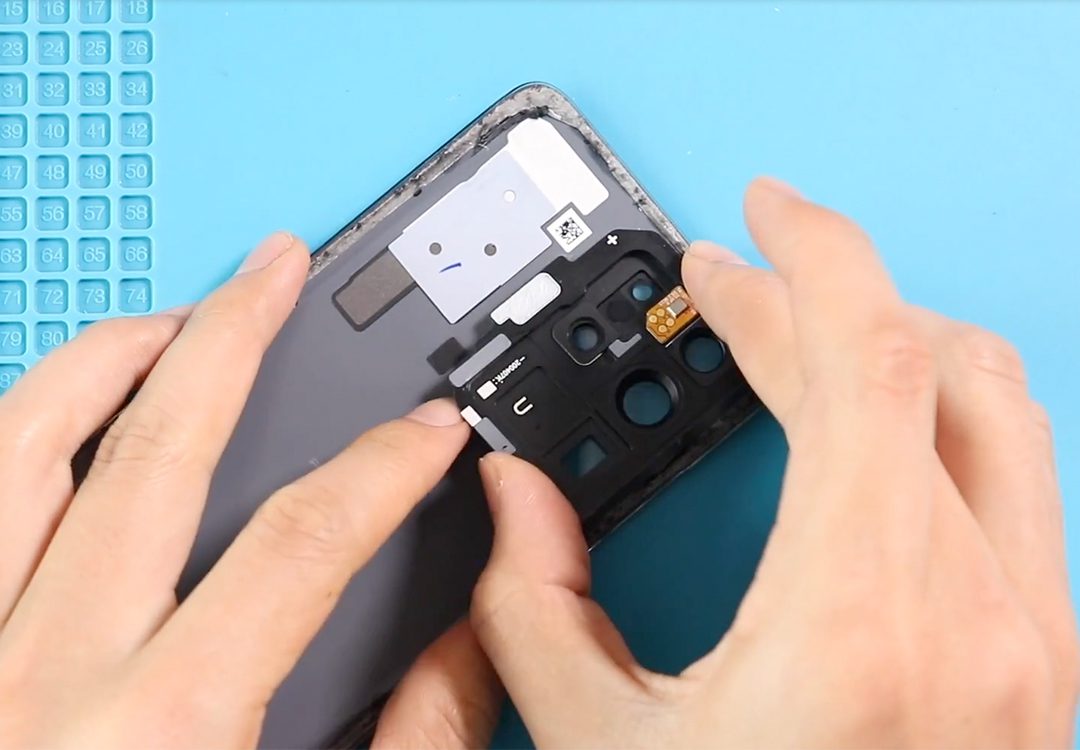
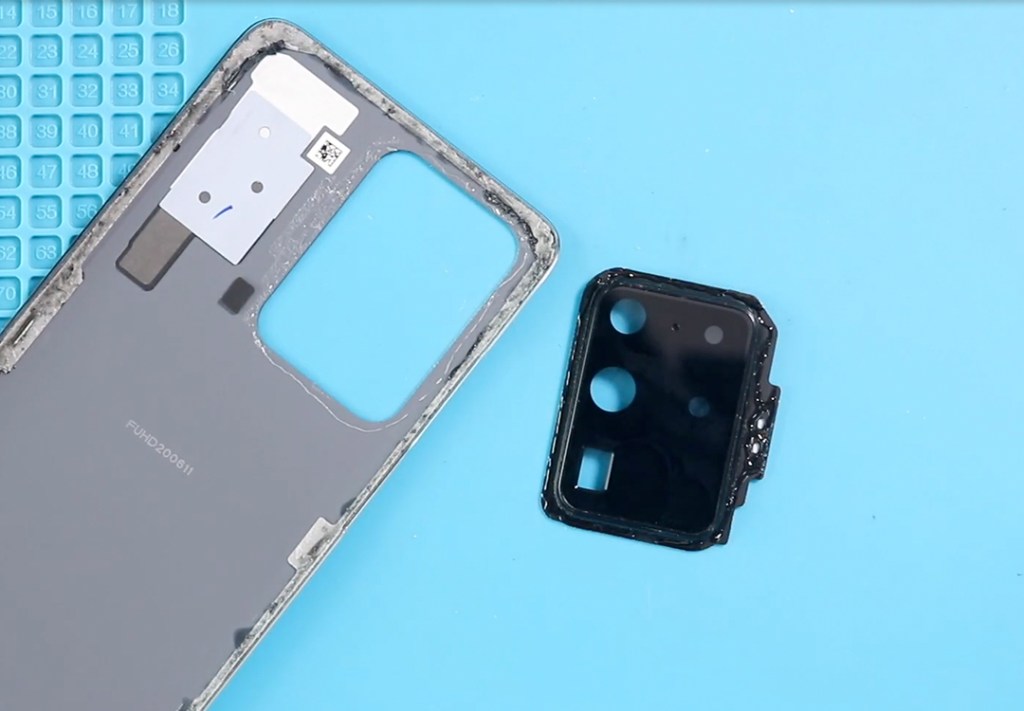
Step 7 — Pop out the camera lens frame
With the warmed cover, press gently from the front glass to free the lens frame. Use tweezers or a plastic pick to lift out the frame. Remove the flash/sensor board from the frame as required — handle the board carefully and keep screws and small parts separate.
Step 8 — Decide which replacement part to use
You can choose: lens only, lens with frame, or a full back cover with pre-installed lenses. I recommend camera lens with frame for best fit and value — easier alignment and fewer steps during reassembly.
Step 9 — Fit the sensor board into the new frame
If your new part requires it, seat the flash/sensor board into the replacement frame using a tiny amount of adhesive. Ensure connectors align and the board sits flush.
Step 10 — Attach the new lens/frame to the back cover
Most parts come with adhesive pre-applied. If not, apply a thin bead of B7000 around the frame edge (or use pre-cut tape). Align the frame precisely and press it firmly into place.
Step 11 — Re-glue or replace the back cover adhesive
Check the main back cover adhesive — if it’s worn, use new double-sided back-cover tape or a thin B7000 bead on the edges. Make sure the adhesive is even to avoid lifting later.
Step 12 — Reassemble and test
Place the back cover on the phone, press around the perimeter to seat the adhesive, insert the SIM tray, power on the device, and test the camera, flash, and sensors to confirm everything works.
Frequently Asked Questions
1: Can I replace only the glass lens or should I get the frame too?
The lens-only option is cheaper but harder to align. Lens+frame gives better fit and fewer alignment issues — recommended.
2: Will B7000 damage camera optics if applied incorrectly?
Use B7000 only on the outer frame edge. Avoid any adhesive contact with the optical surface — that will ruin image quality.
3: The flash isn’t working after reassembly — why?
Check the flash/sensor board connector and seating. A loose connector or misaligned board is a common cause.
4: Do I need to replace the full back cover for a perfect finish?
Not always. If the cover glass is intact and adhesive is good, replacing just the lens/frame works. If the cover is scratched or warped, replace the whole cover.
5: How do I prevent dust under the lens during installation?
Work in a clean area, use compressed air or a lint-free cloth, and seat the frame immediately after cleaning.
Visit our site to view other repair guides for the Galaxy S20 Ultra 5G Series.