Now Reading: Samsung Galaxy Tab A8 10.5″Main Motherboard Flex Replacement Guide
-
01
Samsung Galaxy Tab A8 10.5″Main Motherboard Flex Replacement Guide

Samsung Galaxy Tab A8 10.5″Main Motherboard Flex Replacement Guide
The Samsung Galaxy Tab A8 10.5 (2021) relies on a main motherboard flex cable (also known as the board connect flex) to establish communication between the main logic board and key components such as charging circuitry, audio paths, sensors, and sub-boards. This flex cable plays a critical role in ensuring stable power delivery and signal transmission throughout the tablet.
Over time, the main board flex can become faulty due to liquid damage, accidental drops, improper previous repairs, connector wear, or manufacturing fatigue. When this happens, the tablet may experience intermittent power issues, charging problems, random restarts, or complete failure to function.
In this Geardo DIY repair guide, we will walk you through the step-by-step process to replace the main motherboard flex cable on the Samsung Galaxy Tab A8 10.5 – X200 and X205 models. This repair does not require soldering but does require careful LCD removal and precise connector handling.
Repair Difficulty
Difficulty Rating: ⭐⭐⭐⭐☆ (4 out of 5)
Estimated Time: 60–80 minutes
Repair Type: Main Motherboard Flex (Board Connect Flex) Replacement
Skill Level: Intermediate
⚠️ This repair involves LCD removal and internal flex connectors. Work slowly to avoid tearing cables or damaging connectors.
Common Symptoms of a Faulty Main Board Flex
- Tablet not powering on or restarting randomly
- Charging not working or intermittent charging
- No response despite a good battery
- Device heats up abnormally
- Tablet works only when pressed or flexed
TBefore You Begin
Compatibility and Model Numbers
This repair guide based on Samsung Galaxy Tab A8 10.5-inch 2021 X205 Model.
Also Compatible with Both Wifi and Cellular Edition models.
Model Numbers | SM-X200, SM-X205, SM-X207
Required Tools
- Heating pad / heat gun / hairdryer
- Suction cup
- Plastic card pry tools / opening picks/ Tweezers
- Phillips screwdriver #00 / #000
- Adhesive (B7000 or double-sided back cover adhesive)
- Bonding clips or rubber bands (optional but recommended)
Make sure the tablet is turned off and the SIM tray is removed (For Cellular Version)before starting.
How to Find Tools and Parts
- Heating pad – https://amzn.to/3H0tHzJ
- Portable Heat Gun – https://amzn.to/4mszih1
- Clamps https://amzn.to/3GYJT4w
- STREBITO 142 Piece Repair Tool Kit https://amzn.to/3UO1jUx
- Glue | Adhesive https://amzn.to/46exVxe
- Compatible Parts –
- Battery – https://amzn.to/4fC8rNj
- Touch Screen – https://amzn.to/416eZxY
- Other Parts – https://amzn.to/45jcN8G
- Silicone Work Repair Mat https://amzn.to/45Emz5l
Protect Your Galaxy Tab A8 10.5 2021
- Screen Protector Glass For The Screen https://amzn.to/4mMju9g
- Best Cases For Your Galaxy Tab https://amzn.to/4mdkovq
Step-by-Step Main Motherboard Flex Replacement Guide
Step 1: Power Off the Tablet
Completely power off the Samsung Galaxy Tab A8 before starting the repair.
Step 2: Open the Tablet
- Apply gentle heat around the LCD screen edges to soften the adhesive
- Place the tablet screen-side down on a heating pad and select the tablet heating option
- Alternatively, use a heat gun or hairdryer evenly around the edges
Step 3: Remove the LCD Screen
- Use a suction cup to create a small opening between the screen and the frame
- Insert a plastic pry tool or card
- Carefully cut through the adhesive around all sides
- Gently lift the LCD and slide it downward to rest on the body
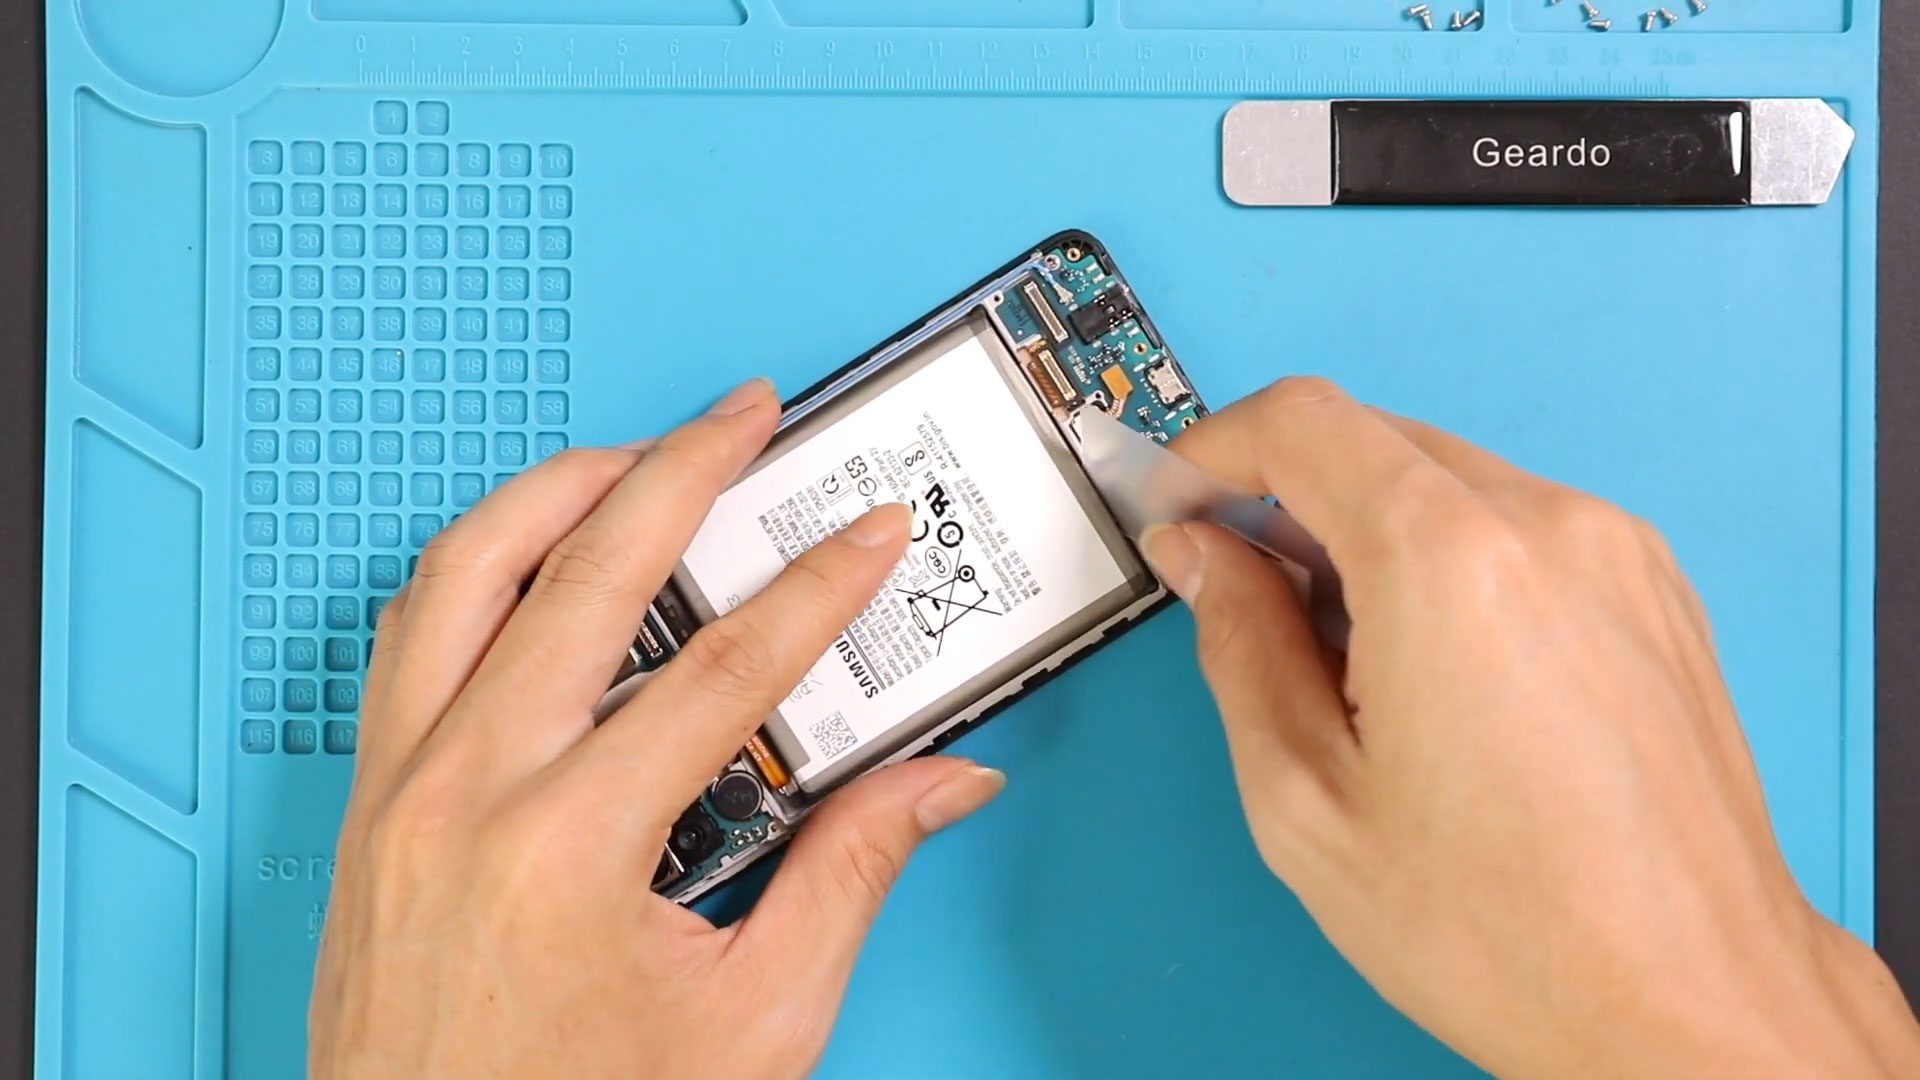
Step 4: Disconnect Battery & LCD Connectors
- Remove the metal connector bracket by undoing the screw
- Disconnect the battery connector first
- Disconnect the LCD display connector
- Carefully remove the LCD screen assembly and place it in a safe area
Step 5: Remove the Speaker Cover
- Locate the bottom speaker cover
- Remove all securing screws
- Lift and remove the speaker cover carefully
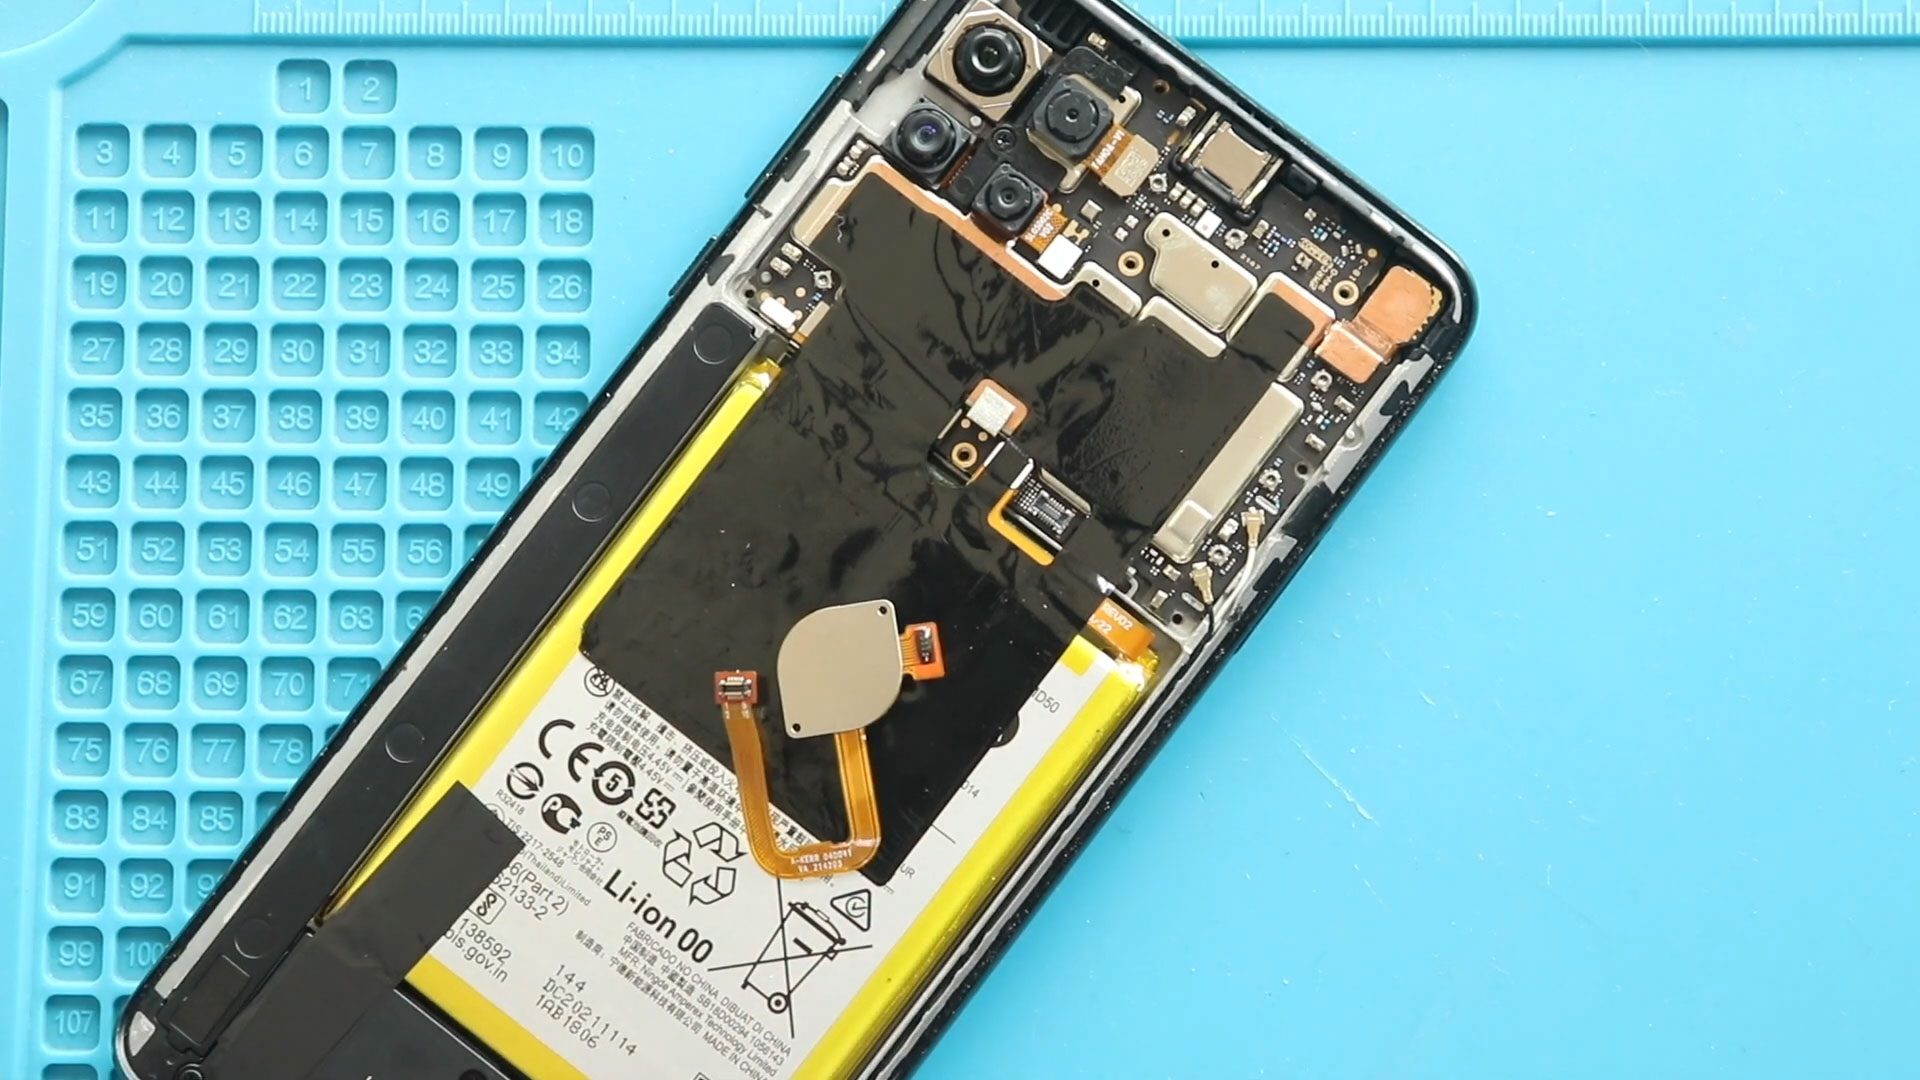
Step 6: Remove the Faulty Main Motherboard Flex
- Identify the main board connect flex cable
- Disconnect the flex from both ends
- Carefully lift and remove the damaged flex cable from the tablet
Step 7: Install the New Main Motherboard Flex
- Position the new flex cable correctly along the original routing path
- Connect both ends of the flex cable securely
- Ensure connectors are properly seated and aligned
Step 8: Reinstall the Speaker Cover
- Place the speaker cover back into position
- Secure it using the original screws
Step 9: Reconnect LCD & Battery Connectors
- Reconnect the LCD connector
- Reconnect the battery connector
- Double-check all connections
Step 10: Test the Tablet
Before sealing the screen:
- Power on the tablet
- Check charging, display, and overall functionality
- Ensure there are no boot or power issues
Step 11: Reinstall the LCD Screen
- Apply B7000 glue or double-sided LCD adhesive around the frame
- Align the screen from the bottom first, then press into place
- Press gently around the edges
Step 12: Final Closing
- Use bonding clips or rubber bands
- Leave the tablet undisturbed for 30–60 minutes for proper adhesion
Frequently Asked Questions (FAQ)
Is the main motherboard flex cable replaceable?
Yes, it is a modular flex cable and does not require soldering.
Will this repair erase my data?
No, replacing the flex cable does not affect internal data.
Can a damaged flex cause charging issues?
Yes, a faulty main board flex often causes charging and power problems.
What adhesive should I use to reseal the screen?
B7000 glue or pre-cut double-sided LCD adhesive is recommended.
How long should I wait before using the tablet?
Allow at least 1 hour for adhesive curing.
Troubleshooting – After The Repair
Q: The tablet still does not power on after flex replacement. What should I check?
A: Ensure the battery connector and both ends of the motherboard flex are fully seated.
Q: Charging still does not work.
A: Inspect the charging port and verify the new flex cable is not damaged or misaligned.
Q: The tablet restarts randomly.
A: This usually indicates a loose flex connector. Reopen and reseat the cable.
Q: The screen remains black but the tablet vibrates.
A: Reseat the LCD connector and ensure the connector bracket is installed properly.
Final Thoughts
Replacing the main motherboard flex cable on the Samsung Galaxy Tab A8 10.5 (X200 / X205) can resolve serious power and charging issues without replacing the entire logic board. With patience and proper tools, this DIY repair can save both time and money.
For more detailed tablet repair guides, visit DIYGeardo.
Related