Now Reading: Xiaomi Redmi Note 10 5G Camera Lens Glass Replacement Guide | Also Works With POCO M3 Pro 5G / Redmi Note 10T 5G
-
01
Xiaomi Redmi Note 10 5G Camera Lens Glass Replacement Guide | Also Works With POCO M3 Pro 5G / Redmi Note 10T 5G
Xiaomi Redmi Note 10 5G Camera Lens Glass Replacement Guide | Also Works With POCO M3 Pro 5G / Redmi Note 10T 5G
Also compatible with Redmi Note 10T & Poco M3 Pro 5G
If your Xiaomi Redmi Note 10 5G has cracked or scratched camera lens glass, photos may appear blurry, distorted, or partially obstructed. Replacing just the camera lens (without changing the camera module) is an easy and cost-effective solution.
This guide covers step-by-step instructions for safely removing the broken lens and installing a new one.
🔧 Repair Overview
Device Type: Smartphone
Repair Type: Camera Lens Replacement
⭐ Repair Difficulty:★★★★★☆☆☆☆☆ (5/10 – Moderate)
⏱ Estimated Repair Time: 25–40 Minutes
Replacing the camera lens is moderate difficulty. It requires careful handling of the frame and adhesive to avoid damaging the camera module or leaving dust under the lens.
🔍 Signs You Need a Camera Lens Replacement
- Cracked or shattered lens glass
- Blurry or distorted photos
- Camera autofocus issues due to debris or scratches
- Dust or fingerprints inside the lens area
Before You Begin
Compatibility and Model Numbers
- Xiaomi Redmi Note 10 5G
- POCO M3 Pro 5G
- Xiaomi Redmi Note 10T 5G
Model Numbers : M2103K19G, M2103K19C, M2103K19I, M2103K19Y, M2103K19PG, M2103K19PI, M2103K19PY
Tools Required
- Mobile phone heating pad or hairdryer/heat gun
- Plastic pry tool / card pry
- Suction cups
- Phillips #00/#000 screwdrivers
- Torx (T2/T3/T4) screwdrivers (Depends on the Region)
- Flathead screwdriver
- Tweezers (for connectors)
- B7000 glue or double-sided adhesive (for back cover)
- Rubber bands or bonding clips to secure the back cover
How to Find Tools and Parts
- Heating pad – https://amzn.to/3H0tHzJ
- Portable Heat Gun – https://amzn.to/4mszih1
- Clamps https://amzn.to/3GYJT4w
- STREBITO 142 Piece Repair Tool Kit https://amzn.to/3UO1jUx
- Glue | Adhesive https://amzn.to/46exVxe
- Compatible Parts –
- Battery – https://amzn.to/3ZIHCQv
- Screen – https://amzn.to/40hCF1g
- Other Parts – https://amzn.to/4rVnyq4
- Silicone Work Repair Mat https://amzn.to/45Emz5l
Protect Your Redmi Note 10 5G Series
- Best Premium Case & Protector https://amzn.to/4kMS9UI
- New Redmi Phone are in Clearance https://amzn.to/4aHSVNX
Step-by-Step Camera Lens Replacement Guide
Step 1 – Power Off the Device
Turn off the phone completely before starting the repair.
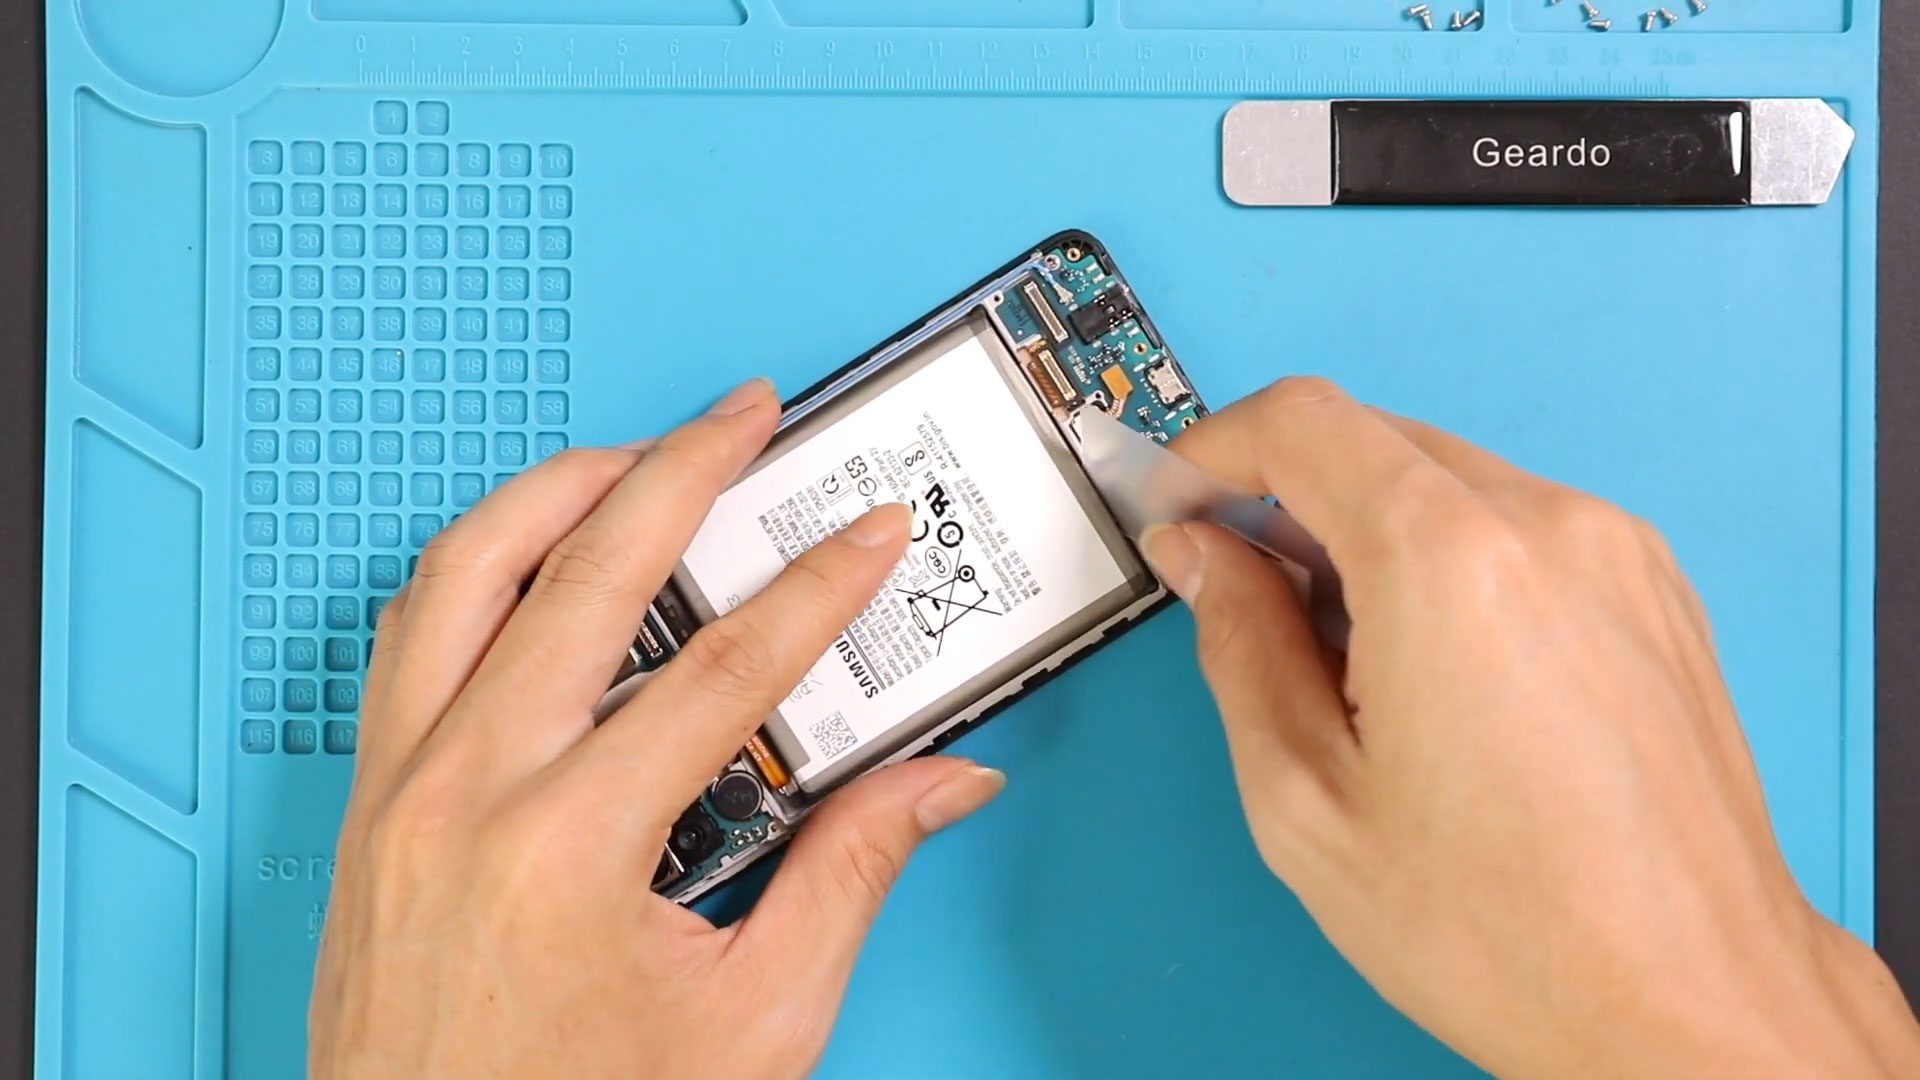
Step 2 – Remove Sim Tray & Back Cover
- Eject the SIM tray.
- Heat the back cover edges gently using a heating pad, hairdryer, or heat gun to soften the adhesive.
- Use a suction cup to lift a small section of the cover.
- Insert a plastic card or pry tool and carefully slide along the edges to release adhesive.
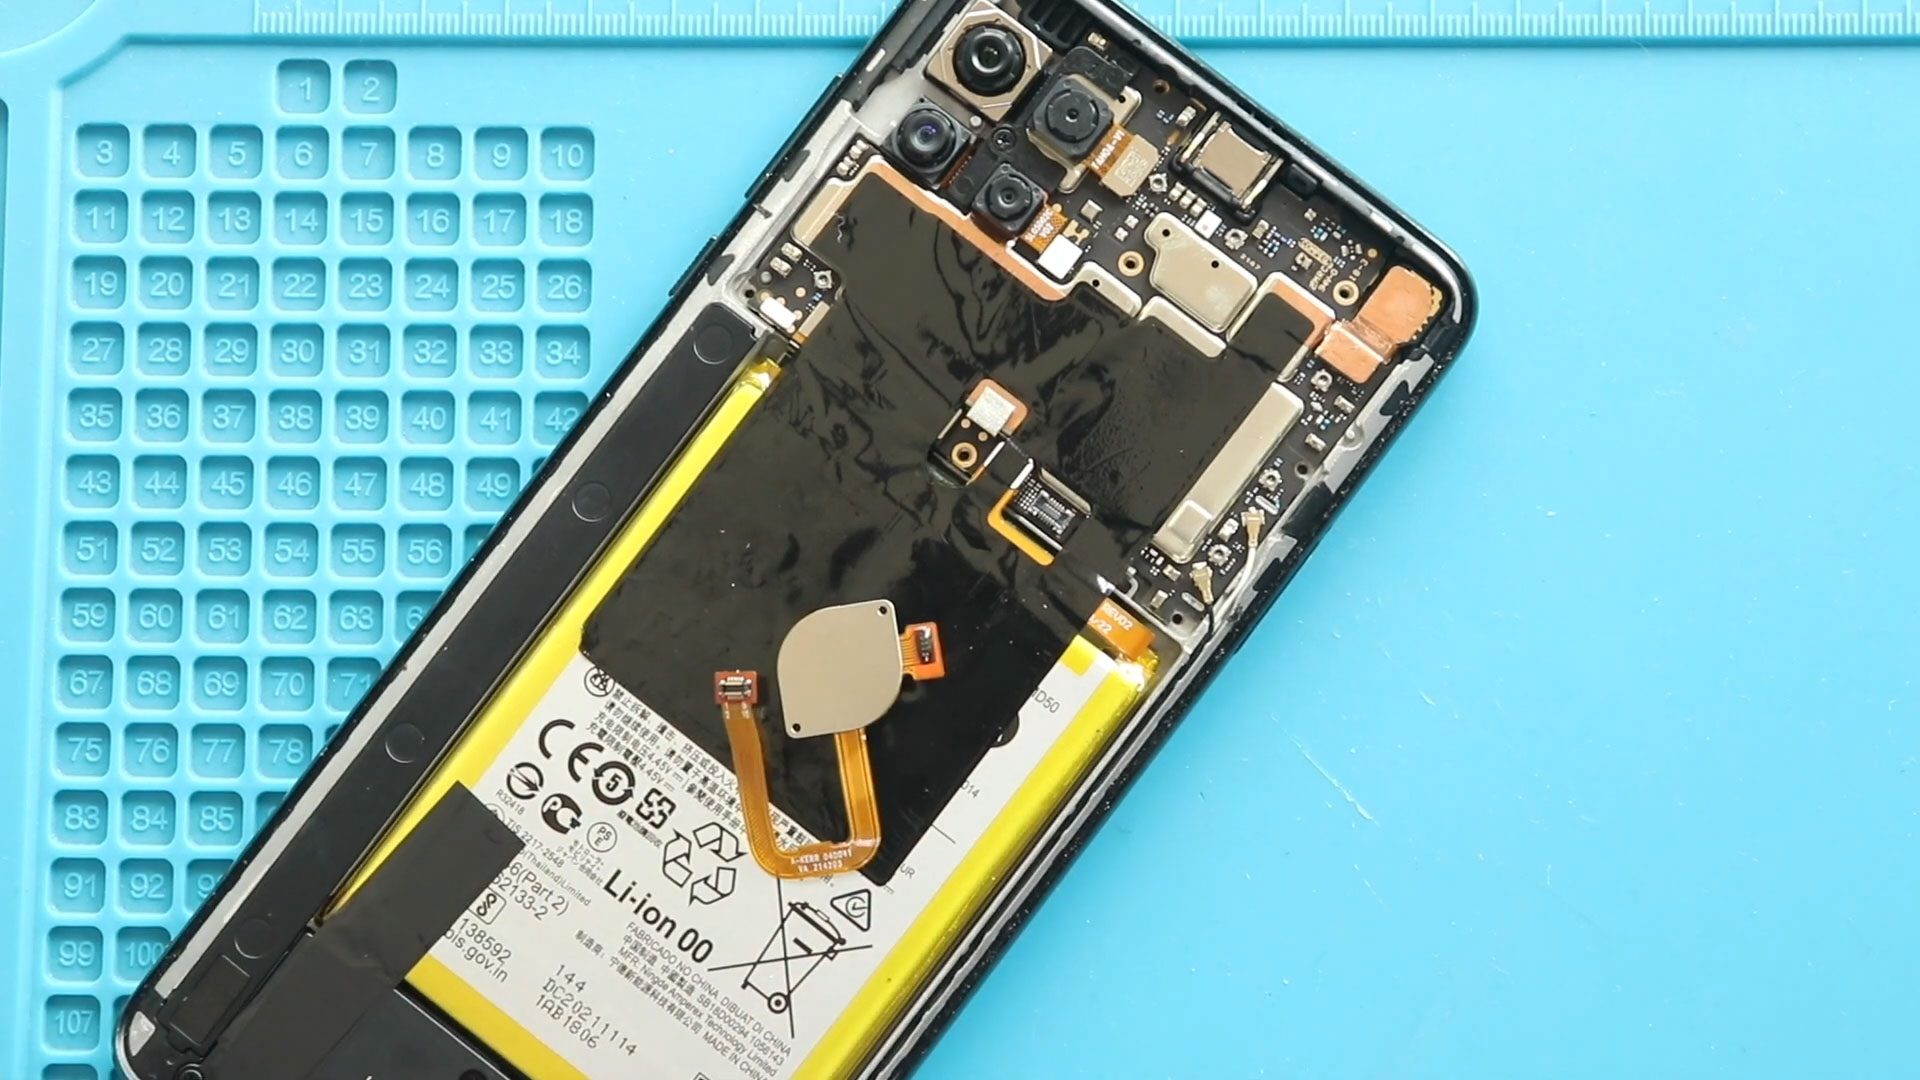
Lift the back cover slowly to avoid damaging internal components.
Step 3 – Remove Camera Lens Frame
- Unscrew the four screws securing the camera lens frame.
- Carefully lift the frame using a plastic pry tool.
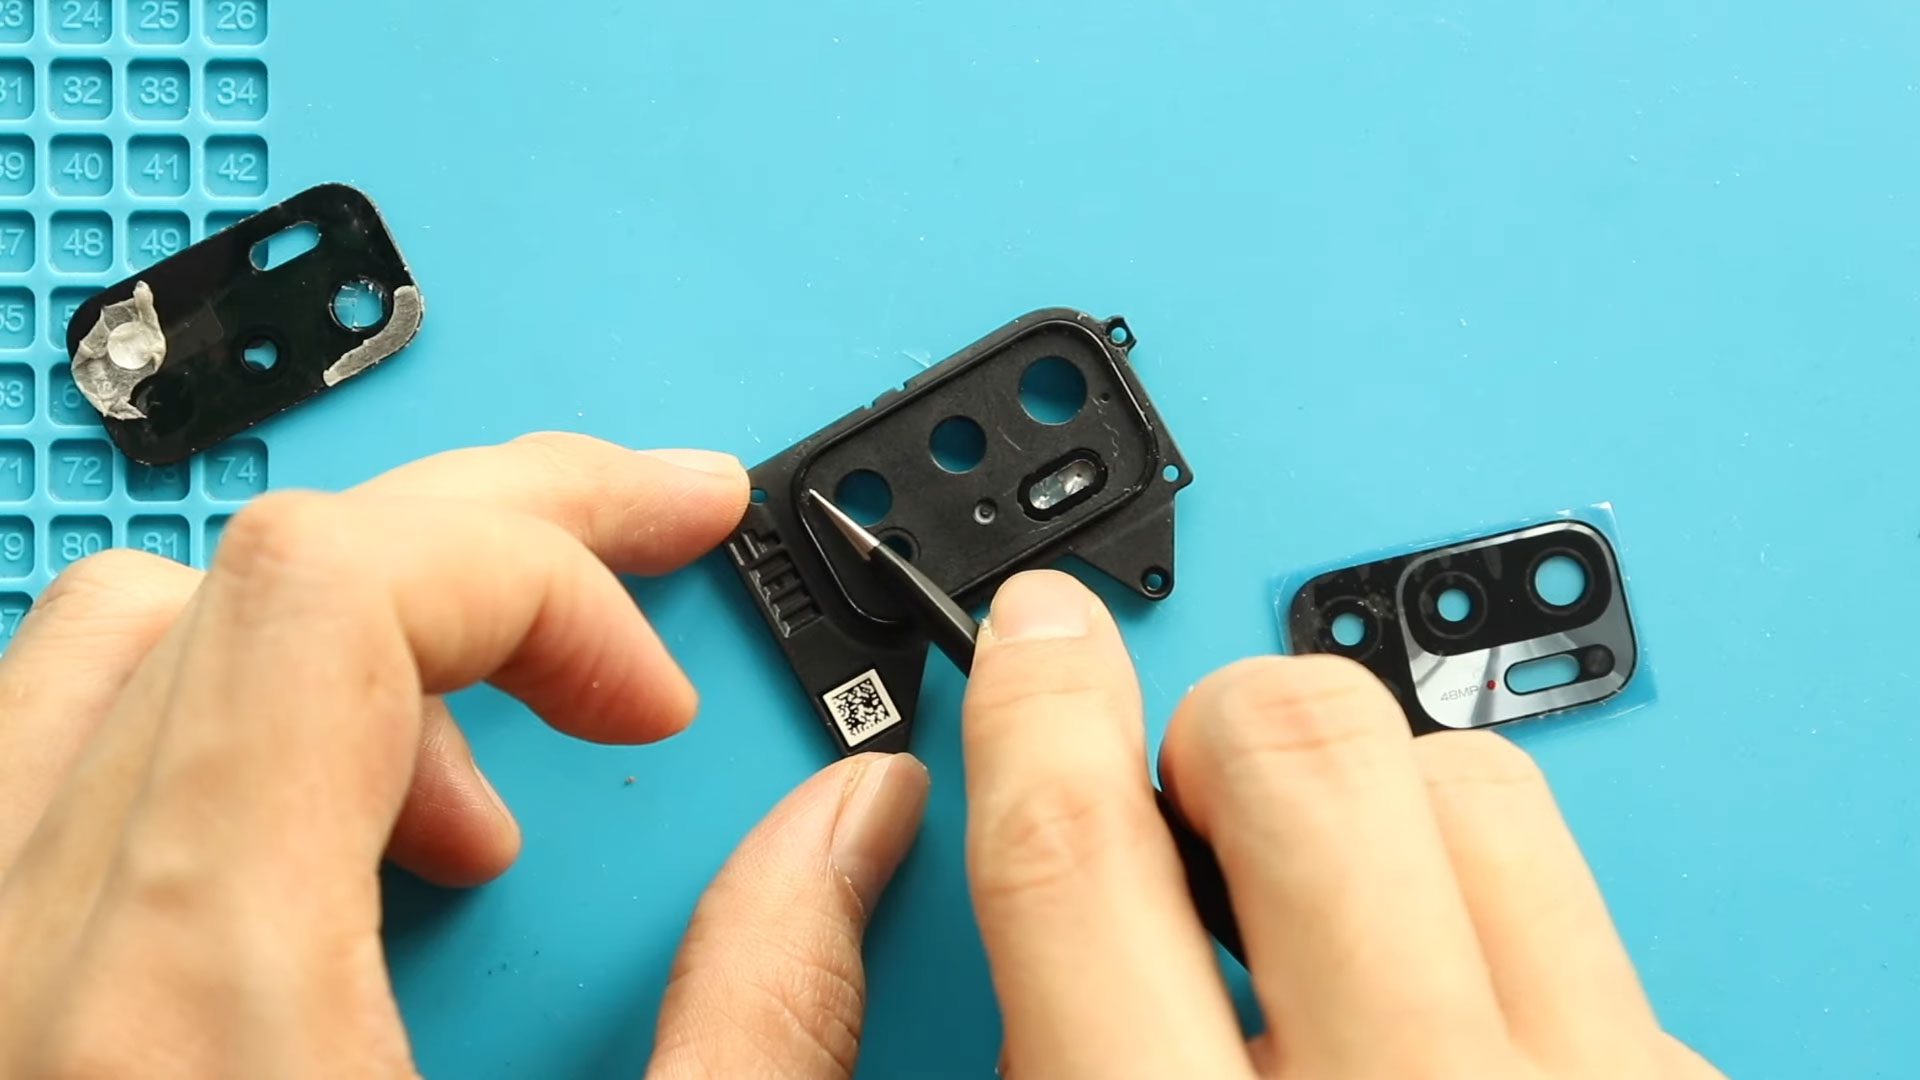
Step 4 – Remove Broken Camera Lens
- Apply a little heat to the camera lens using a heat gun.
- Apply gentle pressure from the rear side to remove the broken glass.
- Clean the surface thoroughly, ensuring no tiny glass shards remain.
Step 5 – Install New Camera Lens
- Place the new camera lens with adhesive in the original position.
- Ensure it is aligned correctly and sits flush with the camera module.
Step 6 – Secure Camera Lens Frame
- Replace the camera lens frame and secure it with the four screws.
Step 7 – Reattach Back Cover
- Check if the back cover has enough adhesive; if not, apply B7000 glue or double-sided adhesive.
- Align the back cover carefully and press it into place.
- Use bonding clips or rubber bands for 30–60 minutes to secure the seal.
❓ Frequently Asked Questions (FAQ)
Q1: Will replacing the lens affect camera performance?
No. Replacing just the lens does not affect the camera module’s functionality.
Q2: Can I replace the lens without heating the back cover?
Heating is recommended to soften adhesive and prevent cracks or damage during removal.
Q3: Do I need special adhesive for the new lens?
Yes, pre-applied lens adhesive or B7000 glue ensures the lens stays firmly in place and dust-free.
Q4: Is it safe to reuse the old camera lens frame?
Yes, if it is not damaged. Otherwise, replace it along with the lens.
Q5: Can I test the camera before sealing the back cover?
Yes. Power on the phone and test camera focus and clarity before sealing.
🛠 Troubleshooting After Replacement
- Dust under the lens: Remove the lens and clean the camera module surface, then reinstall.
- Lens not sticking properly: Reapply adhesive and ensure alignment.
- Camera blurry after replacement: Check for leftover glass shards or misalignment.
- Back cover not sticking: Clean old adhesive and apply new B7000 glue or double-sided tape, then use clips or rubber bands.
Replacing the camera lens on the Xiaomi Redmi Note 10 5G is a moderate DIY repair that restores clear and sharp photos. Handle the glass carefully, ensure no debris remains, and always test camera performance before sealing the back cover.
Related