Now Reading: Xiaomi Redmi Note 10 5G Earpiece Speaker Replacement Guide | Redmi Note 10T | Poco M3 Pro 5G
-
01
Xiaomi Redmi Note 10 5G Earpiece Speaker Replacement Guide | Redmi Note 10T | Poco M3 Pro 5G

Xiaomi Redmi Note 10 5G Earpiece Speaker Replacement Guide | Redmi Note 10T | Poco M3 Pro 5G
If your Xiaomi Redmi Note 10 5G has very low call volume, distorted sound, or no sound during phone calls, the problem is usually a faulty earpiece speaker. In this detailed step-by-step DIY repair guide, you’ll learn how to safely replace the earpiece speaker and restore clear call audio.
Repair Overview
Device Type: Smartphone
Repair Type: Earpiece (Call Speaker) Replacement
Repair Time: 45–60 Minutes
Repair Difficulty: ★★★★★☆☆☆☆☆ (5/10 – Moderate)
This is a moderate-level repair because you must remove the mid frame and carefully access internal components. No microsoldering is required, but patience and proper tools are essential.
Common Reasons for Earpiece Replacement
- Very low sound during calls
- No sound when phone is against your ear
- Crackling or distorted voice audio
- Water or moisture damage
- Dust buildup inside speaker mesh
- Speaker works only on loudspeaker mode
Before You Begin
Compatibility and Model Numbers
- Xiaomi Redmi Note 10 5G
- POCO M3 Pro 5G
- Xiaomi Redmi Note 10T 5G
Model Numbers : M2103K19G, M2103K19C, M2103K19I, M2103K19Y, M2103K19PG, M2103K19PI, M2103K19PY
Tools Required
- Mobile phone heating pad or hairdryer/heat gun
- Plastic pry tool / card pry
- Suction cups
- Phillips #00/#000 screwdrivers
- Torx (T2/T3/T4) screwdrivers (Depends on the Region)
- Flathead screwdriver
- Tweezers (for connectors)
- B7000 glue or double-sided adhesive (for back cover)
- Rubber bands or bonding clips to secure the back cover
How to Find Tools and Parts
- Heating pad – https://amzn.to/3H0tHzJ
- Portable Heat Gun – https://amzn.to/4mszih1
- Clamps https://amzn.to/3GYJT4w
- STREBITO 142 Piece Repair Tool Kit https://amzn.to/3UO1jUx
- Glue | Adhesive https://amzn.to/46exVxe
- Compatible Parts –
- Battery – https://amzn.to/3ZIHCQv
- Screen – https://amzn.to/40hCF1g
- Other Parts – https://amzn.to/4rVnyq4
- Silicone Work Repair Mat https://amzn.to/45Emz5l
Protect Your Redmi Note 10 5G Series
- Best Premium Case & Protector https://amzn.to/4kMS9UI
- New Redmi Phone are in Clearance https://amzn.to/4aHSVNX
Step-by-Step Xiaomi Redmi Note 10 5G Earpiece Replacement
Step 1 – Power Off the Device
Turn off your phone completely before starting the repair.
Step 2 – Opening the Phone
Apply heat around the back cover edges for 1–2 minutes to soften the adhesive.
Insert a plastic pry tool between the frame and back cover.
Carefully work your way around the edges until the back cover lifts off.
⚠️ Do not insert the tool too deep to avoid damaging internal components.
Step 3 – Remove Mid Frame & Camera Lens
- Unscrew all visible Phillips screws securing the mid frame.
- Carefully lift the mid frame using a plastic tool.
- Remove the camera lens cover section if attached to the frame.
Set all screws aside in an organized manner.
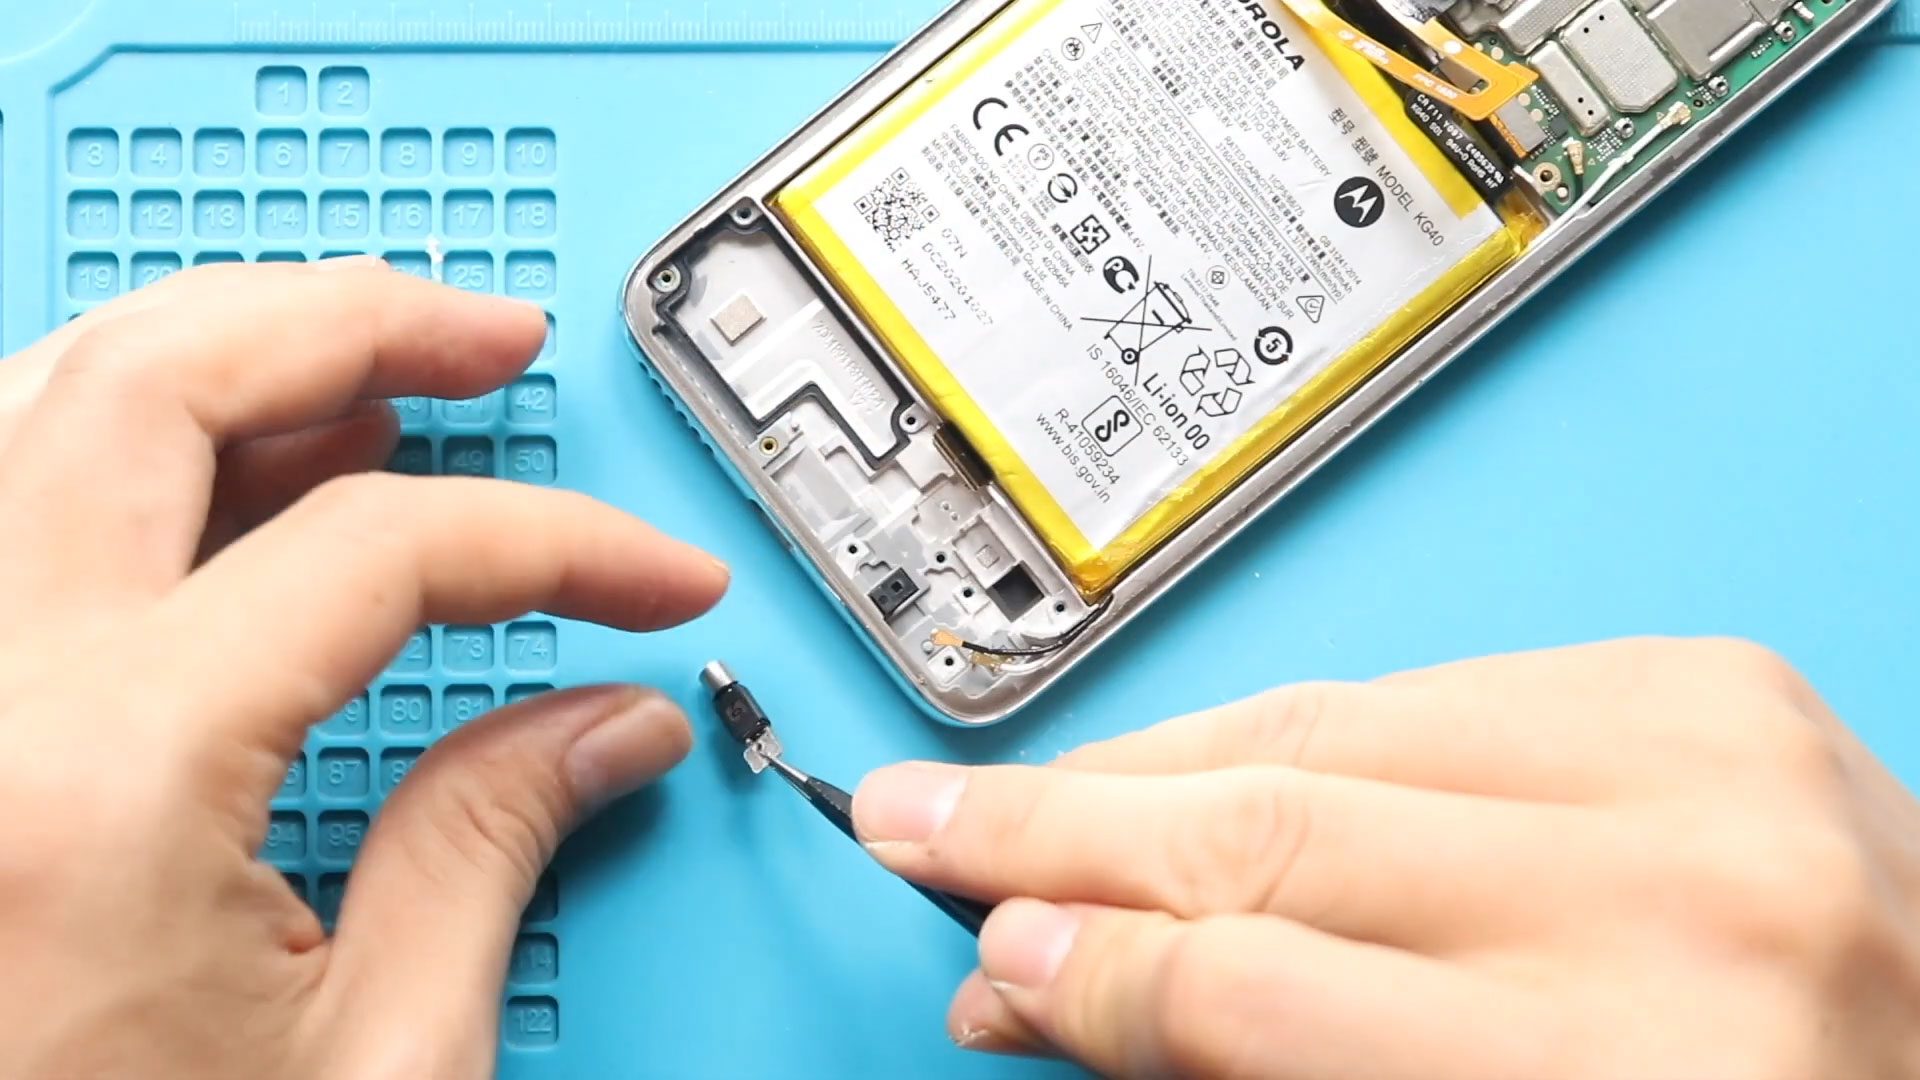
Step 4 – Remove Faulty Earpiece Speaker
The earpiece speaker sits at the top of the phone near the front camera.
- Locate the small speaker module.
- Use tweezers or a plastic tool to gently lift it out.
- If adhesive is present, carefully loosen it without damaging nearby flex cables.
Step 5 – Install New Earpiece Speaker
- Place the new earpiece speaker in the exact position.
- Ensure proper alignment with the sound channel opening.
- Press gently to secure it into place.
Proper alignment is critical for clear sound quality.
Step 6 – Reinstall Mid Frame & Camera Lens
- Position the mid frame back onto the device.
- Reinstall and tighten all screws evenly.
Do not overtighten screws to avoid damaging the plastic frame.
Step 7 – Closing & Back Cover Installation
- Clean old adhesive from the back cover.
- Apply new adhesive if necessary.
- Press the back cover firmly around all edges.
- Power on the device and test call audio.
Frequently Asked Questions (FAQ)
Q1: How do I confirm the earpiece is faulty and not a software issue?
A: Test your phone in safe mode. Also try cleaning the speaker mesh. If loudspeaker works but ear speaker does not, it is usually hardware related.
Q2: Can I use the phone without replacing the earpiece?
A: Yes, but you’ll need to rely on loudspeaker or earphones for calls.
Q3: Do I need to remove the motherboard for this repair?
A: No. The logic board does not need to be removed for earpiece replacement.
Q4: Will this fix low call volume?
A: If the issue is caused by a damaged speaker, yes. If it’s caused by dirt or software, replacing may not solve it.
Q5: Is adhesive required when closing the phone?
A: Yes, new adhesive is recommended to ensure proper sealing.
Troubleshooting After Replacement
Q1: No sound even after replacing the earpiece?
A: Check if the speaker is properly seated and aligned. Ensure no debris blocks the contact area.
Q2: Sound is very low?
A: Make sure the speaker mesh opening aligns perfectly with the frame channel. Also check for dirt in the upper grill.
Q3: Phone does not power on after reassembly?
A: Open the device again and verify battery connector is properly seated.
Q4: Crackling sound during calls?
A: The speaker may not be positioned correctly or could be defective. Try reseating or testing another unit.
Q5: Back cover not sticking properly?
A: Remove old adhesive completely and apply new strong smartphone adhesive before sealing.
Replacing the earpiece speaker on the Xiaomi Redmi Note 10 5G is a manageable repair if you follow each step carefully. With the right tools and patience, you can restore clear call audio and avoid costly service center repairs.
Related Guides