Now Reading: DIY Google Pixel 3a Back Camera Repair Guide
-
01
DIY Google Pixel 3a Back Camera Repair Guide
DIY Google Pixel 3a Back Camera Repair Guide
To start, we need to have the right tools to proceed with the repair, which you can find in the description.
First, turn off the phone, take out the sim tray, and then remove the lcd screen.
To remove the lcd screen, we are using a heating pad. Place your front side on the heating pad,
select the mobile phone heating option, and leave it till it completes.
Alternatively, you can use a heat gun or hair dryer around the screen edges until the pasted adhesive becomes soft.
Once you feel the heating is enough, use a suction cup to lift the screen and then insert a plastic card pry tool or something similar to cut the adhesive around the lcd screen.
Lift the screen gradually and disconnect the connector plug by undoing two screws and removing the metal shield.
There is an adhesive strip on top of the connector. It is missing from this device. If you have the sticky, peel it off and place it while connecting the lcd screen.
Next, take out the mid-frame plate by undoing 14 screws. And then by using a plastic card pry tool or triangle picker, move around the phone to release the mid-frame clips.
Next, lift the mid-frame by the bottom to 60 degrees, and then release the proximity sensor, and now you can take out the frame.
Next, on the board, disconnect the battery connector.
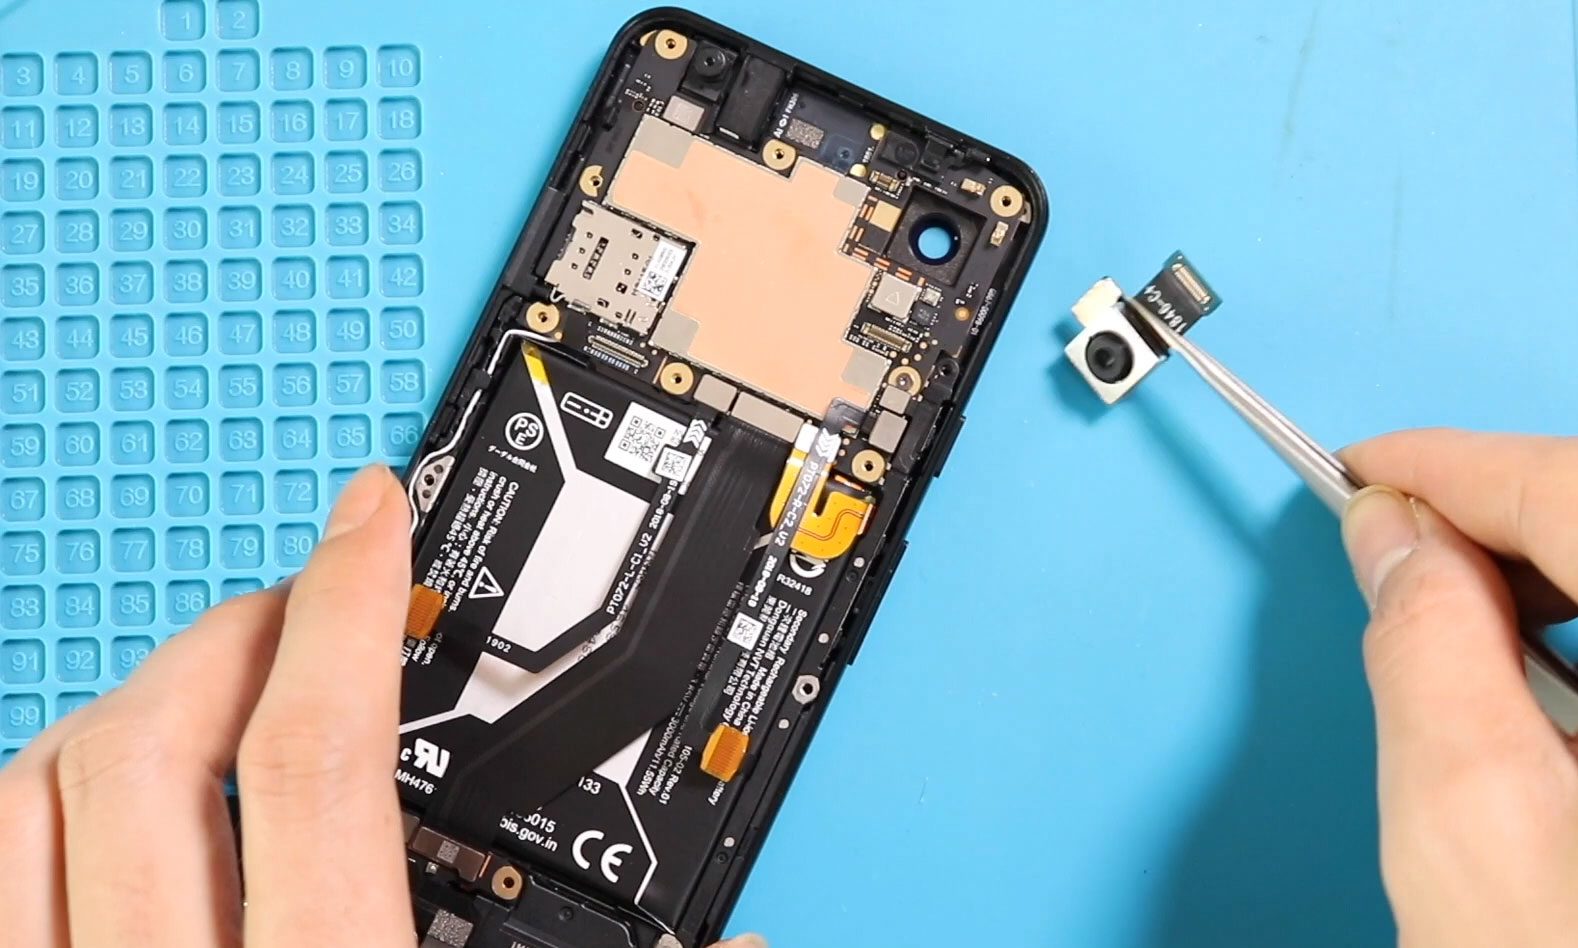
Next, disconnect and take out the broken back camera from the logic board.
Next, place the new back camera in the body and then secure the battery and camera plugs into the board
Next, connect the proximity sensor and place the mid-frame. Here, we take out the frame proximity sensor and then connect it to the logic board.
When placing the mid-frame, gently pick the sensor through the opening and then set it in the frame.
We are doing this to eliminate the difficulty of clicking the sensor plug into the board while installing the frame.
Next, insert the sim tray and add 14 screws to secure the mid-frame.
Next, place your lcd screen on the body and then connect the lcd plug and the shield by inserting two screws and also the tape, which we don’t have, but you may
Next, before installing the lcd screen, ensure it has enough glue on it. If not, use b7000 glue on your double-sided lcd adhesive.
Finally, we added binding to tie in the lcd screen with the body. Leave it for some time and remove it.
On the other hand, you can use some rubber bands and leave them for some time
Hope you have enjoyed the replacement guide, and let us know if you have any questions.