Now Reading: Xiaomi Redmi Note 7 Pro Charging Port Replacement Guide (Redmi Note 7)
-
01
Xiaomi Redmi Note 7 Pro Charging Port Replacement Guide (Redmi Note 7)
Xiaomi Redmi Note 7 Pro Charging Port Replacement Guide (Redmi Note 7)
Hi everyone, welcome back to Geardo 👋
Today, we will show you how to replace the charging port board on the Xiaomi Redmi Note 7 and Redmi Note 7 Pro smartphones.
Both models use a very similar internal layout, making this charging port board replacement guide fully compatible with Redmi Note 7 and Note 7 Pro.
The charging port is one of the most frequently used components on any smartphone, and over time it can fail due to dust buildup, moisture exposure, or physical stress from repeated cable insertion. Replacing the charging port board can restore proper charging, data transfer, and microphone functionality.
The charging port board on the Xiaomi Redmi Note 7 and Redmi Note 7 Pro also includes the primary microphone, so replacing this board can fix charging issues as well as microphone and call audio problems.
This guide is written for DIY users and technicians who want a clear, safe, and step-by-step repair process.
Before You Begin
Compatibility and Model Numbers
- Xiaomi Redmi Note 7
- Xiaomi Redmi Note 7 Pro
- Xiaomi Redmi Note 7s
M1901F7G, M1901F7H, M1901F7I, M1901F7S, M1901F7S
Reasons for Charging Port Board Replacement
You may need to replace the charging port board if you notice:
- Phone not charging or charging intermittently
- Loose or damaged charging port
- Data transfer not working
- Microphone not working during calls or voice recording
- Other people cannot hear you clearly during calls
- Charging only works at a certain angle
👉 Since the microphone is integrated into the charging port board, microphone issues are commonly fixed by replacing this module.
Repair Difficulty
Difficulty Level: ⚠️⚠️⚠️☆☆ (Moderate)
- Requires back cover removal and adhesive handling
- No soldering required
- Involves flex cables and small screws
Suitable for users with basic mobile repair experience or careful beginners.
Tools Required
- Mobile phone heating pad or hairdryer/heat gun
- Plastic pry tool / card pry
- Suction cups
- Phillips #00/#000 screwdrivers
- Tweezers (for connectors)
- B7000 glue or double-sided adhesive (for back cover)
- Rubber bands or bonding clips to secure the back cover
How to Find Tools and Parts
- Heating pad – https://amzn.to/3H0tHzJ
- Portable Heat Gun – https://amzn.to/4mszih1
- Clamps https://amzn.to/3GYJT4w
- STREBITO 142 Piece Repair Tool Kit https://amzn.to/3UO1jUx
- Glue | Adhesive https://amzn.to/46exVxe
- Compatible Parts –
- Battery – https://amzn.to/4rml5ow
- Screen – https://amzn.to/4bY3w9D
- Other Parts – https://amzn.to/4rjlY18
- Silicone Work Repair Mat https://amzn.to/45Emz5l
Safety Tips Before You Start
- Power off the phone completely
- Remove the SIM tray
- Work on a clean and static-free surface
- Be gentle with flex cables and connectors
- Avoid excessive force while prying components
Step-by-Step Xiaomi Redmi Note 7 / Note 7 Pro Charging Port Replacement
Step 1: Power Off the Device
Turn off the phone completely before starting the repair.
Step 2: Heat the Back Cover
Gently heat around the edges of the rear cover to soften the adhesive.
Place the phone back-cover side down on a heating pad and select the mobile phone heating option.
Alternative: You can use a heat gun or hair dryer.
Step 3: Remove the Back Cover
- Use a suction cup to create a small gap between the frame and rear cover
- Insert a plastic card or pry tool
- Carefully cut the adhesive around the edges
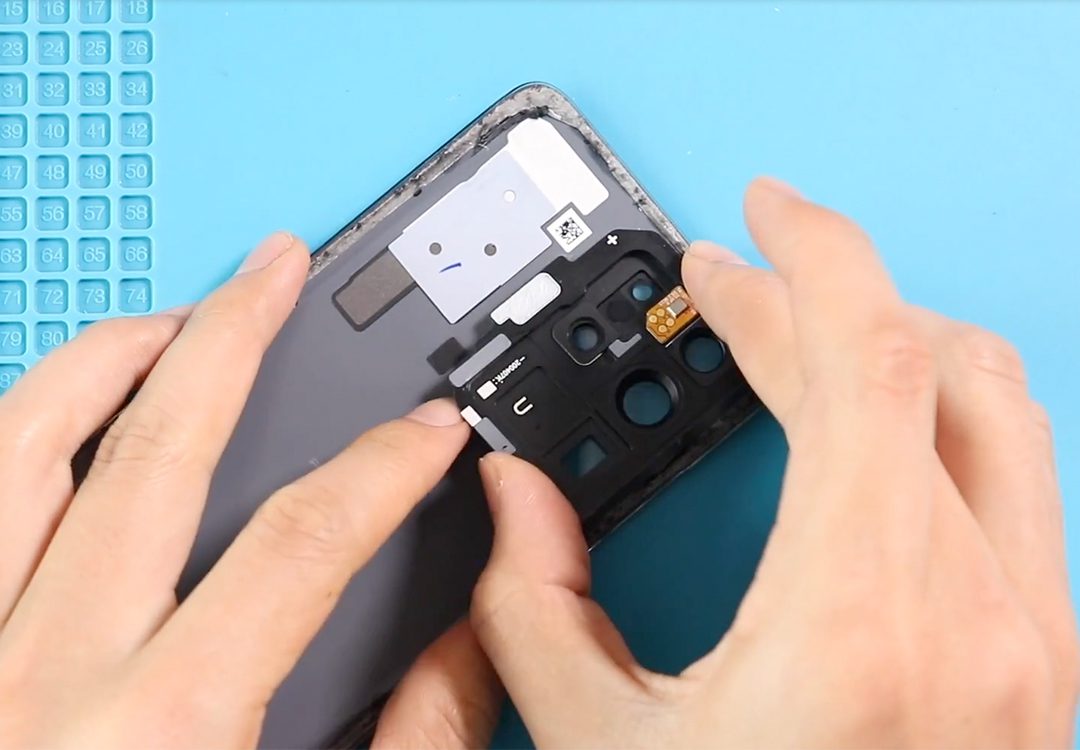
⚠️ Be gentle — the fingerprint sensor flex cable is attached to the back cover.
Step 4: Disconnect Battery and Fingerprint Sensor
- Undo three screws securing the bracket
- Disconnect the battery connector
- Disconnect the fingerprint sensor flex cable
- Fully remove the back cover
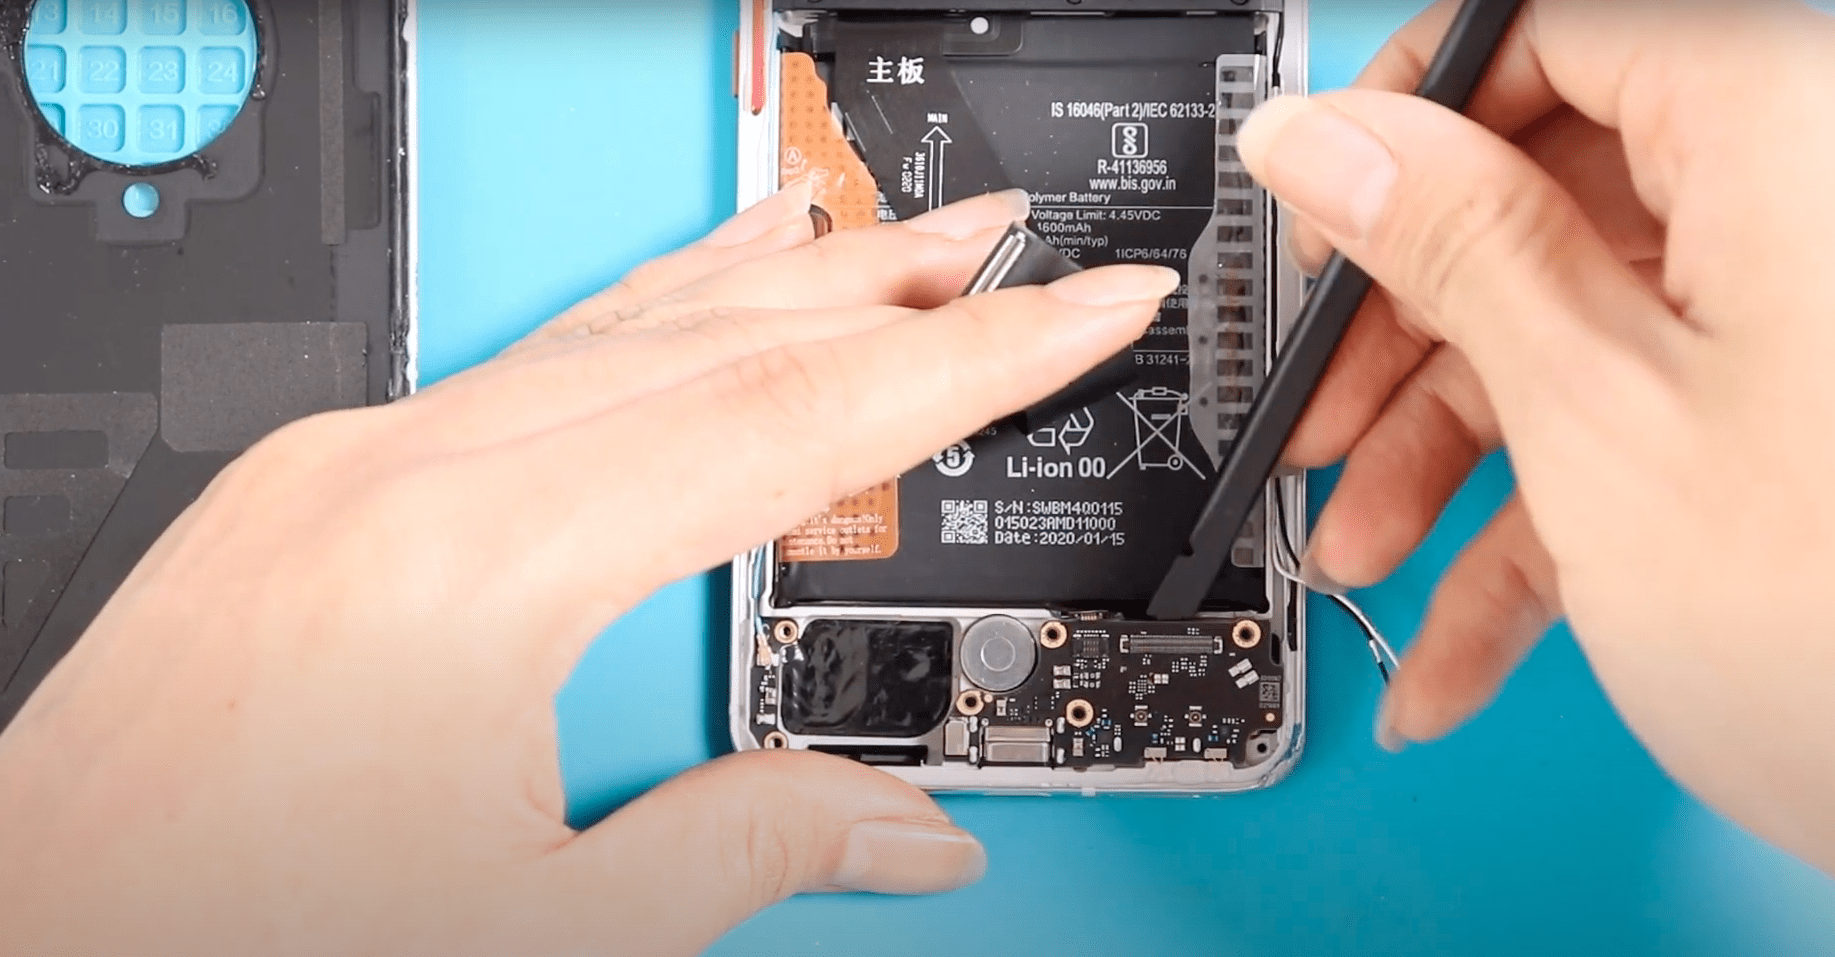
Step 5: Remove the Speaker Cover
- Undo eight screws
- Lift and remove the loudspeaker cover
Step 6: Remove the Charging Port Board
- Disconnect the main flex cable
- Disconnect the antenna head
- Remove the securing screw
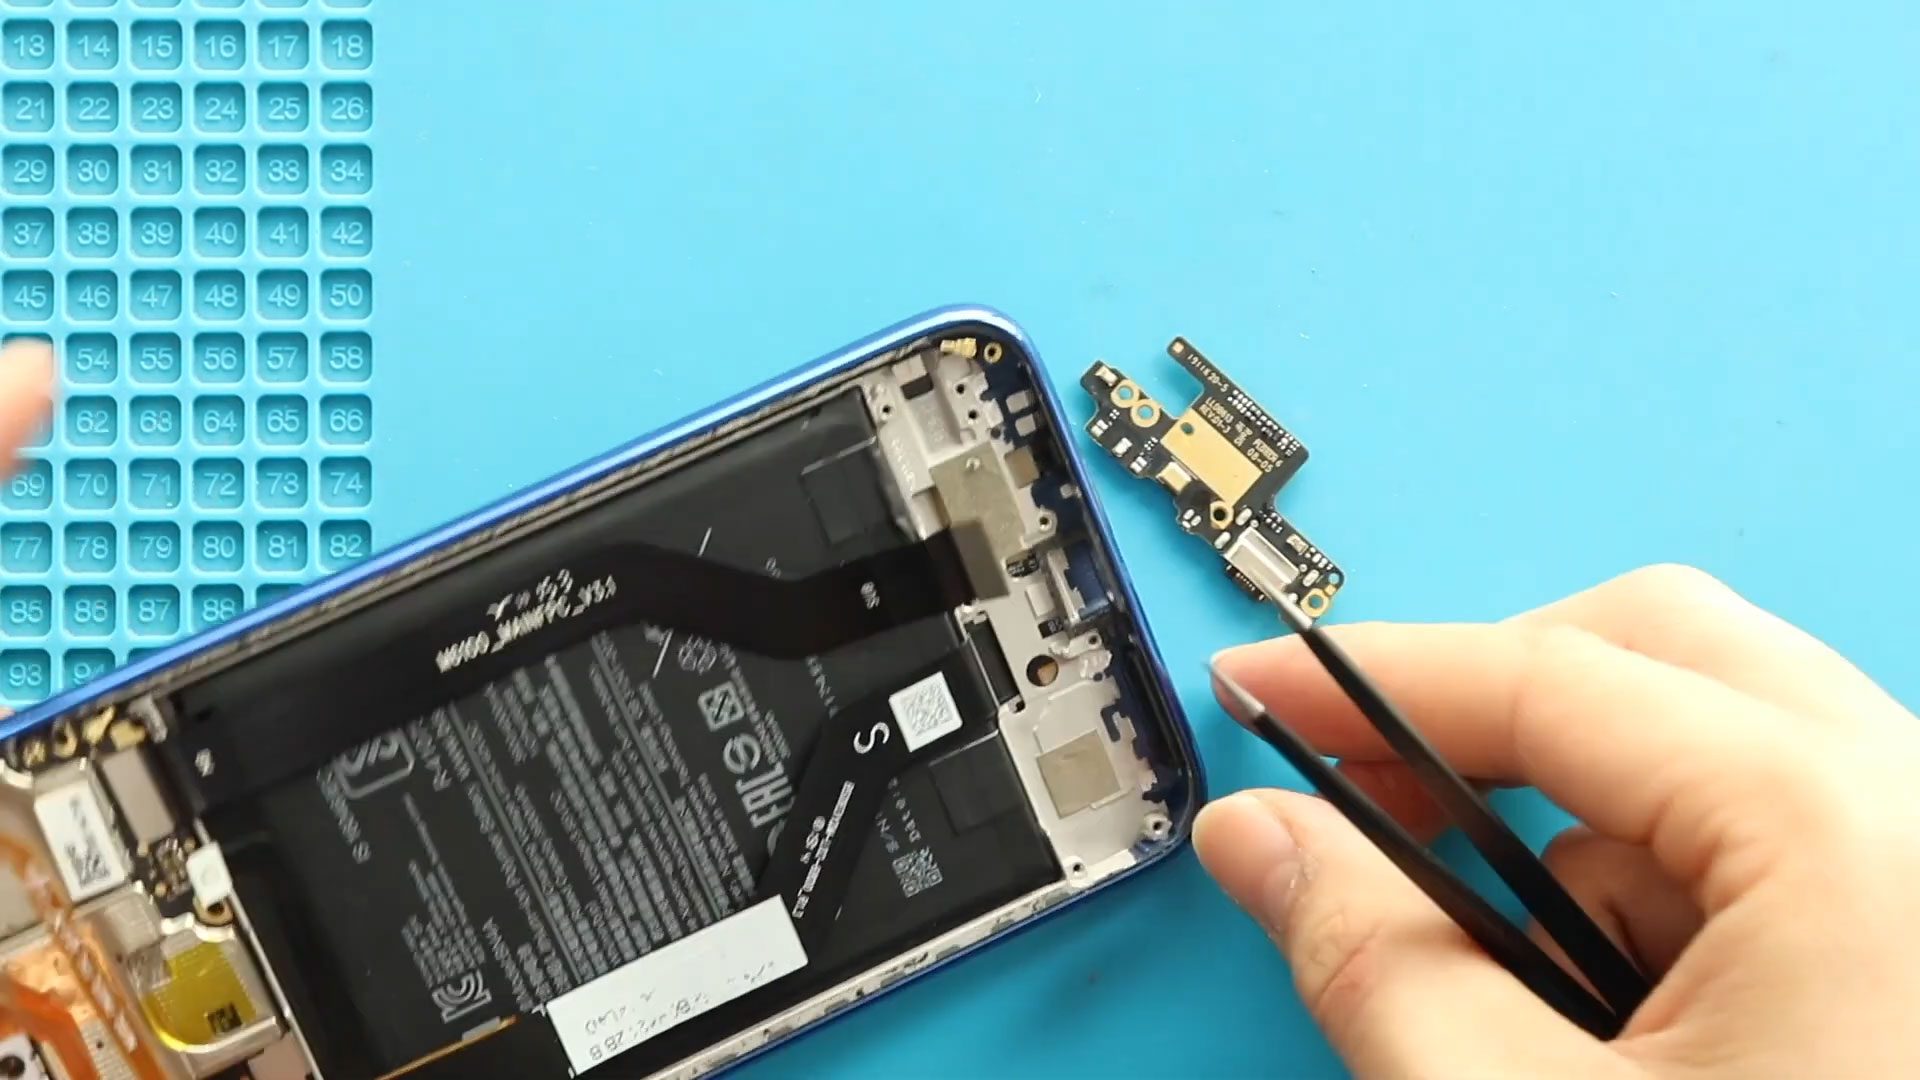
If the charging port board is held firmly by adhesive, apply gentle heat to soften it.
Carefully lift and remove the charging port board from the frame.
Step 7: Install the New Charging Port Board
- Place the new charging port board into position
- Secure it with the screw
- Reconnect the antenna head
- Reconnect the main flex cable
Step 8: Reassemble the Phone
- Reinstall the speaker cover and add eight screws
- Reconnect the fingerprint sensor and place the tape on the back cover
- Reconnect the battery connector
- Secure the bracket with three screws
Step 9: Seal the Back Cover
Before installing the back cover, ensure there is enough adhesive.
If necessary, apply B7000 glue or new double-sided adhesive.
Press the back cover firmly into place and use bonding clips or rubber bands to hold it while the adhesive cures.
Step 10: Final Testing
- Power on the device
- Test charging functionality
- Check data connection and microphone
- Ensure fingerprint sensor works correctly
Frequently Asked Questions (FAQ)
Q: Is this guide suitable for both Redmi Note 7 and Note 7 Pro?
A: Yes, both devices share a similar internal structure, and the charging port board replacement process is the same.
Q: Will replacing the charging port delete my data?
A: No, replacing the charging port board does not affect your data.
Q: Do I need soldering to replace the charging port?
A: No, the charging port board is modular and connects via flex cables.
Q: How long does the repair take?
A: Approximately 30–40 minutes, depending on experience.
Q: Can I clean the charging port instead of replacing it?
A: In some cases, cleaning helps, but if the port is damaged, replacement is the best solution.
Q: Does the charging port board include the microphone on Redmi Note 7 / Note 7 Pro?
A: Yes. On both Xiaomi Redmi Note 7 and Redmi Note 7 Pro, the charging port board comes with the primary microphone integrated into the same module. If your microphone is not working during calls or voice recordings, replacing the charging port board often resolves the issue.
Troubleshooting (After The Repair)
Q: The phone is still not charging after replacing the charging port board. What should I check?
A: First, confirm that the main flex cable and antenna connector are securely attached to the charging port board. A loose connection can prevent charging. Also, inspect the battery connector to ensure it is properly seated. Try using a different charging cable and adapter to rule out external issues.
Q: The microphone does not work after reassembly. What could be wrong?
A: The microphone is part of the charging port board. If it is not working, the board may not be seated correctly, or the flex cable connection may be loose. Reopen the phone and reseat the charging port board and its connectors carefully.
Q: The phone only charges at a certain angle. Why does this happen?
A: This usually indicates that the charging port board is not aligned correctly or the connector is not fully secured. Remove the board, reposition it properly in the frame, and tighten the screw before reassembling.
Q: The back cover feels loose after repair. How can I fix it?
A: Clean off any old adhesive residue and apply fresh B7000 glue or double-sided adhesive around the edges. Use bonding clips or rubber bands to apply even pressure while the adhesive sets.
Q: The phone does not turn on after the repair. What should I do?
A: Check that the battery connector is properly connected and that no flex cables were accidentally left unplugged. Connect the charger and leave the phone charging for 10–15 minutes before trying to power it on.
Final Words
Replacing the charging port board on your Xiaomi Redmi Note 7 or Note 7 Pro is a practical and cost-effective repair that can restore proper charging and connectivity. By following this guide carefully, you can complete the repair safely and successfully.
We hope you enjoyed this replacement guide 💙
If you have any questions, feel free to ask.
Please like, share, comment, and don’t forget to subscribe to Geardo for more professional DIY repair guides.
Repair Guides