Now Reading: DIY Google Pixel 4 LCD Screen Repair Guide
-
01
DIY Google Pixel 4 LCD Screen Repair Guide
To start, we need to have the right tools to proceed with the repair, which you can find in the description. First, turn off the phone and follow with the back car removal.
For this, we are using a heating pad. Place the back car side on the heat impedance, select the mobile phone heating option, and leave it till it completes. Alternatively, you can use a heat gun or hair dryer.
Once the heating has been completed, use a suction cup cradle opening between the frame and back cover.
Next, insert a plastic card pry tool or something similar to cut the adhesive around the back cover.
While removing the back cover, be gentle. The flash sensor plug connects to the back cover.
Next, take out the bracket by undoing five screws.
Next, take out the sensor bracket when doing two screws.
Next, disconnect the battery plug and sensor block from the board. And now, the background unit can leave the body.
Next, take out the bracket by undoing four screws.
Next, take out the front camera module by disconnecting three plugs and undoing two screws.
Next, take out the bracket by undoing two screws.
Next, pull out the logic board by disconnecting seven connector blocks and the antenna head. Be gentle and move the cable aside by pulling out the board, and also make sure the sim drives out.
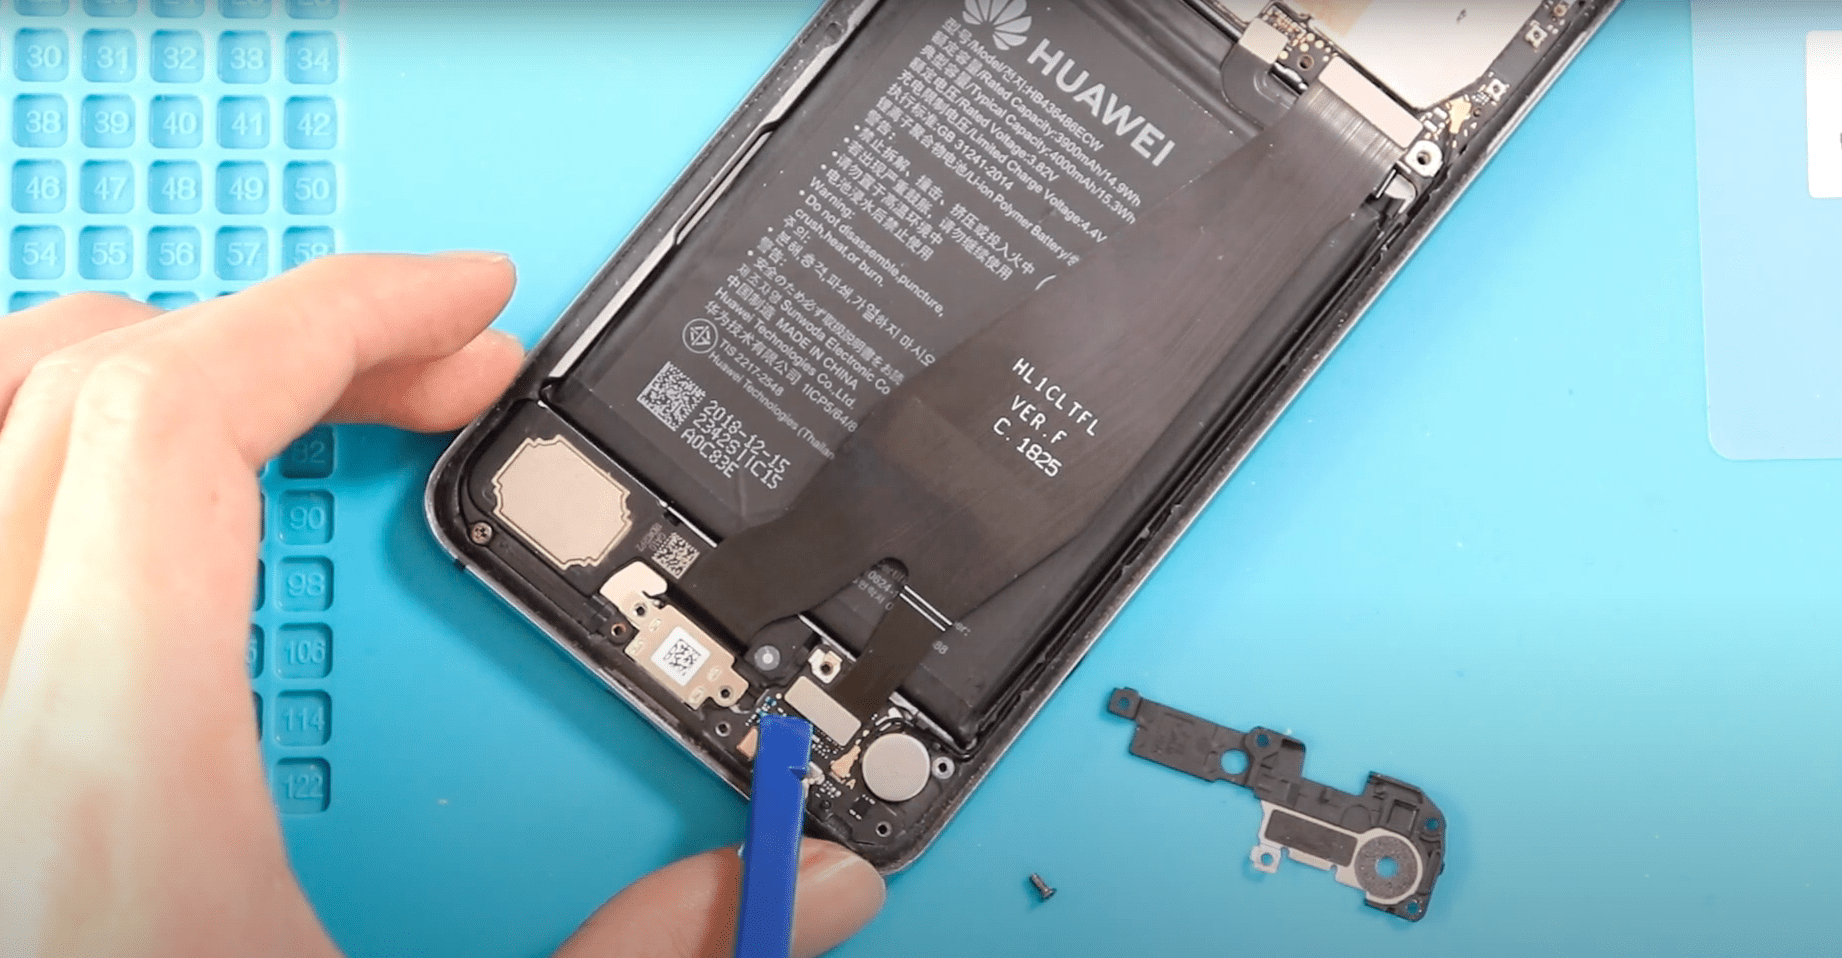
Next, take out the battery by applying heat. For this, we are using a heat gun.
Once you feel the heating is enough, you can use a pry tool to cut the adhesive under the battery.
Next, take out the button flex by undoing two screws from the frame. Be gentle and cut the adhesive under the cable to release it.
Next, take out the earpiece and proximity sensor from the body first, apply some heat to some of the adhesives, and then gently pull out the sensor flex from the body.
Next, add some more heat to reduce your peace module.
Next, take out the button plates.
Next, take out the speaker buzzer by undoing two screws.
Next, pull out the charging port flex by undoing the screw and disconnecting the taptic engine connector.
Next, take out the microphone flex.
Next, take out the taptic engine by applying some heat.
Now, the only remaining part is a broken front screen assembly with the frame. There are a few different screen types available for replacement. The most common is the original Service pack screen, which comes with the frame and buttons.
There is another type that is original but without the frame, but the repairs are difficult and time-consuming. Also, there are refurbished used aftermarket screens with the frame and without. The price difference between the frame and without is not that big.
I recommend you go with the screen with the frame and button installed. It can be originally, refurbished, used or aftermarket, and this type is commonly available to purchase.
Next, on the new screen frame, start placing remote parts first, place the button brackets, and then the flex cable and plate by adding two screws. After adding two screws, gently fold the line and put it on the frame.
Next, place your speaker on the body.
Next, place the sensor flex and ensure the placement on the cable.
Next, place the charging port flex by adding the screw.
Next, press the adapter and change it by connecting the plug.
Next, place the speaker by adding two screws.
Next, place the microphone flex.
Next, place the logic board in the frame. Be gentle while placing more cable aside and secure the board.
Next, secure seven connector plugs and then the antenna head to the board.
Next, secure the bracket by adding two screws.
Next, place the rubber gasket on the sensor flex.
Next, place the front camera module by adding two screws and three connector plugs.
Next, place the bracket by adding four screws.
Next, place the battery with adhesive
Next connect the background sensor flex to the board and then place the bracket by adding two screws
Next, secure the battery plug and then place the bracket by adding five screws.
Next, before closing the device, it is good to verify the functionality by powering up the device.
Next, before installing the main back cover, make sure it has enough glue. If not, use b7000 glue or new double-sided back adhesive.
Finally, we are in binding to survive in the back car with the body. If not, you can use sound rubber bands and leave them for some time.
Hope you have enjoyed the replacement guide. Let us know if you have any questions.