Now Reading: Samsung Galaxy A20 Charging Port Replacement Guide | Headphone & Microphone DIY Fix
-
01
Samsung Galaxy A20 Charging Port Replacement Guide | Headphone & Microphone DIY Fix
Samsung Galaxy A20 Charging Port Replacement Guide | Headphone & Microphone DIY Fix
Charging problems, microphone failures, or headphone audio issues are often caused by a faulty sub-board rather than the battery or motherboard. Dust accumulation, moisture exposure, cable strain, or normal wear can damage the charging connector or audio jack over time.
This detailed DIY repair guide explains how to replace the charging port and headphone jack board on the Samsung Galaxy A20 safely using common mobile repair tools. Replacing this board can restore proper charging, microphone performance, and headphone connectivity without expensive professional repair costs.
Protect Your Galaxy A20
Protector For The Screen https://amzn.to/46pNwKl
Best Rated Case https://amzn.to/41Czn
Repair Information
Repair Difficulty: ★★★☆☆ Moderate
Estimated Repair Time: 30 — 45 Minutes
Device Type: Smartphone
Repair Type: Charging Port, Headphone Jack & Microphone Board Replacement
Reasons to Replace the Charging Port Board
This repair can fix several common problems including:
- Phone not charging or charging slowly
- Loose USB cable connection
- Charging only works at certain angles
- Microphone not working during calls or recordings
- Headphones not detected
- No audio through wired earphones
- Dirt or corrosion inside charging port
- USB connection issues with computer
Before You Begin
Compatibility and Model Numbers
- Samsung Galaxy A20
This repair guide based on Samsung Galaxy A20 Model.
Model Numbers | SM-A205F, SM-A205FN, SM-A205GN, SM-A205YN, SM-A205G, SM-A205W, SM-A205U, SM-A205S, SM-S205DL, SM-A205U1
Tools Required
- Mobile phone heating pad or hairdryer/heat gun
- Plastic pry tool / card pry
- Suction cups
- Phillips #00/#000 screwdrivers
- Tweezers (for connectors)
- B7000 glue or double-sided adhesive (for back cover)
- Rubber bands or bonding clips to secure the back cover
Using proper tools reduces the risk of damaging the phone.
How to Find Tools and Parts
- Heating pad – https://amzn.to/3H0tHzJ
- Portable Heat Gun – https://amzn.to/4mszih1
- Clamps https://amzn.to/3GYJT4w
- STREBITO 142 Piece Repair Tool Kit https://amzn.to/3UO1jUx
- Glue | Adhesive https://amzn.to/46exVxe
- Compatible Parts –
- Battery – https://amzn.to/4g9ncaI
- Screen – https://amzn.to/47tyHYp
- Other Parts – https://amzn.to/4pjvdyb
- Silicone Work Repair Mat https://amzn.to/45Emz5l
Samsung Galaxy A20 Charging Port Replacement — Step-by-Step Repair
Step 1 — Power Off the Device
Turn off the phone completely before beginning the repair to prevent electrical damage.
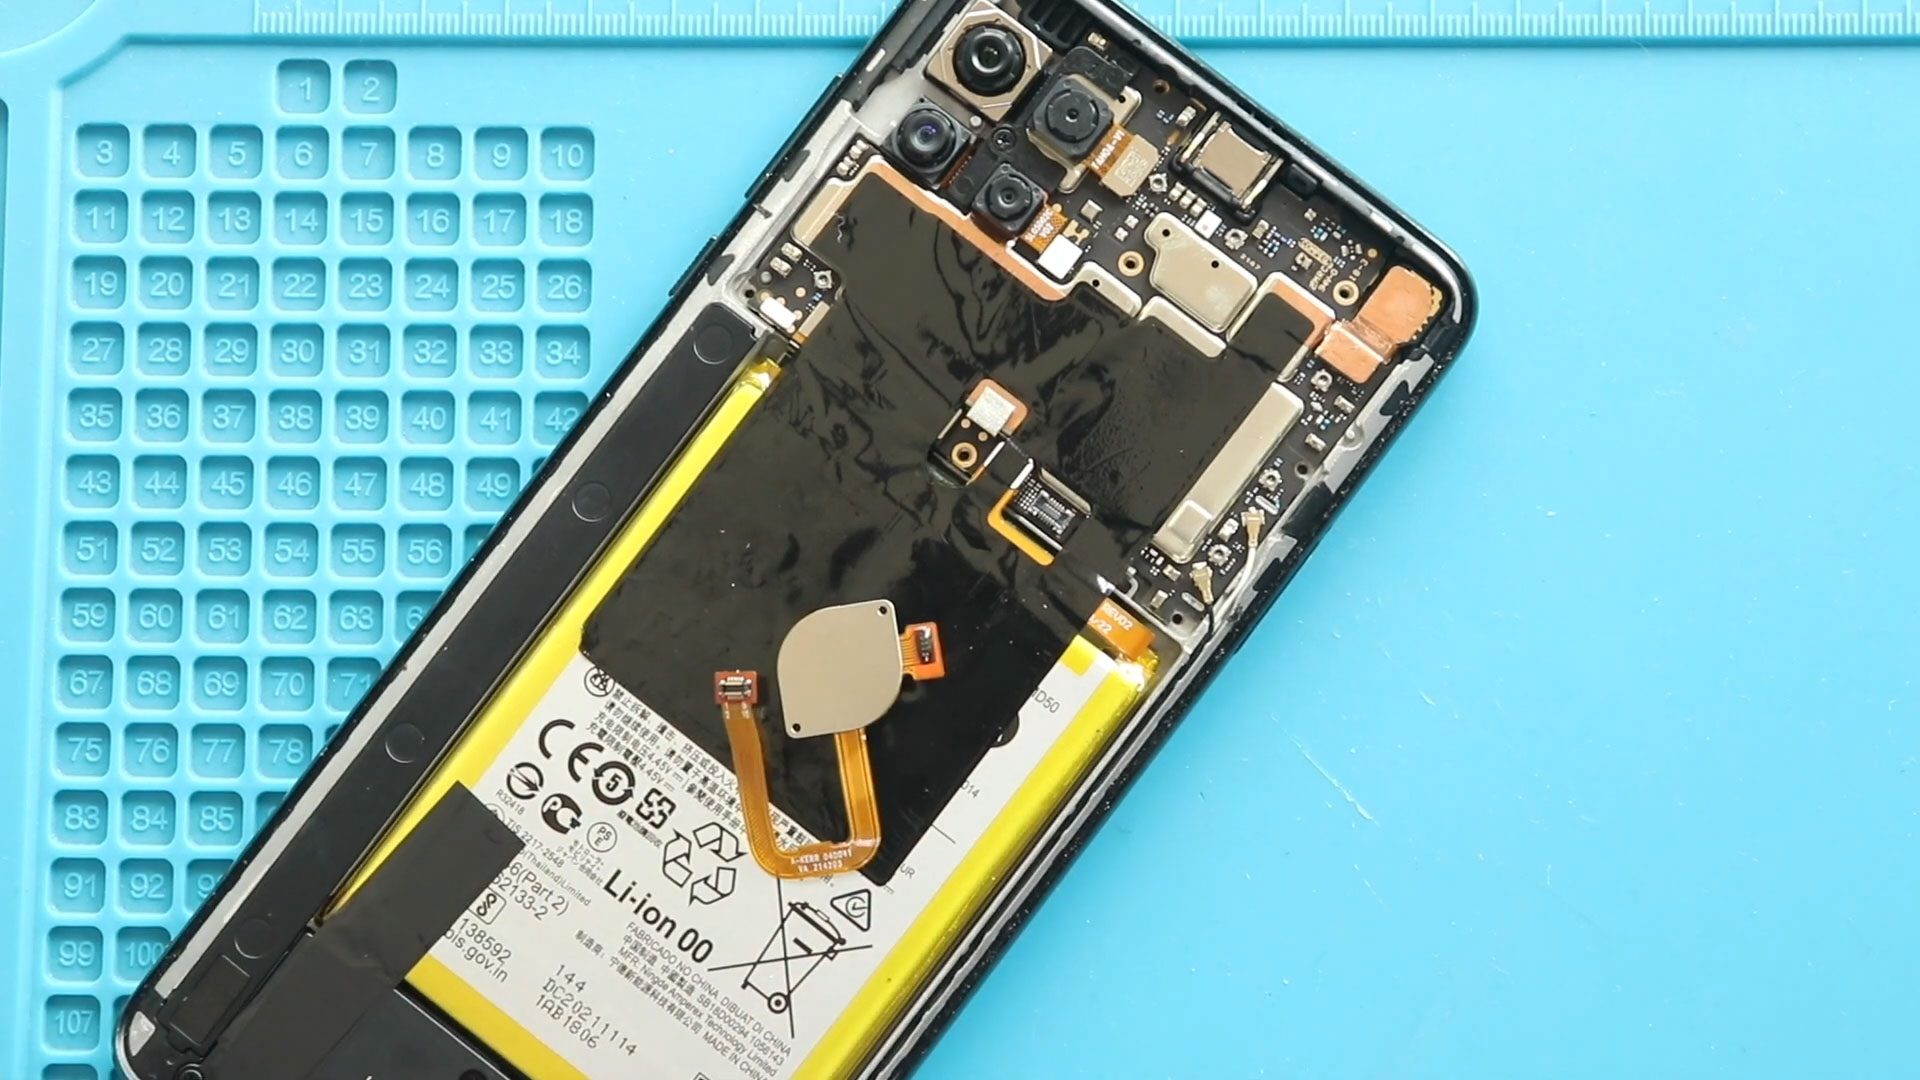
Step 2 — Heat and Remove the Back Cover
The rear cover is secured with adhesive.
Apply gentle heat evenly around the edges using:
- Heating pad
- Heat gun
- Hair dryer
Once adhesive softens:
Use a suction cup to lift a corner slightly.
Insert a plastic pry tool or card and carefully slide around the edges to separate adhesive.
⚠️ Lift slowly because the fingerprint sensor flex cable is attached to the back cover.
Disconnect the fingerprint cable before removing the cover completely.
Step 3 — Remove SIM Tray
Remove the SIM tray before disassembling the frame.
This prevents damage during removal.
Step 4 — Remove Midframe
Using a Phillips screwdriver:
Remove the 12 screws located across the top and bottom sections.
Insert a plastic pry tool around the edges and gently release plastic clips holding the midframe.
Lift the midframe carefully.
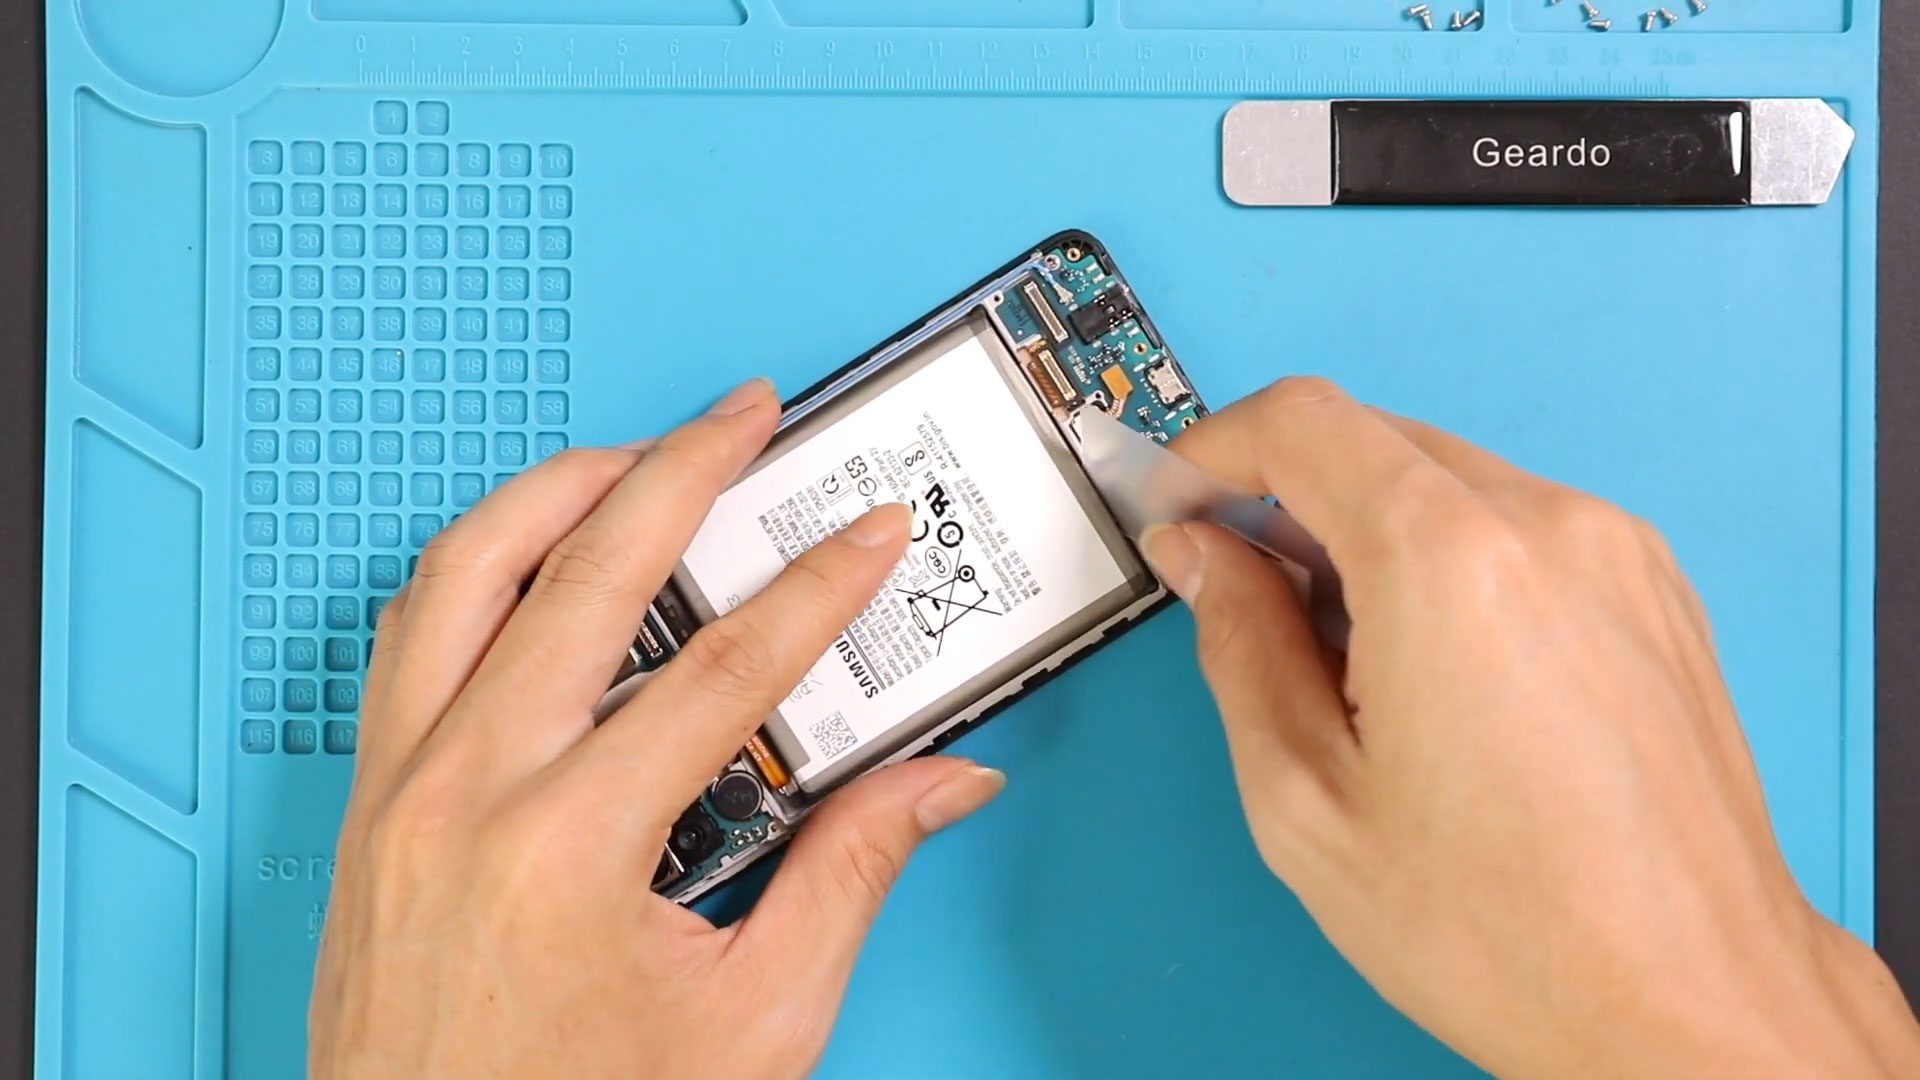
Step 5 — Disconnect Battery Connector
Disconnect the battery connector first.
This protects internal components while working on the device.
Step 6 — Disconnect Charging Board Connections
Move to the bottom section of the phone.
Disconnect:
- Main ribbon flex cable
- Antenna connector head
Use tweezers carefully to lift connectors straight upward.
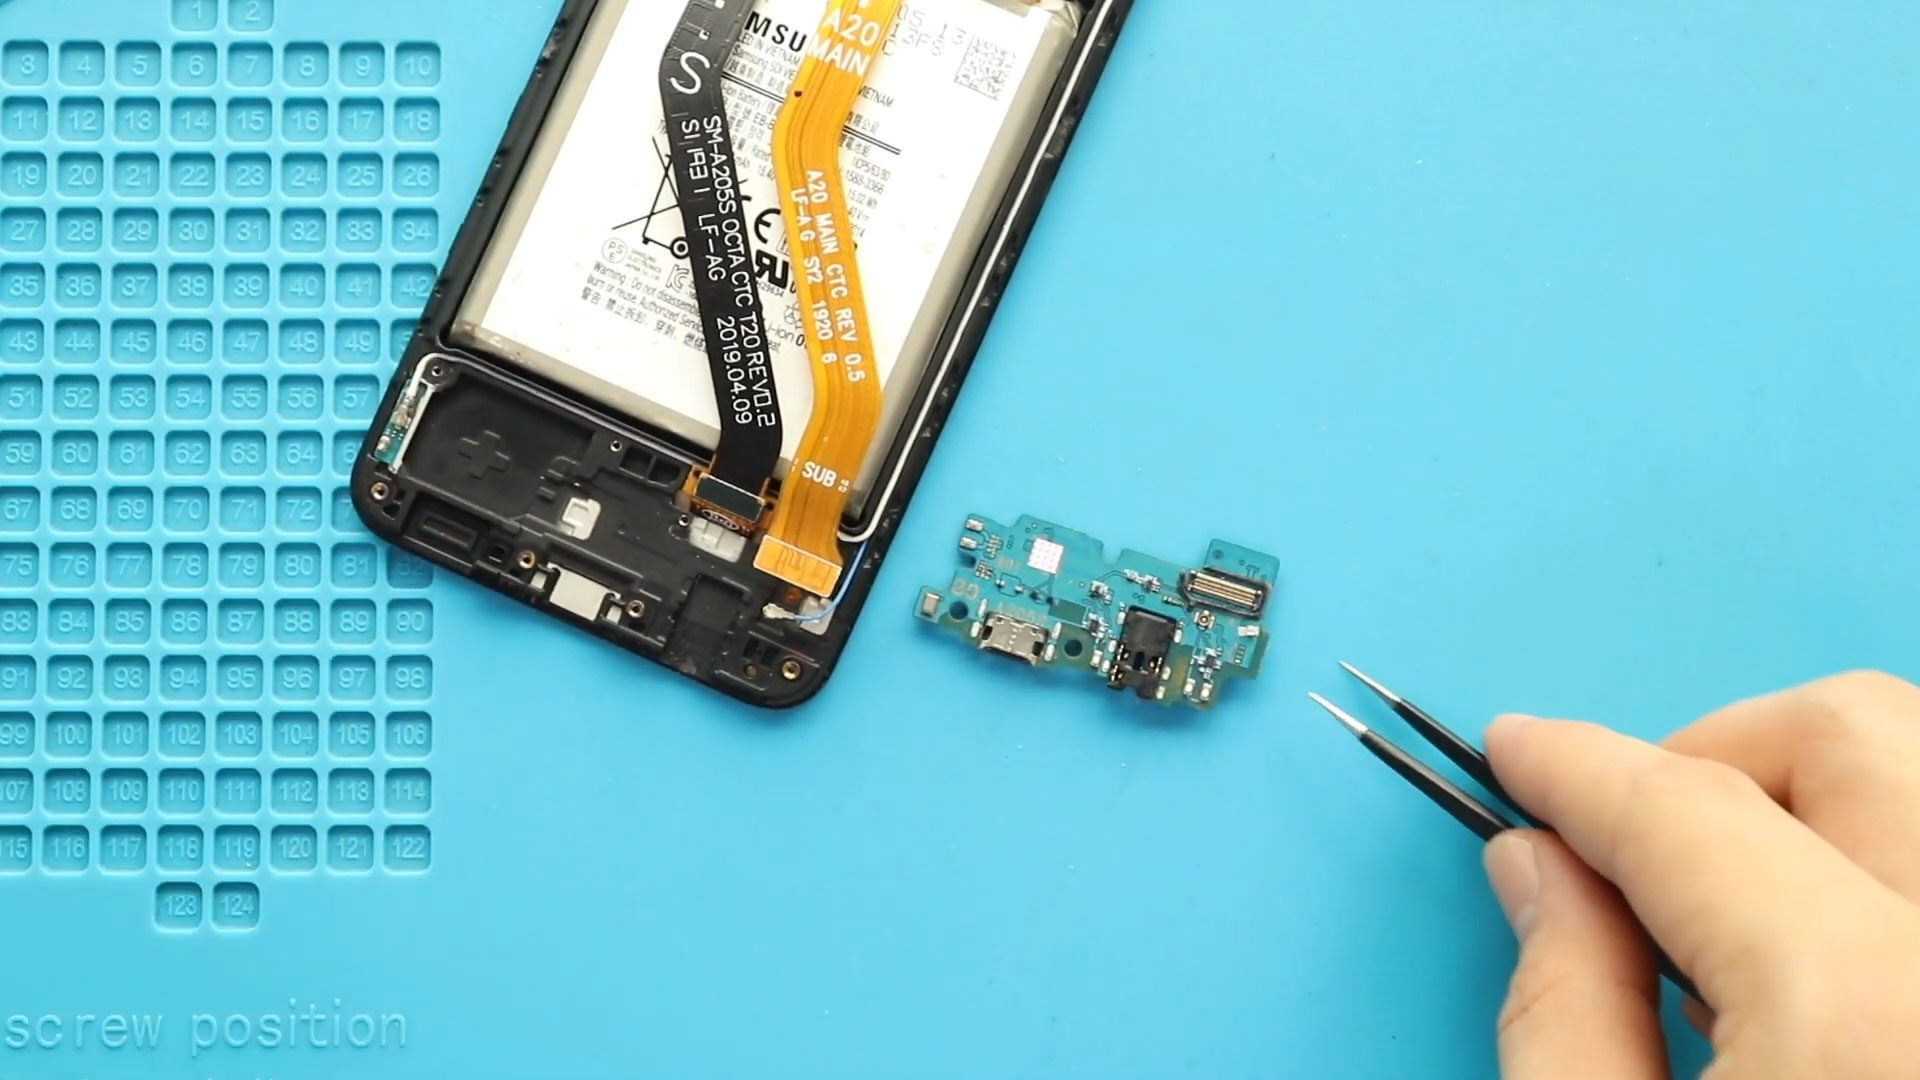
Step 7 — Remove Charging Port Board
The charging board is lightly secured using adhesive.
If removal feels difficult:
Apply gentle heat underneath the board area to soften glue.
Use a plastic pry tool to lift the board slowly.
Remove the faulty charging port and headphone jack board completely.
Step 8 — Install New Charging Port Board
Place the replacement board properly into position.
Ensure alignment with screw posts and charging port opening.
Reconnect:
- Main flex cable
- Antenna connector
Make sure connectors snap securely into place.
Step 9 — Reconnect Battery and Test
Reconnect the battery connector temporarily.
Power on the device before closing.
Test:
- Charging function
- Headphone audio output
- Microphone recording
- USB cable connection
Testing before sealing prevents reopening the device.
Step 10 — Reinstall Midframe
Place the midframe back into position.
Ensure clips snap properly around edges.
Secure all 12 screws.
Step 11 — Reconnect Fingerprint Sensor
Reconnect the fingerprint sensor flex cable carefully.
Align properly before installing the back cover.
Step 12 — Seal the Back Cover
Inspect adhesive condition.
If adhesive is weak:
- Apply B7000 glue, or
- Install new double-sided adhesive.
Press evenly around edges.
Use bonding clips or rubber bands to secure while adhesive cures.
Leave secured for some time for best results.
Frequently Asked Questions (FAQ)
Q1. Will replacing the charging port fix microphone problems?
Yes. The microphone is integrated into the charging port board, so replacing it often fixes microphone issues.
Q2. Why does charging only work at certain cable angles?
Connector pins inside the port may be worn or damaged. Replacement restores proper connection.
Q3. Does this repair erase data?
No. Replacing the charging board does not affect stored data.
Q4. Can dust cause charging failure?
Yes. Dust buildup or corrosion inside the USB port commonly causes poor charging performance.
Troubleshooting After The Repair
Q1. Phone still not charging?
Check the main flex cable connection and verify the battery connector is secure.
Q2. Headphones not detected?
Reconnect the board and ensure it sits flat in the frame.
Q3. Microphone still not working?
Check antenna and flex cable connections. Also inspect for motherboard connector damage.
Q4. USB cable feels loose?
Confirm correct board alignment and ensure port opening is properly seated in the frame.
Related Guides