Now Reading: DIY Xiaomi Redmi Note 8 Pro LCD Screen Repair Guide
-
01
DIY Xiaomi Redmi Note 8 Pro LCD Screen Repair Guide
DIY Xiaomi Redmi Note 8 Pro LCD Screen Repair Guide
Before Starting, we need to have the right tools to proceed with the repair, which you can find in the description.
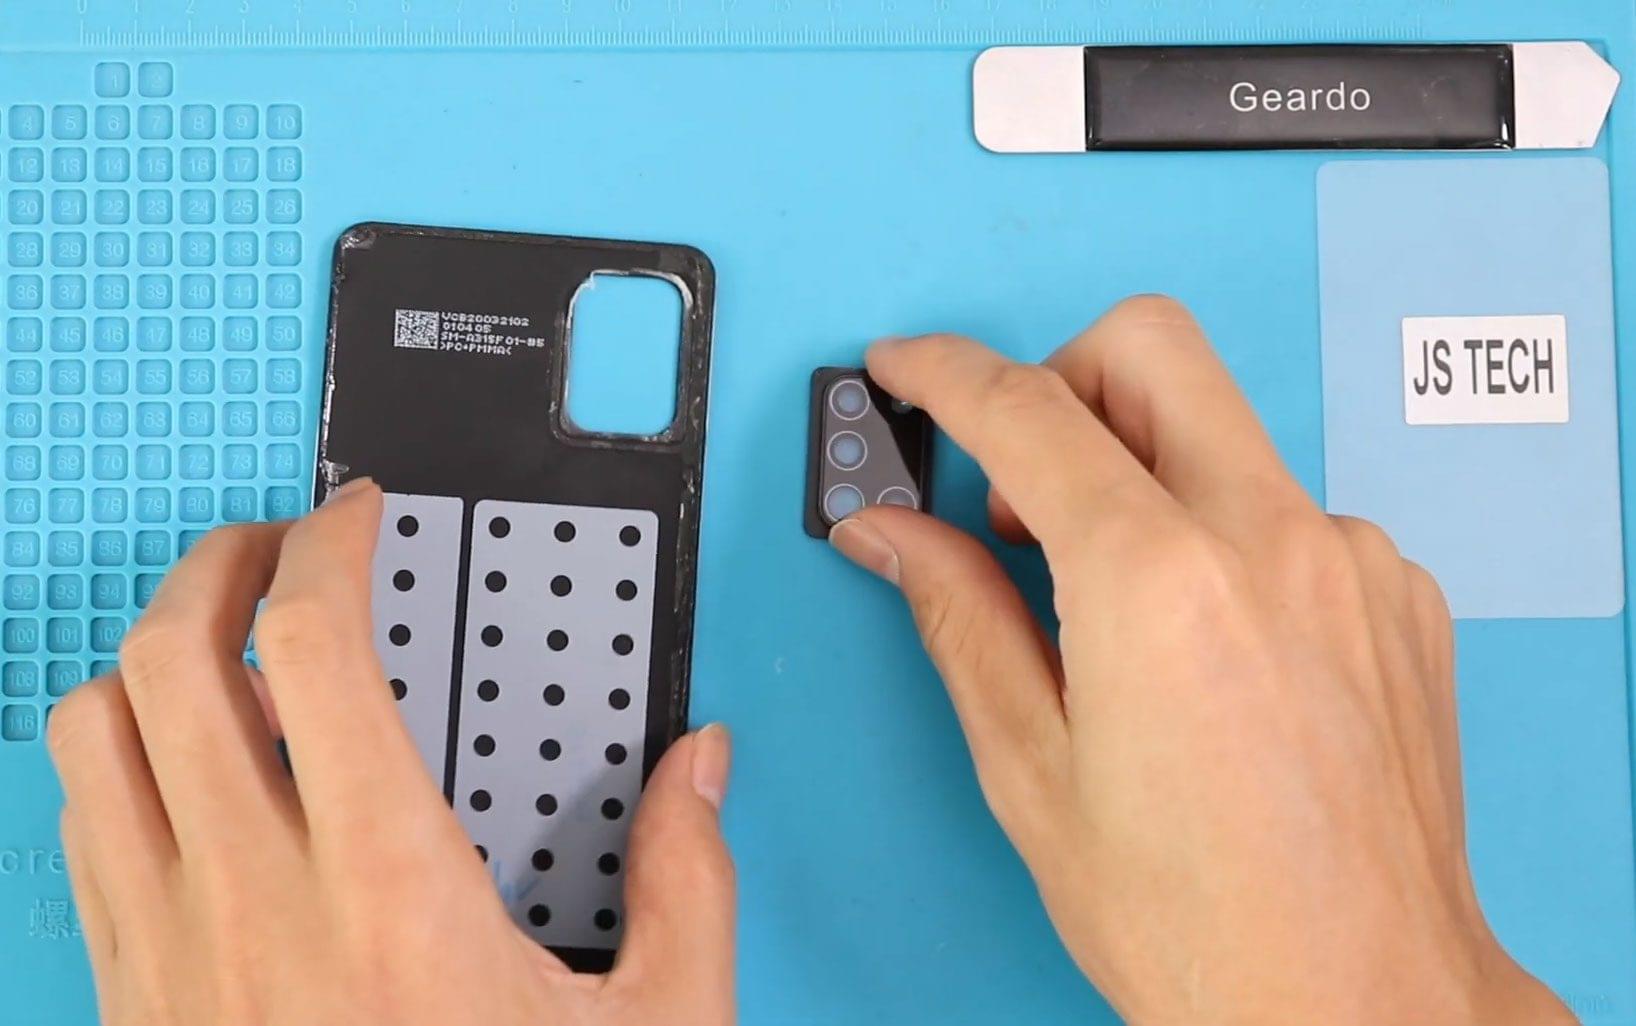
First, turn off the phone and then take out the back cover. To remove the back cover, we are using a heating pad. Place the back cover side on the heating pad, select the mobile phone heating option, and leave it till the heating completes.
Alternatively, you can use a heat gun or hair dryer around the back coverages. Once you feel the heating is enough, use a suction cup to lift the back cover. In between, insert a plastic card pry tool and gently cut the adhesive around.
Next, take out the back cover and then take out the main board frame by undoing the screws. First, take off the camera lens and touch ID by removing the shield and plug.
Next, undo 10 screws and lift the frame by using a pry tool.
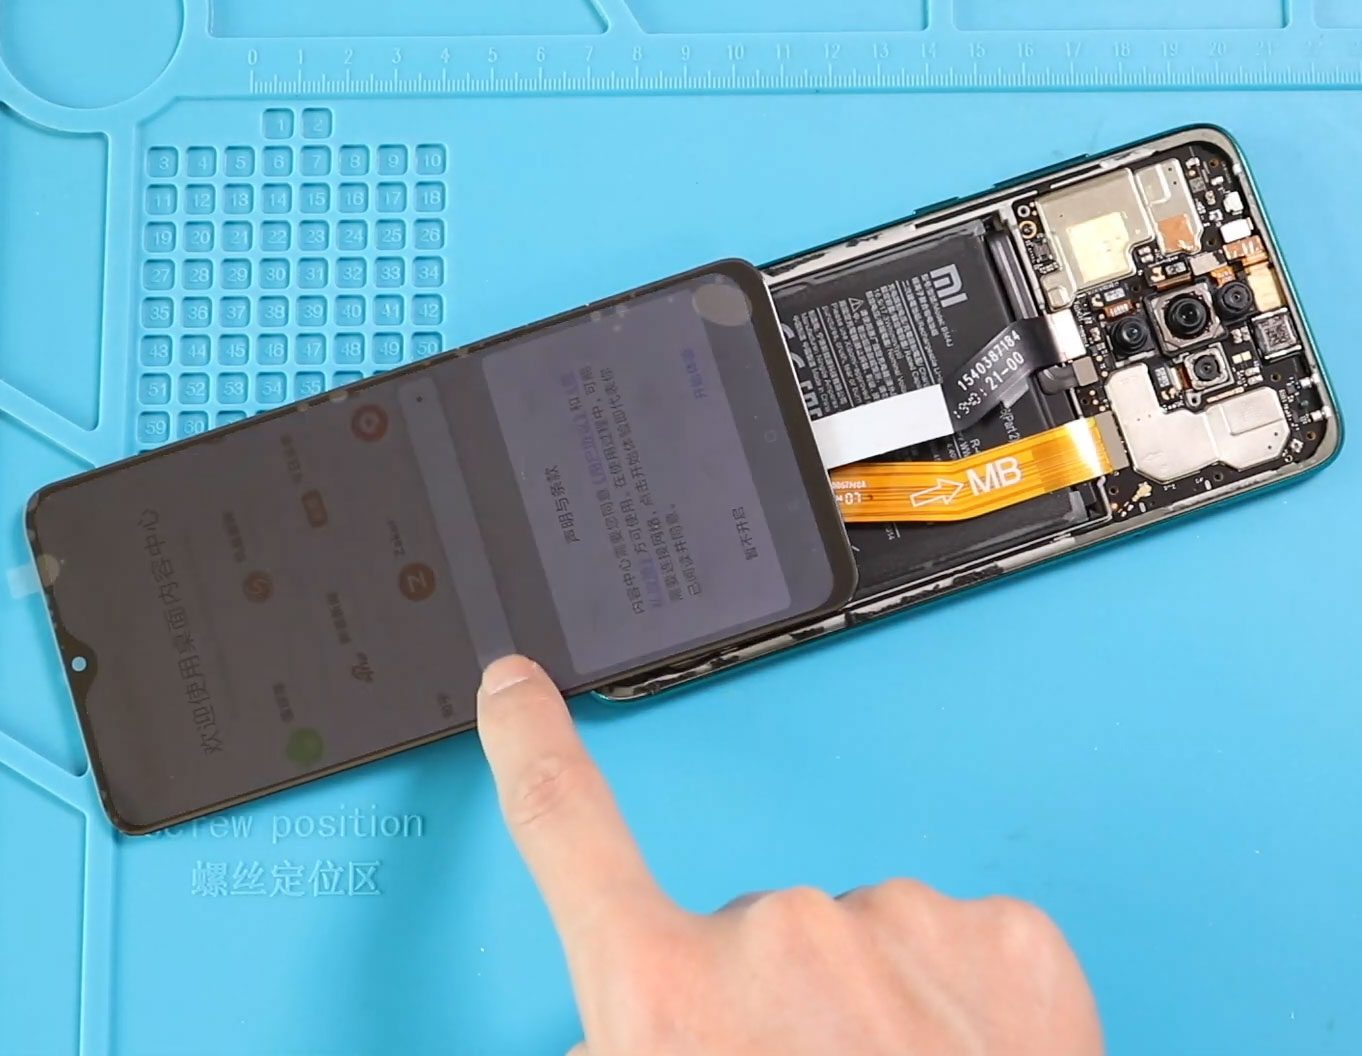
Next, disconnect the battery and lcd plug from the logic board.
Before installing the new screen to the body, connect the screen and test the screen and its functionality. Connect the new screen to the logic board with the battery plug. Once the testing has passed, disconnect the lcd flex and the battery plug, and then take out the new lcd.
Next, disconnect the main flex and take off the battery by peeling the tapes.
Next, take out the sim tray, something we have to do at the start.
Next, take out the logic board by undoing the scroll antenna and proximity sensor.
Next, to take out the lcd, needs to apply heat to soften the glue. Here, we are using a heating pad to automatically run the heating process. Alternatively, you can use a heat gun or hair dryer.
Once you feel the heating is enough, gently pedal pressure by the rear side top camera opening. By doing this, you can create a gap to insert a plastic card pry tool or something similar and then gently move around the phone to reach the adhesive within the frame and lcd this process may take some time, and then pull out the lcd screen.
Once you take out the screen, remove the old screen stop bracket and place it on the frame by adding glue.
Next, to install the new screen at b7000, glue on new double-sided pre-cut lcd adhesive on the frame edges. And then, place the new screen into the frame, making sure the flex cable goes through the opening.
Next, add binding clips or rubber bands to tighten the screen with the frame, leave it for some time, and then take it out.
Next, place the logic board and secure the sim tray and then secure the board by adding the screw. Also, do not forget to connect the sensor plug.
Next, connect the lcd screen plug into the board and then place the battery by adding adhesive.
Next, connect the main flex battery and antenna to the board.
Next, secure the main board frame by adding ten screws and also place the camera lens with touch id by connecting the plug and placing in the shield.
Finally, place the main back cover by adding b7000 glue or double-sided pre-cut adhesive.
Once again, we are adding binding clips to tie in the back cover and lcd with the body. If not, you can use rubber bands and leave it for some time.
Hope you have enjoyed the screen replacement guide. Let us know if you have any questions.