Now Reading: Samsung Galaxy A10e Battery Replacement
-
01
Samsung Galaxy A10e Battery Replacement

Samsung Galaxy A10e drains quickly, shuts down unexpectedly, or struggles to hold a charge, replacing the battery can restore normal performance.
In this beginner-friendly repair guide, we will show you how to safely replace the battery on the Samsung Galaxy A10e. With the correct tools and careful handling, this repair can be completed at home without professional assistance.
Repair Overview
Device Type: Smartphone
Device Model: Samsung Galaxy A10e
Type of Repair: Battery Replacement
Repair Difficulty: ★★★☆☆
Estimated Repair Time: 20–35 minutes
Reasons for the Repair
You may need to replace the battery on your Samsung Galaxy A10e if you notice any of the following issues:
- Battery drains very quickly
- Phone shuts down even when charge remains
- Device overheats during charging
- Battery does not charge properly
- Phone only works when connected to a charger
- Battery swelling causing the back cover to lift
Replacing the battery can significantly improve battery life and restore normal device operation.
Before You Begin
Compatibility and Model Numbers
- Samsung Galaxy A10e
This repair guide based on Samsung Galaxy A10e Model.
Model Numbers | SM-A102U, SM-S102DL, SM-A102U1, SM-A102W, SM-A102N
Tools Required
- Mobile phone heating pad or hairdryer/heat gun
- Plastic pry tool / card pry
- Suction cups
- Phillips #00/#000 screwdrivers
- Flat Screwdriver
- Tweezers (for connectors)
- B7000 glue or double-sided adhesive (for back cover)
- Rubber bands or bonding clips to secure the back cover
Using proper tools reduces the risk of damaging the phone.
How to Find Tools and Parts
- Heating pad – https://amzn.to/3H0tHzJ
- Portable Heat Gun – https://amzn.to/4mszih1
- Clamps https://amzn.to/3GYJT4w
- STREBITO 142 Piece Repair Tool Kit https://amzn.to/3UO1jUx
- Glue | Adhesive https://amzn.to/46exVxe
- Compatible Parts –
- Battery – https://amzn.to/4pgMeJo
- Screen – https://amzn.to/3I7XnLE
- Other Parts – https://amzn.to/42l0wP1
- Silicone Work Repair Mat https://amzn.to/45Emz5l
Samsung Galaxy A10e Battery Replacement – Step-by-Step Guide
Follow these steps carefully to replace the battery.
Step 1 – Power Off the Phone
Turn off the Samsung Galaxy A10e completely before starting the repair to avoid electrical damage.
Step 2 – Remove the SIM Tray
Use a SIM eject tool to remove the SIM card tray from the device.
Step 3 – Create an Opening Gap
Insert a plastic pick or card pry tool between the back cover and the phone frame near the SIM slot or charging port to create a small opening.
Step 4 – Release the Back Cover Clips
Slide the card pry tool around the edges of the phone to release the plastic clips that secure the back cover.
Step 5 – Remove the Back Cover
Once all clips are released, gently lift and remove the back cover from the device body.
Step 6 – Remove the Top Bracket
Locate the top bracket and remove the three screws securing it.
Lift and remove the bracket.
Step 7 – Remove the Board Bracket
Next, remove three screws securing the board bracket and carefully lift it out.
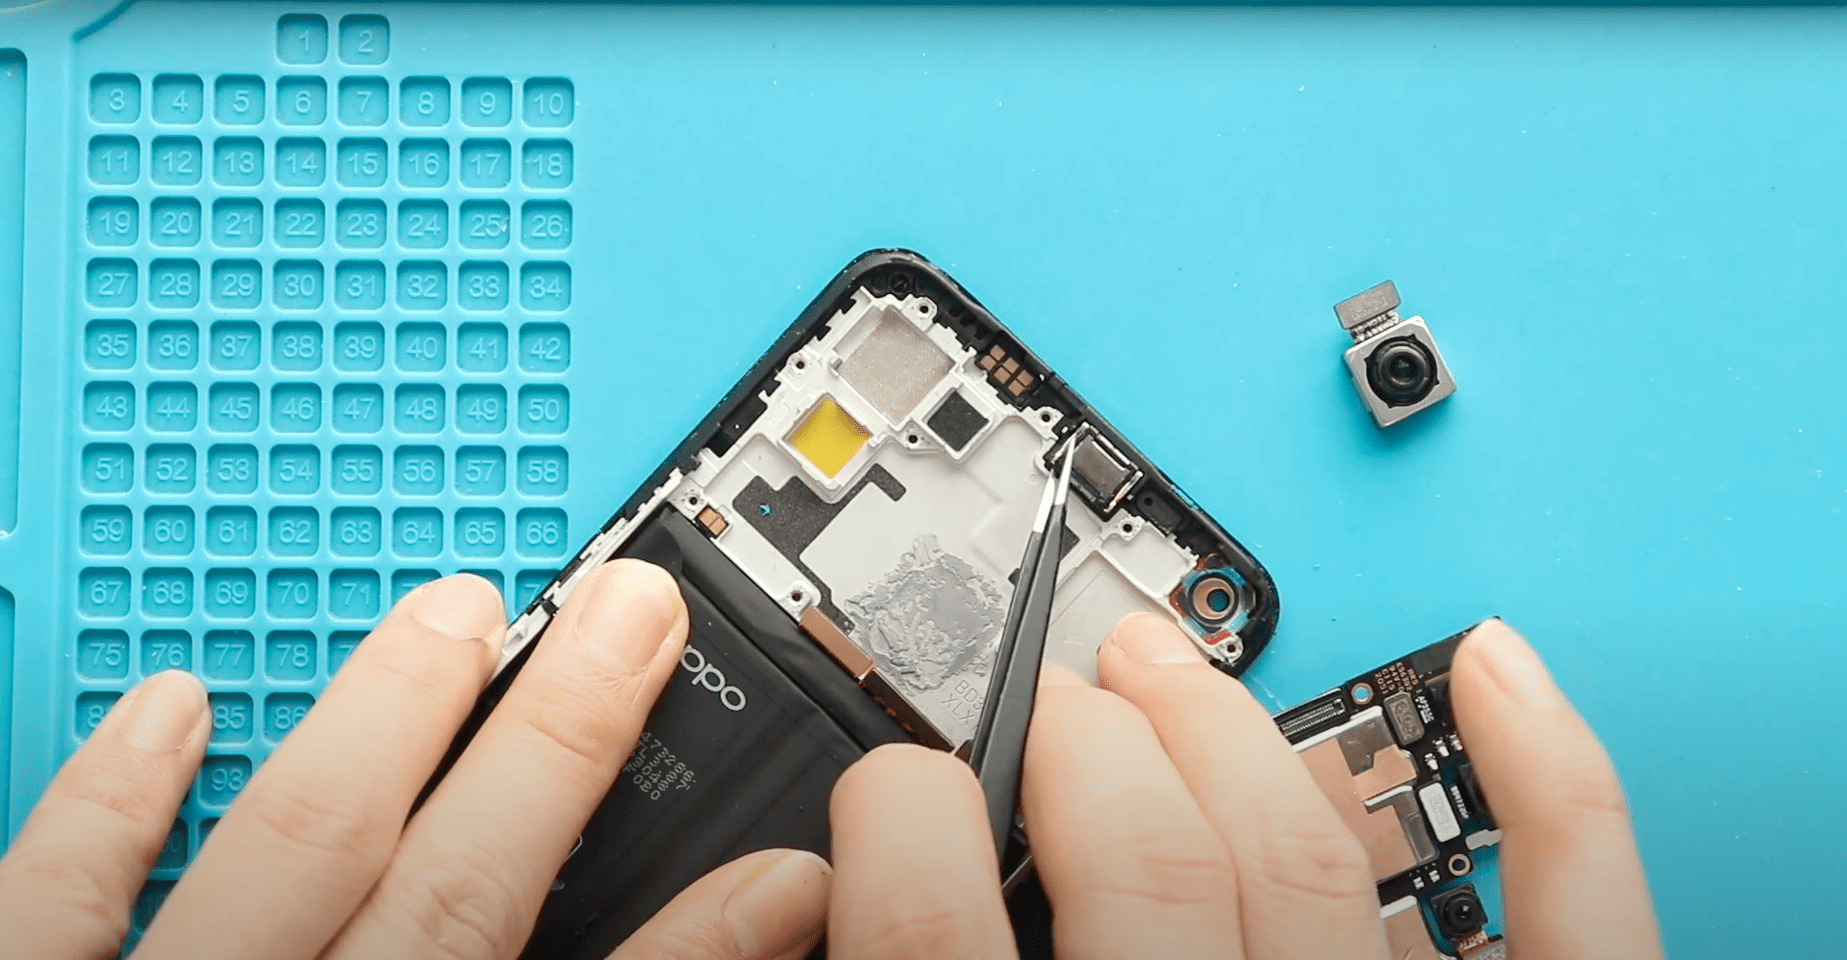
Step 8 – Disconnect the Battery
Use a plastic pry tool to disconnect the battery flex cable from the logic board.
Step 9 – Disconnect Display and Main Cables
Disconnect both the LCD flex cable and the main ribbon cable from the motherboard.
Step 10 – Prepare the Battery for Removal
Move the LCD and main ribbon cables slightly aside to prevent damage during battery removal.
Step 11 – Soften the Battery Adhesive
Apply gentle heat to the back of the battery area using a heat gun or heating pad.
This softens the adhesive holding the battery in place.
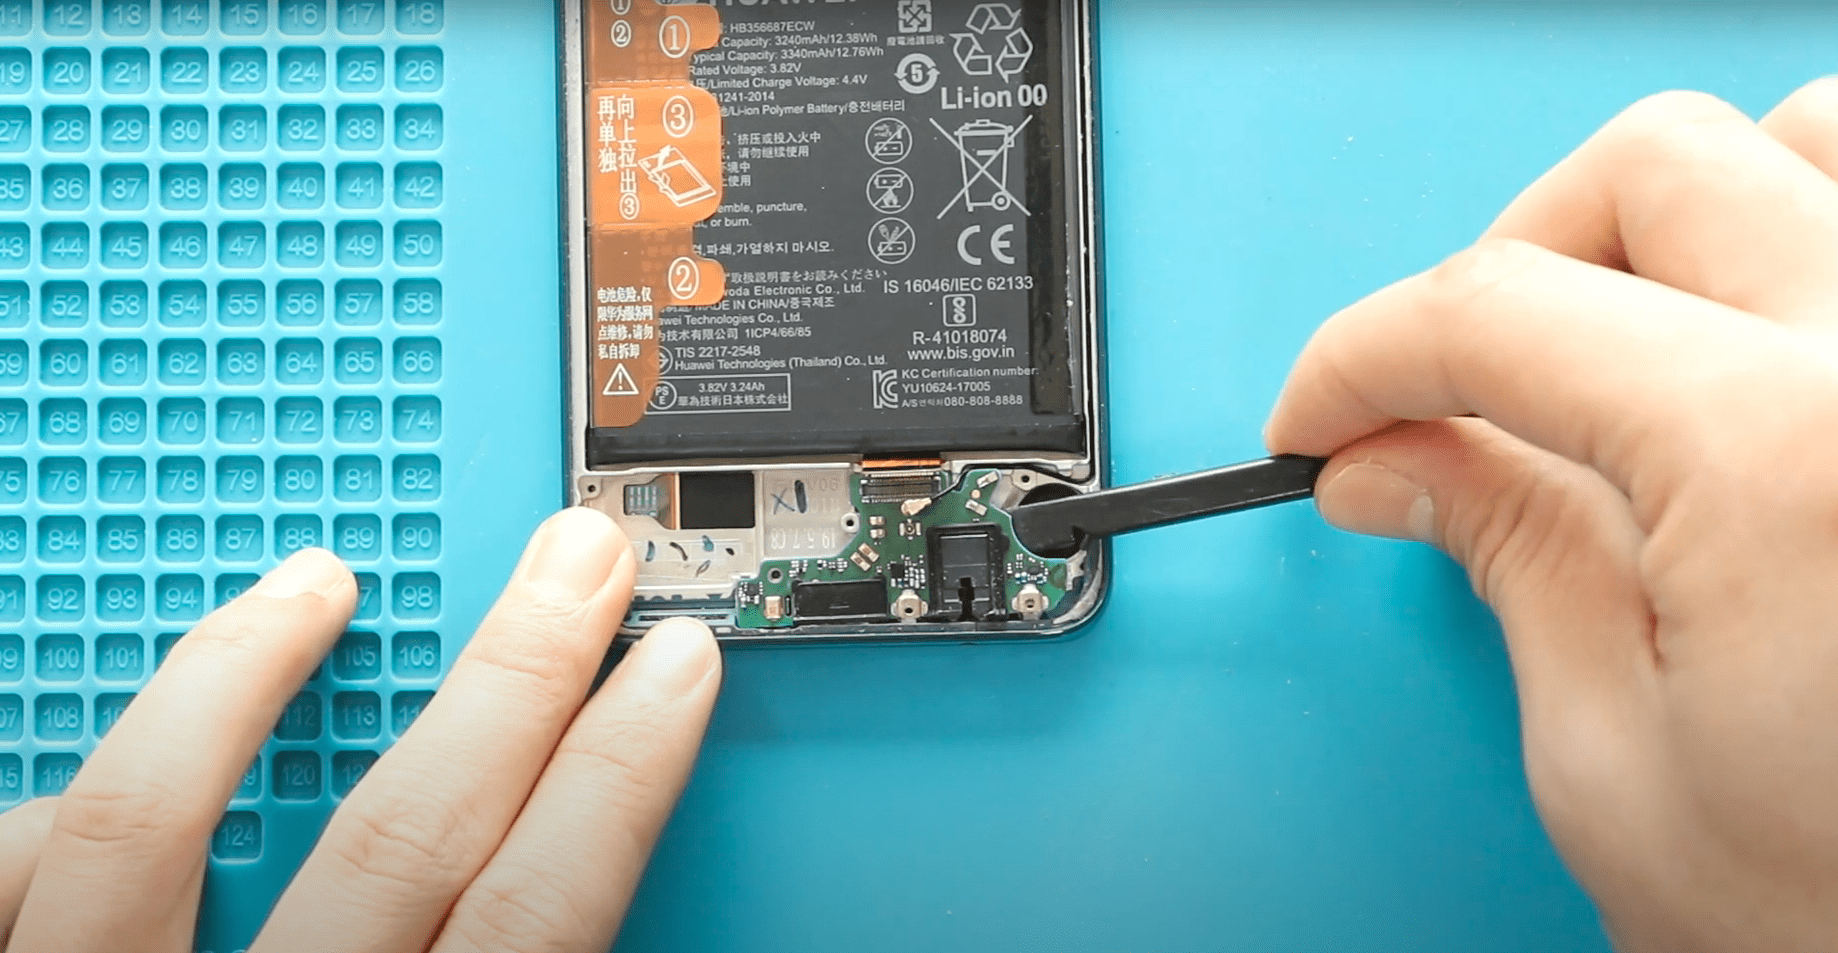
Step 12 – Loosen the Battery Adhesive
Insert a plastic card pry tool under the battery and slowly slide it underneath to cut the adhesive.
Step 13 – Remove the Old Battery
Once the adhesive loosens, gently lift and remove the battery from the phone body.
Step 14 – Install the New Battery
Place the new replacement battery into the battery compartment using fresh adhesive if necessary.
Step 15 – Reconnect Flex Cables
Reconnect the following cables to the motherboard:
- LCD flex cable
- Main ribbon cable
- Battery connector
Step 16 – Reinstall the Board Bracket
Place the board bracket back in position and secure it using three screws.
Step 17 – Reinstall the Top Bracket
Place the top bracket and secure it with three screws.
Step 18 – Reattach the Back Cover
Align the back cover with the phone frame and press around the edges to snap the clips back into place.
Step 19 – Insert the SIM Tray
Insert the SIM card tray back into the device.
Your Samsung Galaxy A10e battery replacement is now complete.
Frequently Asked Questions (FAQ)
Is it safe to replace the Samsung Galaxy A10e battery at home?
Yes. With proper tools and careful handling, the battery replacement can be performed safely at home.
How long does the battery replacement take?
Most users can complete this repair in 20–35 minutes.
Do I need to remove the motherboard for this repair?
No. The motherboard does not need to be removed to replace the battery.
Can a swollen battery damage the phone?
Yes. A swollen battery can press against internal components and should be replaced immediately.
Will replacing the battery improve performance?
Yes. A new battery can restore battery life and eliminate random shutdown issues.
Troubleshooting After Battery Replacement
The phone does not power on after the repair
Check if the battery connector is properly attached to the motherboard.
The phone is not charging
Ensure the battery connector and main flex cable are securely connected.
The back cover does not close properly
Make sure all internal cables are positioned correctly and the battery is seated flat.
The phone restarts randomly
This may happen if the battery flex cable is loose. Reopen the phone and reconnect it firmly.
Related Guides