Now Reading: Google Pixel 6a Battery Replacement Guide – Complete Step-by-Step Repair
-
01
Google Pixel 6a Battery Replacement Guide – Complete Step-by-Step Repair
Google Pixel 6a Battery Replacement Guide – Complete Step-by-Step Repair
The Google Pixel 6a is a powerful mid-range smartphone, but like all modern phones, its battery degrades over time. If your Pixel 6a is no longer holding a charge, draining quickly, or shutting down unexpectedly, a battery replacement can restore normal performance.
In this guide, we provide a detailed, step-by-step Google Pixel 6a battery replacement tutorial, written for DIY repairers who have some prior experience. The Pixel 6a uses a fully glued display and internal adhesive-secured battery, making this an advanced repair that requires patience, heat control, and careful handling of connectors.
Follow each step closely to avoid damaging the display, motherboard, or battery.
Common Reasons for Google Pixel 6a Battery Replacement
You may need to replace the battery on your Google Pixel 6a if you experience any of the following issues:
- Battery drains unusually fast even with light usage
- Phone shuts down suddenly at 20–30% battery
- Device overheats during charging or normal use
- Battery takes too long to charge or won’t reach 100%
- Phone only works while connected to a charger
- Swollen battery causing screen lift or frame pressure
Replacing the battery is the most effective solution when these symptoms persist after software updates or factory resets.
Repair Difficulty & Estimated Time
- Repair Difficulty: ⚠️⚠️⚠️⚠️☆ (4/5 – Advanced)
- Estimated Time: 45–60 minutes
- Skill Level: Intermediate to Advanced DIY repair
Before You Begin
Compatibility and Model Numbers
This repair guide based on Google Pixel 6A Mobile Phone.
Model Numbers | GX7AS, GB62Z, G1AZG, GB17L
Tools Required
- Heating pad / heat gun / hairdryer
- Suction cup
- Plastic card pry tools / opening picks / Tweezers
- Phillips PH000/PH00 screwdriver
- Torx T3 Screwdriver
- Adhesive (B7000 or double-sided back cover adhesive)
- Bonding clips or rubber bands (optional but recommended)
Make sure the device is turned off and the SIM tray is removed before starting.
How to Find Tools and Parts
- Heating pad – https://amzn.to/3H0tHzJ
- Portable Heat Gun – https://amzn.to/4mszih1
- Clamps https://amzn.to/3GYJT4w
- STREBITO 142 Piece Repair Tool Kit https://amzn.to/3UO1jUx
- Glue | Adhesive https://amzn.to/46exVxe
- Compatible Parts –
- Battery – https://amzn.to/4m9sWDx
- Screen – https://amzn.to/4mDihAY
- Other Parts – https://amzn.to/4mhg7Hq
- Silicone Work Repair Mat https://amzn.to/45Emz5l
✅ Protect Your Google Pixel 6A
- Protector For The Screen https://amzn.to/4oyBWDN
- Best Cases For Your Pixel 6A https://amzn.to/3UX7tSk
Google Pixel 6a Battery Replacement – Step-by-Step Instructions
Step 1: Power Off the Phone
Completely power off your Google Pixel 6a before starting the repair. Remove the SIM tray to prevent damage during screen removal.
Step 2: Heat the Front Display
Apply even heat around all edges of the screen to soften the factory adhesive.
- Place the phone screen-side down on a heating pad
- Select the mobile phone heating option
- Heat for several minutes until the adhesive becomes pliable
Alternatively, use a heat gun or hair dryer, moving continuously to avoid overheating.
Step 3: Create an Opening Gap
- Attach a suction cup to the right side of the screen
- Gently pull upward to create a small gap
- Insert a plastic pry tool or opening card into the gap
Slowly slide the tool along the edges to cut through the adhesive.
Step 4: Lift the Screen Carefully
Once the adhesive is cut:
- Gradually lift the screen from right to left
- Open the display like a book
- Do not pull forcefully, as the display cable is still connected
Step 5: Remove the Display Connector Bracket
Use tweezers to remove the metal connector bracket securing the display cable.
Step 6: Disconnect the Display Cable
Disconnect the LCD connector from the motherboard.
You can now safely remove the display and place it on a clean, soft surface.
Step 7: Remove the Logic Board Bracket
- Locate the large logic board bracket
- Remove 13 Phillips screws
- Carefully lift the bracket while loosening any graphite or thermal tapes
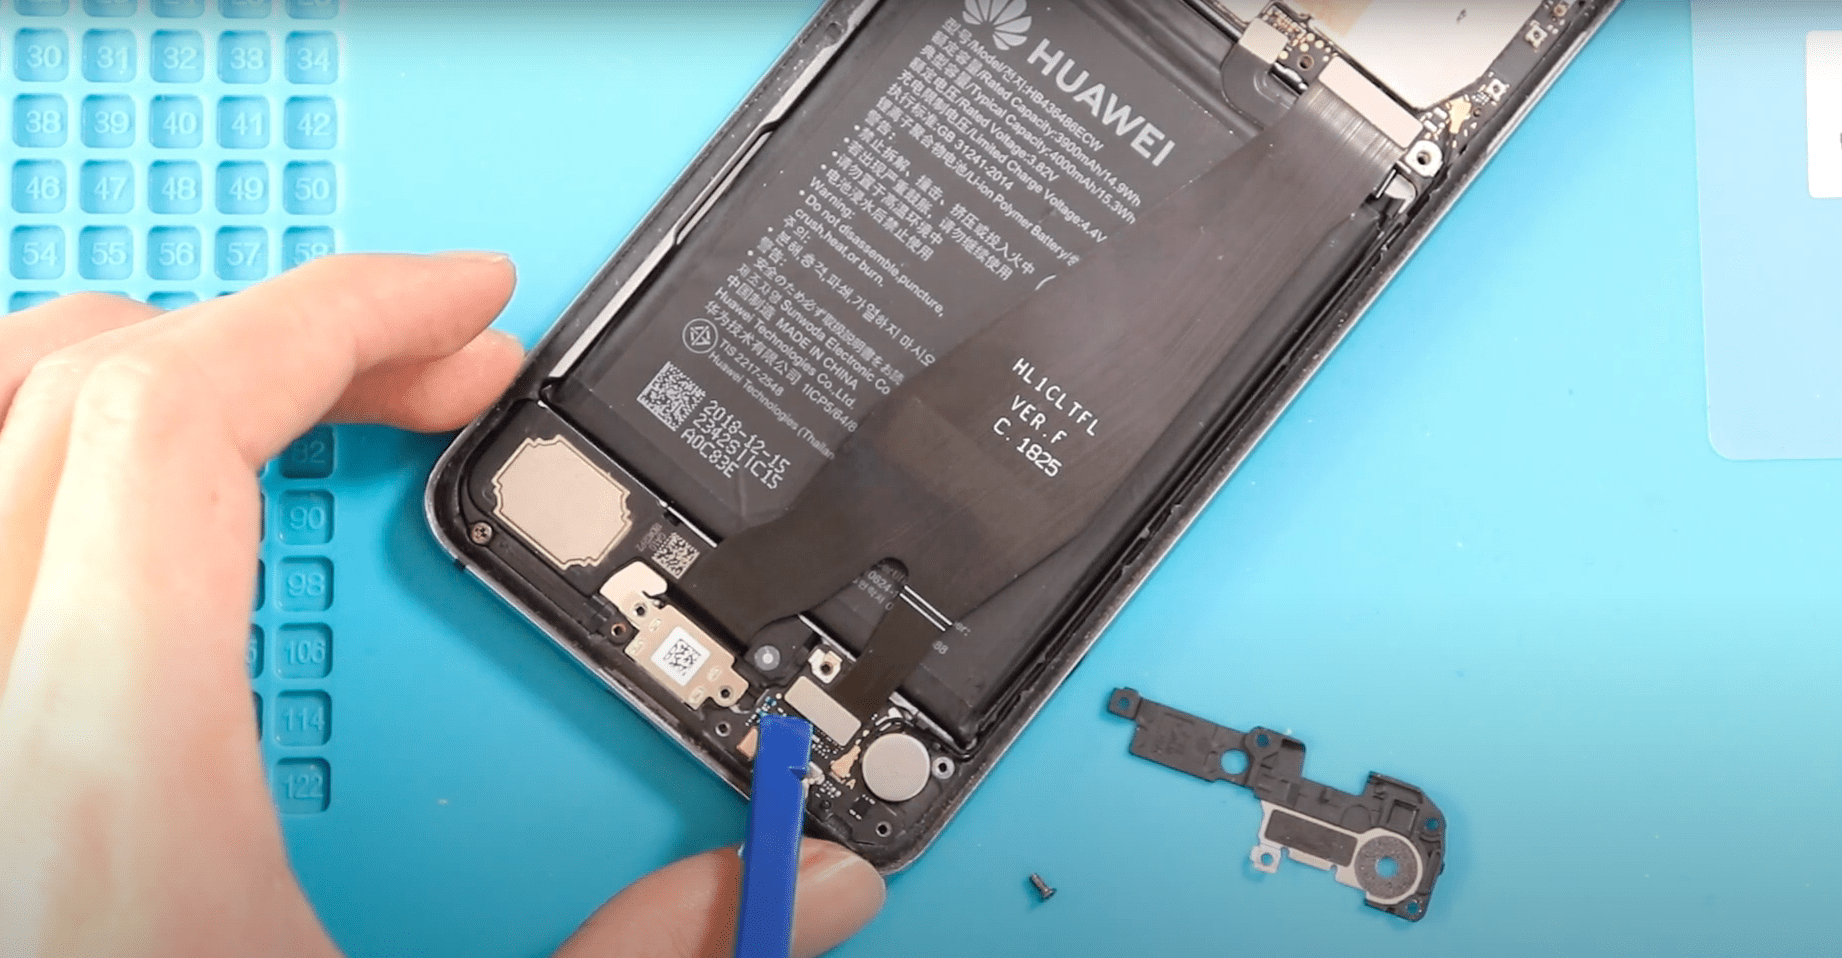
Step 8: Disconnect the Battery Connector
Using a plastic pry tool, gently disconnect the battery connector from the motherboard.
Step 9: Remove the Battery
- Apply heat to the battery area to loosen the adhesive
- Slowly pry the battery away from the frame
- This step may take time and may require additional heating
⚠️ Avoid bending, puncturing, or deforming the battery.
Step 10: Install the New Battery
- Apply fresh adhesive to the frame
- Position the new battery correctly
- Press it firmly into place
- Reconnect the battery connector
Step 11: Reinstall the Logic Board Bracket
- Place the logic board bracket back into position
- Secure it using all 13 screws
- Reapply graphite and thermal tapes
Step 12: Test the Display Before Sealing
- Connect the display cable
- Power on the phone
- Check touch response, brightness, and image quality
Step 13: Secure the Display
- Reinstall the display connector bracket
- Apply new adhesive if required
- Align the screen from bottom to top
- Press gently around all edges
Use screen clamps or rubber bands to hold the display in place while the adhesive sets.
Step 14: Final Assembly
Once the adhesive has cured, remove the clamps and perform a final power-on test.
Your Google Pixel 6a battery replacement is now complete.
FAQ
Q: Is Google Pixel 6a battery replacement difficult?
A: Yes. This is an advanced repair due to the fully glued display and adhesive-secured battery.
Q: Can I replace the battery without removing the screen?
A: No. The screen must be removed to access the battery.
Q: Will replacing the battery delete my data?
A: No, but backing up your data is strongly recommended before repair.
Q: Can I reuse the old battery adhesive?
A: No. Always use new adhesive to ensure proper battery placement and safety.
Q: How long does a replacement Pixel 6a battery last?
A: A high-quality replacement battery typically lasts 12–24 months with normal usage.
Troubleshooting (After Battery Replacement)
Phone Does Not Turn On
- Check battery connector seating
- Ensure the battery is charged
- Reconnect and retest the display
Screen Not Responding to Touch
- Reseat the display connector
- Check for bent pins or dust
Battery Drains Quickly
- Calibrate the battery (full charge → full discharge)
- Ensure a genuine or high-quality battery was used
Screen Lifting After Repair
- Apply additional adhesive
- Clamp the screen longer to allow proper bonding