Now Reading: iPhone 12 Mini Charging Port Replacement Guide | Step-by-Step DIY Repair
-
01
iPhone 12 Mini Charging Port Replacement Guide | Step-by-Step DIY Repair
iPhone 12 Mini Charging Port Replacement Guide | Step-by-Step DIY Repair
Hi everyone, welcome back to DIY Geardo!
In this detailed repair guide, we will walk you through the complete process of replacing the charging port flex cable on the iPhone 12 Mini. If your iPhone is not charging properly, connecting intermittently, showing “Accessory Not Supported,” or the bottom microphone is not working, this repair can usually fix all these issues because the charging port flex controls charging, USB communication, and the lower mic.
You can also use this guide to replace the iPhone 12 mini Logic board.
Compatibility and Model Numbers
This repair guide based on iPhone 12 mini mobile phone
Compatible Mode Numbers l A2399, A2176, A2402, A2400
Tools You Need
- Heating pad / heat gun / hairdryer
- Suction cup
- Plastic card pry tools / opening picks
- Phillips PH000 screwdriver
- Pentalobe P2 Screwdriver (for bottom screws)
- Tri-Point Y000 Screwdriver
- Adhesive (B7000 or double-sided frame adhesive)
- Bonding clips or rubber bands (optional but recommended)
How to Find Tools and Parts
- Heating pad – https://amzn.to/3H0tHzJ
- Portable Heat Gun – https://amzn.to/4mszih1
- Clamps https://amzn.to/3GYJT4w
- STREBITO 142 Piece Repair Tool Kit https://amzn.to/3UO1jUx
- Glue | Adhesive https://amzn.to/46exVxe
- Compatible Parts https://amzn.to/47EPojr
- Silicone Work Repair Mat https://amzn.to/45Emz5l
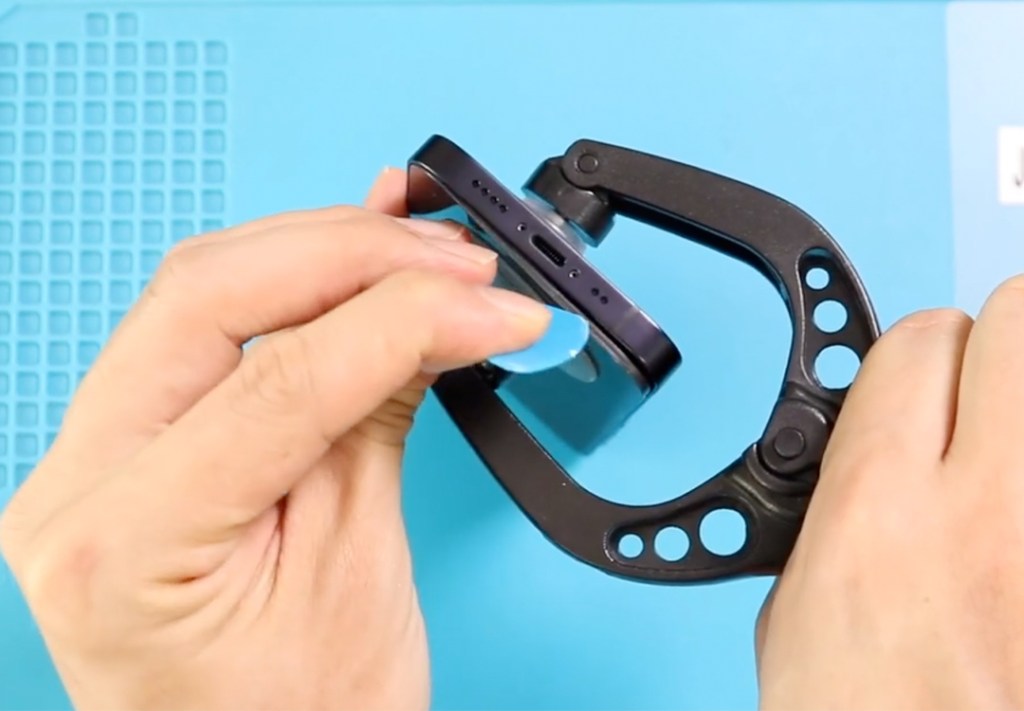
Step 1 — Power Off the Device and Prepare the Phone
Start by switching off your iPhone 12 Mini.
Next, remove the SIM tray using a SIM eject tool. Then, use a Pentalobe screwdriver to remove the two screws located at the bottom of the phone near the charging port.
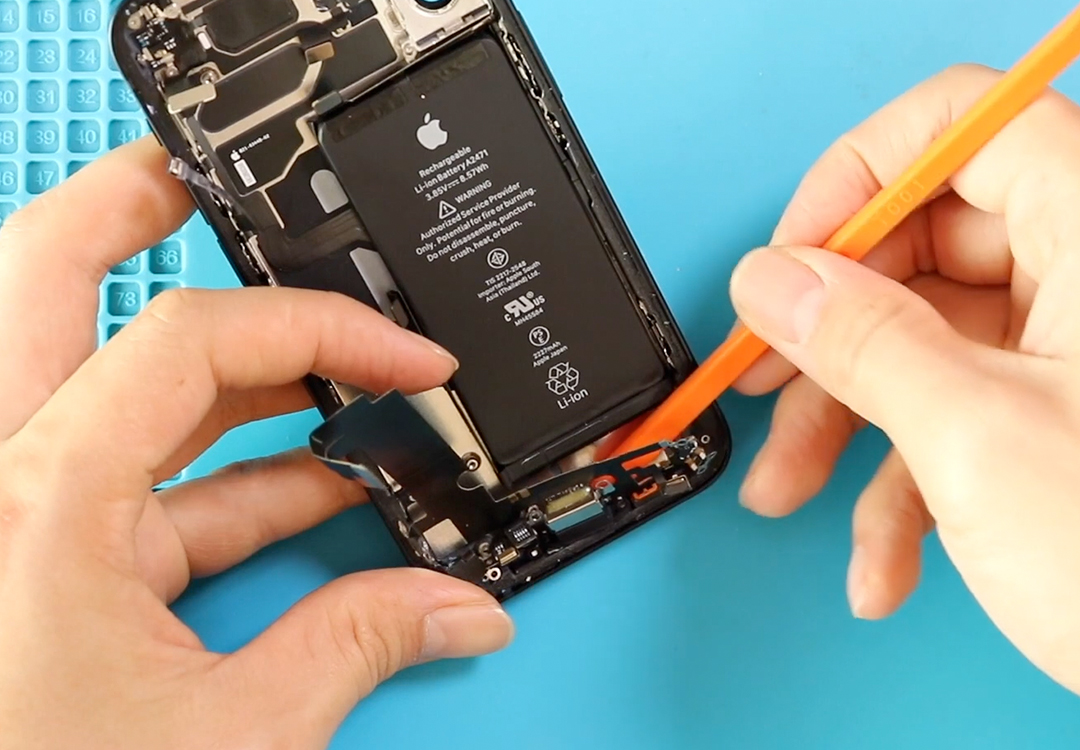
Step 2 — Loosen the Display Adhesive
To lift the screen safely, you need to soften the strong factory adhesive.
We use a heating pad, but you can also use a heat gun or hairdryer. Apply moderate heat around the edges for a few minutes.
A double-sided suction cup helps lift the screen, but a regular suction cup also works. Use a plastic pry tool or a triangle picker to gently slide between the screen and the frame, loosening the rubber gasket while avoiding damage to the flex cables.
Lift the screen upward just like opening a book.
Step 3 — Remove Display Shields and Disconnect Flex Cables
Inside, you will see a small shield on the bottom. Remove the screw and lift the shield, then disconnect the battery plugfirst — this is an important safety step.
Next, at the top, remove five screws holding the upper shield. Disconnect the screen connector and the earpiece assembly plug.
At this stage, you can fully separate the display from the main body.
Step 4 — Remove Cameras and Top Components
Move to the top-right section and remove the camera bracket by undoing two screws.
Disconnect the two plugs to remove the rear camera, then disconnect three flex plugs to remove the front camera module.
Step 5 — Loosen Logic Board and Remove Components on the Bottom
Loosen four screws around the logic board and remove the small bracket on the right.
On the bottom, remove the loudspeaker buzzer by undoing four screws.
Next, take out the Taptic Engine by removing two screws and disconnecting its connector plug.
Disconnect six connectors on the logic board. Be careful when disconnecting the third plug — gently peel the flex away first to avoid tearing.
Carefully lift the logic board using a non-metal pry tool.
Step 6 — Remove the Charging Port Flex
There are eleven screws securing the charging port assembly, including the microphone area. Remove all screws and lift the mic mesh gently from the grill.
Also, be aware of the bracket that needs to be removed when taking out the third screw.
Peel the charging port flex slowly. The microphones are delicate, so take your time.
Remove the damaged charging port assembly completely.
Step 7 — Install the New Charging Port Flex
Place the new charging port flex in the same position.
Align the microphone openings and ensure the corners sit correctly.
Add back the bracket and secure all eleven screws.

Step 8 — Reinstall Logic Board and All Components
Place the logic board back and tighten the four screws. Reconnect all six flex plugs.
Install the Taptic Engine, secure its screws, and add the shield.
Install the loudspeaker buzzer and tighten all four screws.
Reinstall the camera bracket, rear camera (two plugs), and front camera (three plugs).
Step 9 — Screen Reassembly and Final Steps
Add new frame adhesive if needed to improve water resistance (not waterproof).
Reconnect the earpiece, LCD connectors, and the battery plug.
Add both shields with their screws.
Before closing the device, test the display, cameras, charging port, microphone, and Taptic Engine.
To close the phone, click in the top section first, then press along the sides and bottom.
Insert the SIM tray and secure the two bottom screws.
Your iPhone 12 Mini charging port flex replacement is complete!
Frequently Asked Questions
1. What problems does replacing the charging port flex solve?
It can fix charging issues, fast-charging not working, microphone failure, cable detection issues, and random disconnecting during charging.
2. Does replacing the charging port fix microphone problems?
Yes. The bottom microphone is part of the charging port flex assembly.
3. Will opening the phone reduce water resistance?
Yes. Even with new adhesive, it will not be fully water resistant like before.
4. Can I do this repair as a beginner?
It’s an advanced repair because many components and screws must be removed. Follow the steps carefully.
5. Should I test the screen and charging before closing the phone?
Always test before sealing the phone to avoid reopening it again.
Related Guides