Now Reading: iPhone SE 2020 Rear Camera Replacement Guide
-
01
iPhone SE 2020 Rear Camera Replacement Guide

iPhone SE 2020 Rear Camera Replacement Guide
Hi everyone, welcome back to Geardo.
If your iPhone SE (2nd Gen / 2020) is taking blurry photos, struggling to focus, showing a black screen, or the camera app is not working properly, the rear camera module may be faulty.
Camera issues can occur due to drops, internal damage, or wear over time. In many cases, replacing the rear camera module can restore full photo and video functionality.
In this step-by-step guide, we’ll show you how to replace the rear camera on the iPhone SE 2, in a simple and beginner-friendly way.
📱 Device & Repair Overview
- Device Type: Smartphone
- Model: iPhone SE (2nd Gen / 2020)
- Repair Type: Rear Camera Replacement
⭐ Repair Difficulty & Time
Repair Difficulty: ⭐⭐⭐☆☆ (Moderate)
Estimated Time: 30–45 minutes
Reasons for Rear Camera Replacement
- Blurry or out-of-focus photos
- Camera shaking or not stabilizing
- Black screen when opening camera app
- Camera app crashing
- Visible damage to camera lens/module
Before You Begin
Compatibility and Model Numbers
- iPhone SE (2020)
- Also Known As iPhone SE 2, iPhone SE 2nd Generation
This repair guide based on Samsung Galaxy A10e Model.
Model Numbers | A2275, A2296, A2298
Tools Required
- Heating pad / heat gun / hairdryer
- Suction cup
- Plastic card pry tools / opening picks
- Phillips PH000 screwdriver
- Pentalobe P2 Screwdriver (for bottom screws)
- Tri-Point Y000 Screwdriver
- Adhesive (B7000 or double-sided frame adhesive)
- Bonding clips or rubber bands (optional but recommended)
Using proper tools reduces the risk of damaging the phone.
How to Find Tools and Parts
- Heating pad – https://amzn.to/3H0tHzJ
- Portable Heat Gun – https://amzn.to/4mszih1
- Clamps https://amzn.to/3GYJT4w
- STREBITO 142 Piece Repair Tool Kit https://amzn.to/3UO1jUx
- Glue | Adhesive https://amzn.to/46exVxe
- Compatible Parts –
- Battery – https://amzn.to/4fx6jX5
- Screen – https://amzn.to/4m8sVj7
- Other Parts – https://amzn.to/4ov58M7
- Silicone Work Repair Mat https://amzn.to/45Emz5l
🔧 Step-by-Step Repair Guide
Step 1: Power Off & Remove Screws
Turn off the phone and remove the two bottom screws using a Pentalobe screwdriver.
Step 2: Heat & Open the Screen
Apply heat around the edges to loosen adhesive.
Use a suction cup and pry tool to lift the screen carefully.
⚠️ Avoid damaging internal flex cables.
Step 3: Open Display
Open the screen to a 90° angle (left to right).
Step 4: Disconnect Components
- Remove 4 screws (LCD shield)
- Disconnect battery, touch, and LCD connectors
- Remove 3 screws (earpiece shield)
- Disconnect earpiece connector and remove display
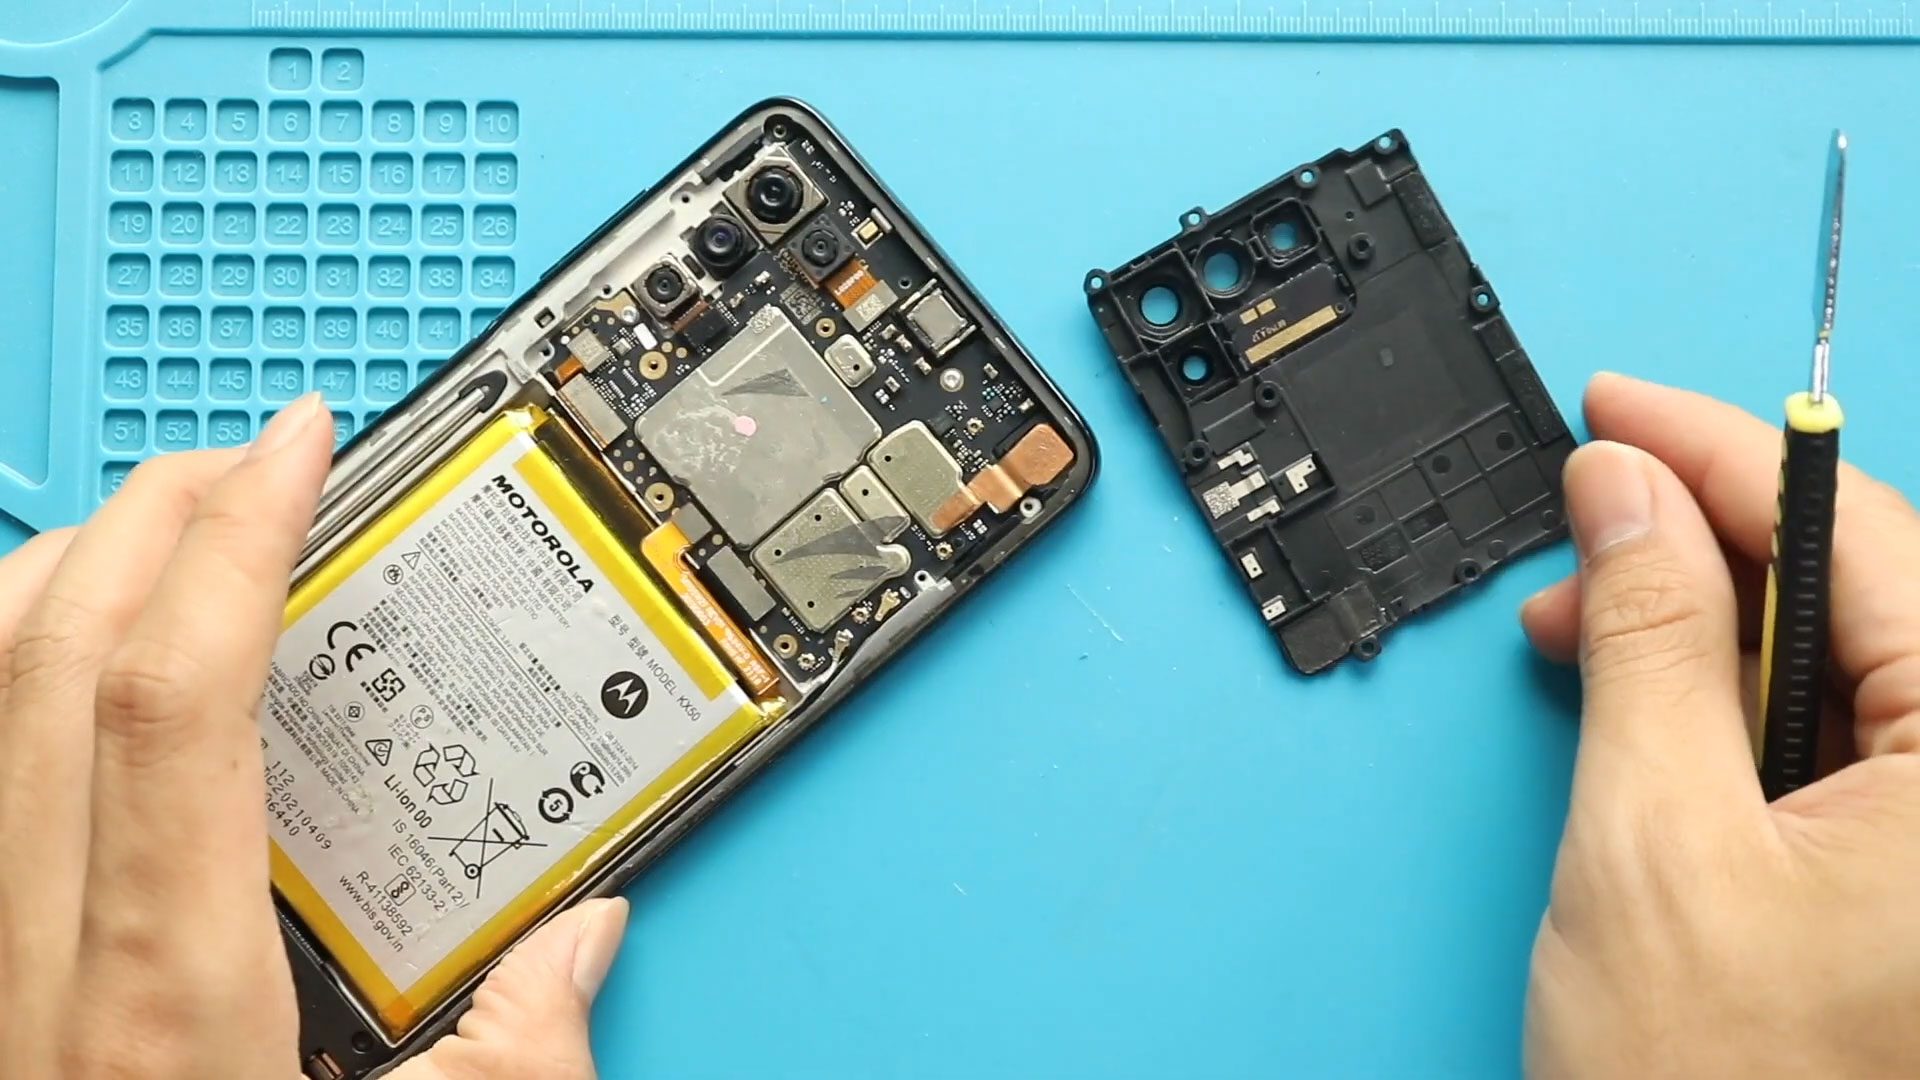
Step 5: Remove Rear Camera
- Remove the camera shield (2 screws)
- Disconnect the camera connector
- Gently lift and remove the faulty rear camera
Step 6: Install New Camera
- Place the new camera module in position
- Connect the camera flex cable
- Secure with the shield and screws
Step 7: Reconnect Display
- Apply new adhesive seal
- Connect earpiece, LCD, and battery connectors
Step 8: Test the Camera
Turn on the device and test:
- Camera app
- Focus and image clarity
- Video recording
Step 9: Final Assembly
- Secure shields and screws
- Snap the display back into place
- Apply even pressure along edges
- Reinstall bottom screws
❓ FAQ (Frequently Asked Questions)
Q1: Will replacing the rear camera fix blurry photos?
Yes, if the issue is caused by a faulty camera module.
Q2: Why is my camera shaking or vibrating?
This is usually due to a damaged camera stabilizer, which requires replacement.
Q3: Can software issues cause camera problems?
Yes, so always restart or update your phone before replacing hardware.
Q4: Is this repair beginner-friendly?
Yes, this is a moderate-level repair and easier than most internal replacements.
Q5: Do I need to remove the logic board?
No, the camera can be replaced without removing the logic board.
🛠️ Troubleshooting (After The Repair)
Q1: Camera not working after replacement
- Check camera connector
- Ensure it is properly seated
Q2: Camera still blurry
- Remove protective film on new camera
- Clean lens before closing
Q3: Camera app crashes
- Restart device
- Check iOS updates
Q4: Front camera not working
- This repair does not affect front camera
- Check front camera connectors separately
Q5: Dust inside camera lens
- Clean before sealing the device
- Avoid opening in dusty environments
🎉 Final Words
Hope you have enjoyed this repair guide!
Replacing the rear camera is a great way to restore photo quality and extend the life of your iPhone.
If you have any questions, let us know in the comments. Don’t forget to share this guide!
Happy repairing!
Related Guides