Now Reading: iPhone X Battery Replacement Guide | Step-by-Step DIY Repair
-
01
iPhone X Battery Replacement Guide | Step-by-Step DIY Repair
iPhone X Battery Replacement Guide | Step-by-Step DIY Repair
A worn-out battery can seriously affect the performance of your iPhone X. If your phone drains quickly, shuts down unexpectedly, or feels slow even after software updates, a battery replacement can bring it back to life.
In this guide, we’ll show you how to replace the battery on the iPhone X safely and correctly, using the right tools and proper techniques. Follow each step carefully to avoid damage to internal components and ensure a successful repair.
Reasons to Replace the iPhone X Battery
- Battery drains faster than usual
- Phone shuts down at higher battery percentages
- iPhone X overheats during normal use
- Slow performance due to battery health degradation
- Battery health below 80% in iOS settings
- Device does not hold charge for long periods
Replacing the battery can significantly improve battery life, performance, and overall usability.
Repair Difficulty
Difficulty Level: ⭐⭐⭐☆☆ (Moderate)
This repair requires patience and careful handling of connectors and adhesive strips. Recommended for users with basic repair experience.
Estimated Repair Time: 30–45 minutes
Compatibility and Model Numbers
This repair guide based on iPhone X mobile phone.
Compatible Mode Numbers | A1865, A1901, A1902, A1903
Tools You Need
- Heating pad / heat gun / hairdryer
- Suction cup
- Plastic card pry tools / opening picks
- Phillips PH000 screwdriver
- Pentalobe P2 Screwdriver (for bottom screws)
- Tri-Point Y000 Screwdriver
- Adhesive (B7000 or double-sided frame adhesive)
- Bonding clips or rubber bands (optional but recommended)
Make sure the device is turned off and the SIM tray is removed before starting.
How to Find Tools and Parts
- Heating pad – https://amzn.to/3H0tHzJ
- Portable Heat Gun – https://amzn.to/4mszih1
- Clamps https://amzn.to/3GYJT4w
- STREBITO 142 Piece Repair Tool Kit https://amzn.to/3UO1jUx
- Glue | Adhesive https://amzn.to/46exVxe
- Compatible Parts –
- Battery – https://amzn.to/4fI15YG
- Screen – https://amzn.to/3VIu2KN
- Other Parts – https://amzn.to/4n2vPq4
- Silicone Work Repair Mat https://amzn.to/45Emz5l
✅ Protect Your iPhone X
- 2 in 1 Protection https://amzn.to/46apLVC
iPhone X Battery Replacement – Step-by-Step Instructions
Step 1: Power Off and Remove SIM Tray
Turn off the iPhone completely. Remove the SIM tray using a SIM ejector tool and keep it aside safely.
Step 2: Remove Bottom Screws
Using a pentalobe screwdriver, remove the two screws located on either side of the charging port at the bottom of the phone.
Step 3: Open the Front Screen
Attach a suction cup near the bottom edge of the screen. Gently pull up to create a small gap.
Insert a plastic pry tool or pick and carefully separate the screen from the frame.
Slowly loosen the rubber gasket around the edges.
Step 4: Open the Screen Like a Book
Lift the screen from the left side, opening it like a book. Do not pull it completely away, as the display cables are still connected.
Step 5: Remove the Connector Shield
Remove the five screws securing the metal protector shield. Lift and remove the shield carefully.
Step 6: Disconnect Display and Sensor Cables
Disconnect the following connectors in order:
- Touch connector
- LCD connector
- Front camera and earpiece assembly connector
Once disconnected, set the screen assembly aside.
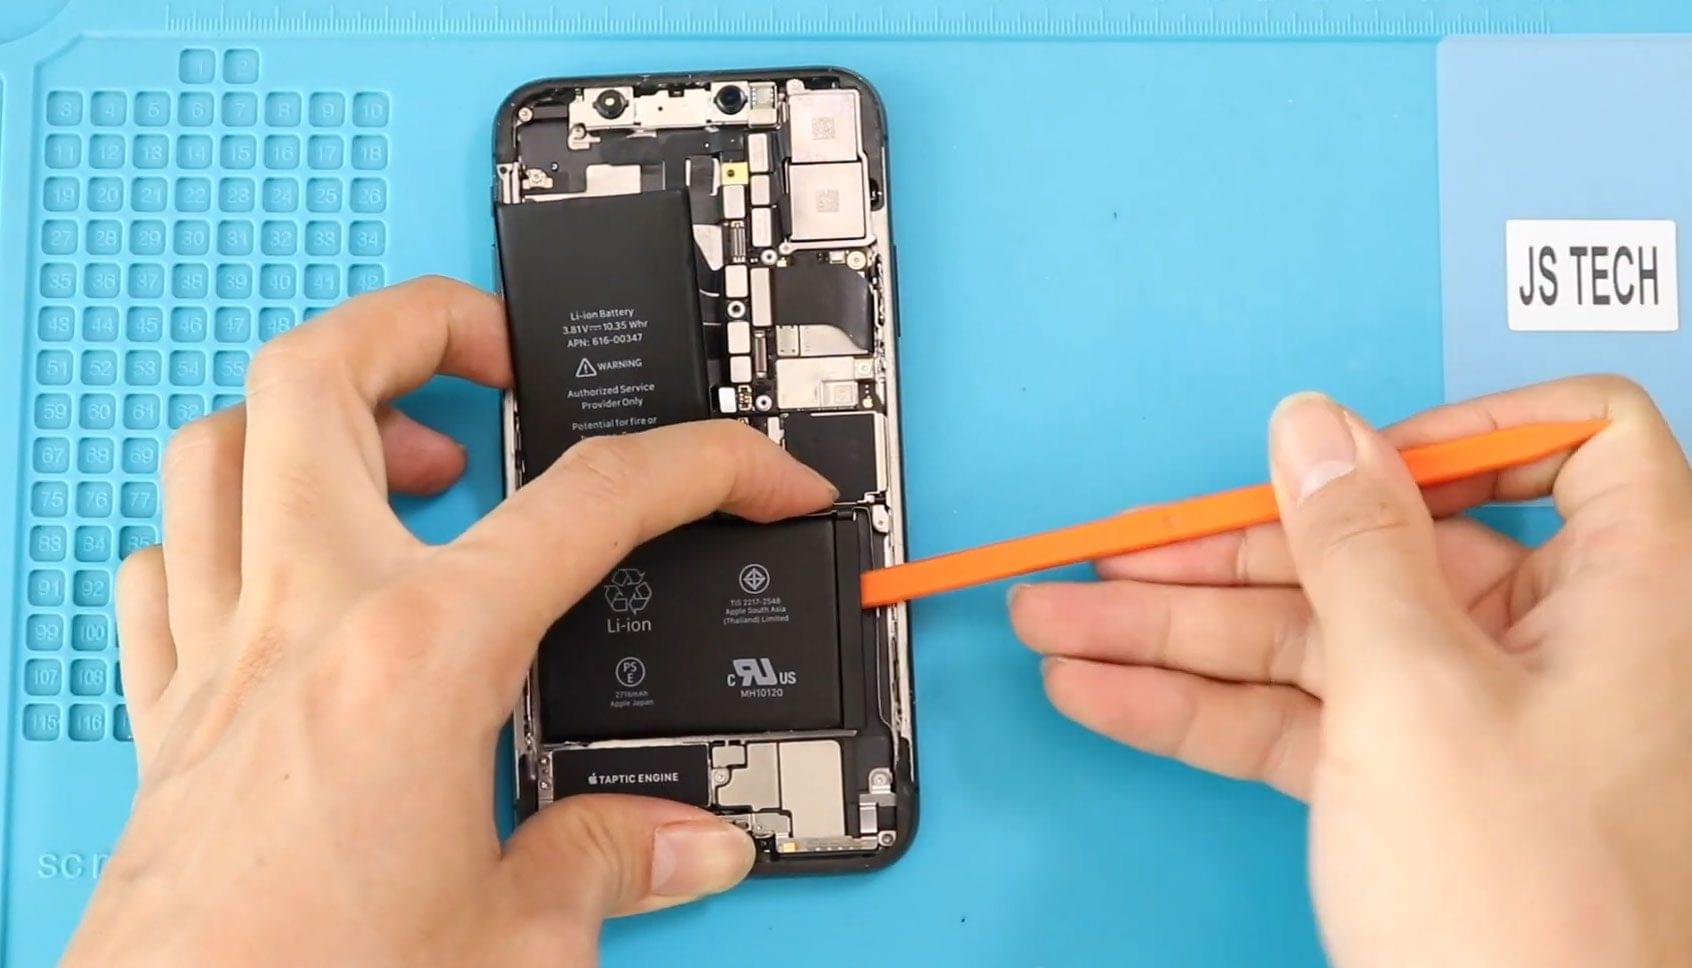
Step 7: Remove the Battery Adhesive Strips
Locate the black adhesive pull tab at the top of the battery. Slowly peel it back at a low angle.
Repeat the same process for the bottom-right adhesive strip. Pull gently to avoid snapping the strips.
Step 8: Remove the Battery
Once the adhesive is released, use a plastic pry tool to gently lift the battery from the frame and remove it.
Step 9: Install the New Battery
Apply new adhesive strips to the replacement battery. Place the battery into the housing and connect it to the logic board.
Step 10: Reconnect Display Assembly
Reconnect the connectors in this order:
- Front camera and sensor connector
- LCD connector
- Touch connector
Reinstall the metal shield and secure it using the five screws.
Step 11: Close the Phone
Align the top edge first and gently press the screen into place.
Snap the sides and bottom carefully, applying even pressure along the frame.
Step 12: Final Assembly
Reinsert the SIM tray and tighten the two bottom screws. Power on the device and check functionality.
Frequently Asked Questions (FAQ)
Q1: Will replacing the battery erase my data?
No, battery replacement does not affect your data. However, backing up your iPhone is always recommended.
Q2: Can I use a third-party battery?
Yes, but ensure it is a high-quality, compatible iPhone X battery to avoid performance or safety issues.
Q3: How do I check battery health after replacement?
Go to Settings > Battery > Battery Health to confirm proper performance.
Q4: Do I need special adhesive for the battery?
Yes, proper battery adhesive strips are required to secure the battery safely inside the phone.
Troubleshooting (After The Repair)
Q: The phone doesn’t turn on after battery replacement. What should I do?
Check if the battery connector is properly seated. Reopen the phone and reconnect the battery and display cables.
Q: The screen shows lines or doesn’t respond to touch.
Ensure the LCD and touch connectors are securely connected and the shield is properly installed.
Q: Battery drains quickly after replacement.
Calibrate the battery by charging it to 100%, then letting it drain completely once or twice.
Q: Screen is lifting after reassembly.
Apply even pressure around the frame and ensure the display clips are fully engaged.
Conclusion
Replacing the iPhone X battery is a practical repair that can extend the life of your device and restore performance. With the right tools and careful handling, this repair can be completed successfully at home.
If you have any questions or face issues during the repair, feel free to reach out. Happy repairing!
Related Guides