Now Reading: Motorola Moto G Stylus 2020 XT2043 Front & Rear Camera Repair Guide
-
01
Motorola Moto G Stylus 2020 XT2043 Front & Rear Camera Repair Guide
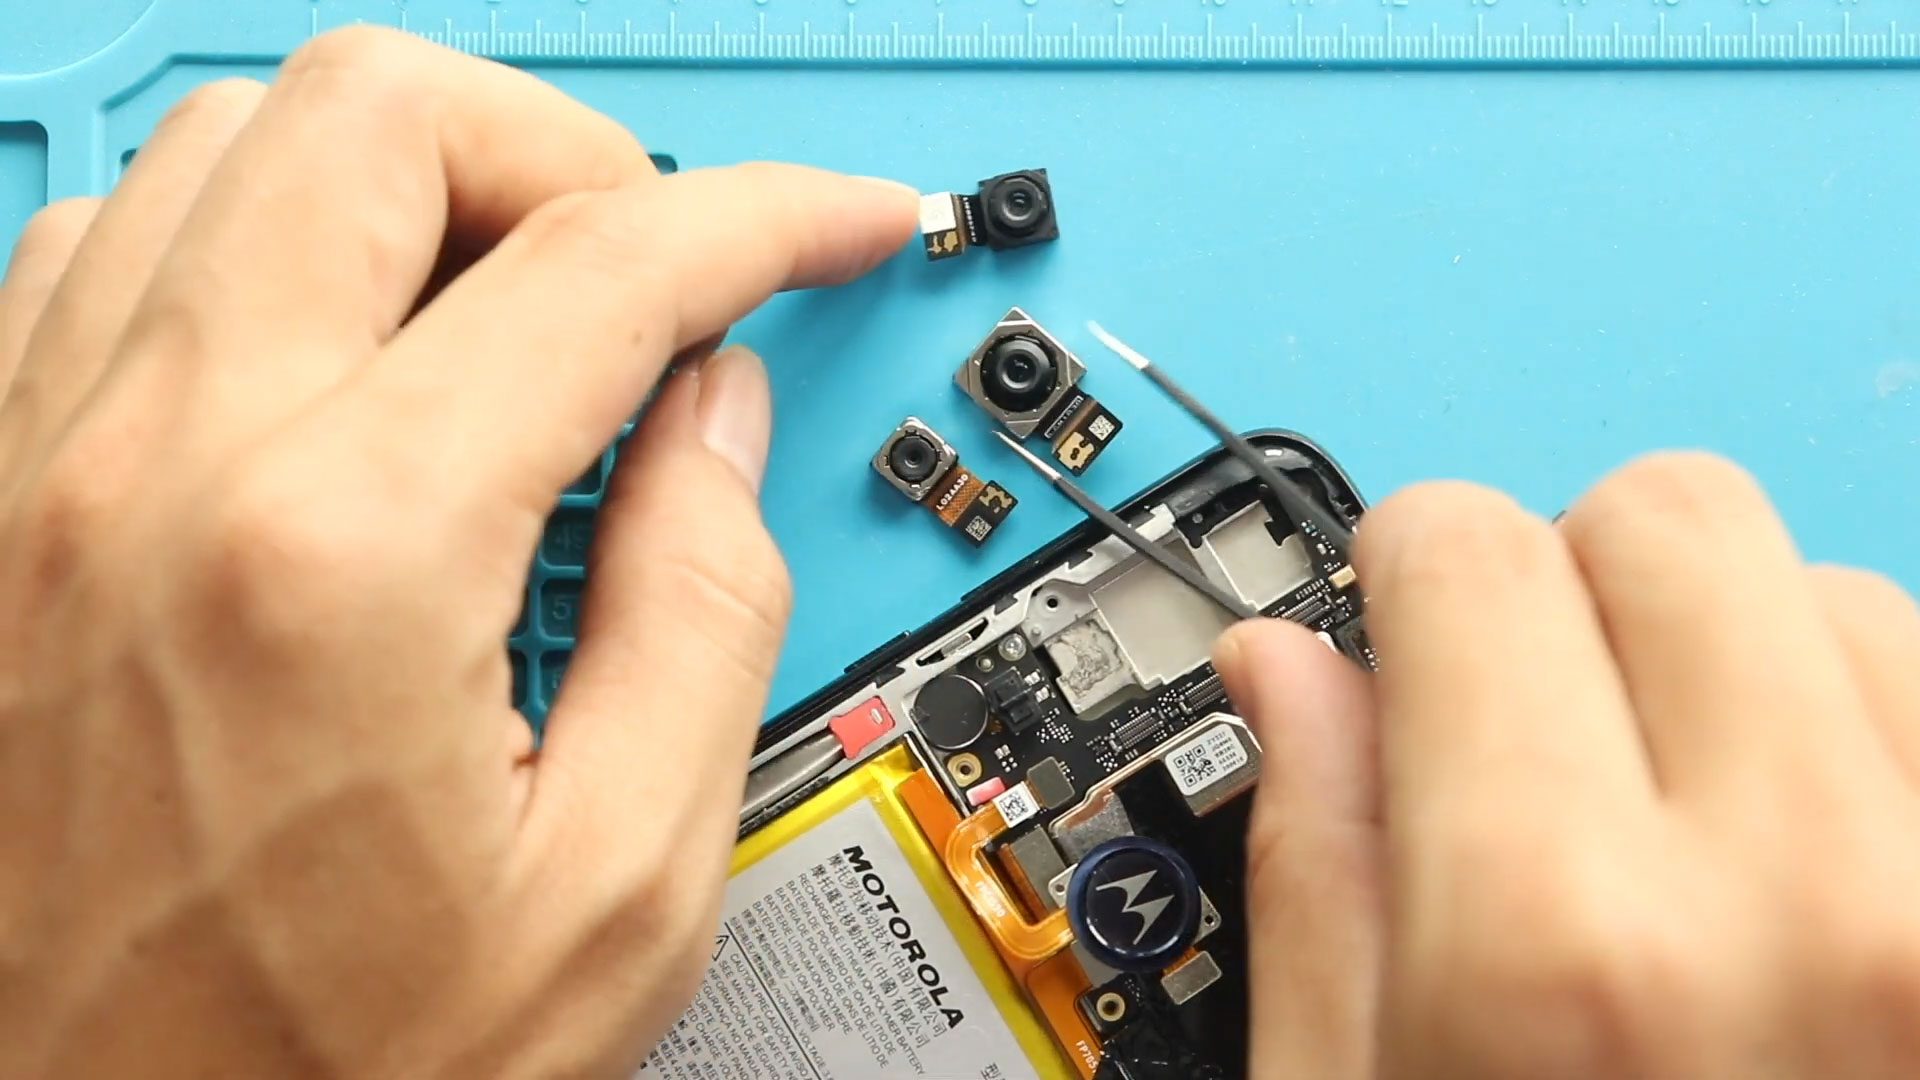
Motorola Moto G Stylus 2020 XT2043 Front & Rear Camera Repair Guide
Hi everyone, Welcome back to Geardo 👋
Today, we will show you how to replace the front and rear cameras on the Motorola Moto G Stylus (2020) mobile phone.
If your camera is not focusing, showing black screens, or producing poor image quality, replacing the camera modules can restore full functionality.
This is a beginner-friendly step-by-step guide, so you can follow along even if you are new to mobile phone repairs.
Before starting, make sure you have all the necessary tools ready.
Repair Difficulty
Repair Difficulty: ⭐⭐⭐⭐☆ (Moderately Difficult)
Estimated Time: 35–55 minutes
Device Type: Smartphone
Repair Type: Front & Rear Camera Replacement
🔍 Reasons for Camera Replacement
- Camera not working (black screen)
- Blurry or unfocused images
- Camera app crashing
- Physical damage to camera module
- Dust or moisture inside camera
Check The Latest Motorola Phones are in Clearance “up to 60% off” – https://amzn.to/480ho0w
Before You Begin
Compatibility and Model Numbers
- Motorola Moto G Stylus (2020)
Model Numbers | XT2043, XT2043-4
Tools Required
- Mobile phone heating pad or hairdryer/heat gun
- Plastic pry tool / card pry
- Suction cups
- Phillips #00/#000 screwdrivers
- Torx T3 / T4 / T5 Screwdriver (Depends on the version)
- Flathead Screwdriver
- Tweezers (for connectors)
- B7000 glue or double-sided adhesive (for back cover)
- Rubber bands or bonding clips to secure the back cover
Using proper tools reduces the risk of damaging the phone.
How to Find Tools and Parts
- Heating pad – https://amzn.to/3H0tHzJ
- Portable Heat Gun – https://amzn.to/4mszih1
- Clamps https://amzn.to/3GYJT4w
- STREBITO 142 Piece Repair Tool Kit https://amzn.to/3UO1jUx
- Glue | Adhesive https://amzn.to/46exVxe
- Compatible Parts –
- Battery – https://amzn.to/499v2jk
- Screen – https://amzn.to/47HnpOv
- Other Parts – https://amzn.to/4hO2wG5
- Silicone Work Repair Mat https://amzn.to/45Emz5l
Step-by-Step Repair Guide
Step 1: Heat the Back Cover
First, remove the back cover from the device.
Gently heat around the edges to soften the adhesive.
You can use:
- Heating pad (recommended)
- Heat gun
- Hairdryer
Step 2: Create an Opening
Use a suction cup to create a small gap.
Insert a plastic pry tool or card and carefully cut through the adhesive around the back cover.
Step 3: Remove the Back Cover
Gently pull the back cover away from the body, especially around the fingerprint sensor area.
Step 4: Remove the Logic Board Frame
Undo the nine screws securing the logic board frame.
Carefully remove the frame along with the camera housing.
Step 5: Disconnect the Battery
Disconnect the battery connector to avoid any electrical damage during repair.
Step 6: Remove Front Camera
Gently release any adhesive and remove the front (selfie) camera from the board.
Step 7: Remove Rear Cameras
Disconnect and remove the primary, ultra-wide, and macro cameras from the logic board.
Use a plastic tool and handle carefully.
Step 8: Install New Cameras
Replace the faulty cameras with new modules.
Secure:
- Front camera
- Primary rear camera
- Ultra-wide camera
- Macro camera
Make sure all connectors are firmly attached.
Step 9: Reconnect Battery
Reconnect the battery connector securely.
Step 10: Reassemble the Frame
Place the logic board frame back and secure it using the nine screws.
Step 11: Reattach Back Cover
Before reinstalling:
- Ensure adhesive is still usable
- If not, apply B7000 glue or double-sided adhesive
Press firmly to seal.
Step 12: Secure the Device
Use bonding clips or rubber bands to hold the phone together until the adhesive sets.
❓ FAQ (Frequently Asked Questions)
Q1: Do I need to replace all cameras at once?
No, you can replace only the faulty camera module.
Q2: Why is my camera showing a black screen?
This usually indicates a faulty or disconnected camera module.
Q3: Is this repair difficult?
It’s moderately difficult but manageable with careful handling.
Q4: Do I need special tools?
Basic mobile repair tools are enough.
Q5: Will this fix blurry photos?
Yes, if the issue is caused by a damaged camera module.
🔧 Troubleshooting
Q1: Camera not working after replacement
Check all connectors and ensure they are properly seated.
Q2: Camera app crashing
Restart the phone and recheck camera connections.
Q3: Blurry images after replacement
Ensure the camera lens is clean and properly installed.
Q4: Phone not turning on
Verify the battery connector is properly connected.
Q5: Back cover not sticking
Use new adhesive or B7000 glue and secure with clips.
📌 Final Thoughts
Replacing the front and rear cameras on the Motorola Moto G Stylus (2020) can restore full photo and video functionality.
Take your time, follow each step carefully, and you’ll get professional results at home.
Let us know if you have any questions, and don’t forget to share your repair experience
Related Guides