Now Reading: Motorola Moto G Stylus 5G XT2131 Front & Rear Camera Replacement Guide
-
01
Motorola Moto G Stylus 5G XT2131 Front & Rear Camera Replacement Guide

Motorola Moto G Stylus 5G XT2131 Front & Rear Camera Replacement Guide
Hi everyone, welcome back to Geardo 👋
Today, we will show you how to replace the not working front and rear cameras on your Motorola Moto G Stylus 5G. If your camera is blurry, not opening, or completely dead, this guide will help you fix it step by step.
This repair involves removing the logic board and multiple camera modules, but don’t worry—we’ll guide you carefully through each step.
🔧 Repair Overview
- Device Type: Smartphone
- Device Model: Motorola Moto G Stylus 5G
- Repair Type: Front & Rear Camera Replacement
⭐ Repair Difficulty :★★★★★★★☆☆☆ (7/10 – Moderately Advanced)
⏱️ Time Required – 60 – 90 minutes
🔍 Reasons for Camera Replacement
- Camera not opening or crashing
- Blurry or out-of-focus images
- Black screen when opening camera
- Physical damage to camera lens/module
- Dust or moisture inside the camera
Check The Latest Motorola Phones are in Clearance “up to 60% off” – https://amzn.to/480ho0w
Before You Begin
Compatibility and Model Numbers
- Motorola Moto Stylus 5G (2021)
Model Numbers | XT2131, XT2131DL, XT2131-1, XT2131-3, XT2131-4
Tools Required
- Mobile phone heating pad or hairdryer/heat gun
- Plastic pry tool / card pry
- Suction cups
- Phillips #00/#000 screwdrivers
- Torx T3 / T4 / T5 Screwdriver (Depends on the version)
- Flathead Screwdriver
- Tweezers (for connectors)
- B7000 glue or double-sided adhesive (for back cover)
- Rubber bands or bonding clips to secure the back cover
Using proper tools reduces the risk of damaging the phone.
How to Find Tools and Parts
- Heating pad – https://amzn.to/3H0tHzJ
- Portable Heat Gun – https://amzn.to/4mszih1
- Clamps https://amzn.to/3GYJT4w
- STREBITO 142 Piece Repair Tool Kit https://amzn.to/3UO1jUx
- Glue | Adhesive https://amzn.to/46exVxe
- Compatible Parts –
- Battery – https://amzn.to/46u7VNl
- Screen – https://amzn.to/47LQSbS
- Other Parts – https://amzn.to/3Vp6SZX
- Silicone Work Repair Mat https://amzn.to/45Emz5l
Step-by-Step Camera Replacement Guide
Step 1: Remove the Back Cover
Heat around the back cover edges to soften adhesive.
Use a suction cup and plastic pry tool to carefully separate the back cover.
Lift it gently while holding the fingerprint button.
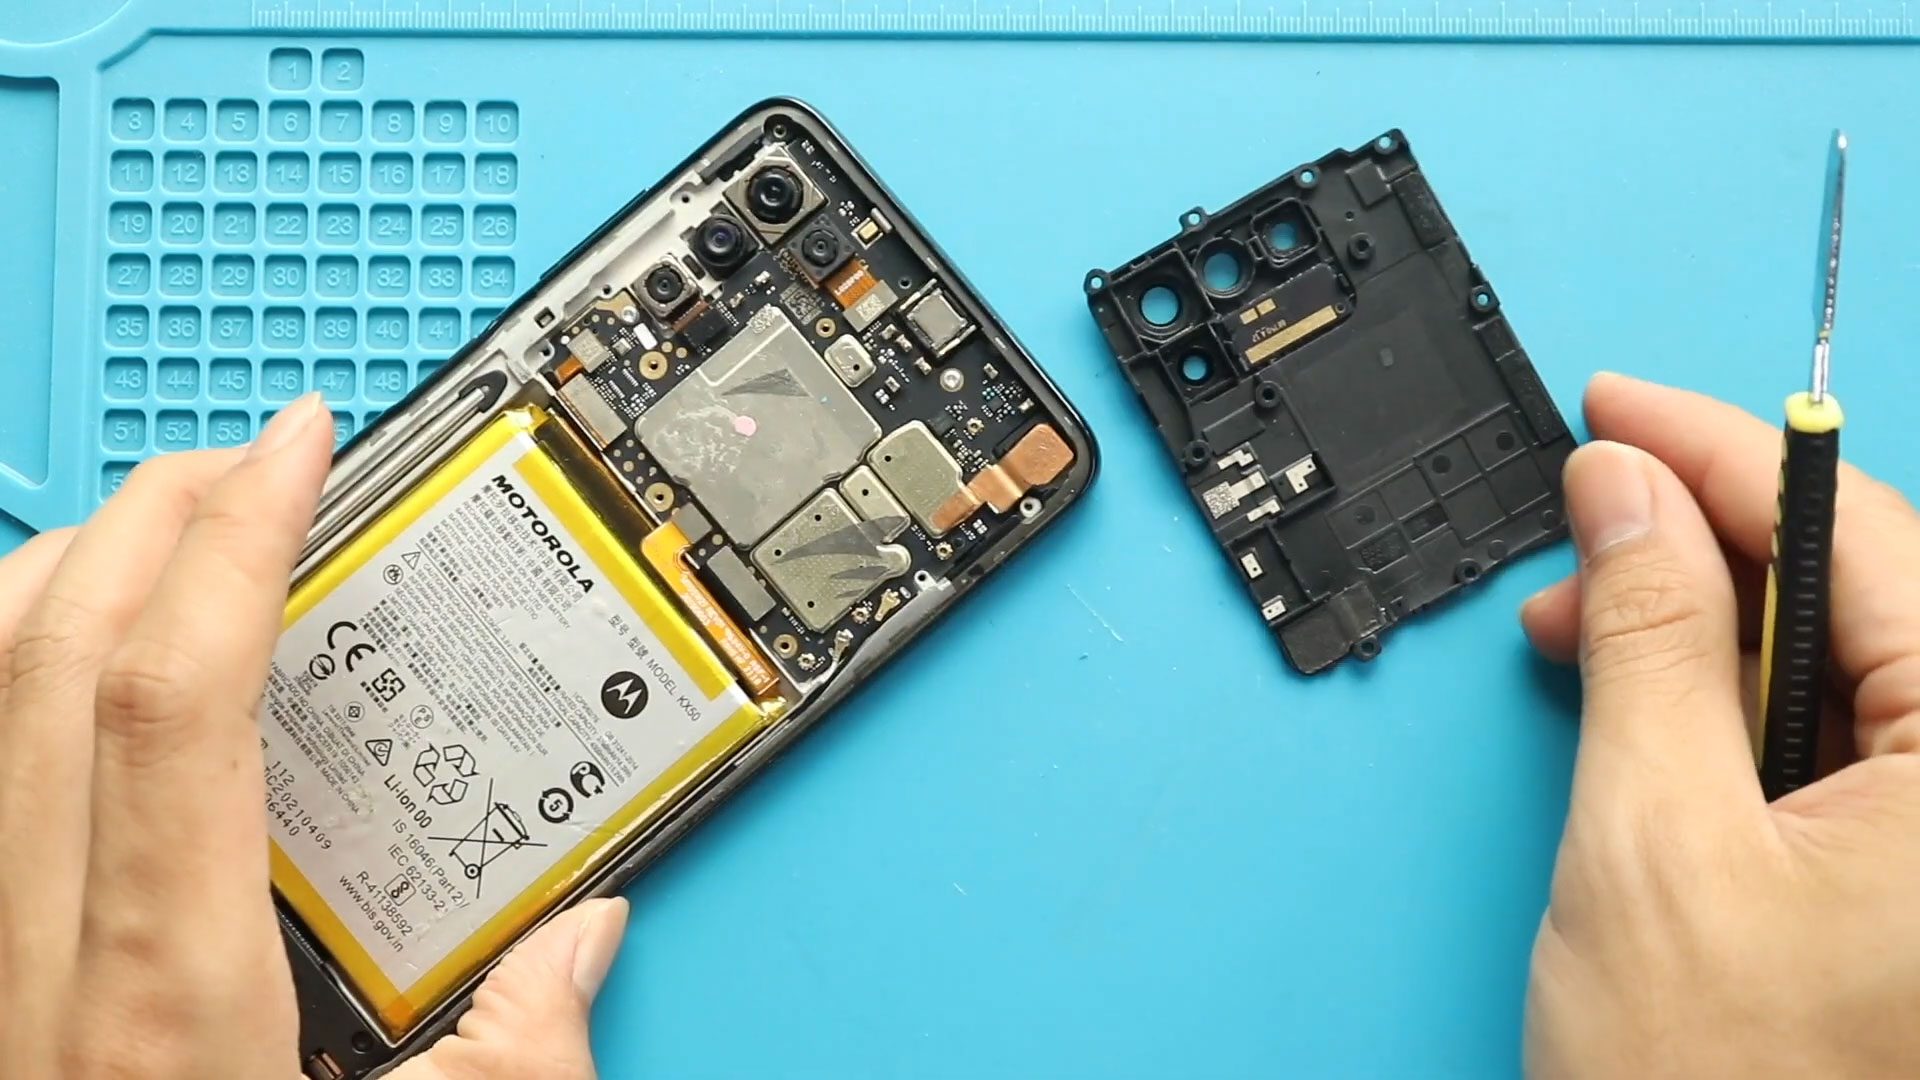
Step 2: Remove the Logic Board Frame
Unscrew the eight screws and remove the top frame with the camera lens housing.
Step 3: Disconnect the Battery
Move the fingerprint button and disconnect the battery connector for safety.
Step 4: Remove Front & Small Cameras
Disconnect and remove:
- Front camera (top right)
- Macro camera
- Depth camera
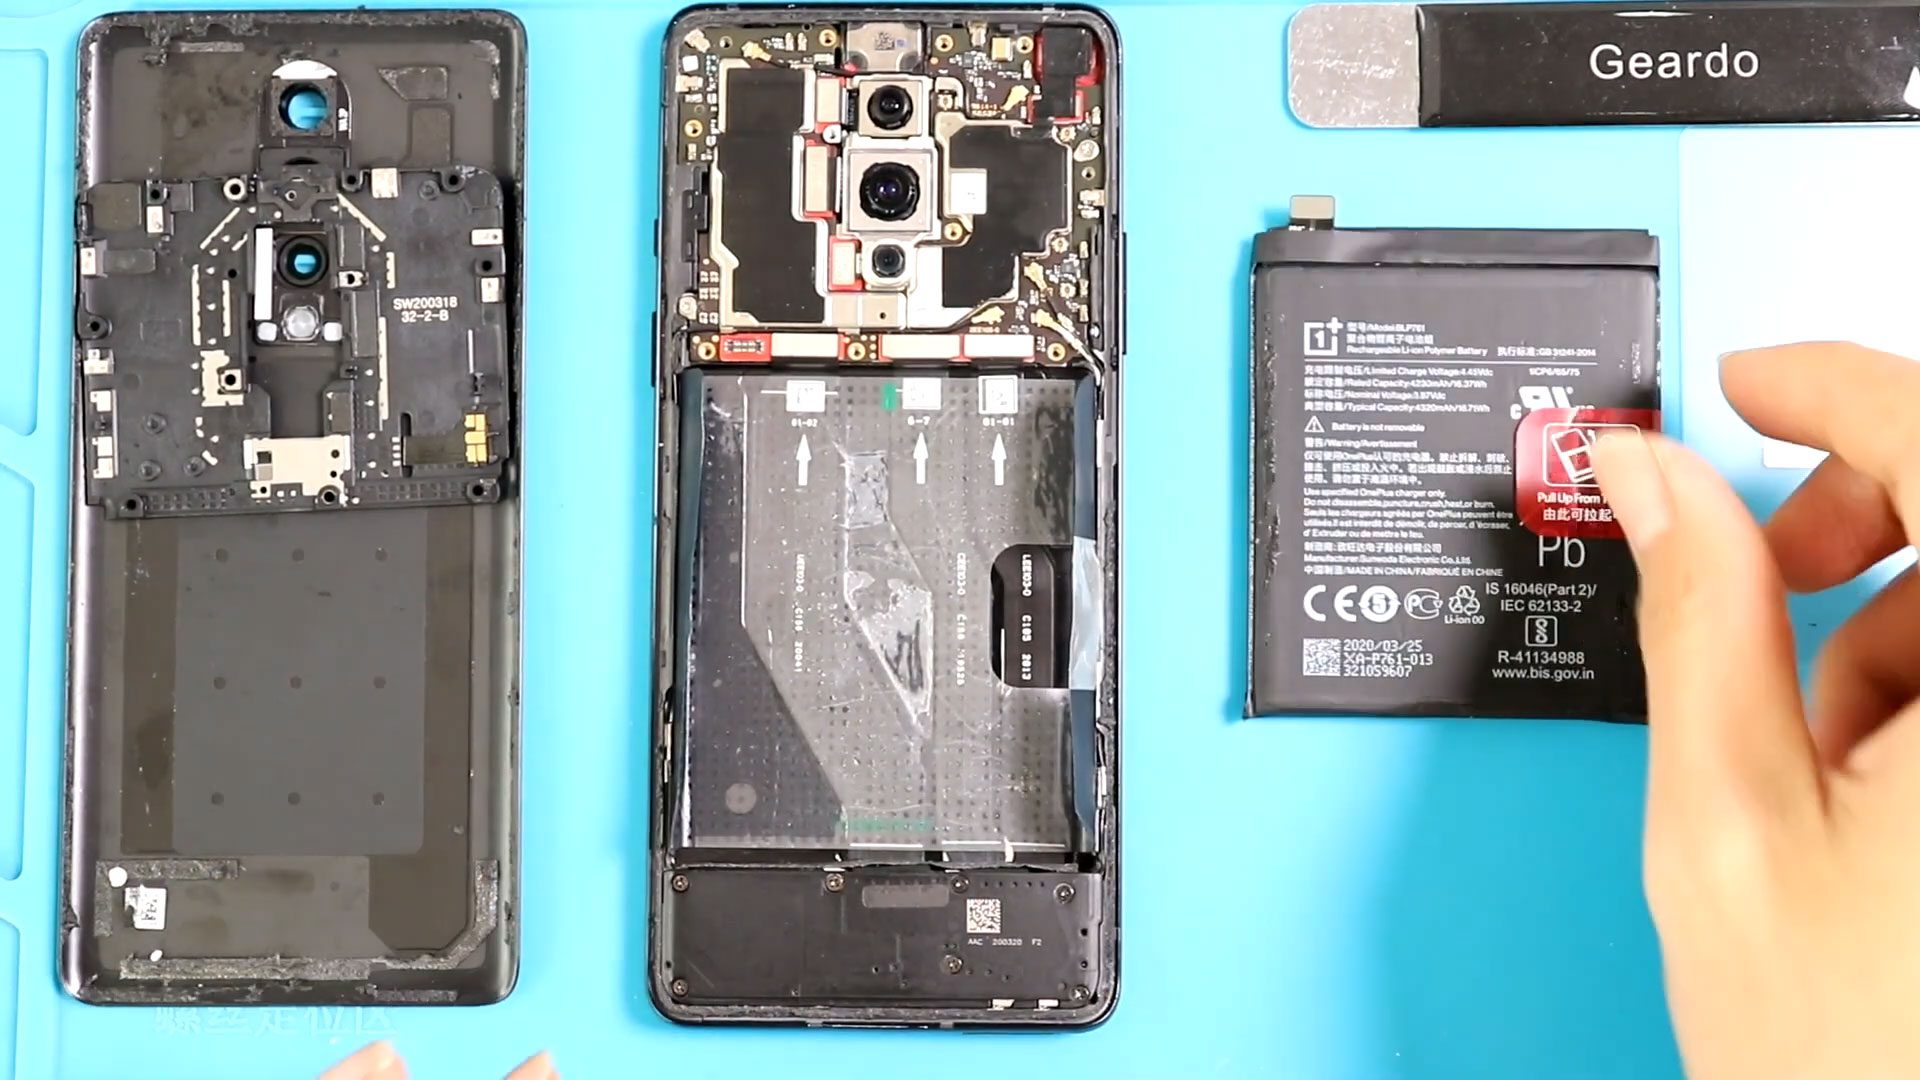
Step 5: Remove the Logic Board
To access the main cameras:
- Disconnect fingerprint flex cable
- Remove SIM tray
- Lift graphite tape on battery
- Disconnect two connectors and two antenna cables
- Remove the screw holding the board
Gently lift the logic board from the side.
Step 6: Replace Wide & Ultrawide Cameras
The main cameras are located on the back of the board.
- Disconnect and remove the wide and ultrawide cameras
- Install the new camera modules
Step 7: Reinstall the Logic Board
- Place the board back carefully (slide from front)
- Secure it with the screw
- Reinsert SIM tray
- Reconnect all connectors and antenna cables
- Reapply graphite tape
- Reconnect fingerprint module
Step 8: Install Remaining Cameras
- Install macro and depth cameras
- Install front camera
Step 9: Reconnect Battery & Close Device
- Reconnect battery connector
- Reinstall board frame and tighten screws
Before closing:
Ensure proper adhesive is applied. Use B7000 glue or new adhesive if needed.
Press the back cover firmly and use clips or rubber bands to hold it in place.
❓ Frequently Asked Questions (FAQ)
1. Do I need to replace all cameras if only one is faulty?
No, you can replace only the defective camera module.
2. Why is my camera still blurry after replacement?
Check if:
- Protective film is removed
- Lens is clean
- Camera is properly seated
3. Is this repair safe for beginners?
It’s moderately advanced. Beginners can do it, but patience and careful handling are essential.
4. Can I damage the phone while removing the logic board?
Yes, improper handling can damage connectors. Always lift gently and disconnect cables first.
5. Do I need adhesive when closing the phone?
Yes, proper sealing is important to keep dust and moisture out.
🛠️ Troubleshooting (Q&A Format)
1. Camera not detected after replacement
- Recheck all camera connectors
- Ensure proper alignment
- Restart the phone
2. Phone not turning on
- Check battery connection
- Ensure no connectors are loose
- Charge device for a few minutes
3. No signal or network issues
- Reconnect antenna cables properly
- Check SIM tray placement
4. Fingerprint sensor not working
- Reconnect fingerprint flex cable
- Ensure it is not damaged
5. Back cover not sticking properly
- Use fresh adhesive or B7000 glue
- Apply pressure using clips or rubber bands
✅ Final Thoughts
You’ve now learned how to replace the front and rear cameras on your Motorola Moto G Stylus 5G 🎉
Take your time, follow each step carefully, and you’ll successfully restore your phone’s camera performance. If something doesn’t work right away, go through the troubleshooting section and double-check connections.
If this guide helped you, feel free to share it and help others fix their devices 👍
Related Guides
Other Moto G Stylus 5G Repair Guides