Now Reading: Motorola Moto One 5G ACE LCD Touch Screen Replacement Guide
-
01
Motorola Moto One 5G ACE LCD Touch Screen Replacement Guide
Motorola Moto One 5G ACE LCD Touch Screen Replacement Guide
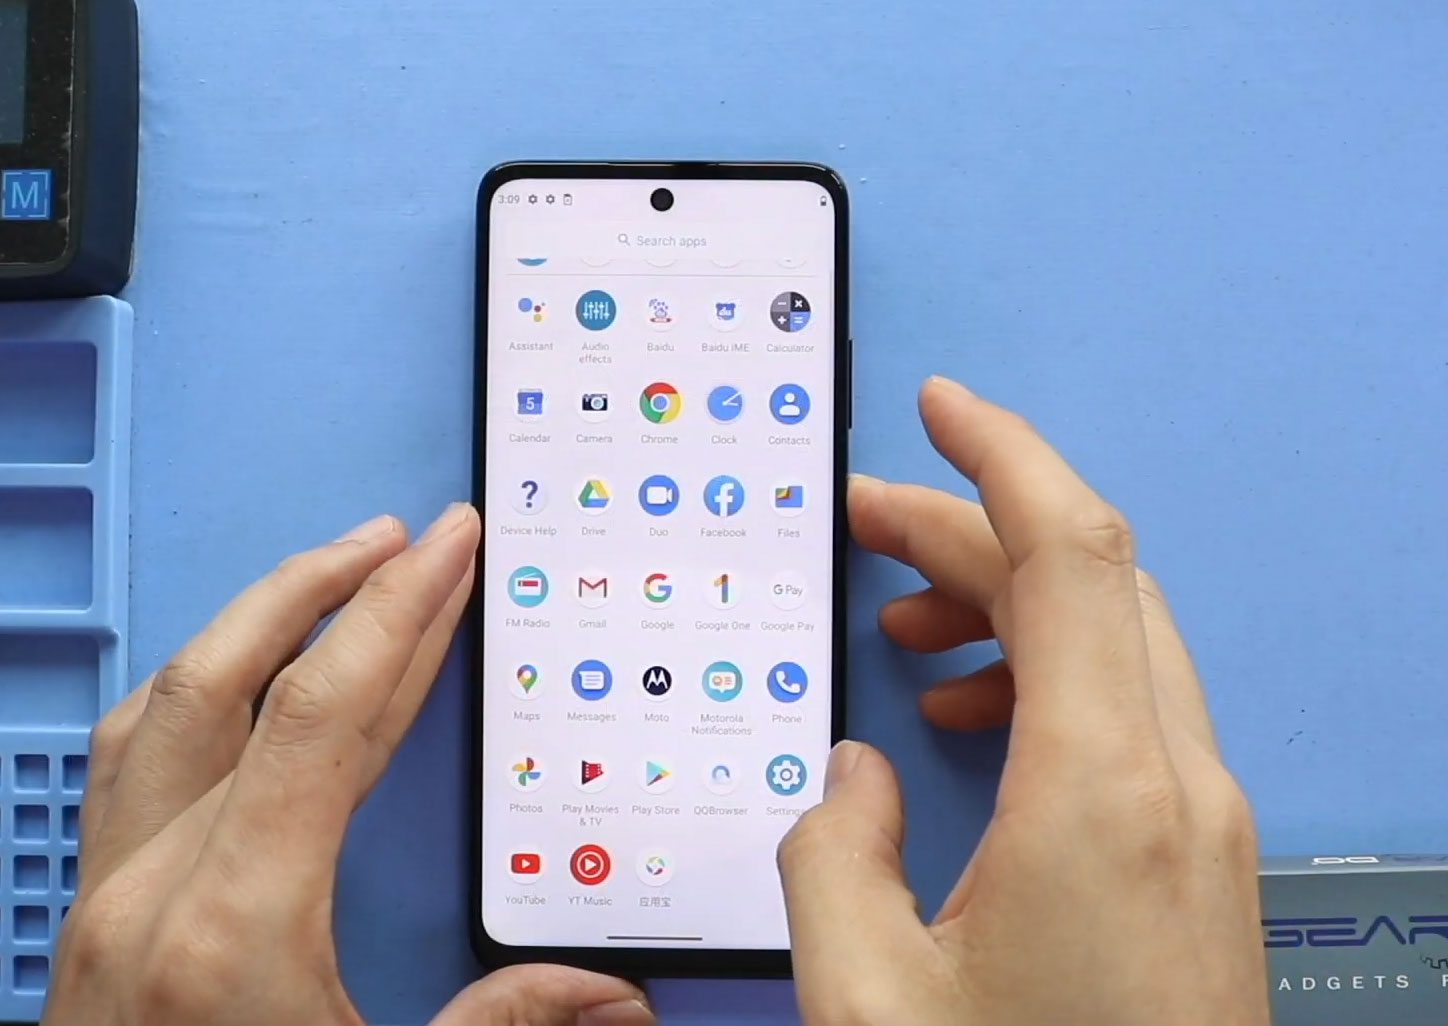
Welcome back to Geardo. In this repair guide, we will show you how to replace the screen assembly on the Motorola Moto One 5G Ace smartphone.
If your display is cracked, unresponsive, flickering, showing black spots, or not turning on, replacing the screen assembly can restore the phone’s functionality and appearance.
This beginner-friendly Google index repair guide includes step-by-step instructions, repair difficulty, estimated repair time, recommended replacement options, FAQs, and troubleshooting tips to help you safely complete the repair at home.
For this repair, using a screen assembly with the frame pre-installed is highly recommended because it simplifies the repair process and reduces the risk of damaging components during installation.
Repair Information
| Repair Detail | Information |
|---|---|
| Device Type | Smartphone |
| Device Model | Motorola Moto One 5G Ace |
| Repair Type | LCD Screen & Touchscreen Assembly Replacement |
| Repair Difficulty | ⭐⭐⭐⭐☆ |
| Estimated Repair Time | 90–12 Minutes |
Reasons for Screen Replacement
You may need to replace the Motorola Moto One 5G Ace screen if you notice any of the following issues:
- Cracked or shattered display
- Touchscreen not responding
- Black screen or no display
- Screen flickering issues
- Dead pixels or colored lines
- LCD bleeding or black spots
- Water or impact damage
Replacing the display assembly can restore touch functionality, screen clarity, and overall usability.
Check The Latest Motorola Phones are in Clearance “up to 60% off” – https://amzn.to/480ho0w
Before You Begin
Compatibility and Model Numbers
- Motorola Moto One 5G Ace
- Motorola Moto One 5G
Model Numbers | XT2113-2, XT2113-5
Tools Required
- Mobile phone heating pad or hairdryer/heat gun
- Plastic pry tool / card pry
- Suction cups
- Phillips #00/#000 screwdrivers
- Torx T3 / T4 / T5 Screwdriver (Depends on the version)
- Flathead Screwdriver
- Tweezers (for connectors)
- B7000 glue or double-sided adhesive (for back cover)
- Rubber bands or bonding clips to secure the back cover
Using proper tools reduces the risk of damaging the phone.
How to Find Tools and Parts
- Heating pad – https://amzn.to/3H0tHzJ
- Portable Heat Gun – https://amzn.to/4mszih1
- Clamps https://amzn.to/3GYJT4w
- STREBITO 142 Piece Repair Tool Kit https://amzn.to/3UO1jUx
- Glue | Adhesive https://amzn.to/46exVxe
- Compatible Parts –
- Battery – https://amzn.to/4nBrXMC
- Screen – https://amzn.to/46cWGtR
- Other Parts – https://amzn.to/4nFxjqp
- Silicone Work Repair Mat https://amzn.to/45Emz5l
How to Replace Motorola Moto One 5G Ace Screen Assembly
Step 1 – Power Off the Phone
Turn off the Motorola Moto One 5G Ace completely before starting the repair.
Remove the SIM tray from the phone.
Step 2 – Heat the Back Cover
The back cover is secured with adhesive.
Gently heat around the edges of the back cover until the adhesive softens.
You can use a heating pad, heat gun, or hair dryer.
Avoid overheating the phone.
Step 3 – Remove the Back Cover
Use a suction cup to create a small opening between the back cover and frame.
Insert a plastic pry tool or opening card into the gap and carefully cut through the adhesive around the edges.
Apply additional heat if needed.
Step 4 – Disconnect the Fingerprint Sensor
Apply gentle heat around the fingerprint sensor area to soften the adhesive.
Carefully lift the back cover while guiding the fingerprint sensor through the frame.
Be careful not to damage the fingerprint flex cable.
Step 5 – Remove the Board Frame
Undo the ten screws securing the board frame.
Carefully remove the frame from the device.
Keep the screws organized for reassembly.
Step 6 – Disconnect the Battery
Lift the graphite tape covering the battery connector.
Use a plastic pry tool to disconnect the battery plug from the motherboard.
Step 7 – Remove the Battery
Apply gentle heat underneath the battery to soften the adhesive.
Release the black pull tape at the bottom of the battery.
Using a plastic pry tool, carefully cut through the adhesive underneath the battery.
Gently lift and remove the battery from the phone.
Avoid bending or puncturing the battery.
Step 8 – Disconnect Internal Components
Disconnect the following components from the motherboard:
- LCD connector
- Main flex connector
- Two antenna connectors
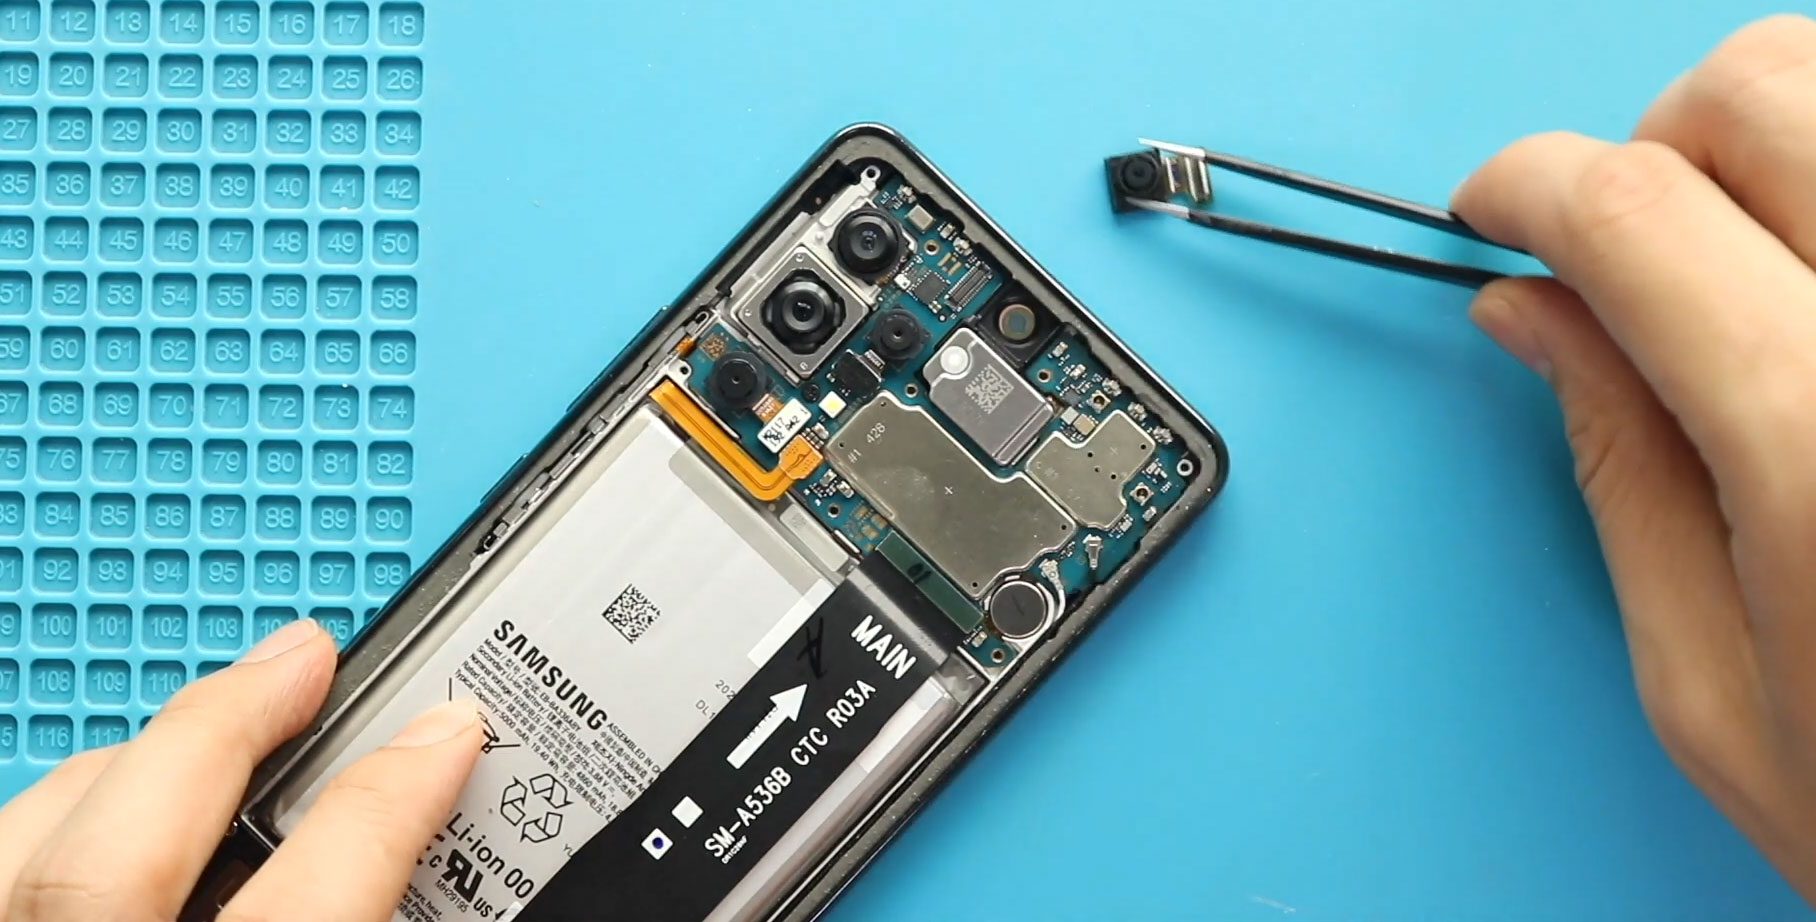
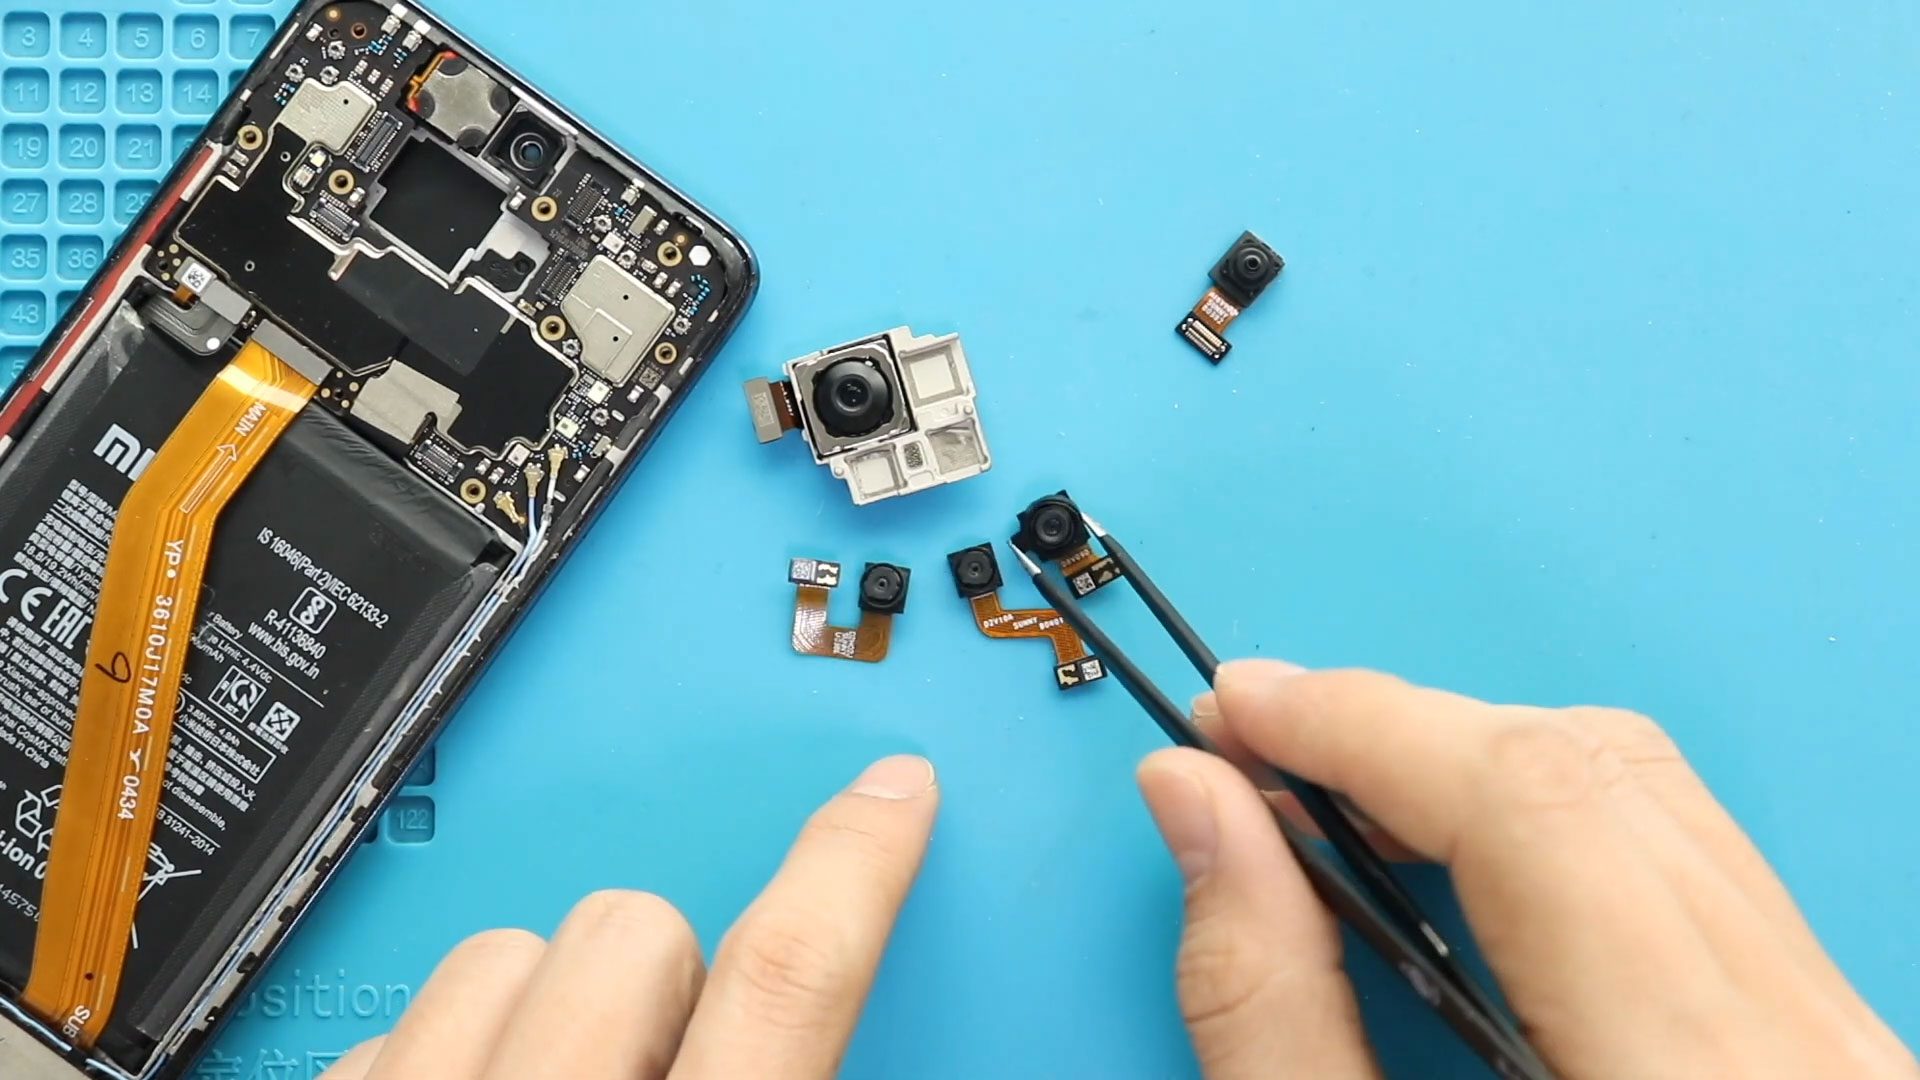
Release the front and rear camera modules from the bracket.
Remove the SIM tray.
Step 9 – Remove the Logic Board
Undo the two screws securing the logic board.
Using a plastic pry tool, gently lift and remove the logic board from the frame.
Take care not to damage nearby flex cables or connectors.
Step 10 – Remove Additional Components
Apply heat and remove the earpiece speaker.
Next, remove the speaker cover by undoing six screws.
Undo the screw securing the charging port board.
Disconnect the main ribbon cable and two antenna cables.
Carefully remove the charging port and headphone jack board.
Apply heat and remove the vibrator motor.
At this stage, only the damaged screen assembly with the frame and buttons remains.
Step 11 – Transfer Components to the New Screen Frame
Begin installing the removed parts onto the new screen frame.
First, place the logic board into the frame.
Ensure the camera modules align properly.
Secure the board using the two screws and reinstall the SIM tray.
Step 12 – Reinstall Internal Components
Reconnect the LCD connector and install the earpiece speaker.
Install the vibrator motor.
Place the charging port board into position and secure it using the screw.
Reconnect the main flex cable to the motherboard.
Reconnect both antenna connectors.
Step 13 – Reinstall the Speaker Cover
Place the speaker cover back onto the device.
Reinstall and tighten all six screws securely.
Step 14 – Install the Battery
Apply fresh battery adhesive inside the battery compartment.
Place the battery into position.
Secure the battery tape and reconnect the battery connector.
Step 15 – Reinstall the Board Frame
Place the board frame back onto the phone.
Reinstall and tighten all ten screws securely.
Ensure the fingerprint sensor is correctly aligned before continuing.
Step 16 – Test the Phone Before Sealing
Before closing the phone completely, power on the device and test:
- Display functionality
- Touchscreen response
- Cameras
- Charging
- Speaker and microphone
- Fingerprint sensor
This helps confirm that all components are working correctly before sealing the back cover.
Step 17 – Reattach the Back Cover
Before reinstalling the back cover, check the adhesive around the edges.
If needed, apply B7000 glue or install new double-sided adhesive tape.
Press the back cover firmly into place.
Use bonding clips or rubber bands to secure the device while the adhesive cures.
Leave the phone secured for some time for the best seal.
Frequently Asked Questions (FAQ)
Why is my Motorola Moto One 5G Ace screen black but the phone still works?
This usually indicates LCD damage caused by impact, pressure, or internal display failure.
Should I buy a screen with frame or without frame?
A screen with the frame pre-installed is highly recommended because the repair is easier and safer.
Can I reuse the old battery adhesive?
It is better to use fresh battery adhesive to ensure proper battery placement and safety.
Is this repair beginner-friendly?
This repair has medium-to-high difficulty because it requires transferring multiple internal components.
Will replacing the screen fix touchscreen issues?
Yes. Replacing a damaged screen assembly usually restores normal touchscreen functionality.
Troubleshooting After Screen Replacement
Screen does not turn on
Check whether the LCD connector is properly connected to the motherboard.
Also verify the battery connector connection.
Touchscreen is not responding
Reconnect the display flex cable and restart the device.
Fingerprint sensor is not working
Ensure the fingerprint sensor flex cable is properly aligned and secured during reassembly.
No sound from the earpiece speaker
Check the earpiece placement and ensure the contacts align correctly.
Phone does not charge after repair
Verify the charging board and main flex cable connections.
Final Words
The Motorola Moto One 5G Ace screen replacement is a useful repair that can restore the display, touchscreen functionality, and overall usability of your smartphone.
Using a replacement screen assembly with the frame installed makes the repair process much easier and reduces installation risks.
By carefully following this beginner-friendly repair guide, you can safely complete the repair at home using proper tools and patience.
If you found this repair guide helpful, feel free to share it and let us know if you have any questions about the repair process.
Related Guides