Now Reading: OnePlus Nord N10 5G Earpiece Replacement Guide – DIY Repair
-
01
OnePlus Nord N10 5G Earpiece Replacement Guide – DIY Repair

OnePlus Nord N10 5G Earpiece Replacement Guide – DIY Repair
f you cannot hear calls clearly on your OnePlus Nord N10 5G, the earpiece speaker may be damaged or clogged with dust. The earpiece is the small speaker located at the top of the phone that allows you to hear the other person during calls.
In this beginner-friendly repair guide, we will show you how to replace the earpiece speaker on the OnePlus Nord N10 5G step by step. This repair requires removing the back cover and internal components to access the earpiece module.
With the right tools and careful handling, you can successfully complete this repair at home and restore clear call audio.
✅ Protect Your Oneplus Nord N10 5G
- Protector For The Screen https://amzn.to/468xSlq
- Best Rated Case https://amzn.to/468xSlq
Repair Overview
Device: OnePlus Nord N10 5G
Type of Repair: Battery Replacement
Repair Difficulty: ⭐ ⭐ ⭐ ☆ ☆ (Moderate)
Estimated Time Required: 30–45 minutes
Reasons for Earpiece Replacement
You may need to replace the earpiece if you notice the following issues:
- Cannot hear callers during phone calls
- Very low call volume even at maximum settings
- Distorted or crackling sound from the top speaker
- Dust or moisture damage affecting the earpiece
- No sound unless using speakerphone or headphones
Replacing the faulty earpiece speaker will restore normal call audio quality.
Before You Begin
Compatibility and Model Numbers
- Oneplus Nord N10 5G
This repair guide based on OnePlus 8T
Model Numbers | BE2029, BE2025, BE2026, BE2028
Tools Required
- Mobile phone heating pad or hairdryer/heat gun
- Plastic pry tool / card pry
- Suction cups
- Phillips #00/#000 screwdrivers
- Torx T3 / T4 Screwdriver (Depends on the region)
- Flathead Screwdriver
- Tweezers (for connectors)
- B7000 glue or double-sided adhesive (for back cover)
- Rubber bands or bonding clips to secure the back cover
Using proper tools reduces the risk of damaging the phone.
How to Find Tools and Parts
- Heating pad – https://amzn.to/3H0tHzJ
- Portable Heat Gun – https://amzn.to/4mszih1
- Clamps https://amzn.to/3GYJT4w
- STREBITO 142 Piece Repair Tool Kit https://amzn.to/3UO1jUx
- Glue | Adhesive https://amzn.to/46exVxe
- Compatible Parts –
- Battery – https://amzn.to/45YFckS
- Screen – https://amzn.to/4p7sEyW
- Other Parts – https://amzn.to/4m2r6n3
- Silicone Work Repair Mat https://amzn.to/45Emz5l
OnePlus Nord N10 5G Earpiece Replacement – Step-by-Step Guide
Step 1: Open the Device
Start by powering off the phone.
You will need to remove the back cover to access the internal components.
Step 2: Remove the Back Cover
The back cover is attached using adhesive.
Heat gently around the edges of the back cover until the adhesive softens.
You can use:
- Heating pad
- Heat gun
- Hairdryer
Place a suction cup on the back cover and gently lift to create a gap.
Insert a plastic pry tool and carefully slide it around the edges to cut the adhesive.
Step 3: Remove the Camera Lens Glass
Remove the four screws securing the camera lens frame.
Lift the camera lens frame from the device.
Step 4: Remove the Mid Frame
Remove the 11 screws located at the top and bottom areas.
Using a plastic pry tool, carefully separate the mid-frame from the phone body.
Work around the edges to release the plastic clips.
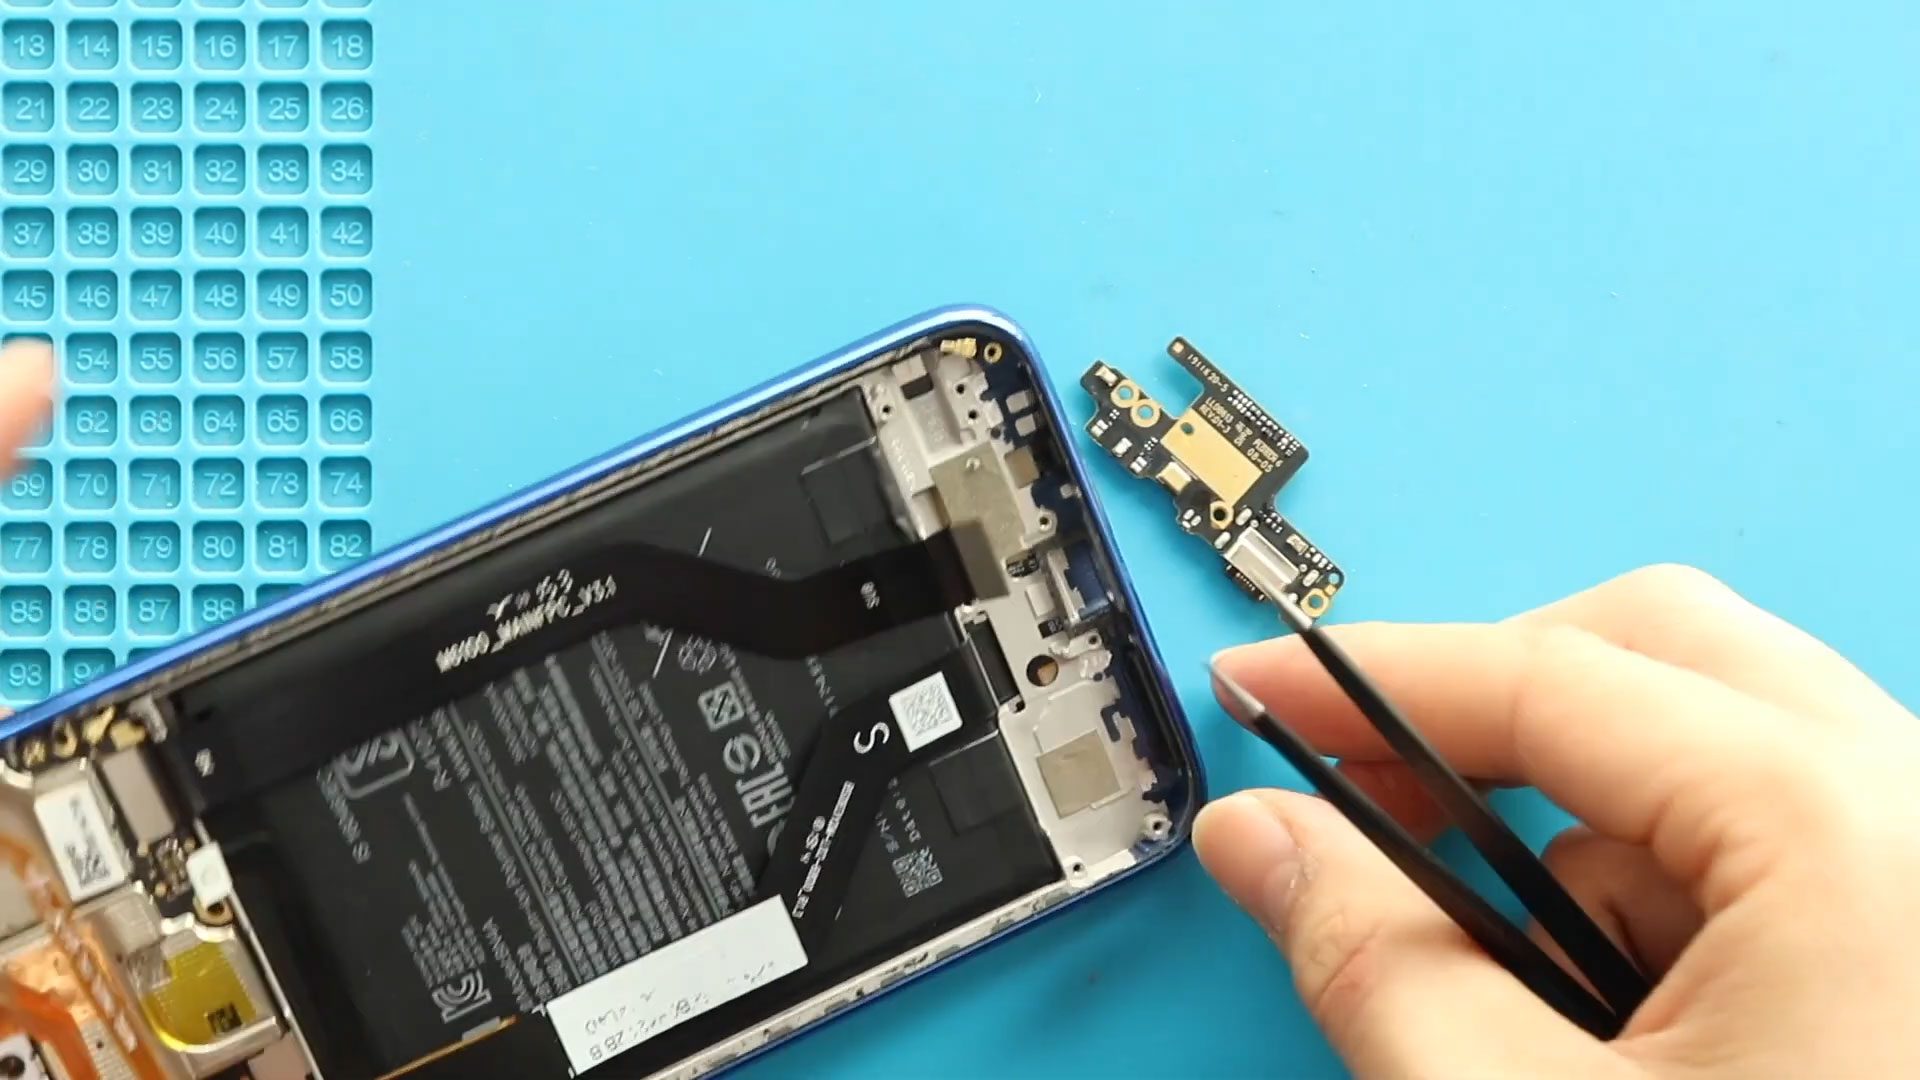
Step 5: Remove the Logic Board
Disconnect the battery connector first to prevent electrical damage.
Carefully remove any connectors attached to the logic board.
Remove the screw securing the board and gently lift the logic board from the device.
Step 6: Remove the Faulty Earpiece
Locate the earpiece speaker at the top of the device.
Apply gentle heat to soften the adhesive holding the earpiece.
Use tweezers to carefully lift and remove the faulty earpiece.
Step 7: Install the New Earpiece
Place the new earpiece speaker in the correct position.
Ensure it sits properly and aligns with the speaker contacts.
Press it gently so the adhesive holds it in place.
Step 8: Reinstall the Logic Board
Place the logic board back into position.
Secure it with the screw and reconnect all connectors.
Step 9: Reinstall the Mid Frame
Align the mid-frame with the phone body and press it into place until the clips snap in.
Reinstall the 11 screws to secure the frame.
Step 10: Reinstall the Camera Lens Frame
Place the camera lens frame back over the camera module.
Secure it with the four screws removed earlier.
Step 11: Close the Device
Before installing the back cover, check if the adhesive is still strong.
If necessary, apply B7000 glue or install new double-sided adhesive.
Place the back cover and press around the edges.
You can use rubber bands or clamps for a short time to ensure the adhesive bonds properly.
Frequently Asked Questions (FAQ)
Q1: Can I replace the OnePlus Nord N10 5G earpiece myself?
Yes. This repair is possible for beginners if you follow the steps carefully and use the correct tools.
Q2: How long does the earpiece replacement take?
The repair usually takes 30 to 45 minutes depending on your experience.
Q3: Why can’t I hear calls on my phone?
This may happen due to a damaged earpiece speaker, dust buildup, or loose internal connections.
Q4: Do I need to replace the entire speaker module?
No. Only the earpiece speaker needs to be replaced if it is faulty.
Q5: Will replacing the earpiece fix low call volume?
Yes. If the problem is caused by a faulty speaker, replacing it will restore normal call volume.
Troubleshooting After Earpiece Replacement
Q1: I still cannot hear calls
Check if the earpiece connector is properly aligned with the logic board contacts.
Q2: Sound is very low
Make sure the earpiece speaker mesh is not blocked and the module is seated correctly.
Q3: Phone does not power on after repair
Verify that the battery connector is securely attached to the logic board.
Q4: Back cover does not stick properly
Clean off the old adhesive and apply B7000 glue or new adhesive strips.
Related Guides
More Oneplus Nord N10 5G Repair Guides