Now Reading: OnePlus Nord N100 Fingerprint Sensor Replacement Guide | DIY Repair
-
01
OnePlus Nord N100 Fingerprint Sensor Replacement Guide | DIY Repair

OnePlus Nord N100 Fingerprint Sensor Replacement Guide | DIY Repair
If your OnePlus Nord N100 fingerprint sensor is not responding, slow, or completely non-functional, replacing the fingerprint sensor can restore secure unlocking and other sensor-dependent functions.
This step-by-step guide from Geardo explains how to safely replace the fingerprint sensor, including all necessary tools, tips, and troubleshooting steps. Even though it’s a moderate-level repair, careful handling ensures no damage to your device.
Repair Overview
Device Type: Smartphone
Repair Type: Fingerprint Sensor Replacement
Repair Difficulty: ★★★★★★☆☆☆☆ (6/10 – Moderate)
Estimated Time: 30–45 minutes
Reasons for Fingerprint Sensor Replacement
You may need to replace your OnePlus Nord N100 fingerprint sensor if:
- Sensor does not recognize fingerprints
- Device fails to unlock via fingerprint
- Sensor is physically damaged or unresponsive
- Intermittent errors when using fingerprint authentication
Replacing the fingerprint sensor restores secure access and device functionality without replacing the entire phone.
Before You Begin
Compatibility and Model Numbers
- Oneplus Nord N100
This repair guide based on OnePlus N100
Model Numbers | BE2013, BE2015, BE2011, BE2012
Tools Required
- Mobile phone heating pad or hairdryer/heat gun
- Plastic pry tool / card pry
- Suction cups
- Phillips #00/#000 screwdrivers
- Torx T3 / T4 Screwdriver
- Flathead Screwdriver
- Tweezers (for connectors)
- B7000 glue or double-sided adhesive (for back cover)
- Rubber bands or bonding clips to secure the back cover
Using proper tools reduces the risk of damaging the phone.
How to Find Tools and Parts
- Heating pad – https://amzn.to/3H0tHzJ
- Portable Heat Gun – https://amzn.to/4mszih1
- Clamps https://amzn.to/3GYJT4w
- STREBITO 142 Piece Repair Tool Kit https://amzn.to/3UO1jUx
- Glue | Adhesive https://amzn.to/46exVxe
- Compatible Parts –
- Battery – https://amzn.to/48bXsIP
- Screen – https://amzn.to/4mbcfqK
- Other Parts – https://amzn.to/4n4zZ12
- Silicone Work Repair Mat https://amzn.to/45Emz5l
Protect Your Oneplus Nord N100
- Protector For The Screen https://amzn.to/45Vrf7c
- Best Rated Case https://amzn.to/45Vrf7c
Step-by-Step OnePlus Nord N100 Fingerprint Sensor Replacement
00:00 – Intro
Overview of the repair, required tools, and safety precautions.
Step 1. Opening Nord N100
- Power off the device completely.
- Remove the SIM tray using a SIM eject tool.
Step 2. Removing Back Cover
- Heat the edges of the back cover with a heating pad, hairdryer, or heat gun to soften the adhesive.
- Use a suction cup to lift a small gap, then insert a plastic card or pry tool to carefully separate the back cover.
- Work gently around the edges to avoid cracking.
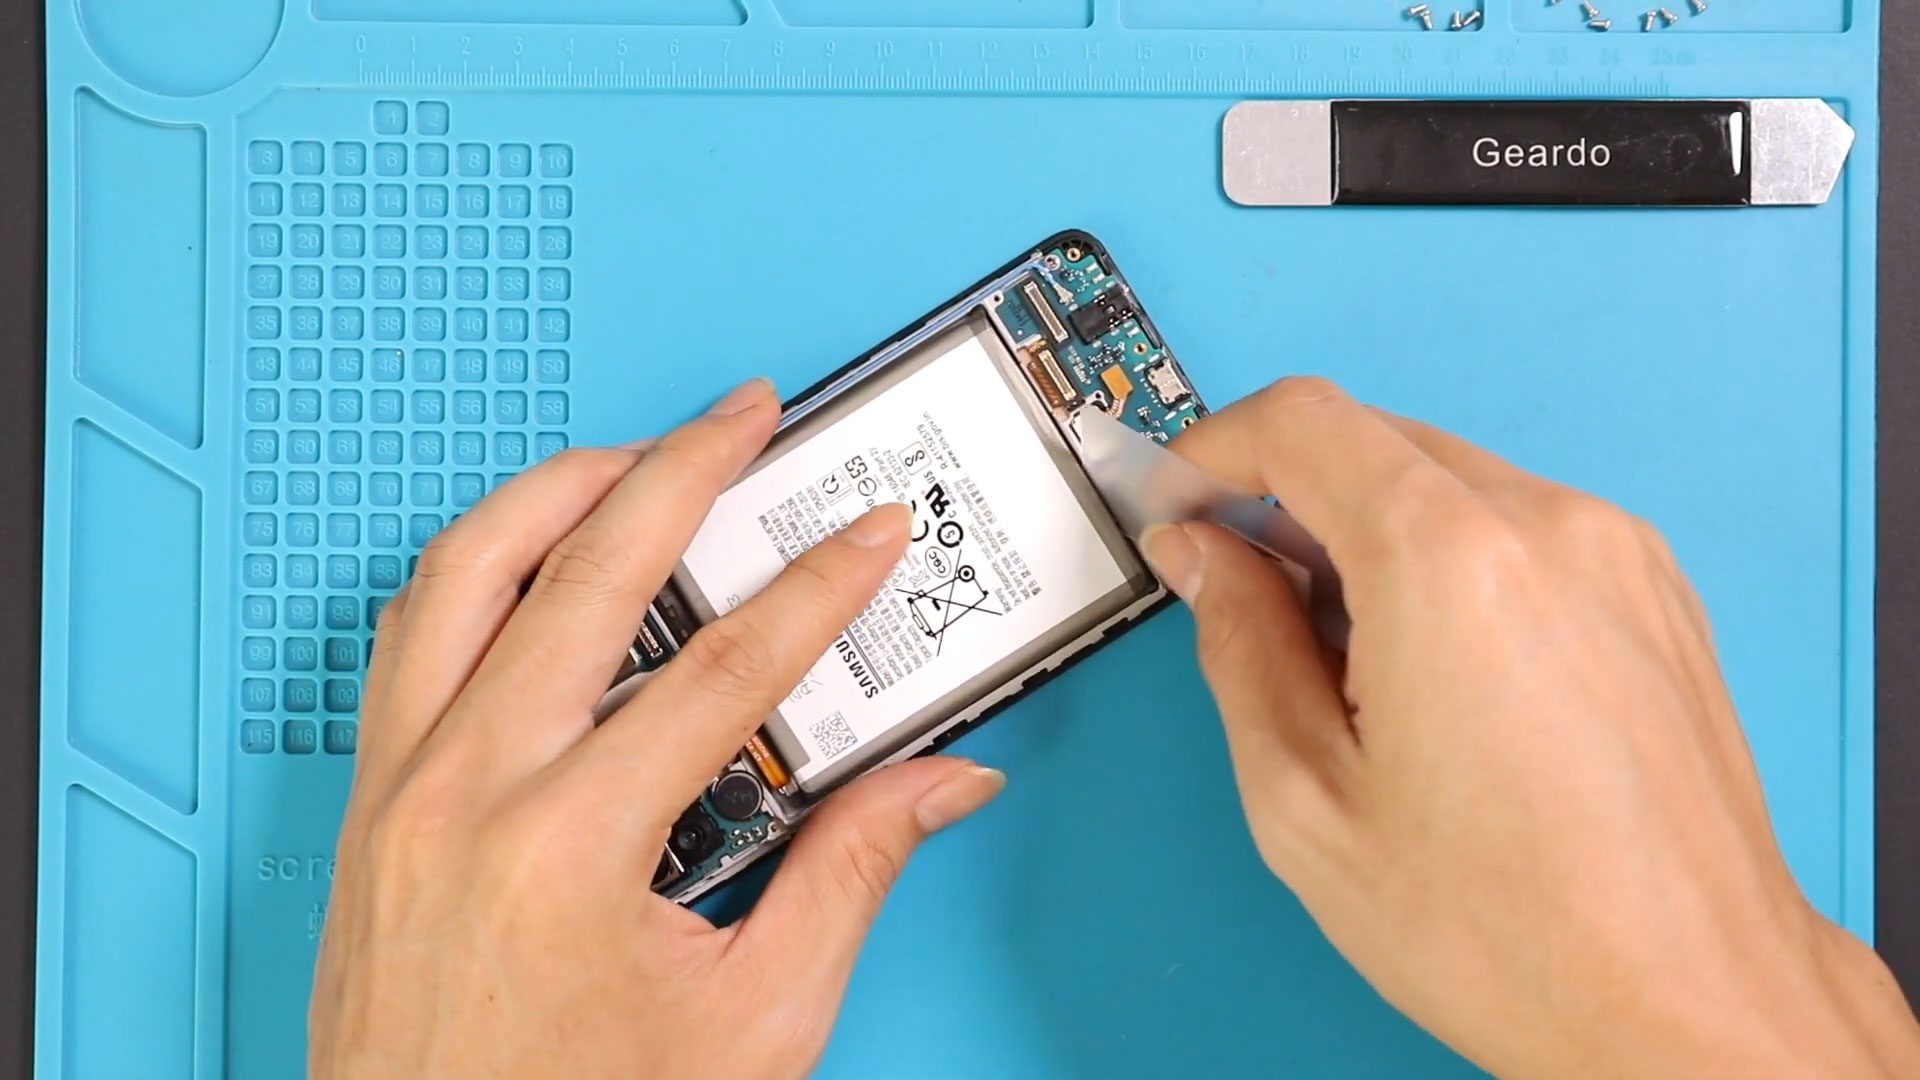
Step 3. Removing Mid-frame
- Unscrew all screws securing the mid-frame.
- Carefully pry the mid-frame loose, ensuring all clips are released without bending or breaking.
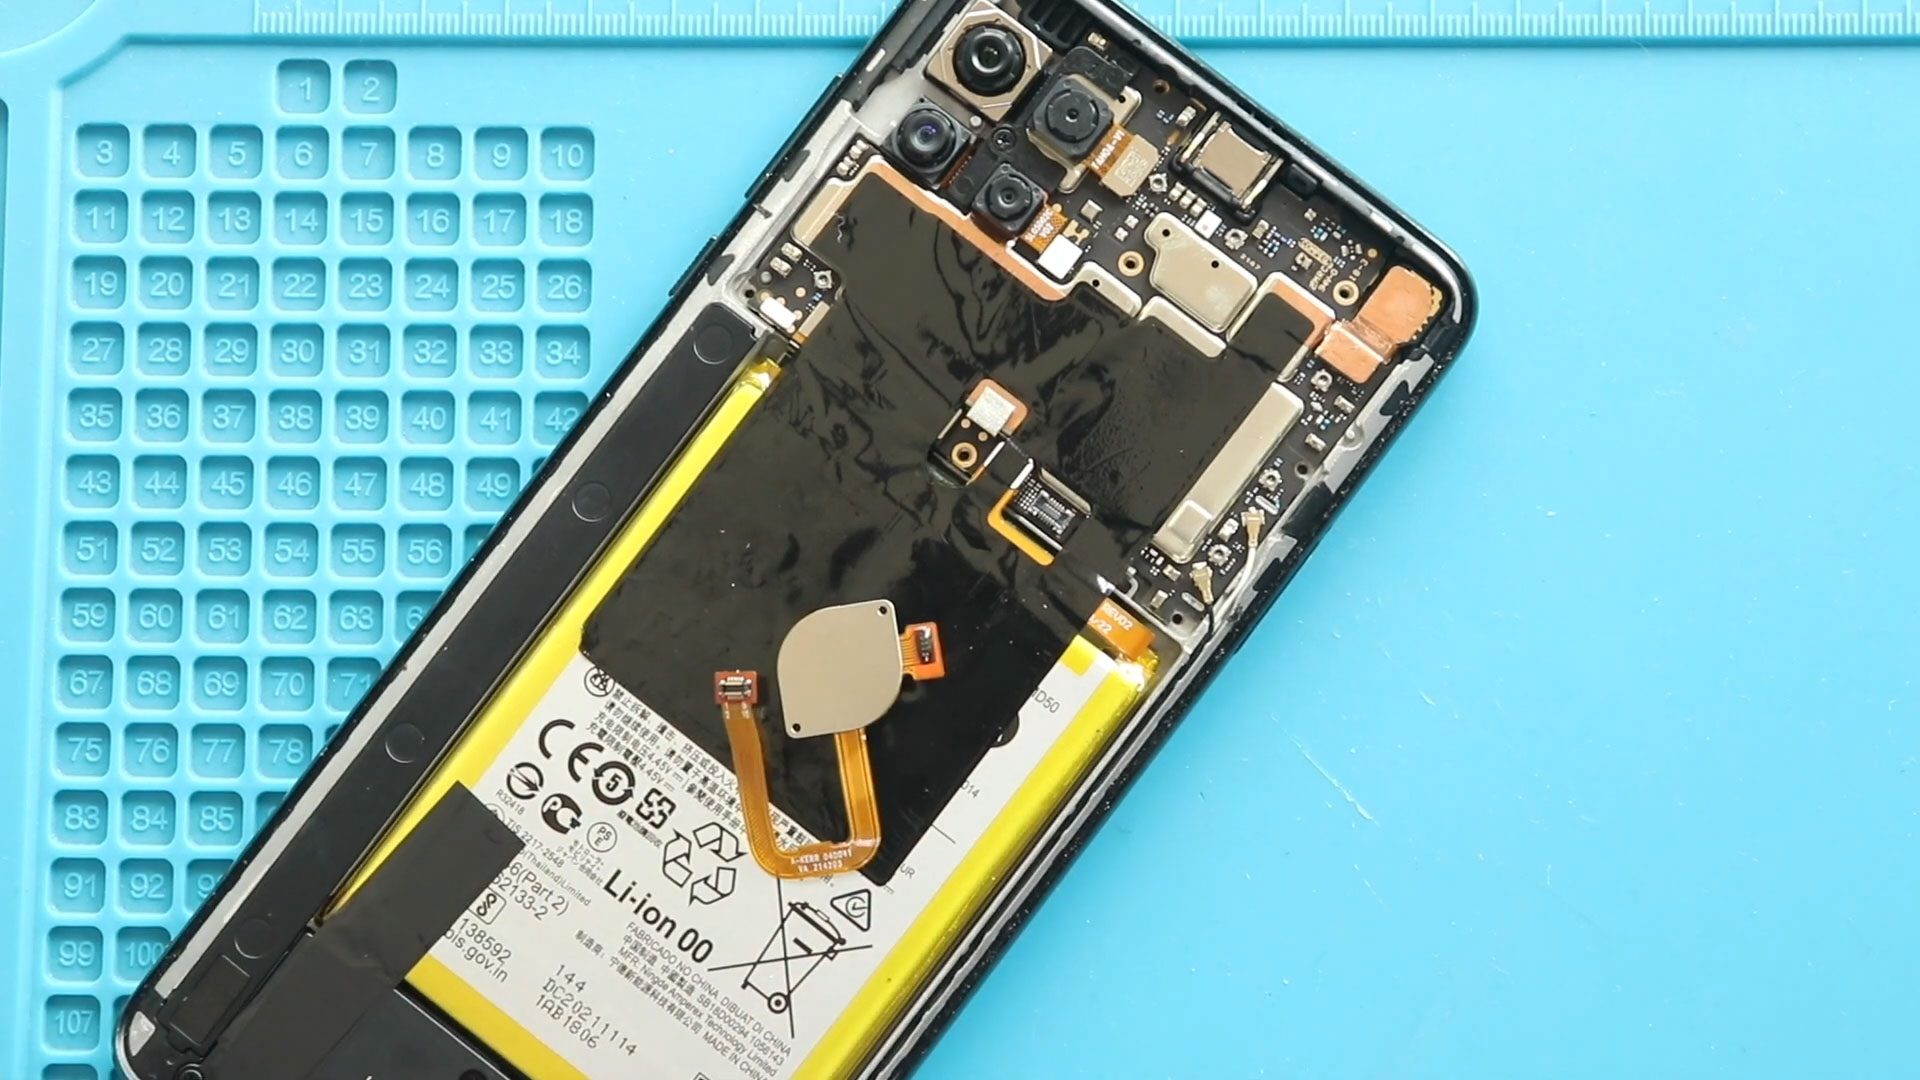
Step 4. Removing Non-Working Fingerprint Sensor
- Locate the fingerprint sensor inside the mid-frame assembly.
- Carefully disconnect and remove the faulty fingerprint sensor without damaging nearby components.
Step 5. Installing New Fingerprint Sensor
- Position the new fingerprint sensor correctly in its slot.
- Press gently to ensure it is seated properly and reconnect the flex cable.
Step 6. Placing Mid-frame
- Reinstall the mid-frame over the internal components.
- Secure all screws and check that all clips are properly fastened.
Step 7. Closing & Back Cover Installation, Binding
- Apply new adhesive if necessary (B7000 glue or double-sided adhesive).
- Reattach the back cover firmly and use binding clips or rubber bands to hold it for 30–60 minutes to ensure proper adhesion.
Frequently Asked Questions (FAQ)
Q1: Is it safe to replace the fingerprint sensor at home?
Yes, with proper tools and patience, this repair can be safely done at home.
Q2: Will replacing the fingerprint sensor fix unlocking issues?
Yes. A new, functioning sensor restores reliable fingerprint recognition.
Q3: Do I need to replace the back cover adhesive?
Yes, fresh adhesive ensures a secure fit and prevents dust or moisture from entering.
Q4: How long does this repair take?
Approximately 30–45 minutes depending on your experience level.
Troubleshooting
Q1: Fingerprint sensor still not working after replacement
- Ensure the sensor flex cable is properly connected.
- Check for debris in the sensor slot.
- Reboot the phone and re-register fingerprints.
Q2: Back cover not sealing correctly
- Apply additional adhesive.
- Use clips or rubber bands to hold the cover firmly in place for at least 30 minutes.
Q3: Phone reports “fingerprint sensor not detected”
- Recheck all connectors and seating of the sensor.
- Make sure the replacement sensor is compatible with the OnePlus Nord N100.
Replacing the fingerprint sensor on your OnePlus Nord N100 is a moderate-level repair that can significantly restore your phone’s security and convenience. With patience, proper heating, and careful disassembly, this repair can be completed successfully at home.
If you found this guide helpful, feel free to share it and leave a comment with your experience.
Related Guides