Now Reading: OnePlus Nord N200 5G Camera Lens Replacement Guide – DIY Repair
-
01
OnePlus Nord N200 5G Camera Lens Replacement Guide – DIY Repair
If your OnePlus Nord N200 has a cracked camera lens or a damaged back cover, replacing them can restore your phone’s look and functionality. This DIY repair guide will show you how to safely remove and replace the camera lens glass and back cover, with all the tools, steps, and tips you need for a successful repair.
Repair Overview
- Device Type: Android Smartphone
- Model: OnePlus Nord N200 5G
- Type of Repair: Camera Lens Glass & Back Cover Replacement
Repair Difficulty ★★★★☆☆☆☆☆ (4/10 – Moderate)
Estimated Time Required : 45–60 Minutes
Reasons for Replacement
- Cracked or broken camera lens glass
- Scratched or damaged back cover
- Poor photo quality due to lens damage
- Cosmetic wear and tear affecting device appearance
- Loose or peeling back cover
Before You Begin
Compatibility and Model Numbers
- Oneplus Nord N200 5G
- Oppo A93 5G – Simliar Design (Can use Reference to repair)
Before You Begin
Compatibility and Model Numbers
- Oneplus Nord N200 5G
- Oppo A93 5G – Simliar Design (Can use Reference to repair)
Tools Required
- Mobile phone heating pad or hairdryer/heat gun
- Plastic pry tool / card pry
- Suction cups
- Phillips #00/#000 screwdrivers
- Torx T3 / T4 Screwdriver
- Flathead Screwdriver
- Tweezers (for connectors)
- B7000 glue or double-sided adhesive (for back cover)
- Rubber bands or bonding clips to secure the back cover
Using proper tools reduces the risk of damaging the phone.
How to Find Tools and Parts
- Heating pad – https://amzn.to/3H0tHzJ
- Portable Heat Gun – https://amzn.to/4mszih1
- Clamps https://amzn.to/3GYJT4w
- STREBITO 142 Piece Repair Tool Kit https://amzn.to/3UO1jUx
- Glue | Adhesive https://amzn.to/46exVxe
- Compatible Parts –
- Battery – https://amzn.to/3IgZ75c
- Screen – https://amzn.to/46iYhNy
- Other Parts – https://amzn.to/47Hh2N3
- Silicone Work Repair Mat https://amzn.to/45Emz5l
✅ Protect Your Oneplus Nord N200 5G
- Protector For The Screen https://amzn.to/4mcsLq9
- Best Rated Case https://amzn.to/46acCf2
Step-by-Step Camera Lens Glass & Back Cover Replacement
Step 1: Power Off the Device
Turn off the phone completely to prevent damage during repair.
Step 2: Heat and Remove Back Cover
- Gently heat the edges of the rear cover using a heating pad, heat gun, or hairdryer.
- Once softened, use a suction cup to create a small gap.
- Insert a plastic card or pry tool to carefully cut the adhesive around the cover.
- Remove the back cover.
Step 3: Remove the Midframe
- Remove the SIM tray first.
- Unscrew the seventeen Phillips screws from top and bottom sections.
- Gently pry the midframe from the phone body, working around the edges to disengage plastic clips.
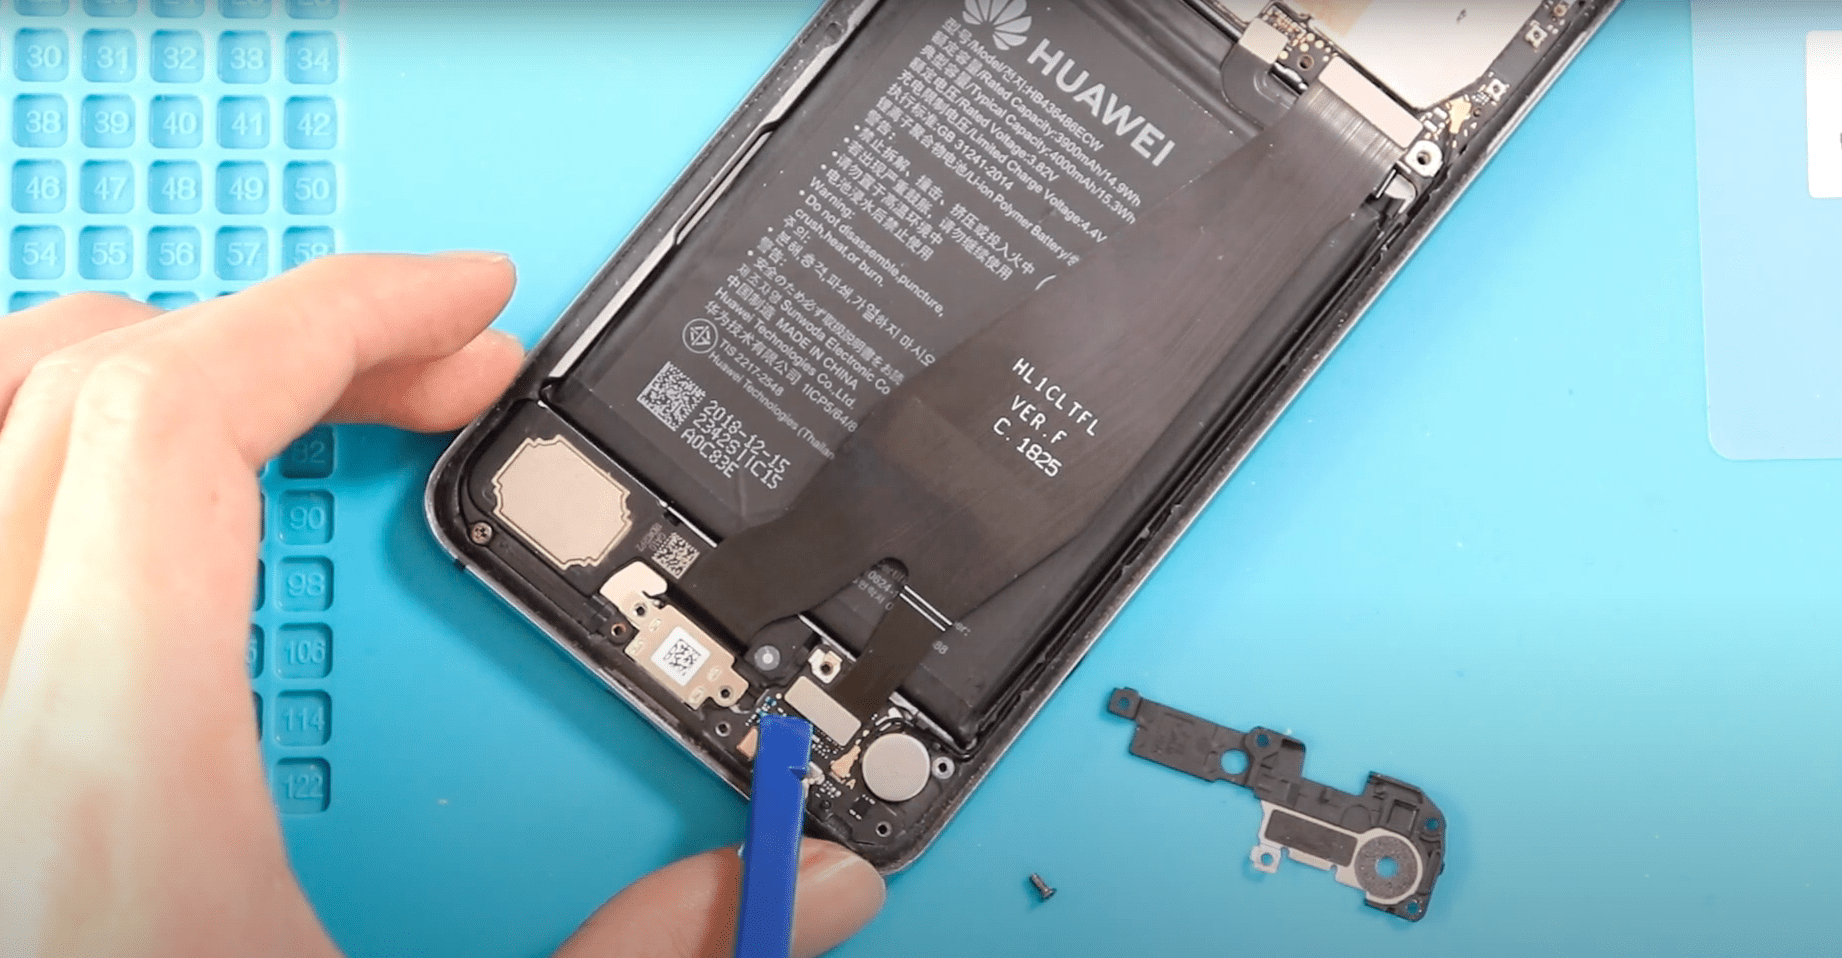
Step 4: Disconnect Internal Cables
- Disconnect the battery connector.
- Disconnect the fingerprint sensor connector.
- Fully remove the midframe.
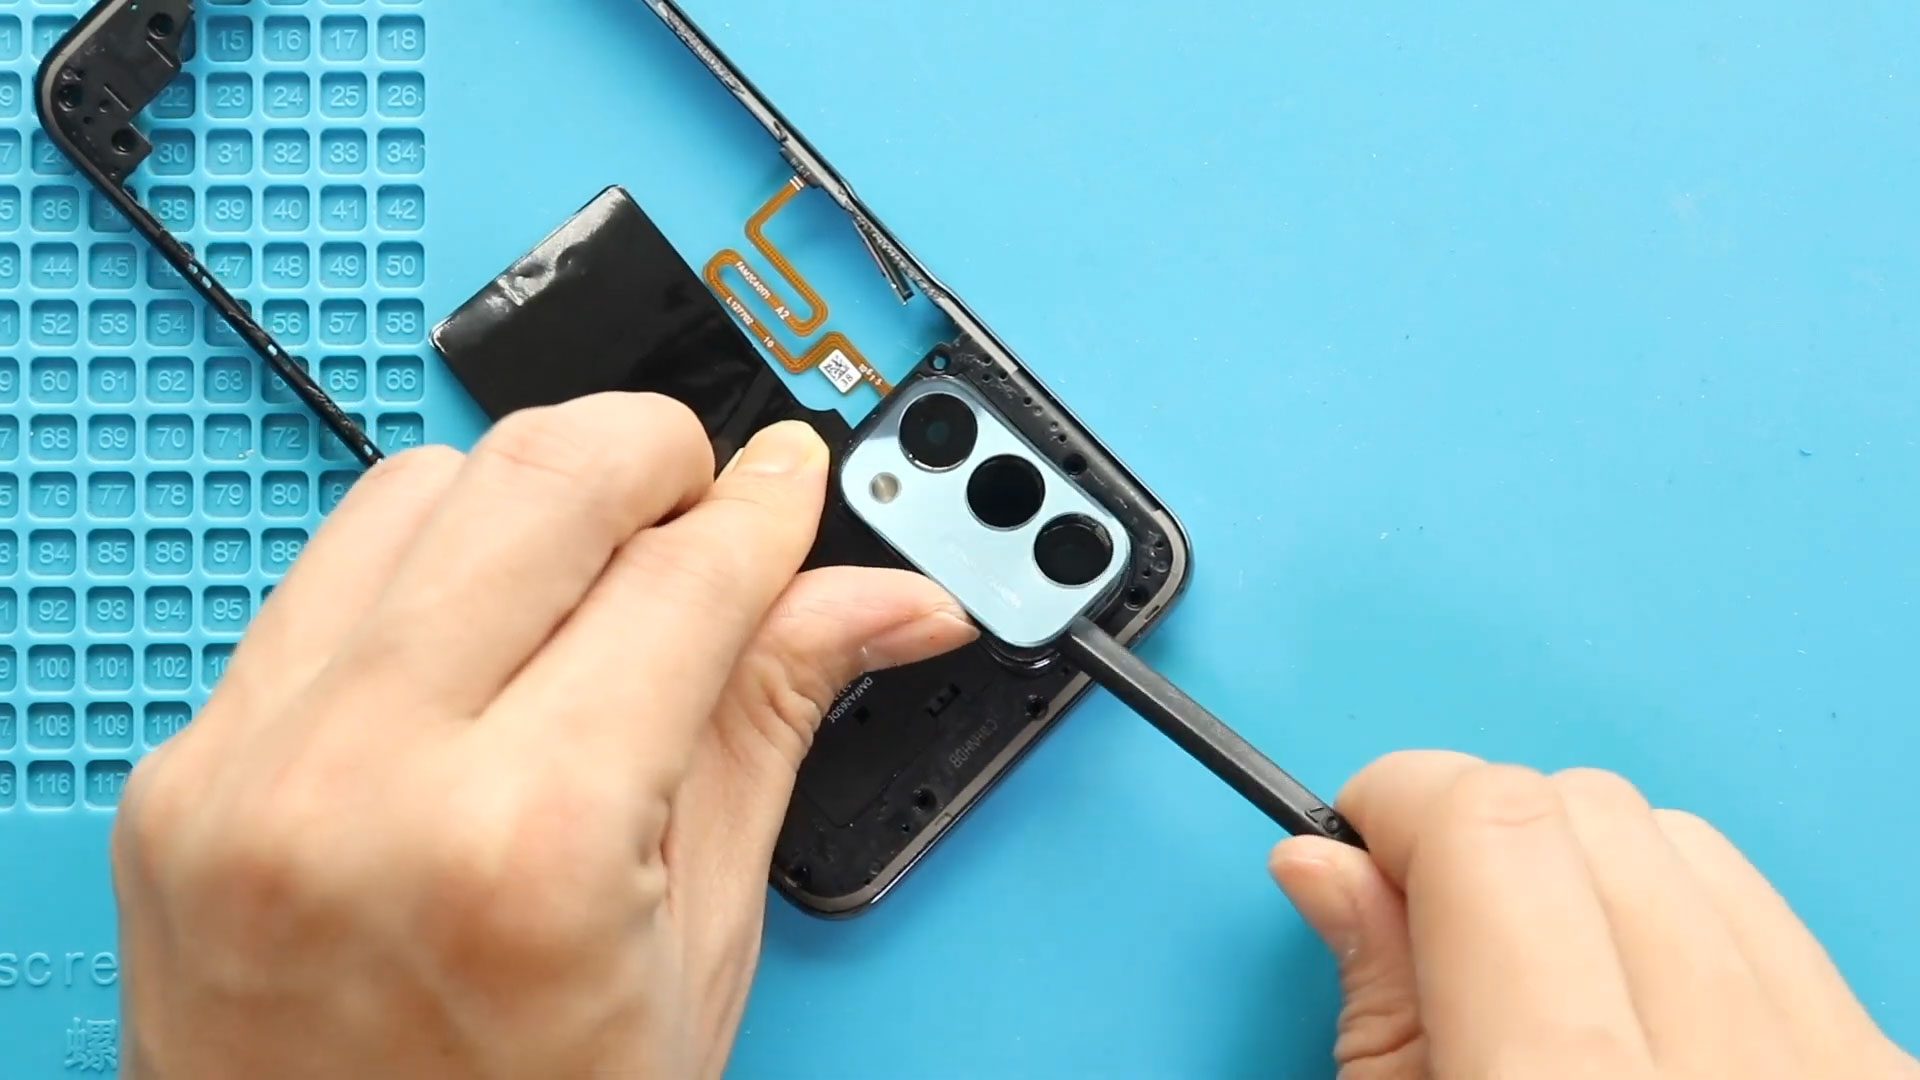
Step 5: Remove Camera Lens Glass
- Apply heat to the camera lens area using a heat gun.
- Apply slight pressure from the rear side to lift out the broken lens.
- For multiple lenses, follow the same steps.
Step 6: Install New Camera Lens Glass
- Place the new lens glass with adhesive into the frame.
- Ensure the surface is clean and the lens is properly aligned.
- If replacing the entire lens with frame, heat the front side and carefully lift out the assembly, then secure the new frame in place with adhesive.
Step 7: Reconnect Internal Cables
- Reconnect fingerprint and battery connectors to the logic board.
Step 8: Reinstall Midframe
- Place the midframe back and secure all seventeen screws.
- Ensure all clips are fastened before tightening screws.
- Reinsert the SIM tray.
Step 9: Reattach Back Cover
- Check adhesive on the back cover; add B7000 glue or double-sided adhesive if necessary.
- Align the back cover and press firmly.
- Use binding clips or rubber bands to hold the cover in place for proper adhesion.
Frequently Asked Questions (FAQ)
Q1: Can I replace the camera lens and back cover myself?
Yes, if you have the right tools and follow the step-by-step instructions carefully.
Q2: How do I know if my camera lens needs replacement?
Cracks, scratches, or blurred photos indicate lens damage.
Q3: Is heating necessary for removal?
Yes, heating softens adhesive and prevents cracking or bending of the back cover or lens frame.
Q4: What glue should I use for reassembly?
B7000 glue or double-sided adhesive designed for smartphones works best.
Troubleshooting
Q1: Phone not turning on after repair?
Check battery connector is properly seated and charge the phone before powering on.
Q2: Camera not working after lens replacement?
Ensure the lens glass is correctly aligned and no debris is blocking the camera sensor.
Q3: Back cover not sticking properly?
Apply additional adhesive and leave binding clips for longer curing.
Q4: Fingerprint sensor not responding?
Double-check the connector is firmly attached to the logic board.
Replacing the Camera Lens Glass & Back Cover on your OnePlus Nord N200 is a moderate-level repair that can significantly restore your phone’s appearance and camera functionality. With patience, proper heating, and careful disassembly, this repair can be completed successfully at home.
Related Guides