Now Reading: Samsung Galaxy A13 Volume Button Flex Replacement – DIY Repair
-
01
Samsung Galaxy A13 Volume Button Flex Replacement – DIY Repair

Samsung Galaxy A13 Volume Button Flex Replacement – DIY Repair
Hi everyone, welcome back to DIYGeardo.
Today, we’ll show you how to replace the volume button flex cable on the Samsung Galaxy A13 4G smartphone.
If your volume up or volume down buttons are not responding, stuck, or working intermittently, replacing the volume button flex cable is the most effective solution. This guide will walk you through the complete replacement process step by step using safe disassembly methods.
Before starting, make sure the phone is powered off and you have the right tools, which you can find linked in the description.
Estimated Repair Time
⏱ 25–35 minutes
Repair Difficulty
🛠 Easy to Moderate
Compatibility and Model Numbers
This repair guide based on Samsung Galaxy A13 4G device, but it also compatible with Galaxy M13 4g and Galaxy F13 models.
Compatible Mode Numbers l SM-A135F, SM-A135F/DS, SM-A135M, SM-A135U, SM-A135U1, SM-A135N, SM-A137F, SM-A137F/DSN, SM-A137F/DS, SM-M135F, SM-M135F/DSN, SM-E135F, SM-E135F/DS
Before You Begin
Required Tools
- Heating pad / heat gun / hairdryer
- Suction cup
- Plastic card pry tools / opening picks
- Phillips screwdriver
- Adhesive (B7000 or double-sided back cover adhesive)
- Bonding clips or rubber bands (optional but recommended)
Make sure the phone is turned off and the SIM tray is removed before starting.
How to Find Tools and Parts
- Heating pad – https://amzn.to/3H0tHzJ
- Portable Heat Gun – https://amzn.to/4mszih1
- Clamps https://amzn.to/3GYJT4w
- STREBITO 142 Piece Repair Tool Kit https://amzn.to/3UO1jUx
- Glue | Adhesive https://amzn.to/46exVxe
- Compatible Parts –
- Battery – https://amzn.to/4mwa41Z
- Screen – https://amzn.to/4n0XV4X
- Other Parts – https://amzn.to/41lzman
- Silicone Work Repair Mat https://amzn.to/45Emz5l
Step-by-Step Repair Instructions
Step 1: Power Off & SIM Tray
First, turn off the phone completely.
Remove the SIM tray and prepare the device for back cover removal.
Step 2: Remove the Back Cover
Create a small gap near the SIM slot or charging port using a picker or plastic card pry tool.
Insert the pry tool and gently move around the phone to release the plastic clips securing the back cover.
⚠️ Be gentle while lifting the back cover, as the fingerprint sensor flex is attached.
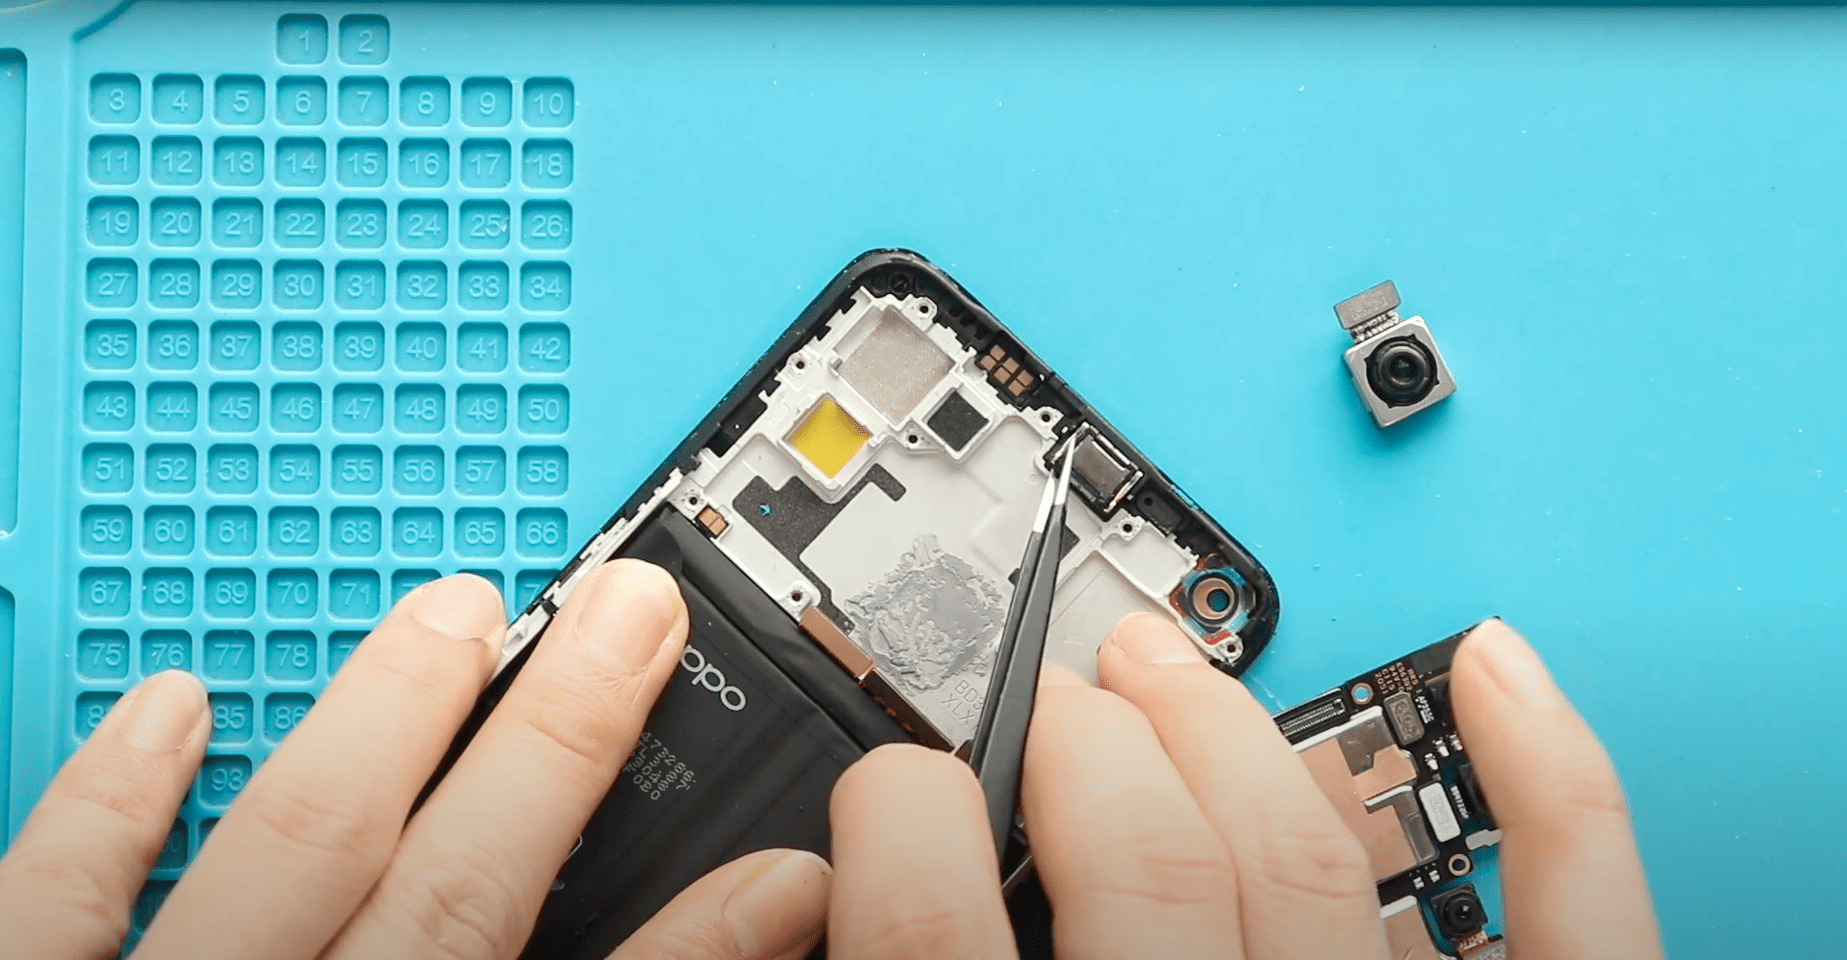
Step 3: Remove the Board Frame
Undo the screws securing the board frame and carefully lift it out of the phone.
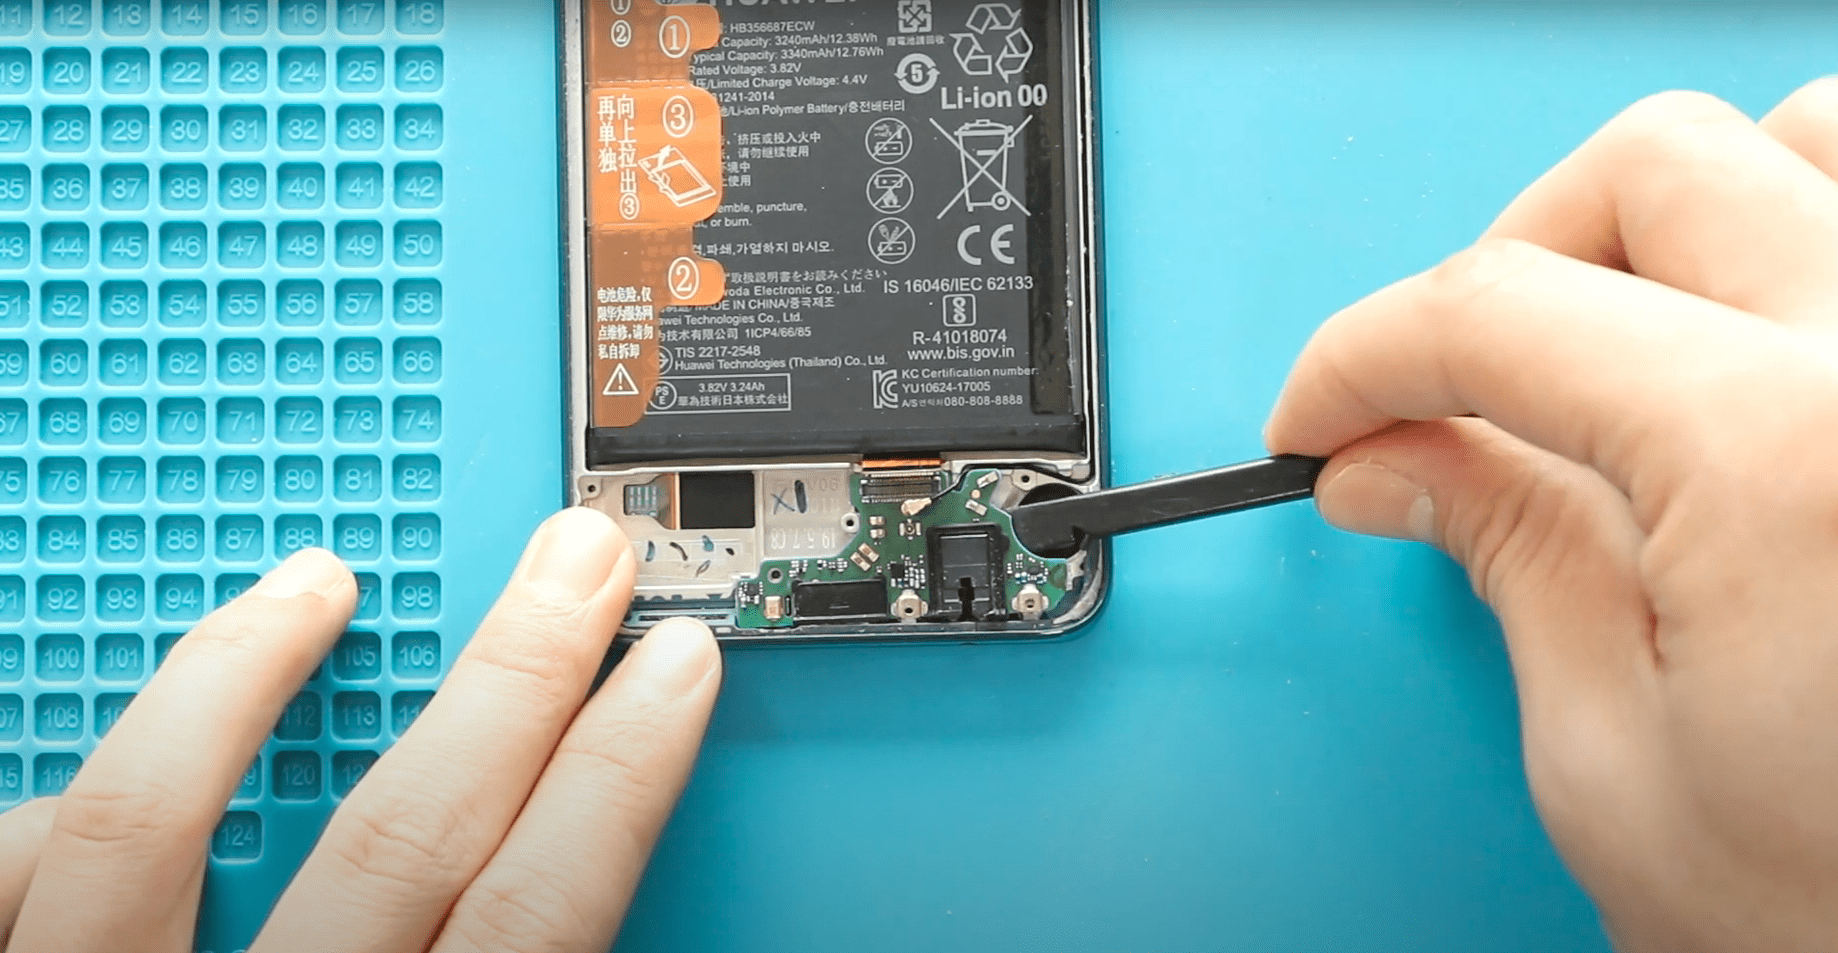
Step 4: Disconnect and Remove the Logic Board
Disconnect the battery connector first to avoid short circuits.
Then, disconnect the required flex cables and gently remove the logic board from the body.
Step 5: Remove the Faulty Volume Button Flex Cable
Locate the volume button flex cable along the side frame.
Apply light heat if necessary to soften the adhesive, then carefully peel and remove the damaged flex cable from the frame.
Step 6: Install the New Volume Button Flex Cable
Place the new volume button flex cable into the frame and align it properly with the button cutouts.
Press gently to secure it in place and ensure it sits flat along the frame.
Step 7: Reinstall the Logic Board
Place the logic board back into position and reconnect all required flex cables securely.
Step 8: Reinstall the Board Frame
Position the board frame back onto the phone and secure it using the screws removed earlier.
Final Step: Close the Phone
Reconnect the fingerprint sensor if disconnected.
Snap the back cover into place and press around the edges to secure all clips.
Insert the SIM tray, power on the device, and test the volume buttons.
FAQs
1. What symptoms indicate a faulty volume button flex cable?
Unresponsive volume buttons, inconsistent volume control, or buttons that only work when pressed hard.
2. Can the volume button flex be repaired instead of replaced?
No. If the flex cable is damaged, replacement is the recommended solution.
3. Is the power button flex the same as the volume button flex?
No. They are separate flex cables and must be replaced individually.
4. Do I need to remove the screen to replace the volume flex?
No. This repair is completed from the back side of the phone.
Troubleshooting FAQs
1. Volume buttons not working after replacement
Check that the flex cable is properly aligned and fully connected to the logic board.
2. Buttons feel loose or misaligned
Ensure the flex is seated correctly in the frame and aligned with the external button caps.
3. Phone does not power on after repair
Recheck the battery connector and ensure no flex cables were left disconnected.
Related Guides