Now Reading: Samsung Galaxy Tab A7 10.4″ Battery Replacement Guide | T500 T505
-
01
Samsung Galaxy Tab A7 10.4″ Battery Replacement Guide | T500 T505

Samsung Galaxy Tab A7 10.4″ Battery Replacement Guide | T500 T505
Hi everyone, welcome back to DIYGeardo.
Today, we will show you how to replace the battery on the Samsung Galaxy Tab A7 10.4,
T500 and T505 – 2020 models.
This step-by-step guide will help you safely remove the LCD screen, disconnect internal components, and install a new battery using proper repair techniques. Whether you are a beginner or an experienced technician, follow along carefully for a successful repair.
Repair Information
Device: Samsung Galaxy Tab A7 10.4 (T500 / T505 – 2020)
Repair Type: Battery Replacement
Estimated Time: 45–60 minutes
Repair Difficulty: ★★★★☆ (Moderate)
Before You Begin
Compatibility and Model Numbers
This repair guide based on Samsung Galaxy Tab A7 10.4-inch 2020 T505 Model.
Also Compatible with Both Wifi and Cellular Edition models.
Model Numbers | SM-T500, SM-T505, SM-T505N
Required Tools
- Heating pad / heat gun / hairdryer
- Suction cup
- Plastic card pry tools / opening picks/ Tweezers
- Phillips screwdriver #00 / #000
- Adhesive (B7000 or double-sided back cover adhesive)
- Bonding clips or rubber bands (optional but recommended)
Make sure the tablet is turned off and the SIM tray is removed (For Cellular Version)before starting.
How to Find Tools and Parts
- Heating pad – https://amzn.to/3H0tHzJ
- Portable Heat Gun – https://amzn.to/4mszih1
- Clamps https://amzn.to/3GYJT4w
- STREBITO 142 Piece Repair Tool Kit https://amzn.to/3UO1jUx
- Glue | Adhesive https://amzn.to/46exVxe
- Compatible Parts –
- Battery – https://amzn.to/4fC8rNj
- Touch Screen – https://amzn.to/4lwRUvs
- Other Parts – https://amzn.to/45U9jJS
- Silicone Work Repair Mat https://amzn.to/45Emz5l
Protect Your Galaxy A7 Tablet
- Screen Protector Glass For The Screen https://amzn.to/3JAbaLe
- Best Cases For Your Galaxy Tab https://amzn.to/4196PEY
Step-by-Step Battery Replacement Guide
Step 1: Power Off and Screen Removal
For this repair, we are using a heating pad.
Place the tablet screen-side down on the heating pad and select the tablet or mobile heating option. Allow the heating cycle to complete fully so the adhesive around the screen edges softens evenly.
If you are using a heat gun or hairdryer, apply gentle heat around all four edges of the screen. Keep the heat source moving constantly and avoid overheating one area for too long.
Once the adhesive is sufficiently softened, attach a suction cup near the bottom edge of the screen and gently lift to create a small gap between the LCD and the frame.
Insert a plastic pry tool or card into the gap and carefully slide it along the edges to cut through the adhesive.
Avoid inserting the tool too deep, as display flex cables are located underneath the screen.
Work slowly around the entire perimeter until the screen is fully released.
Next, gently lift the LCD screen and flip it carefully, allowing it to rest on the tablet body without straining the flex cables.
Do not pull the screen away forcefully. Ensure the screen is supported at all times to prevent cable damage.
Step 2: Disconnect Battery and Display
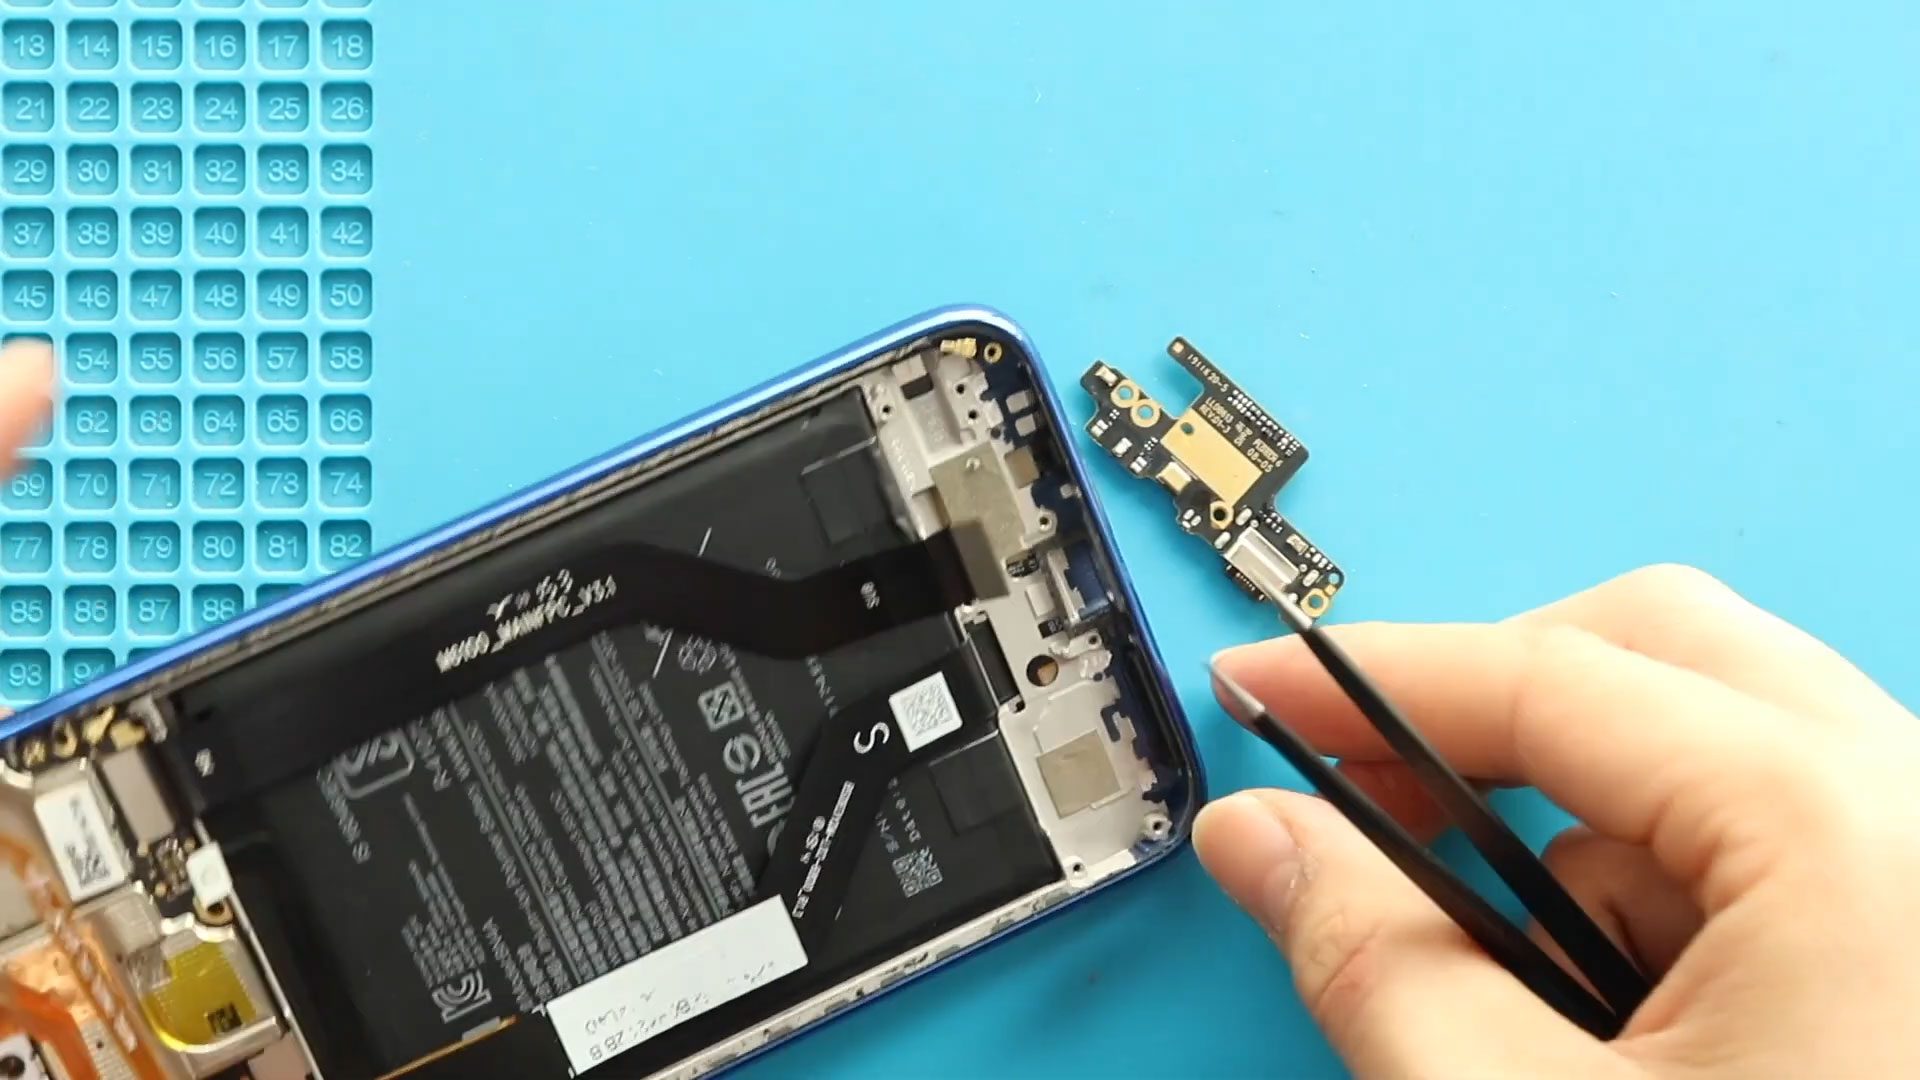
Remove the metal bracket by undoing the securing screw.
Disconnect the battery connector.
Next, undo the two screws holding the LCD connector bracket.
Disconnect the LCD connector plug, and carefully remove the screen unit from the body.
Step 3: Battery Removal
Take out the faulty battery from the tablet.
If the battery adhesive is strong, apply gentle heat to soften the glue underneath.
Carefully slide a pry tool under the battery to loosen it.
Once the adhesive is released, remove the battery completely.
Step 4: Installing the New Battery
Place the new battery into position using fresh adhesive.
Reconnect the LCD connector plug, followed by the battery connector.
Before sealing the device, test the screen and touch functionality to ensure everything works correctly.
Step 5: Reassembly and Screen Installation
Secure the LCD connector bracket using two screws
and the battery bracket using one screw.
Before installing the LCD screen, ensure there is enough adhesive.
If needed, apply B7000 glue or use new double-sided LCD adhesive.
Gently slide the screen into place from the bottom first, then align the top.
Apply light pressure around the screen edges.
Use bonding clips to secure the screen and leave it for some time.
If bonding clips are unavailable, use rubber bands to hold the screen firmly in place.
FAQs
1. Does the Samsung Galaxy Tab A7 T500 and T505 use the same battery?
Yes, both models use the same battery and replacement procedure.
2. Do I need to remove the back cover for this repair?
No. The battery replacement is done by removing the LCD screen from the front.
3. Is heating mandatory for battery replacement?
Yes. Heating is required to safely remove both the LCD screen and the battery adhesive.
4. What adhesive should I use for reassembly?
B7000 glue or high-quality double-sided LCD adhesive is recommended.
5. Should I disconnect the battery before the LCD?
Yes. Always disconnect the battery first to prevent short circuits.
Troubleshooting – After The repair
1. Screen does not turn on after reassembly
Recheck the LCD connector and ensure it is firmly seated.
2. Touch is not responding properly
Make sure the screen connector is clean and properly aligned before locking it in place.
3. Screen lifting after installation
This indicates insufficient adhesive. Apply fresh glue and secure the screen with clips for a longer duration.
4. Battery not charging
Verify the battery connector and inspect for damaged flex cables.
Related Guides