Now Reading: Samsung Galaxy Tab A8 10.5″ Battery Replacement Guide | X200 X205 (2021)
-
01
Samsung Galaxy Tab A8 10.5″ Battery Replacement Guide | X200 X205 (2021)

Samsung Galaxy Tab A8 10.5″ Battery Replacement Guide | X200 X205 (2021)
The Samsung Galaxy Tab A8 10.5 (X200 / X205 – 2021) is a reliable tablet for daily use, but like all lithium-ion batteries, its battery health degrades over time. If you notice fast battery drain, unexpected shutdowns, slow charging, or the tablet not powering on without a charger, it is a strong sign that the battery needs replacement.
Replacing the battery can restore normal battery life and improve overall performance without the cost of replacing the entire device. In this step-by-step DIY repair guide, Geardo shows you how to safely remove and replace the battery using proper tools and techniques.
This guide is written for users with basic to intermediate repair experience. The most critical part of the repair is removing the LCD screen, which requires careful heating and patience to avoid display damage.
Repair Difficulty
Difficulty Level: Medium ⚠️
Estimated Time: 45–60 minutes
Device Type: Tablet
Skill Level Required: Basic to Intermediate
⚠️ This repair involves heating and removing the LCD screen. Work slowly to avoid damaging the display or flex cables.
Before You Begin
Compatibility and Model Numbers
This repair guide based on Samsung Galaxy Tab A8 10.5-inch 2021 X205 Model.
Also Compatible with Both Wifi and Cellular Edition models.
Model Numbers | SM-X200, SM-X205, SM-X207
Required Tools
- Heating pad / heat gun / hairdryer
- Suction cup
- Plastic card pry tools / opening picks/ Tweezers
- Phillips screwdriver #00 / #000
- Adhesive (B7000 or double-sided back cover adhesive)
- Bonding clips or rubber bands (optional but recommended)
Make sure the tablet is turned off and the SIM tray is removed (For Cellular Version)before starting.
How to Find Tools and Parts
- Heating pad – https://amzn.to/3H0tHzJ
- Portable Heat Gun – https://amzn.to/4mszih1
- Clamps https://amzn.to/3GYJT4w
- STREBITO 142 Piece Repair Tool Kit https://amzn.to/3UO1jUx
- Glue | Adhesive https://amzn.to/46exVxe
- Compatible Parts –
- Battery – https://amzn.to/4fC8rNj
- Touch Screen – https://amzn.to/416eZxY
- Other Parts – https://amzn.to/45jcN8G
- Silicone Work Repair Mat https://amzn.to/45Emz5l
✅ Protect Your Galaxy Tab A8 10.5 2021
- Screen Protector Glass For The Screen https://amzn.to/4mMju9g
- Best Cases For Your Galaxy Tab https://amzn.to/4mdkovq
Step-by-Step Battery Replacement Guide
Step 1: Power Off the Tablet
Turn off the Samsung Galaxy Tab A8 completely before starting the repair.
Step 2: Heat the LCD Screen
Gently heat around the edges of the front LCD screen to soften the adhesive.
- Place the tablet screen-side down on a heating pad
- Select the tablet heating option and wait until heating completes
- Alternatively, use a heat gun or hairdryer evenly around the edges
Step 3: Separate the LCD Screen
- Use a suction cup to create a small gap between the screen and the frame
- Insert a plastic pry tool or card
- Carefully cut the adhesive around all edges
- Gently lift the screen and slide it downward so it can rest on the body
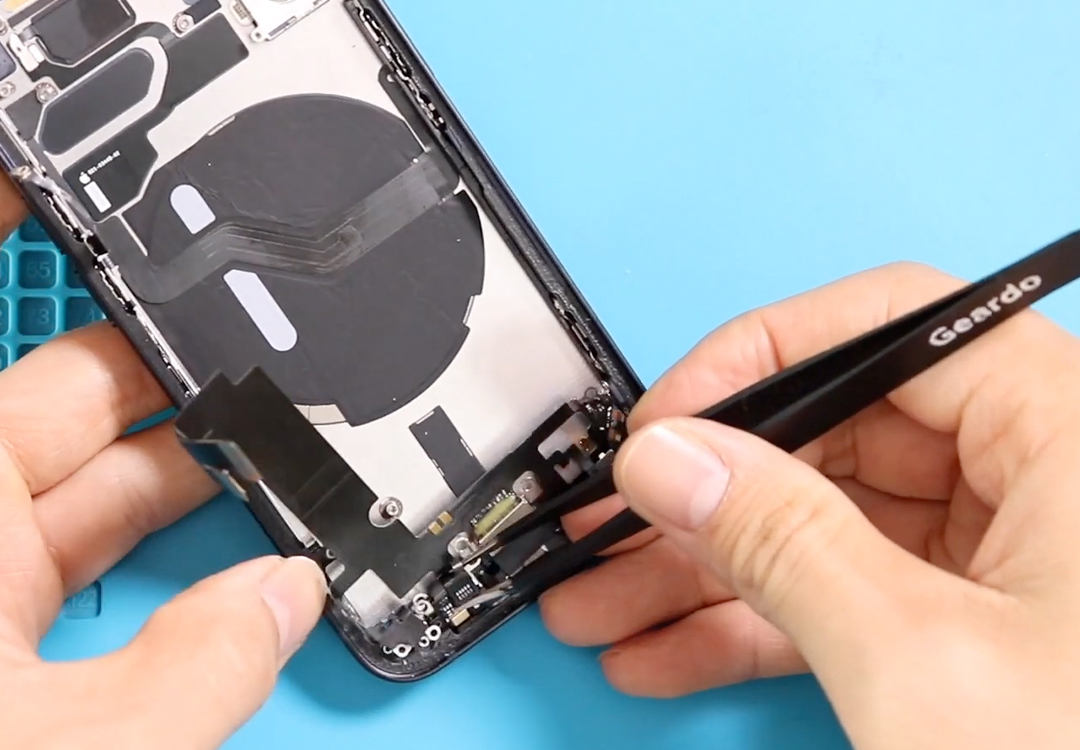
Step 4: Remove Bracket and Disconnect Connectors
- Remove the metal bracket by undoing the screw
- Disconnect the battery connector
- Disconnect the LCD connector
- Remove the screen assembly from the tablet
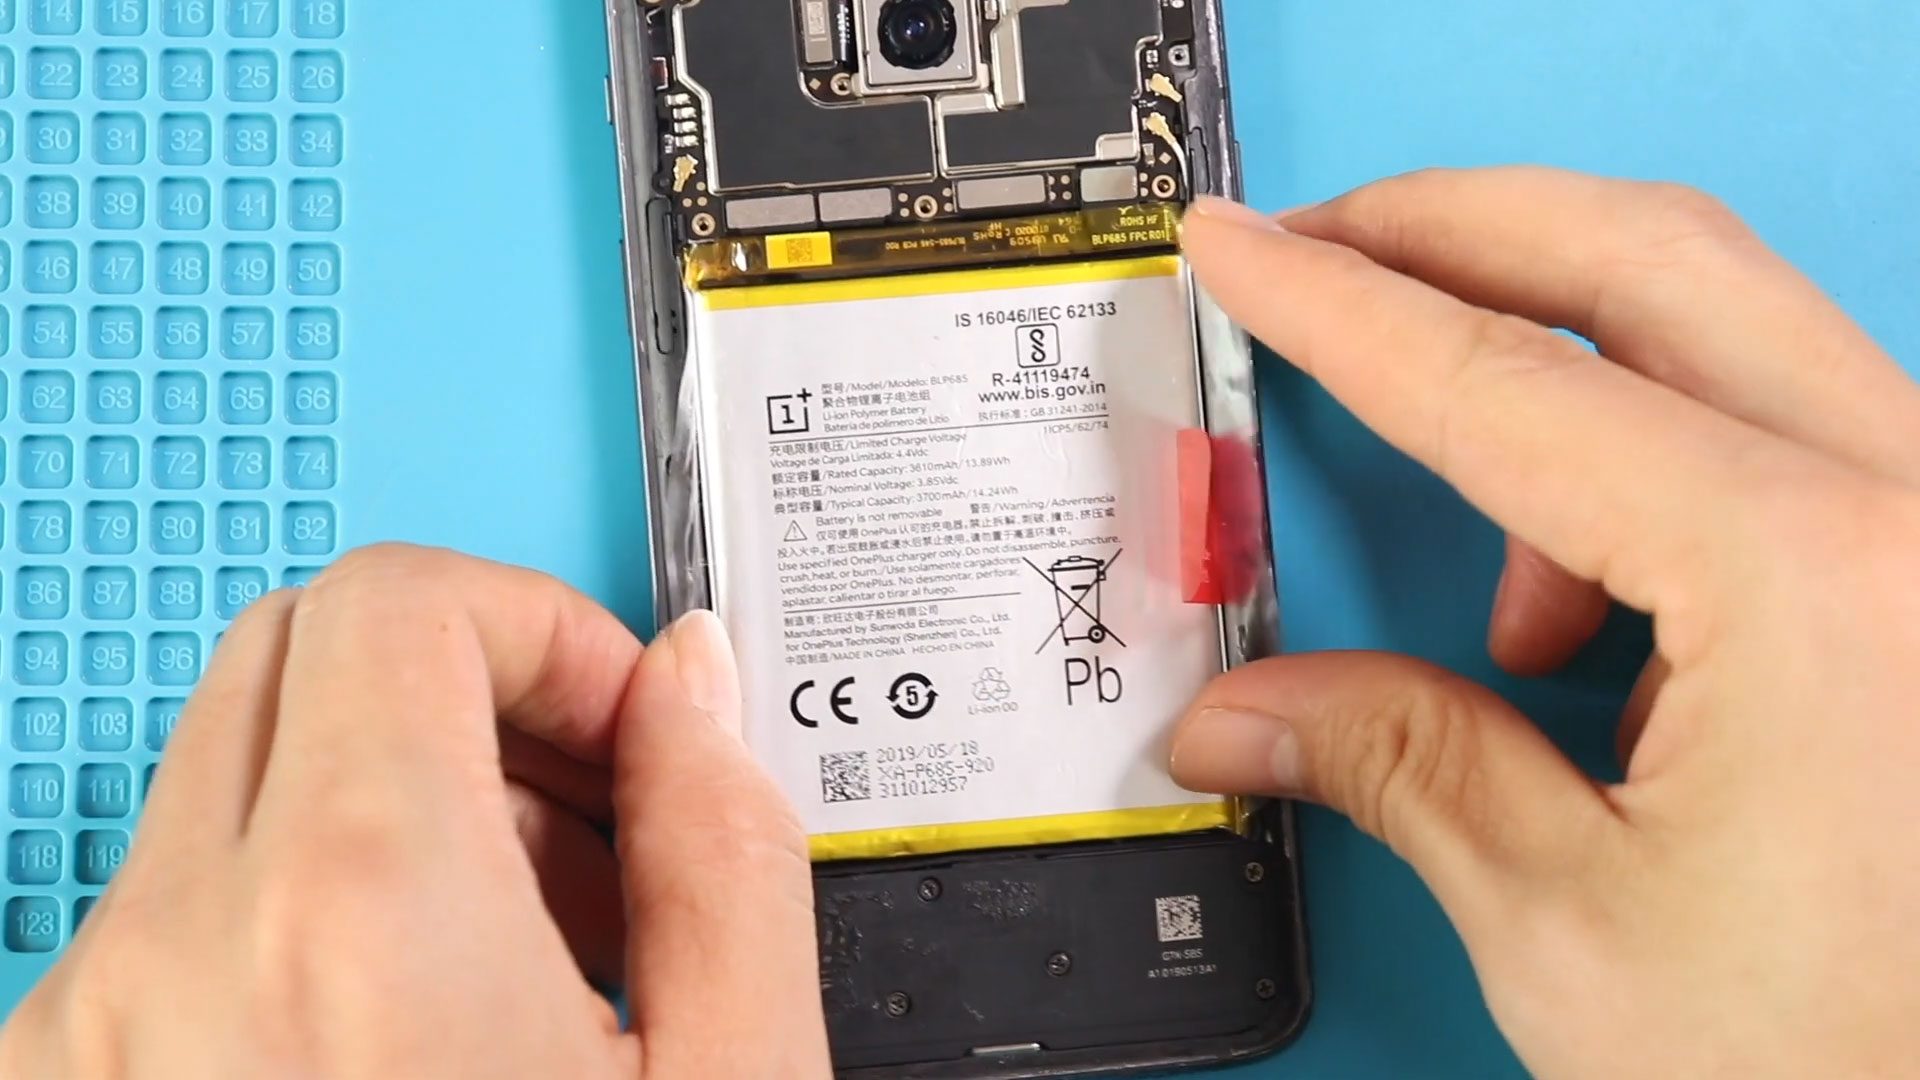
Step 5: Remove the Faulty Battery
- Peel the battery adhesive pull tabs (four sticky tabs) slowly
- Pull gently and evenly to avoid tearing
If the adhesive tabs break:
- Apply gentle heat under the battery
- Carefully loosen the adhesive using a plastic pry tool
Remove the old battery from the body.
Step 6: Install the New Battery
- Place the new battery into position
- Secure it using adhesive
- Reconnect the LCD connector
- Reconnect the battery connector
Step 7: Test the Device
Power on the tablet to confirm:
- Screen is working properly
- Battery is charging and detected
Step 8: Reinstall Bracket
Once testing is successful:
- Reinstall the metal bracket
- Secure it with the screw
Step 9: Reinstall the LCD Screen
- Ensure enough adhesive is applied around the frame
- Use B7000 glue or new double-sided LCD adhesive if needed
- Slide the screen in from the bottom, then align the top
- Press gently around the edges
Step 10: Secure the Screen
- Use bonding clips and leave them for some time
- If clips are unavailable, use rubber bands to hold the screen firmly until the adhesive sets
Frequently Asked Questions (FAQ)
1. Is it safe to replace the Galaxy Tab A8 battery at home?
Yes, if you have the right tools and follow the steps carefully. Take extra care when removing the LCD screen.
2. Will replacing the battery delete my data?
No, battery replacement does not affect stored data.
3. Do I need to remove the LCD completely?
Yes, the LCD must be disconnected to access and safely remove the battery.
4. What glue should I use for the screen?
B7000 glue or pre-cut double-sided LCD adhesive is recommended.
5. How long should I leave bonding clips on?
Leave them for at least 30–60 minutes for proper adhesion.
Troubleshooting – After The Repair
Q: The tablet does not power on after battery replacement. What should I do?
A: Recheck the battery connector and ensure it is properly seated. Also confirm the battery is charged before testing.
Q: The screen stays black but the tablet vibrates or makes sound.
A: This usually indicates a loose or improperly connected LCD connector. Disconnect and reconnect the LCD flex cable carefully.
Q: The battery percentage is not increasing while charging.
A: Make sure the battery connector is fully connected and inspect the charging port for dirt or damage.
Q: The LCD screen lifts after reassembly.
A: Apply additional adhesive around the edges and leave bonding clips or rubber bands on for a longer curing time.
Q: The tablet heats up after battery replacement.
A: Power off the device immediately and recheck the battery placement and connectors to ensure nothing is pinched or shorted.
Final Thoughts
Replacing the battery on the Samsung Galaxy Tab A8 10.5 (X200 / X205) can significantly improve battery life and performance. With patience and proper tools, this repair can be completed successfully at home.
If you found this guide helpful, explore more tablet and smartphone repair tutorials on DIYGeardo.
More Repair Guides