Now Reading: DIY Huawei P30 LCD Screen Display Repair Guide
-
01
DIY Huawei P30 LCD Screen Display Repair Guide

Before Starting, we need to have the right tools to proceed with the repair, which You can find in the description.
First, turn off the phone and then follow with the back cover removal.
Here, we are using a heating pad to remove the back cover; place the back cover side on the heating pad and Select the mobile phone HEATING option and leave it till it completes.
Alternatively, you can use a heat gun or hairdryer. Once you feel the heating is enough, use a suction cup to lift the back cover.
In between, Insert a Plastic Card pry tool and gently cut the adhesive.
Take out the back cover and, Next, remove the board bracket by undoing nine screws.
Next, unplug the battery and main flex connectors.
Next, move to the bottom and undo seven screws that are securing the speaker and the bracket.
Next, disconnect both antenna heads from the logic board and gently peel them from the body.
Next, pull out the bracket.
Next, take out the speaker by disconnecting the plug.
Next, pul out the main flex by disconnecting from both ends.
Next, take out the speaker with the antenna by disconnecting the plug.
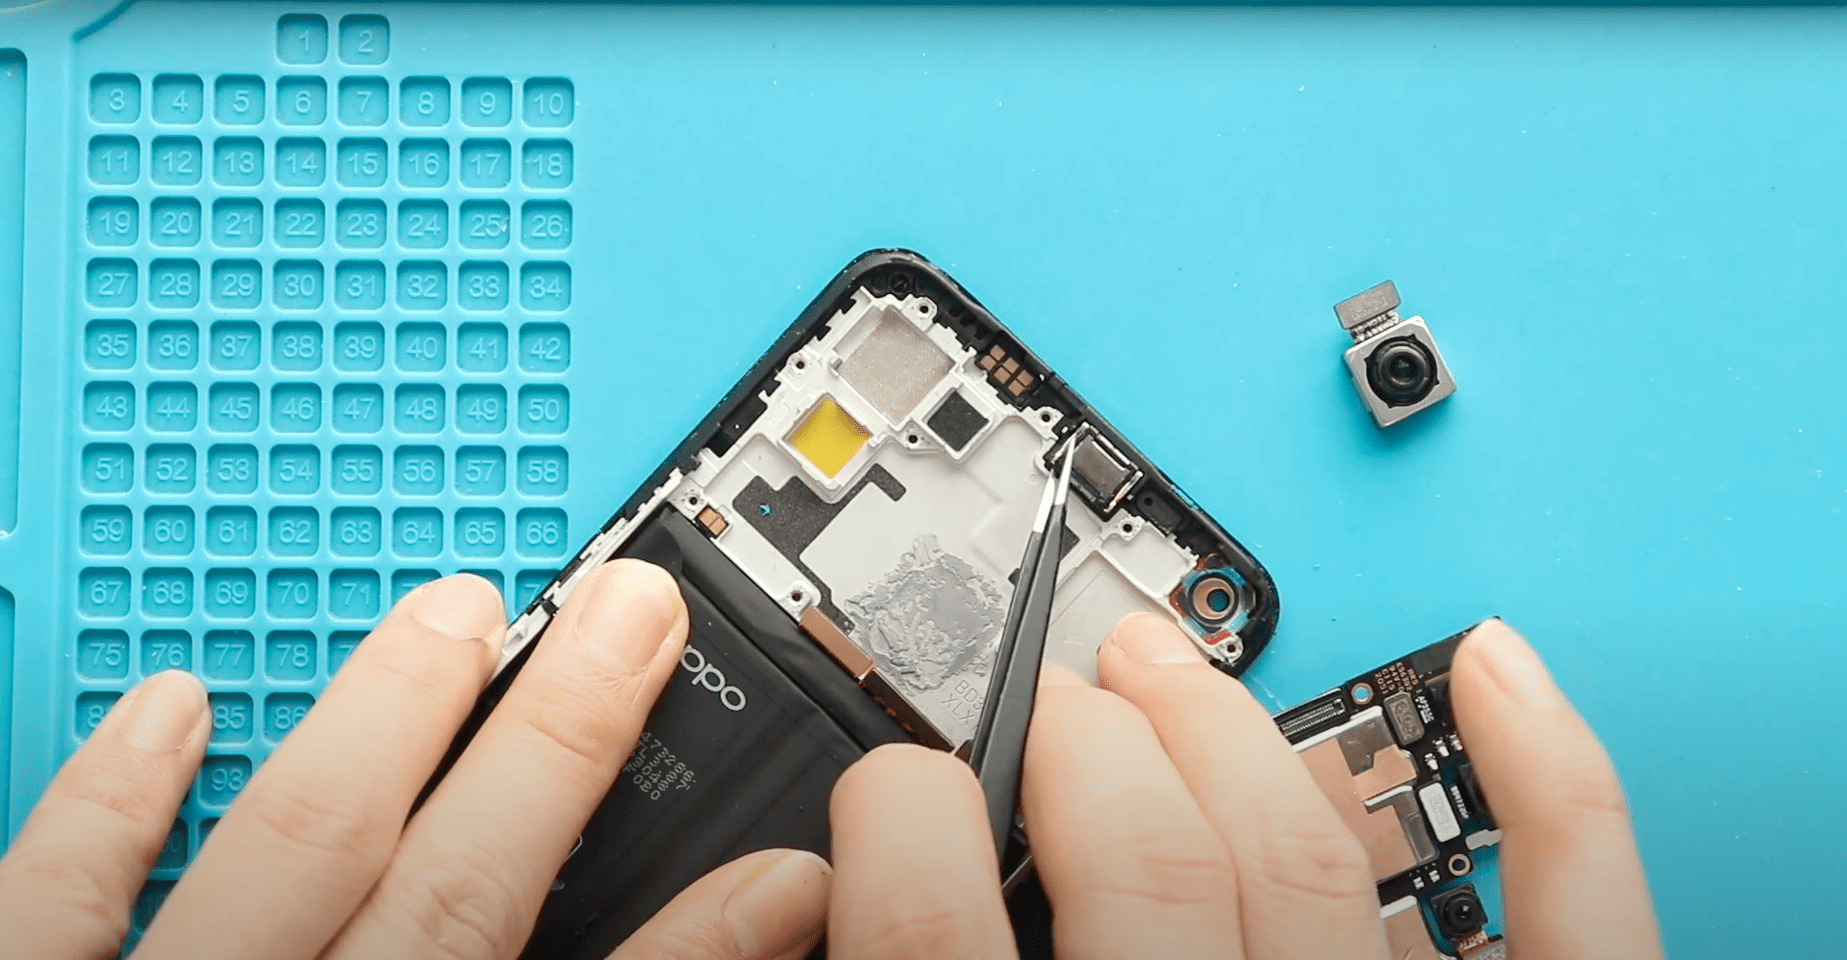
Next, take out the charging port board by disconnecting the touch id camera and headphone jack connectors.
Make sure to peel the antenna from the body.
Next, take out the headphone jack.
Next, take out the touch id camera by applying heat.
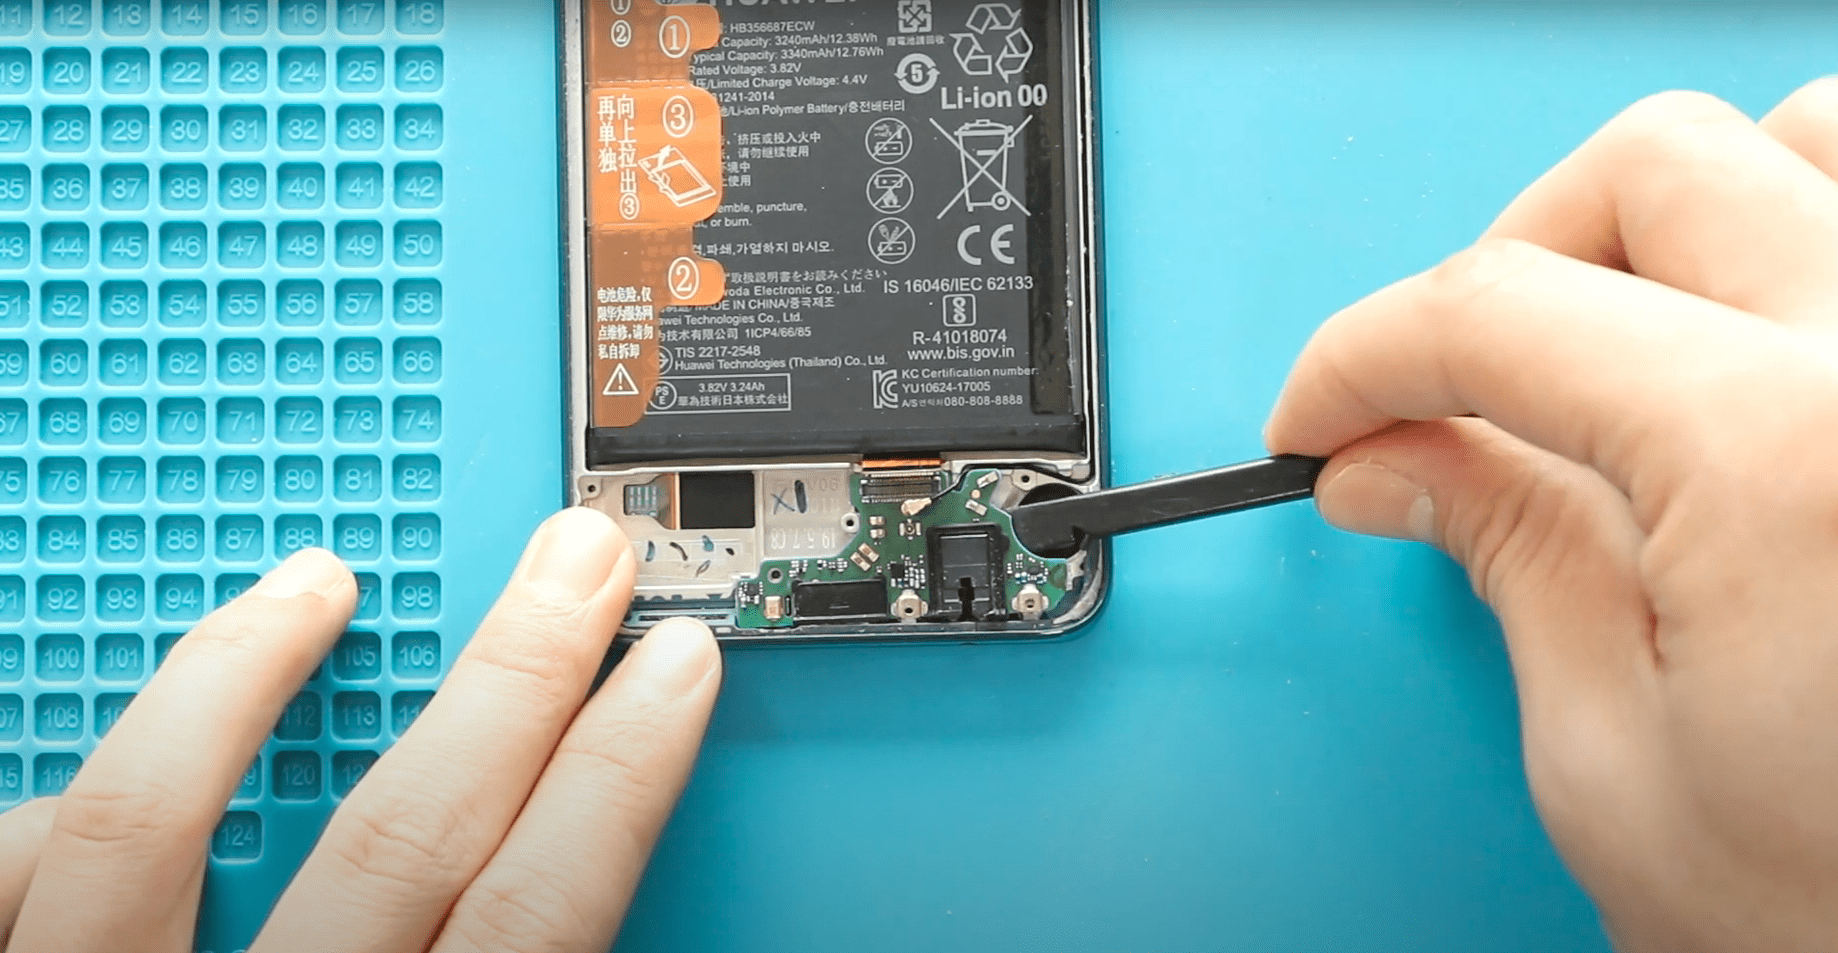
Next, take out the battery; first, loosen the adhesives on the sides and pull them by the side tab.
Be gentle and lift the battery.
Next, take out the sim tray.
Next, take out the logic board by disconnecting the lcd plug.
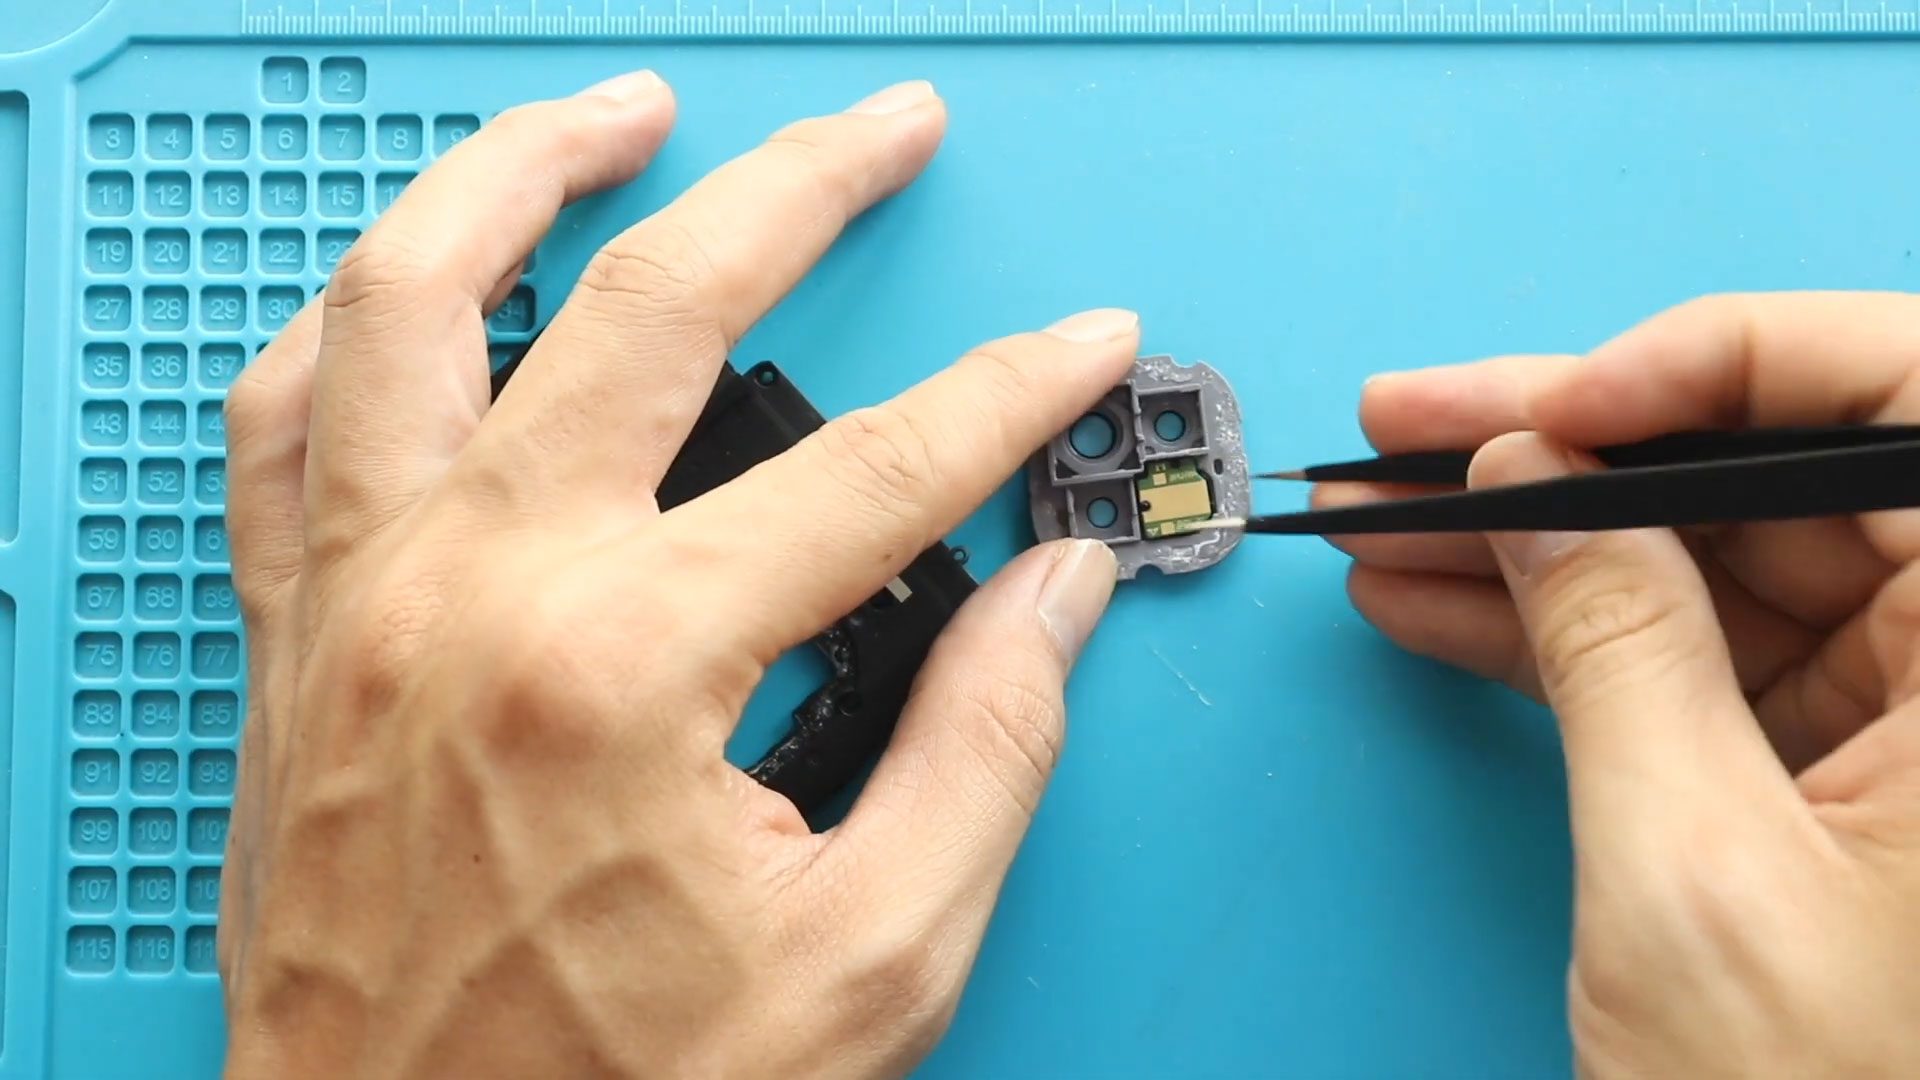
Next, apply some heat to take out the vibrator motor and the earpiece.
Be gentle in this process. Next, take out the sensor flex.
Next, take out the button flex.
Be extremely gentle when you are cutting the adhesive.
The only remaining part is the broken front screen assembly with the frame and buttons.
For the replacement, there are two different screen types in the market.
The one is with the frame, and the other is without the frame.
It can be original, used, refurbished or aftermarket.
Either version you choose, you can get with the frame and without.
But the most straightforward repair will be with the frame, and also, the price difference is not that big.
I recommend you go with a screen with a frame & buttons installed.
It can be original, refurbished, used, aftermarket.
And this type is commonly available to purchase.
Next, on the new screen frame, start placing removed parts.
Next, Place the vibrator motor on the new frame.
Next, secure the earpiece.
Next, place the sensor flex.
Next, gently place the button flex on the frame.
Next, place the logic board on the frame and securely place the front camera.
Next, secure the lcd connector to the logic board.
Next, insert the sim tray.
Next, place the battery with adhesive.
Next, place the touch id camera.
Next, place and secure the charging port board and then secure the antenna on the frame.
Next, secure the headphone jack.
Next, place the speaker with the antenna.
Secure the antenna on the frame and fasten both antenna plugs to the logic board.
Also, make to secure the speaker plug.
Next, secure the main flex by connecting from both ends.
Next, secure the bracket.
Next, secure the speaker and bracket by adding seven screws.
Next, secure the battery plug.
Next, place the board bracket by adding nine screws.
Next, Before closing the device, it is good to verify the functionality by powering up the device.
Next, Before installing the main back cover, make sure it has enough glue; if not, use B7000 glue or a new double-sided back cover adhesive.
Finally, we are adding bonding clips to fasten the back cover.
Leave it for some time and remove it; if not, use some rubber bands to tighten the back cover.
I hope you have enjoyed the replacement guide. Let us know if you have any questions.