
Now Reading: DIY Huawei P30 Lite Front | Rear Camera Repair Guide
-
01
DIY Huawei P30 Lite Front | Rear Camera Repair Guide
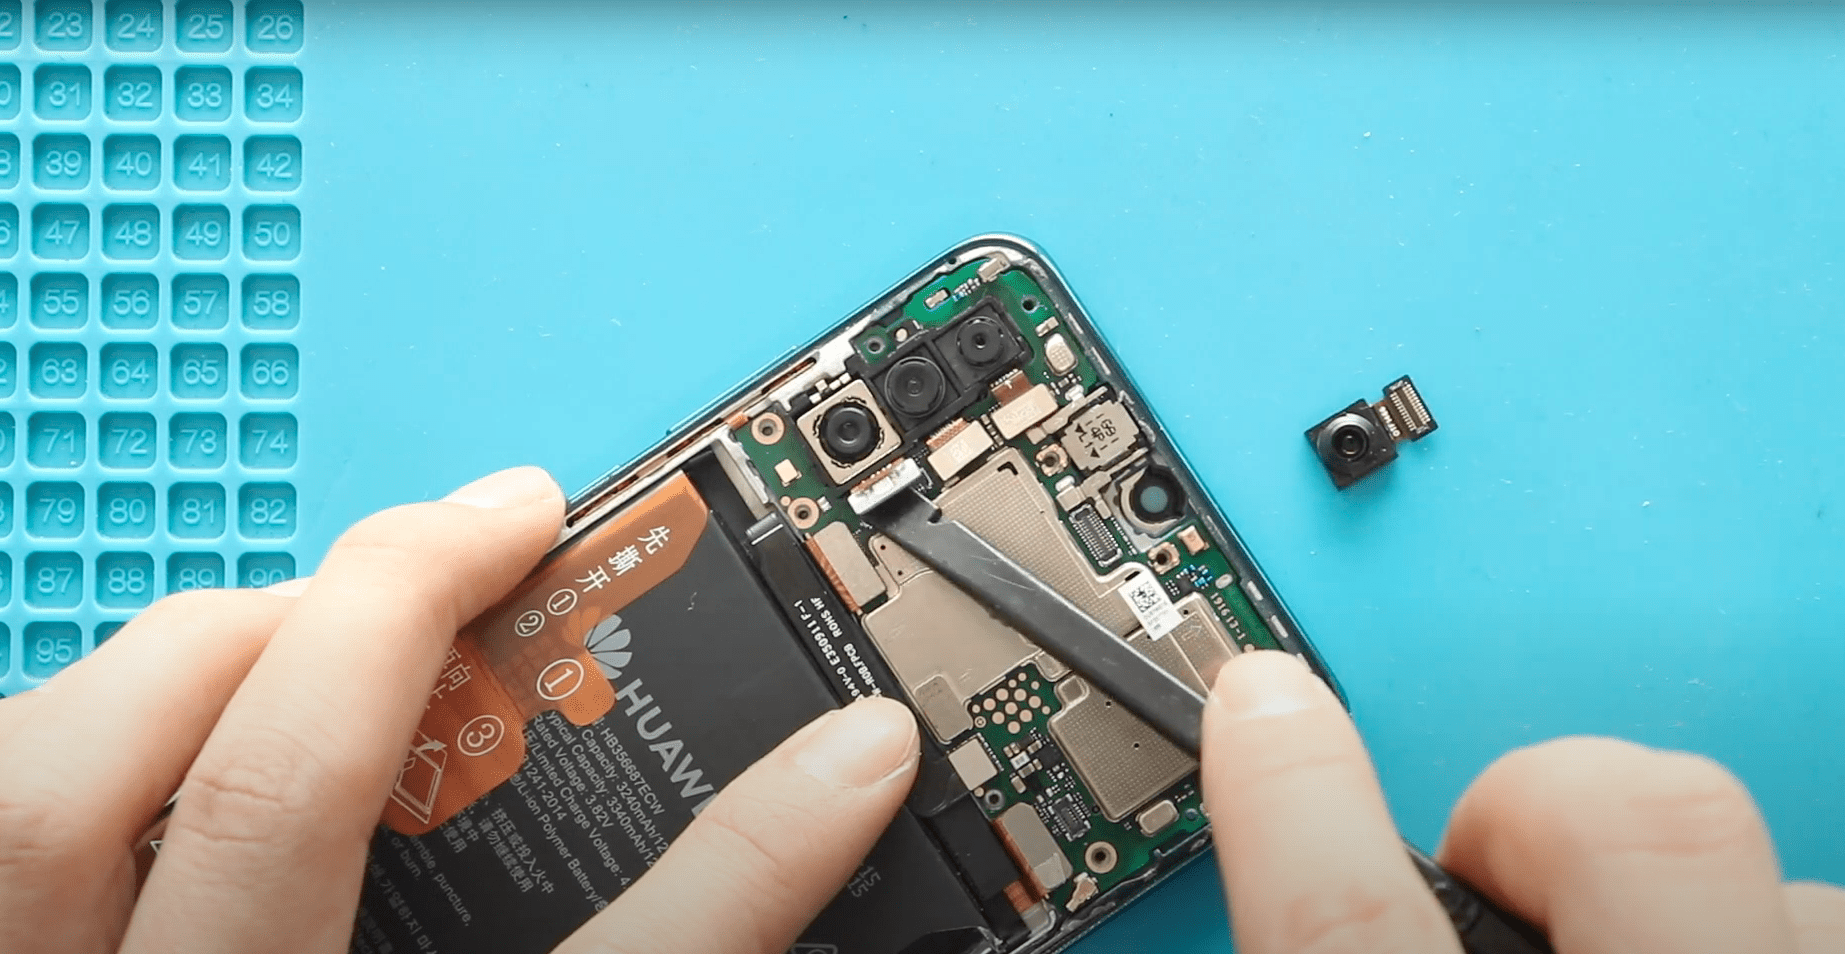
DIY Huawei P30 Lite Front | Rear Camera Repair Guide
Before Starting, we need to have the right tools to proceed with the repair, which You can find in the description.
First, turn off the phone, take out the Sim tray, and then follow with the back cover removal.
Here, we are using a heating pad to remove the back cover; place the back cover side on the heating pad and Select the mobile phone HEATING option and leave it till it completes.
Alternatively, you can use a heat gun or hairdryer. Once you feel the heating is enough, use a suction cup to lift the back cover.
In between, Insert a Plastic Card pry tool and gently cut the adhesive.
While taking out the back cover, Be gentle; the fingerprint plug is attached to the back cover.
Next, to remove the brackets and the shield, Undo 10 screws on the board.
Next, take out the board’s main bracket, left bracket, and fingerprint connector shield.
Next, unplug the battery and fingerprint connectors to release the back cover from the body.
Bext, disconnect, and remove the not working front camera from the board.
Next, Disconnect and pull out the 3 in 1 rear camera unit from the board.
Next, secure the new rear camera unit by securing three plugs,
Next, place and secure the front camera on the board.
Next, Secure the fingerprint and battery connectors to the logic board.
Next, place the fingerprint shield and two brackets on the frame by securing ten screws.
Before installing the main back cover, make sure it has enough glue; if not, use B7000 glue or a new double-sided back cover adhesive.
Next, connect the Flash sensor plug and place the back cover on the body.
Finally, we are adding bonding clips to fasten the back cover.
Leave it for some time and remove it; if not, use some rubber bands to tighten the back cover.
I hope you have enjoyed the battery replacement guide. Let us know if you have any questions.


-
 01Samsung Galaxy A16 5G Battery Replacement | Full DIY Repair Guide
 -
02Samsung Galaxy A16 5G Screen Replacement | Step-by-Step Guide
-
03Google Pixel 6 Power Button Replacement Guide | Volume Button Flex Repair Guide- DIY Repair
-
04Samsung Galaxy A16 5G Back Cover & Camera Lens Frame Replacement Guide | DIY Repair
-
05Why a Heating Pad Is Essential for Mobile Phone Repairs (And How to Use it)
-
06How to Use a Heat Gun or Hair Dryer for Phone/Tablet Repairs
-
07Essential Repair Tools for Phone, Tablet & Laptop Repairs


