Now Reading: DIY Huawei P30 Pro Camera Lens Glass & Back Cover Repair Guide
-
01
DIY Huawei P30 Pro Camera Lens Glass & Back Cover Repair Guide

Repairing your Huawei P30 Pro can seem daunting, but with the right tools and a bit of patience, you can successfully replace the camera lens glass and back cover. This guide will walk you through the entire process step-by-step, ensuring you have everything you need to restore your device to its former glory.
Tools Needed for the Repair
Before you begin, it’s essential to gather the necessary tools for the repair. Here’s a list of what you will need:
- Heating Pad or Heat Gun: To soften the adhesive on the back cover.
- Suction Cup: For creating an opening between the frame and back cover.
- Plastic Card Tool: To cut through the adhesive around the back cover.
- Tweezers: For handling small components.
- Phillips PH00 Screwdriver: To remove screws.
- Binding Clips or Rubber Bands: To hold the back cover in place during the adhesive setting.
Having these tools ready will make the process smoother and more efficient.
Step-by-Step Repair Process
1. Preparing the Device
Start by turning off your Huawei P30 Pro completely. This step is crucial to avoid any electrical issues during the repair.
2. Heating the Back Cover
To remove the back cover, gently heat the edges using a heating pad. Place the back cover side on the heating pad and select the mobile phone heating option. Leave it there until the adhesive becomes soft. If you don’t have a heating pad, you can use a heat gun or a hairdryer, but be careful not to overheat the device.
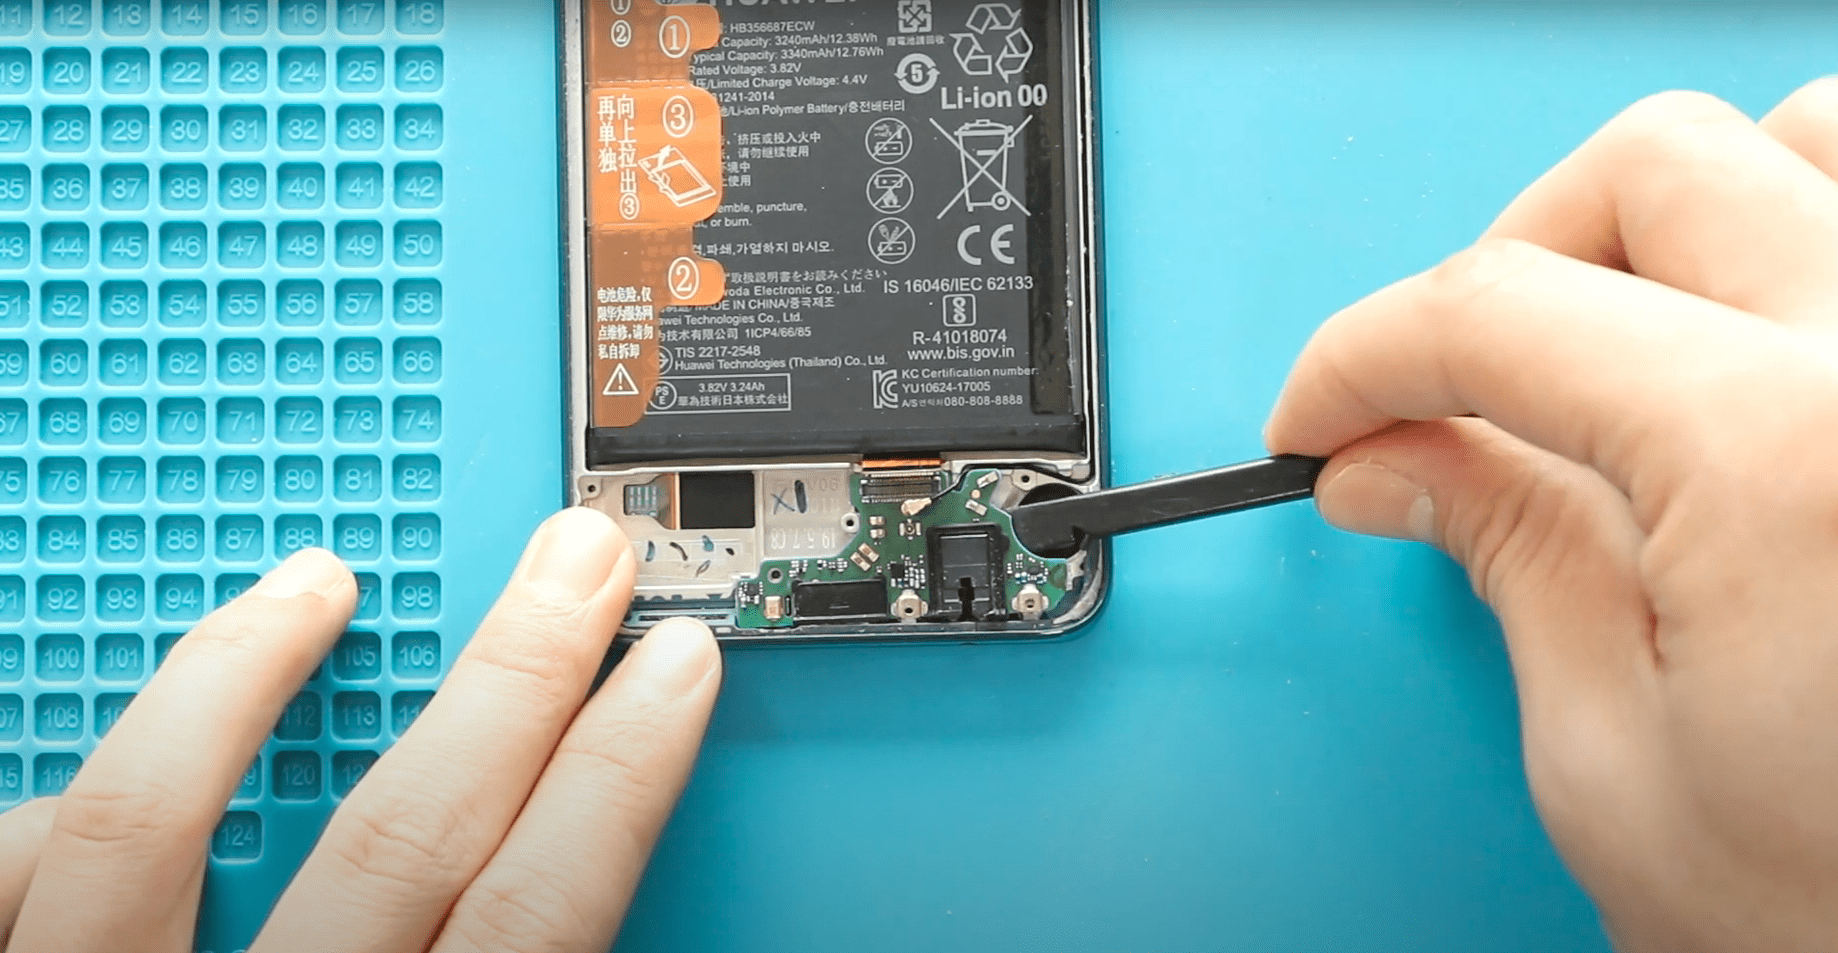
3. Creating an Opening
Once the adhesive is soft, use a suction cup to create an opening between the frame and the back cover. Insert a plastic card tool into the gap to cut through the adhesive. Work your way around the edges until you can lift the back cover off completely.
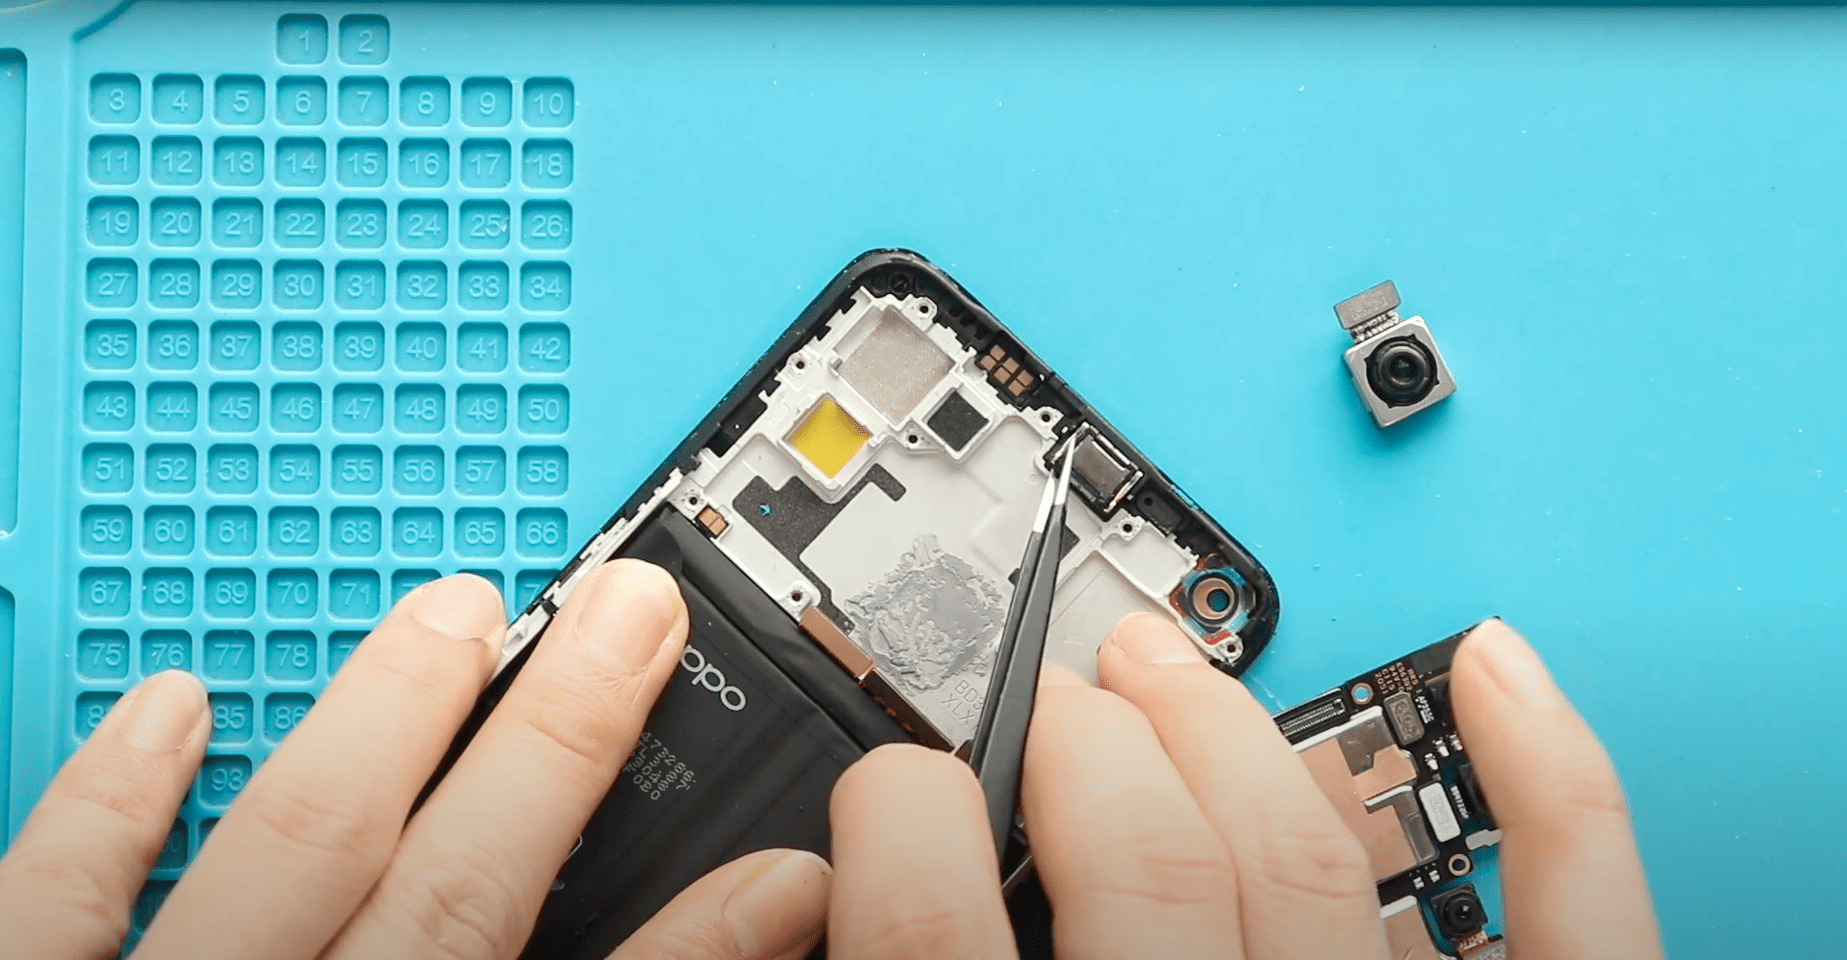
4. Removing the Broken Camera Lens
Next, apply heat to the camera lens area from the front. This will help loosen the adhesive holding the lens in place. From the rear side of the lens, apply gentle force to remove the broken lens. If the lens has multiple cracks, take your time to remove the pieces carefully.
5. Cleaning the Surface
After removing the broken lens, clean the surface thoroughly to ensure a good bond for the new lens. Any leftover adhesive or debris can affect the installation.
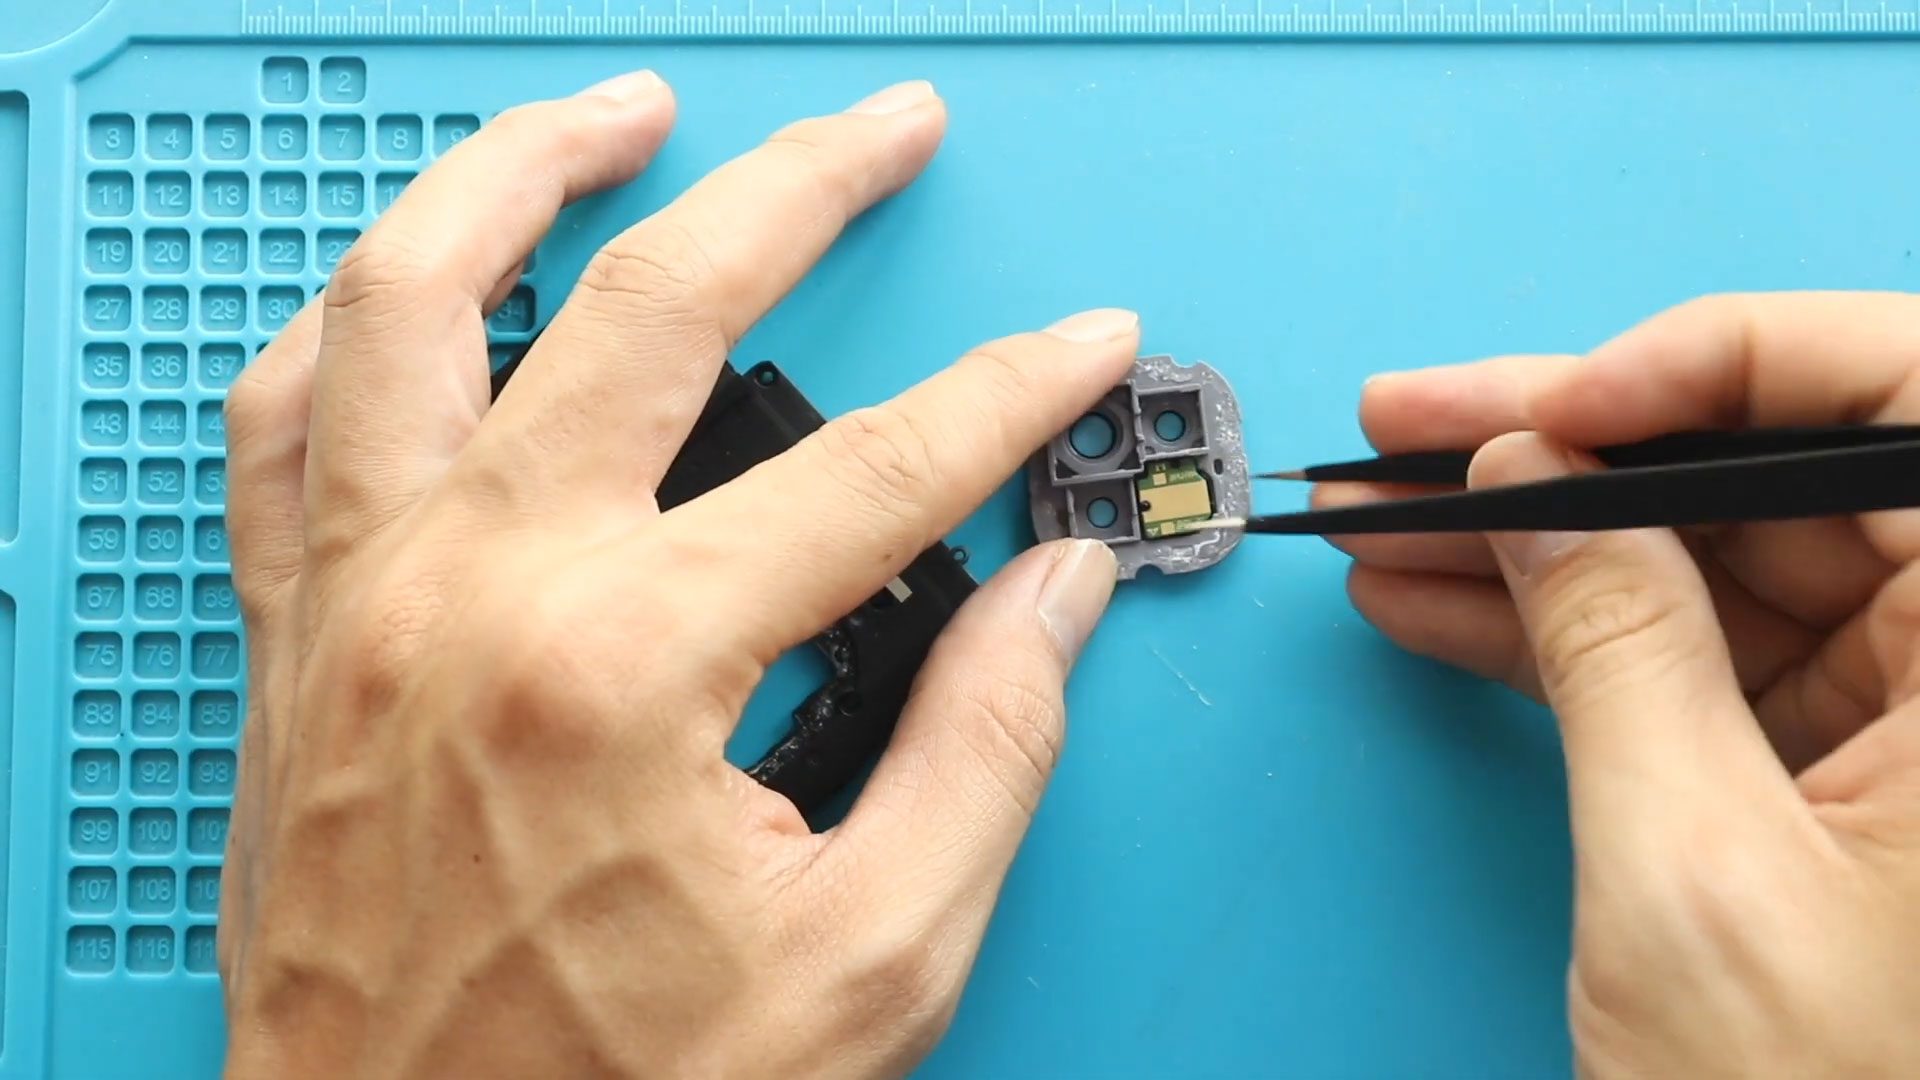
6. Installing the New Lens
You have a few options for replacement parts:
- Camera Lens with Frame: This option includes the lens already attached to a frame.
- Camera Lens without Frame: This is just the lens itself.
- Back Cover with Camera Lens Installed: This option replaces both the back cover and the lens in one piece.
Choose the one that suits your needs best. If using a lens with a frame, apply adhesive to secure it in place.
7. Applying Adhesive to the Back Cover
Before reinstalling the back cover, check if there is enough adhesive on it. If not, you can use USB 7000 glue or double-sided adhesive tape to ensure a strong bond.
8. Securing the Back Cover
Finally, place the back cover back onto the device. Use binding clips or rubber bands to hold it in place while the adhesive sets. Leave it for some time to ensure everything adheres properly.
Conclusion
Congratulations! You have successfully replaced the camera lens glass and back cover on your Huawei P30 Pro. This DIY repair can save you time and money, allowing you to enjoy your device without the hassle of a broken lens. If you have any questions or need further assistance, feel free to reach out. Happy repairing!